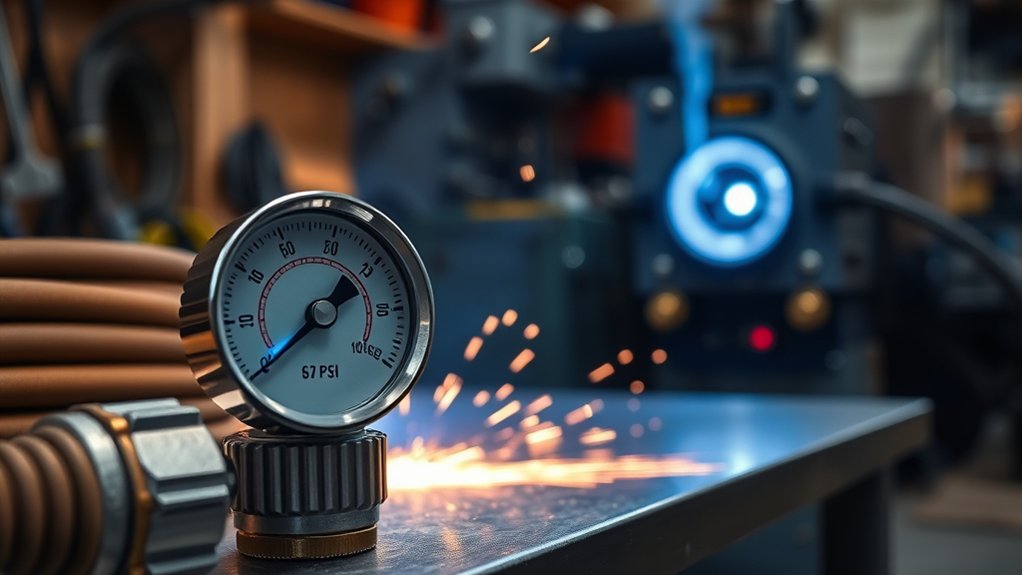
There is no single air-pressure setting that works for every plasma cutter. The correct setting comes from your machine’s manual and must be checked while air is flowing, because portable cutters can require very different inlet pressures and airflow rates.
Updated on July 20, 2026
Quick Answer
Use the inlet pressure and airflow listed in your plasma cutter’s manual, not a universal 55–75 PSI rule. Current portable models range from 80–110 PSI to 90–120 PSI, and their required flow also differs. Set and verify pressure while air is flowing, then keep the supply clean, dry, and oil-free.
Key Takeaways
- Follow the manual: Plasma cutter pressure is model-specific, not thickness-specific.
- Check pressure under flow: Static pressure can look correct and still collapse when the cutter draws air.
- Match both PSI and CFM: A large tank cannot make up for a compressor pump that delivers too little airflow.
- Protect the torch: Clean, dry, oil-free air supports reliable starts, cut quality, and consumable life.
- Troubleshoot the whole process: Dross and bevel can come from speed, amperage, standoff, worn consumables, grounding, or airflow.
At a Glance
| Time Required | About 10–15 minutes for setup and a test cut |
| Difficulty | Beginner, provided you follow the machine manual and safety instructions |
| Tools Needed | Owner’s manual, suitable compressor, regulator and gauge, dry-air filtration, leak-check solution, scrap metal, and PPE |
| Cost | No cost to adjust an existing setup; filters, a dryer, larger hose, or a higher-output compressor may be needed |
What Air Pressure Should a Plasma Cutter Use?

The best plasma cutter air pressure is the pressure specified for your exact machine. Manufacturers design the torch, internal regulator, pressure switch, and consumables as one system. A setting that works on one cutter may trigger a fault or reduce performance on another.
For example, the Hypertherm Powermax45 XP specification lists 6.7 SCFM at a recommended inlet pressure of 90 PSI. The Miller Spectrum 625 X-TREME manual calls for 6.0 SCFM at 90 PSI with a 90–120 PSI inlet range. The Titanium Plasma 65 manual specifies 4.2 CFM at 80–110 PSI.
| Example cutter | Published air requirement | What it shows |
|---|---|---|
| Hypertherm Powermax45 XP | 6.7 SCFM at 90 PSI recommended inlet | A 45-amp machine can require more than a generic 55–75 PSI setting |
| Miller Spectrum 625 X-TREME | 6.0 SCFM at 90 PSI; 90–120 PSI inlet | Pressure and flow must both meet the manual |
| Titanium Plasma 65 | 4.2 CFM at 80–110 PSI | Tank size alone does not define compressor suitability |
There is no universal plasma cutter PSI. The correct number is the pressure your machine can maintain at its inlet while supplying the required airflow.
Compressor Pressure, Inlet Pressure, and Torch Pressure

Pressure numbers can become confusing because a plasma setup may show more than one reading:
- Tank pressure is the stored pressure inside the compressor receiver. It is not the cutter’s operating setting.
- Compressor outlet pressure is the regulated pressure sent into the hose.
- Cutter inlet pressure is what reaches the machine after the hose, fittings, filters, and dryer.
- Internal torch pressure may be controlled automatically by the cutter and may not be directly adjustable.
Static pressure is the reading with no air moving. Dynamic pressure is the reading while air flows. A restricted hose, clogged filter, leaking fitting, or weak compressor can show normal static pressure but fall below specification during a cut.
Note: Material thickness usually changes amperage, cutting speed, consumable choice, and standoff before it changes air pressure. Do not lower pressure for thin sheet metal or raise it for thick plate unless your machine’s cut chart tells you to do so.
Why Thickness Does Not Set PSI by Itself
The plasma jet needs the pressure and flow the torch was designed to use. When you move from thin sheet to thicker steel, use the amperage, nozzle, speed, and piercing instructions in the cut chart. On a machine with automatic air control, the cutter sets its internal pressure for the selected mode.
| Change in the job | Adjust first | Pressure rule |
|---|---|---|
| Thinner sheet | Lower amperage if supported, use the correct consumable, and maintain smooth travel | Keep the manual’s pressure setting unless the cut chart says otherwise |
| Thicker plate | Use the rated amperage, correct nozzle, slower chart speed, and proper pierce method | Do not exceed the approved inlet range |
| Gouging or special mode | Select the specified mode and consumables | Follow the mode-specific manual setting |
How to Set Plasma Cutter Air Pressure
- Read the air requirement. Find the required inlet PSI range and CFM or SCFM in the specifications section of your manual.
- Confirm compressor capacity. Use the compressor’s delivered CFM rating at the same pressure the cutter requires.
- Prepare the air line. Drain the receiver, connect clean filtration, remove any in-line oiler, and use hose and fittings large enough for the required flow.
- Connect the cutter with power off. Check that the regulator, filters, fittings, and hose are secure and undamaged.
- Set the compressor outlet regulator. Put it within the machine’s approved inlet range. Never exceed the lower-rated component in the air system.
- Start air flow safely. Use the cutter’s gas-test or purge mode when available. Otherwise, follow the manual’s pressure-check procedure. Do not fire a live arc only to read a gauge unless the manufacturer instructs you to do so.
- Read pressure under flow. Watch the cutter’s inlet or panel gauge while air is moving. Correct leaks, restrictions, or compressor shortfall if the reading drops.
- Make a scrap test cut. Use the same metal type and thickness as the job. Set amperage, consumables, speed, and standoff from the cut chart.
- Change one variable at a time. Keep air pressure inside the approved range and correct speed, consumables, grounding, or standoff before guessing at a new PSI.
Warning: Use only the gas approved by the manufacturer. Never feed oxygen, acetylene, carbon dioxide, or a combustible gas into a plasma cutter designed for clean compressed air or nitrogen. Shut off power and air before servicing the torch or air system.
Air Quality and Filtration: Why Clean, Dry Air Matters

Air quality can affect arc starts, cut consistency, internal components, and consumable life. The supply should be clean, dry, and oil-free. The exact filtration class and filter size depend on the cutter and shop conditions, so use the limits in the machine manual instead of applying one industrial ISO target to every portable cutter.
Products Worth Considering

Desiccant Air Dryer System: Engineered with a compressor desiccant air filter dryer system that effectively traps water vapor, oil aerosols, and dirt particles from the air supply. This unit functions as a reliable air line dryer, helping to prevent moisture-related damage to pneumatic tools and ensuring smoother operation for workshop projects.
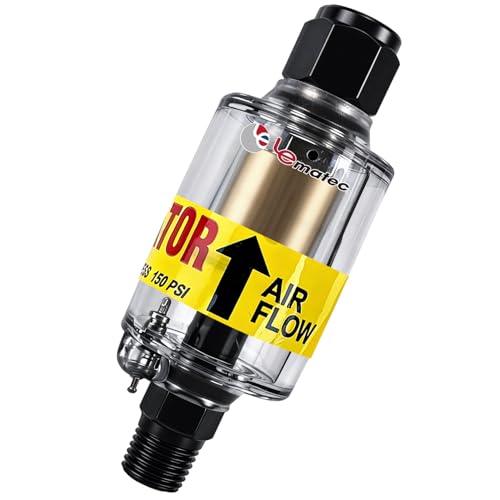
Moisture Protection: 1-micron reusable element removes air compressor oil and water from compressed air systems; essential for precise spray painting and plasma cutting

【Industrial Performance】The air dryer for compressor features two robust 3/4" NPT air ports and a 1/4" NPT gauge port, handling high-pressure environments (up to 240 PSI) for various industrial applications. (Do not install horizontally)
Moisture Harms Consumables
Water and oil can contaminate the gas path and interfere with a stable plasma stream. Warning signs include erratic starts, a sudden drop in consumable life, water in the filter bowl, or cut quality that changes as the compressor heats up.
- Drain the compressor receiver on the schedule recommended by its manufacturer.
- Inspect the cutter’s built-in filter and replace or clean its element as directed.
- Keep an automatic oiler out of the plasma cutter’s air line.
- In humid shops or production use, consider additional moisture separation, a desiccant system, or a refrigerated dryer.
Filtration Ensures Consistency
A practical setup may include a particulate filter, water separator, coalescing filter when oil carryover is possible, and a dryer suited to your climate and workload. Hypertherm’s air-filter guidance notes that humid or high-use environments may need extra filtration or a refrigerated or desiccant dryer.
| Air-line check | Target | Action |
|---|---|---|
| Pressure under flow | Inside the cutter’s published inlet range | Check regulator, hose size, fittings, filter restriction, and compressor output |
| Airflow | At or above the manual’s CFM or SCFM requirement | Use delivered CFM at the required PSI, not tank size alone |
| Moisture | No visible water reaching the cutter | Drain, service separators, and add drying capacity when needed |
| Oil and dirt | Oil-free and within the manual’s filtration limit | Remove oilers and service filters without creating excessive pressure drop |
Matching Your Air Compressor: PSI, CFM, and Tank Size

Your compressor must meet two requirements at the same time: pressure and continuous airflow. Read its CFM rating at the pressure closest to the cutter’s requirement. A rating measured at a much lower PSI does not prove the compressor can support the cutter.
- Choose useful airflow reserve. A compressor that only equals the minimum rating may cycle continuously or lose pressure during long cuts. Extra delivered CFM provides a practical buffer.
- Do not size by tank gallons alone. A larger receiver delays pressure drop, but the pump must still replace the air being used.
- Reduce line loss. Use the hose diameter and maximum length allowed by the manual. Avoid unnecessary reducers and restrictive quick-connects.
- Plan for duty cycle. Long cuts use more continuous air than short, occasional cuts.
- Account for other tools. Do not run another high-demand air tool from the same small compressor while cutting.
Pro Tip: Watch the regulated pressure during the longest test cut you expect to make. If the gauge steadily falls or the cutter shows a pressure fault, stop and correct the air-supply limitation instead of raising static pressure beyond the approved range.
Products Worth Considering
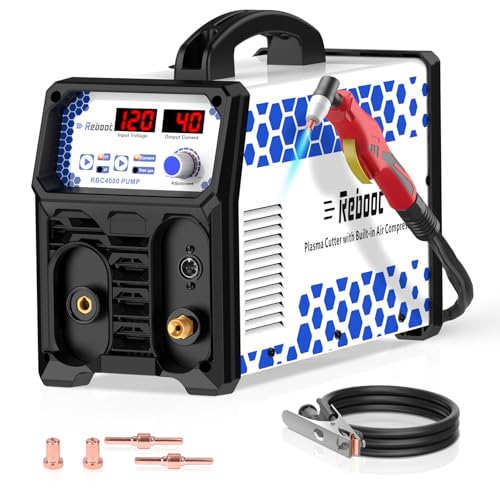
𝐁𝐔𝐈𝐋𝐓-𝐈𝐍 𝐀𝐈𝐑 𝐂𝐎𝐌𝐏𝐑𝐄𝐒𝐒𝐎𝐑, 𝐙𝐄𝐑𝐎 𝐄𝐗𝐓𝐄𝐑𝐍𝐀𝐋 𝐔𝐍𝐈𝐓𝐒 𝐍𝐄𝐄𝐃𝐄𝐃: Integrated high-efficiency air pump eliminates the need for separate air compressors. Start cutting immediately with simplified setup
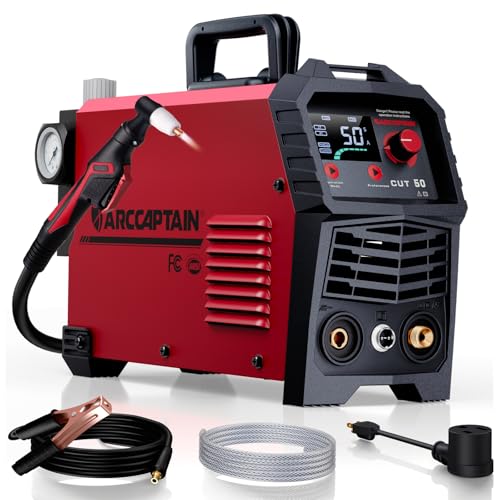
【Powerful Cutting Ability】Switch effortlessly between 110V and 220V for home or workshop use. Achieve professional 1/2" clean cuts on steel, aluminum, and copper with advanced LGBT technology. Perfect for DIY projects and heavy-duty tasks. Recommended maximum cutting thickness: 12mm @ 35A / 110V / 55 PSl; 18mm @ 50A / 220V / 75 PSI. Note: Requires compressed air (compressor sold separately).

CUTTING THICKNESS UP TO 20MM: Featuring a brand-new MCU technology upgrade, the plasma cutter machine has a high degree of internal integration, combining full digitalization for more precise control of cutting parameters such as current and voltage. This results in better cutting effects and improved stability. Cutting thickness: Quality 12mm (1/2"), maximum 20mm (3/4").
Performance Checks: Dross, Kerf, and Cut Quality

Air pressure matters, but it is only one part of cut quality. Hypertherm’s dross troubleshooting guidance identifies cutting speed, amperage, and standoff as key variables, along with consumable condition and material factors.
| Symptom | Likely checks | What to do |
|---|---|---|
| Thick, easy-to-chip bottom dross | Travel may be too slow; amperage may be high; standoff may be low | Return to the cut chart and adjust one variable at a time |
| Small, hard bottom bead or sparks from the top | Travel may be too fast; current or airflow may be insufficient; nozzle may be worn | Verify full penetration, pressure under flow, consumables, amperage, and speed |
| Top spatter | Worn nozzle, excessive speed, or excessive standoff | Inspect the nozzle and correct speed and torch height |
| Increasing bevel or wandering kerf | Worn or damaged consumables, wrong standoff, torch angle, travel direction, or unstable air supply | Replace damaged parts and repeat a controlled test cut |
| Arc stops or pressure fault appears | Dynamic pressure drop, leak, clogged filter, low compressor output, duty-cycle limit, or poor work connection | Stop cutting, let the unit cool if needed, and check each item safely |
Measure kerf width only after you confirm the correct consumables, speed, standoff, and amperage. Do not assume a wide kerf always means excessive pressure or a narrow kerf always means low pressure.
Safety and Setup Tips for Consistent Plasma Cutting
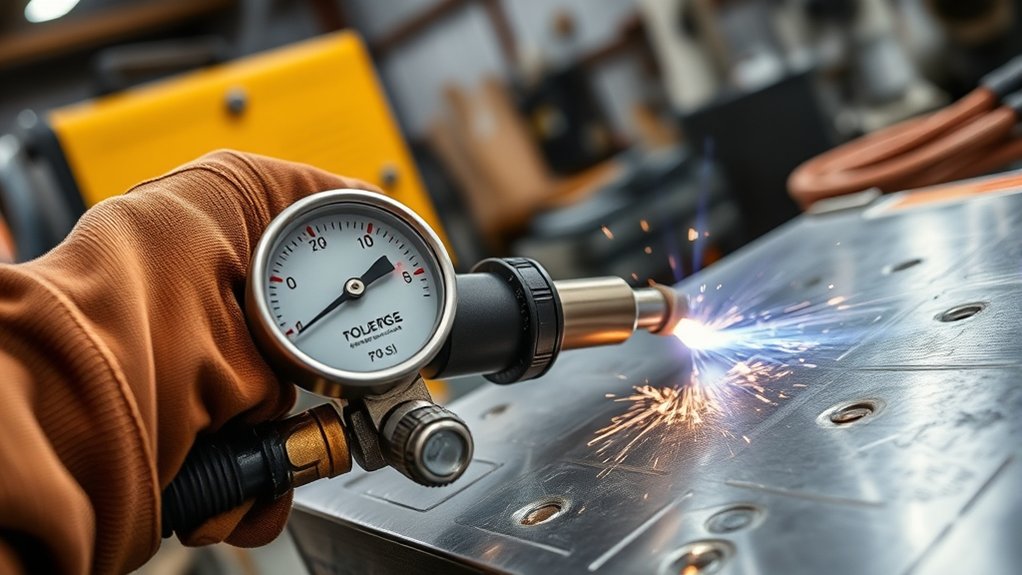
Plasma cutting exposes you to arc radiation, sparks, hot metal, noise, fumes, electricity, and compressed air. OSHA requires suitable eye and face protection for arc cutting and adequate ventilation for welding and cutting work. Review the OSHA welding, cutting, and brazing resources along with your machine manual.
Essential PPE Checklist
- Wear a welding helmet or plasma-cutting shield with the lens shade specified by the machine manual and applicable safety rules.
- Wear safety glasses with side protection under the helmet or shield.
- Use dry, flame-resistant gloves and clothing that covers exposed skin. Avoid melting synthetic fabric.
- Wear hearing protection and closed, protective footwear that prevents hot slag from entering.
- Use local exhaust or suitable ventilation. Use respiratory protection only through a proper hazard assessment and approved program.
Pre-Cut Equipment Checks
- Remove combustible material from the cutting area and keep a suitable fire extinguisher accessible.
- Never cut a drum, tank, pipe, or closed container unless it has been properly cleaned, vented, and made safe by a qualified procedure.
- Check the torch body, shield, nozzle, electrode, swirl ring, leads, work clamp, hose, and fittings.
- Attach the work clamp to clean, bare metal on the part that will remain supported.
- Confirm that the compressor, filters, and cutter can maintain the required pressure and flow.
- Disconnect input power and shut off air before opening the torch or servicing the air system.
Frequently Asked Questions
What is the air pressure for a 40 amp plasma cutter?
There is no standard pressure for every 40-amp cutter. One 40-amp model may require 90–120 PSI and 6.0 SCFM, while another may use a different range or an internal regulator. Read the specification plate or owner’s manual and verify the pressure while air is flowing.
What pressure activates most plasma arc cutters?
The low-pressure switch threshold is model-specific. Do not rely on a universal 35 PSI minimum. Use the inlet range in the manual and investigate any pressure warning instead of bypassing a safety switch.
Will a 20 gallon air compressor run a plasma cutter?
It may, but the 20-gallon tank does not answer the question by itself. Compare the compressor’s delivered CFM at the cutter’s required PSI with the cutter’s airflow specification. A small pump may support short cuts yet lose pressure during long cuts.
What size air compressor do I need for a Titanium Plasma 65?
The current Titanium Plasma 65 manual specifies 4.2 CFM at 80–110 PSI. Choose a compressor that can deliver at least that airflow at the required pressure during use. Extra airflow capacity is useful for longer cuts, but the manual does not require a specific tank size.
Should I lower air pressure for thin sheet metal?
Not unless the manual or cut chart tells you to. For thin sheet, adjust amperage, use the correct consumables, and control travel speed. Lowering pressure below specification can cause a weak or unstable arc and may trigger a pressure fault.
Can too much air pressure cause dross?
Pressure outside the approved range can reduce performance or cause a fault, but dross is not a pressure-only diagnosis. Check cutting speed, amperage, standoff, material, grounding, and consumable condition, then confirm that pressure stays inside the manual’s range under flow.
Conclusion
Set plasma cutter air pressure from the manual, then confirm it under flow. Do not use 55–75 PSI, 45 PSI for thin sheet, or 35 PSI as universal rules. Match the compressor’s delivered CFM and PSI, keep the air clean and dry, and use the cut chart for amperage, speed, standoff, and consumables. When a cut looks poor, test one variable at a time.
Related articles
Sources
- Hypertherm Powermax45 XP specifications — recommended inlet airflow and pressure
- Miller Spectrum 625 X-TREME owner’s manual — inlet pressure, airflow, filtration, and troubleshooting
- Titanium Plasma 65 owner’s manual — 4.2 CFM at 80–110 PSI and air-supply setup
- Hypertherm air filtration guidance — moisture control and additional filtration
- Hypertherm dross troubleshooting — speed, amperage, standoff, and consumable checks
- OSHA 29 CFR 1910.252 — eye protection, ventilation, and welding and cutting safety