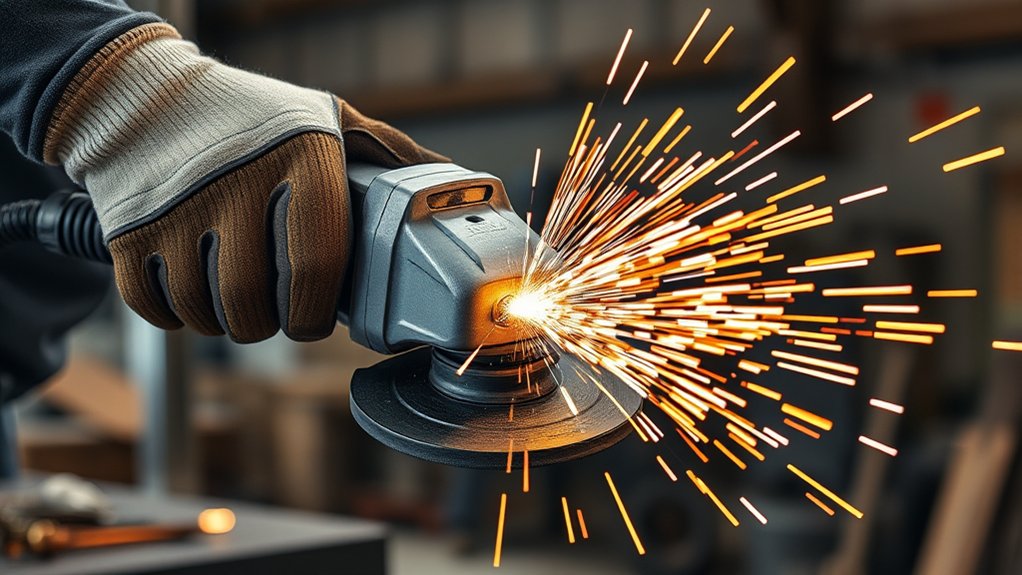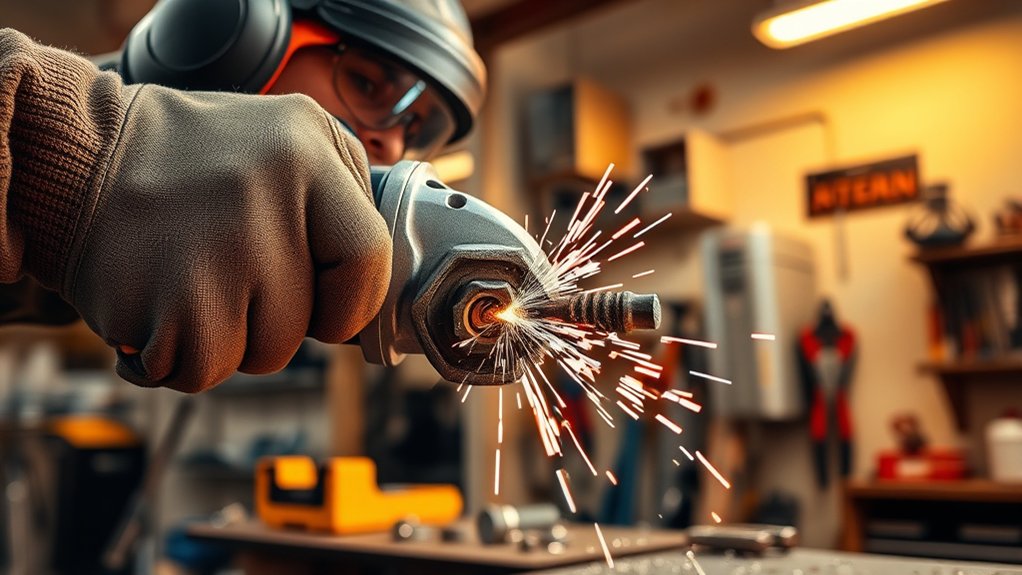
Cutting a bolt with an angle grinder can give you the exact length you need, but the job involves a high-speed abrasive wheel, hot metal, sparks, and possible kickback. A safe result depends on choosing a compatible cut-off wheel and guard, clamping the bolt correctly, protecting its threads, and letting the wheel cut without forcing or twisting it.
Quick Answer
Secure the bolt in a vise, mark the cut, and use a metal cut-off wheel and guard approved for your grinder. Wear eye, face, hearing, hand, and respiratory protection suited to the material. Let the wheel reach full speed, use light pressure, never twist it, then air-cool and deburr the bolt.
Last updated: July 19, 2026
Key Takeaways
- Use only a cut-off wheel, guard, flange, and diameter approved for your exact grinder.
- Thread a nut onto the bolt before cutting so you can back it over the finished end and help straighten the first thread.
- Hold the grinder with both hands, let it reach full speed, and use light pressure without twisting the wheel.
- Keep sparks away from people, fuel, batteries, glass, wiring, fabrics, and other flammable or fragile materials.
- Let the bolt cool naturally, file the burrs, add a small chamfer, and test the threads before use.
At a Glance
| Time Required | About 10–20 minutes for one accessible bolt, including setup, cooling, and deburring |
| Difficulty | Beginner to intermediate, with prior familiarity using an angle grinder |
| Tools Needed | Angle grinder, approved metal cut-off wheel and guard, side handle, bench vise, marker, nut, metal file, safety glasses, face shield, hearing protection, snug gloves, and suitable respiratory protection |
| Cost | Low if you already own the grinder and PPE; you may only need a compatible cut-off wheel |
Warning: Do not casually shorten bolts used in structural connections, lifting equipment, vehicle steering or suspension, pressure systems, fall protection, or other safety-critical assemblies. Use the specified replacement fastener unless the equipment manufacturer or engineering specification expressly permits cutting it.
Why Cut Bolts? Understanding the Benefits
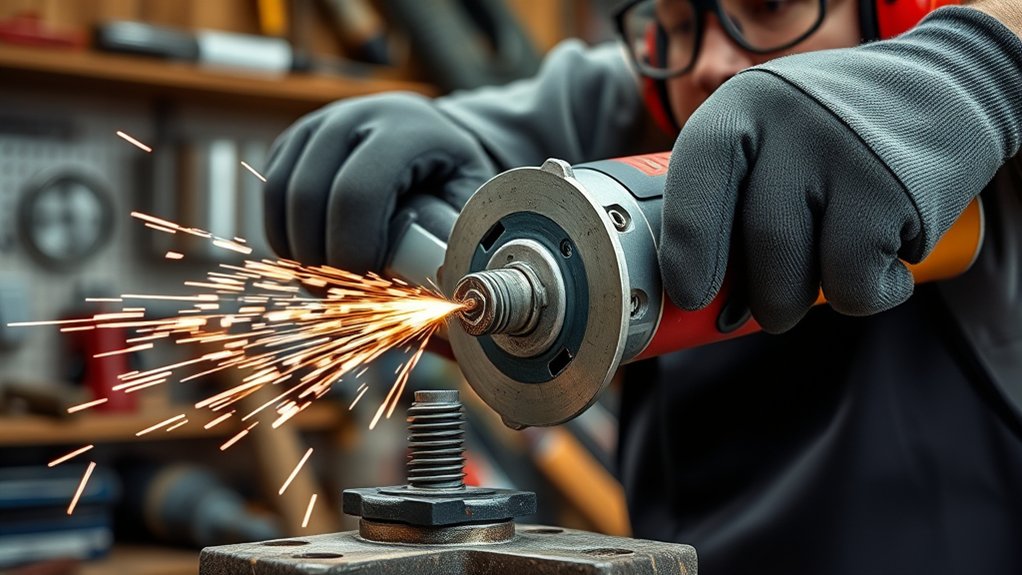
Some assemblies need a bolt length that is not readily available. Shortening a standard bolt can produce a neater fit, prevent excess thread from protruding, and save you from stocking many nearly identical lengths.
An angle grinder is useful when the bolt is too large or hard to cut comfortably with a small hacksaw. It can also produce a fast, controlled cut when the bolt is removed from the assembly and clamped securely.
Cutting is not always the right choice. Removing part of the bolt also removes some corrosion-resistant coating and reduces the available thread length. You must still leave enough fully engaged thread for the application, and critical hardware should be replaced with the correct specified fastener rather than modified.
Essential Safety Gear for Cutting Bolts
Products Worth Considering

Included: (1) DeWalt N441218 Angle Grinder Guard Replacement for Angle Grinder DCG414B

SUPERIOR PROTECTION — Experience all-around face protection thanks to the curved design of this faceshield. The visor of this face guard is ANSI Z87+ certified, and up to 2x thicker for increased durability. Plus, you can comfortably wear your grinding face shield over prescription glasses.

HIGH IMPACT FACE SHIELD - Sellstrom's Advantage Face Shield is ideal for various types of machinery, welding, cutting, grinding, woodworking, and other types of work that present potential hazards to the face
Eye, Face, Hearing, and Clothing Protection
Wear impact-rated safety glasses with side protection and a full face shield. The face shield protects more of your face, but it does not replace safety glasses. The OSHA Hand and Power Tools guide identifies flying abrasive and workpiece fragments as major hazards from portable abrasive wheels.
Use properly fitted earplugs or earmuffs. OSHA’s 85 dBA action level refers to an eight-hour workplace exposure average, not a one-second tool reading. Even so, grinders can produce intense noise close to your ears, so hearing protection is a sensible precaution for every cut. You can review the full standard in OSHA 29 CFR 1910.95.
Wear long non-synthetic pants, a close-fitting long-sleeved shirt, sturdy closed-toe footwear, and snug work gloves. Tie back long hair and remove loose jewelry. Do not wear dangling sleeves or loose gloves that could reach the rotating wheel.
Respiratory Protection and Coated Bolts
Use outdoor airflow or effective local exhaust whenever possible. A properly fitted, NIOSH-approved particulate respirator can reduce exposure to airborne particles, but an N95 does not protect against gases or vapors. The CDC/NIOSH filtering-facepiece guidance explains these limitations.
Warning: Identify galvanized, zinc-plated, painted, oily, or otherwise coated bolts before cutting. Heating zinc-containing coatings can create zinc oxide exposure associated with metal fume fever. Unknown paints or coatings may create additional hazards. Do not rely on an ordinary dust mask for an unidentified material.
If a coated bolt produces visible smoke, strong odor, or unusual residue, stop the cut, leave the area, and improve ventilation before reassessing the material and required controls. The NIOSH Pocket Guide for zinc oxide lists respiratory symptoms associated with exposure.
Get Your Workspace Ready for Safe Cutting
A stable work area helps prevent wheel binding, uncontrolled sparks, and loss of grip. Complete the following checks before connecting the grinder to power or installing its battery:
| Task | Why It Matters |
|---|---|
| Use strong ventilation | Reduces airborne dust and contaminants around your breathing zone |
| Remove flammable materials | Prevents sparks from igniting fuel, solvents, sawdust, cardboard, fabrics, or dry vegetation |
| Use a sturdy bench and vise | Stops the bolt from turning, vibrating, or moving into the wheel |
| Plan the spark path | Keeps sparks away from your body, bystanders, windows, vehicles, batteries, wiring, and finished surfaces |
| Control the cord or battery area | Prevents the cord, charger, or battery from entering the wheel or spark stream |
| Keep tools organized | Reduces reaching, tripping, and distractions while the wheel is moving |
Keep an appropriate fire extinguisher nearby, and prevent other people or pets from entering the work area. Sparks and fragments can travel well beyond the immediate cut.
Choosing the Right Cutting Disc for Your Angle Grinder

The safest wheel is the one specifically approved for your grinder, bolt material, guard, flange, arbor, and operating speed. Never choose a wheel based only on whether it physically fits the spindle.
Products Worth Considering

[Diamond Technology] 1 equals 100, EZARC diamond 4 1/2 cut off wheel delivers 5,000+ more cuts for metal with much lower cost per cut compared to bonded cut-off wheels

[Diamond Technology] 1 equals 100, EZARC diamond 4 1/2 cut off wheel delivers 5,000+ more cuts for metal with much lower cost per cut compared to bonded cut-off wheels

【Fits All 4-1/2 Inch Angle Grinders】 PRETEC Cut Off Wheel is compatible with all 4-1/2 inch angle grinders with 7/8 inch arbor. The high rotating speed of up to 13,300 RPM, more than common 13,000 RPM, ensure maximum efficiency.
Disc Type Selection
Use a bonded abrasive cut-off wheel labeled for the metal you are cutting. Many flat Type 1 or Type 41 cut-off wheels require a matching enclosed cut-off guard, while some grinders allow limited cutting with other wheel and guard combinations. Follow the instructions supplied with your exact grinder and accessory.
Confirm all of the following before installation:
- The wheel is intended for cutting metal rather than surface grinding.
- The wheel diameter and thickness are within the grinder’s stated capacity.
- The arbor hole or threaded hub matches the tool and flange system.
- The wheel’s maximum RPM is equal to or higher than the grinder’s no-load speed.
- The correct guard and undamaged flanges are installed.
- The wheel has no cracks, chips, moisture damage, distortion, or expired date marking.
A cut-off wheel cuts on its outer edge. Side pressure, bending, or twisting can break the wheel and cause kickback.
Thickness Considerations
Thin cut-off wheels often make narrow, quick cuts with less material removal, and wheels around 1/16 inch or 1.6 mm are common for small metal fasteners. That measurement is an example, not a universal requirement. Use only a thickness permitted by the tool and guard manufacturer.
Do not automatically install a thicker or larger-diameter wheel for a bolt over 1/2 inch. If your wheel cannot reach through the bolt without unsafe positioning, use a grinder with the required approved capacity or choose another cutting method. Never remove the guard or install an oversized wheel to gain cutting depth.
Protect the Threads and Check the Bolt Before Cutting
Confirm that shortening the bolt will still leave enough thread engagement for the assembly. Compare the required finished length with the unthreaded shoulder, thread runout, washers, nut, and any locking hardware.
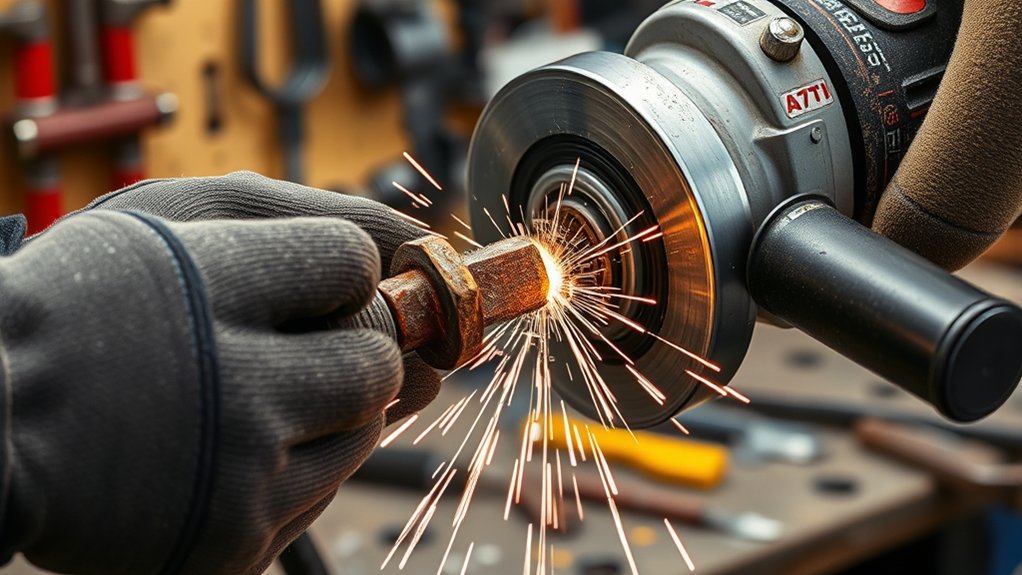
Pro Tip: Thread a normal nut onto the bolt before making the cut. Move it toward the bolt head so it sits behind the cut line. After filing and chamfering the end, backing the nut off can help straighten minor damage on the first thread.
Mark the finished length with a fine permanent marker or scribe. Measure from the bearing surface beneath the bolt head, not from the tip, unless the assembly specification states otherwise.
Step-by-Step: Cutting Bolts With an Angle Grinder
| Step | Action | Why It Matters |
|---|---|---|
| 1 | Inspect the bolt and mark the cut. Confirm the material, coating, required length, and remaining thread engagement. | Prevents cutting the wrong fastener or leaving it too short for safe assembly. |
| 2 | Install a nut behind the cut line. Thread it toward the bolt head before clamping. | Helps protect the usable threads and provides a way to chase the first thread after cutting. |
| 3 | Disconnect power and prepare the grinder. Unplug the cord or remove the battery before installing or checking the wheel, guard, flange, and side handle. | Prevents accidental startup while your hands are near the accessory. |
| 4 | Clamp the bolt securely. Place the cut line close enough to the vise jaws to limit vibration, while leaving clear wheel access. | Reduces movement and keeps the offcut from pinching or trapping the wheel. |
| 5 | Position yourself and the guard. Direct the open side and spark stream away from your body. Keep your head and torso out of the wheel’s plane. | Reduces exposure if the wheel breaks or the grinder kicks back. |
| 6 | Start the grinder with both hands. Hold the main grip and side handle, then let the wheel reach full speed before it touches the bolt. | Improves control and lets a damaged accessory reveal itself before it is loaded in the cut. |
| 7 | Cut with light pressure. Keep the wheel square to the bolt and follow the marked line. Do not twist, lever, bounce, or force it. | Allows the wheel to cut at speed without dangerous side loading or overheating. |
| 8 | Stop, cool, and finish. Lift the wheel clear, release the switch, wait for a complete stop, and set the tool down safely. Let the bolt air-cool before filing and testing the threads. | Prevents contact with a moving wheel, hot metal, sharp burrs, and damaged threads. |
Note: If the wheel binds, release the switch and hold the grinder motionless until the wheel stops completely. Do not pull a spinning wheel from the cut or restart the grinder while the wheel remains inside the kerf. Correct the clamping, alignment, or support problem first.
After the bolt cools, use a metal file to remove the burr and create a small chamfer around the cut end. Back the preinstalled nut over the end, then thread it on again by hand. The nut should turn without excessive resistance or cross-threading.
Avoid These Common Mistakes When Cutting Bolts
- Cutting a safety-critical fastener: Use the correct replacement bolt when the assembly carries structural, lifting, steering, suspension, pressure, or fall-protection loads.
- Holding the bolt by hand: A handheld bolt can spin, move, or throw the offcut. Use a securely mounted vise or suitable clamp.
- Removing or using the wrong guard: A general grinding guard may not provide the enclosure required for a flat cut-off wheel.
- Skipping wheel inspection: Do not use a cracked, chipped, damp, warped, dropped, improperly stored, or expired bonded abrasive wheel.
- Using a wheel with an insufficient speed rating: The wheel rating must meet or exceed the grinder’s stated no-load speed.
- Forcing the cut: Excessive pressure slows the wheel, increases heat, and raises the risk of binding, kickback, or breakage.
- Twisting the wheel to correct the line: Stop and reposition rather than bending a thin cut-off wheel sideways.
- Standing in line with the wheel: Keep your face and torso outside the plane in which fragments could travel.
- Letting sparks hit sensitive materials: Sparks can mark glass, damage painted surfaces, melt plastics, ignite combustibles, and harm wiring or batteries.
- Touching or quenching the bolt immediately: Treat the offcut and remaining bolt as hot until they have cooled naturally.
- Skipping the final thread check: Burrs and a flattened first thread can cause cross-threading or false torque readings.
Troubleshooting Common Issues When Cutting Bolts
| Issue | Likely Cause | Safe Correction |
|---|---|---|
| Rough or sharp edge | Normal burr formation or an uneven final breakthrough | Let the bolt cool, then use a metal file to smooth and chamfer the end. |
| Crooked cut | Poor marking, bolt movement, or changing the wheel angle | Stop the tool, improve the mark and clamping, then reapproach without twisting the wheel. |
| Wheel binds or grabs | The kerf is closing, the bolt is moving, or the wheel is not square | Release the switch, hold still until stopped, remove power, and correct the support or alignment. |
| Cutting is unusually slow | Wrong wheel, worn or glazed wheel, excessive pressure, or hardened material | Stop and inspect the accessory. Replace it with a compatible wheel rather than pressing harder. |
| Strong vibration | Damaged wheel, incorrect flange, dirt on mounting surfaces, or loose hardware | Stop immediately, disconnect power, and inspect the wheel, flange, guard, and spindle. |
| Bolt turns blue or glows | Excessive pressure, a poor wheel, or prolonged cutting in one area | Stop and let it air-cool. Replace a severely overheated safety-sensitive fastener rather than trusting it. |
| Nut will not start | Burrs or a flattened first thread | File a small chamfer and back the preinstalled nut over the cut end. Use a proper die only when necessary. |
Handling and Cooling Bolts After Cutting
The bolt, nut, and offcut may stay hot even when they no longer glow or produce visible heat. Leave them on a noncombustible surface where nobody will touch them accidentally.
- Let the metal air-cool: Do not immediately spray it, immerse it, or apply cutting oil.
- Keep PPE on: Continue wearing gloves and eye protection while handling the cut end and offcut.
- Remove burrs: File sharp edges and create a light chamfer around the circumference.
- Restore the first thread: Back the nut off the bolt, clear loose filings, and test it again by hand.
- Protect bare steel: If corrosion resistance matters, use a coating compatible with the assembly and its service environment.
- Store the offcut safely: Put sharp scraps in a metal-parts container instead of leaving them loose on the bench or floor.
Maintaining Your Angle Grinder for Optimal Performance
Disconnect the grinder from power or remove its battery before inspecting, cleaning, adjusting, or changing accessories. Check the cord, plug, battery interface, switch, side handle, guard, spindle, flanges, and ventilation slots for damage or buildup.
Keep the ventilation openings clear so the motor can cool. Use the cleaning method in your tool manual, and do not allow liquid to enter the grinder. Replace damaged guards, loose handles, worn flanges, or faulty switches before further use.
Store bonded abrasive wheels in a dry area where they cannot be bent, dropped, crushed, or exposed to extreme temperature changes. Check each wheel for damage and any expiration marking before installation. Never use a wheel that has been dropped or that produces unusual vibration during a no-load test.
Do not clamp a handheld angle grinder in a vise to turn it into a stationary machine. Use a purpose-built cut-off stand or stationary machine designed and guarded for that operation.
When Another Cutting Tool Is Better
- Hacksaw: A good choice for smaller bolts when you want a quiet, controlled cut with minimal sparks.
- Reciprocating saw: Useful for larger accessible bolts when you can support the work and use a suitable metal-cutting blade.
- Rotary tool: Better for very small screws or bolts where a full-size grinder would be difficult to control.
- Bolt cutters: Suitable only for compatible softer fasteners when the remaining threads do not need to accept a nut.
- Dedicated cut-off saw: More stable and repeatable when you need to shorten many fasteners.
- Replacement bolt: The best option when the fastener is hardened, coated for a specific environment, difficult to clamp, or used in a safety-critical assembly.
Frequently Asked Questions
How do you use an angle grinder to cut a bolt?
Remove the bolt from the assembly, confirm that shortening it is permitted, thread a nut behind the cut line, and clamp the bolt in a vise. Install the approved cut-off wheel and guard with the grinder disconnected. Let the wheel reach full speed, cut with light pressure, then air-cool, file, chamfer, and test the threads.
How can you cut with an angle grinder safely?
Wear safety glasses, a face shield, hearing protection, suitable clothing, snug gloves, and respiratory protection appropriate for the material. Keep the guard and side handle installed, secure the work, direct sparks away from hazards, stand outside the wheel plane, and never force or twist a cut-off wheel.
What are the basic angle-grinder steps for cutting metal?
Inspect the tool and wheel, install the correct guard, clamp the work, clear the spark path, hold the grinder with both hands, reach full speed before contact, use minimum pressure, keep the wheel square, and wait for a complete stop before setting the tool down.
Are angle grinders good for cutting bolts?
Yes, an angle grinder can cut many steel bolts quickly when the fastener is removed, firmly clamped, and compatible with the grinder’s cutting capacity. A hacksaw or replacement bolt may be safer when access is poor, sparks are unacceptable, or the fastener is safety critical.
What type of angle-grinder disc should you use for a bolt?
Use a bonded abrasive cut-off wheel labeled for the bolt material and approved for your grinder’s diameter, arbor, guard, flange, and RPM. Do not use the side of the wheel for grinding, and never substitute an oversized wheel or remove the guard for extra depth.
How do you cut a bolt without ruining the threads?
Thread a nut onto the bolt before cutting and move it behind the marked line. After the bolt cools, file the end and add a small chamfer. Back the nut across the cut end to help clear and straighten the first thread, then test the nut by hand.
Can you cut a galvanized or zinc-plated bolt?
It may be possible, but you must account for zinc-containing dust or fume and the loss of coating at the cut. Work with effective ventilation, keep your face out of the plume, use respiratory protection selected for the actual hazard, and stop if the coating produces visible smoke or strong odor.
What should you do if the cut-off wheel binds?
Release the switch and hold the grinder motionless until the wheel stops. Do not pull it from the cut while it is spinning and do not restart it inside the kerf. Disconnect power, then correct the clamp position, wheel alignment, or support that caused the pinch.
Conclusion
Cutting bolts with an angle grinder is effective when the bolt can be modified safely and the complete setup matches the tool manufacturer’s instructions. Inspect the wheel and guard, protect the threads with a nut, clamp the bolt securely, direct sparks away from hazards, and let the wheel work at full speed with light pressure.
Never twist a cut-off wheel, force a slow cut, pull a spinning wheel from a bind, or quench the bolt immediately afterward. Let the metal cool naturally, file and chamfer the end, then confirm that the nut threads on smoothly before returning the bolt to service.
Sources
- OSHA: Hand and Power Tools — portable abrasive-wheel guards, wheel inspection, rated speed, startup, and eye or face protection
- DEWALT Small Angle Grinder Instruction Manual — accessory compatibility, minimum pressure, body position, side loading, binding, guards, and wheel expiration
- CDC/NIOSH: Filtering Facepiece Respirators — particulate filtration, fit requirements, and the limitations of N95 respirators
- CDC/NIOSH Pocket Guide: Zinc Oxide — zinc oxide exposure and metal fume fever symptoms
- OSHA 29 CFR 1910.95: Occupational Noise Exposure — the 85 dBA eight-hour time-weighted action level and hearing-conservation requirements