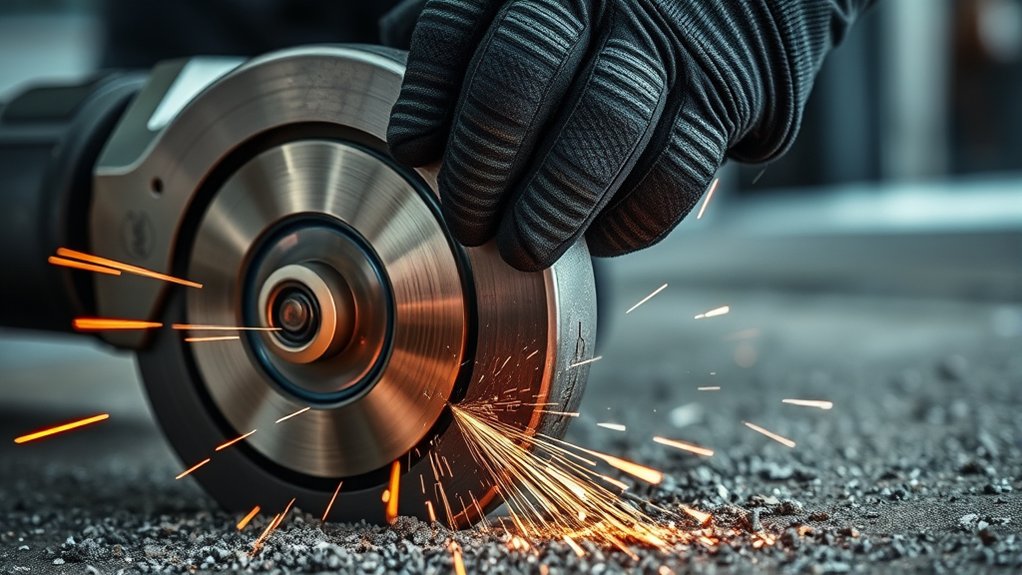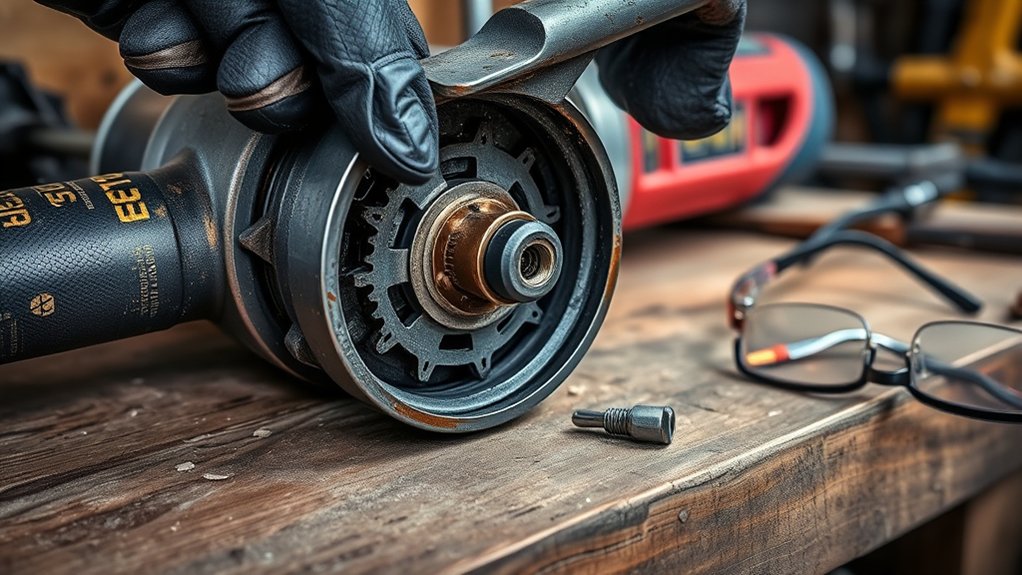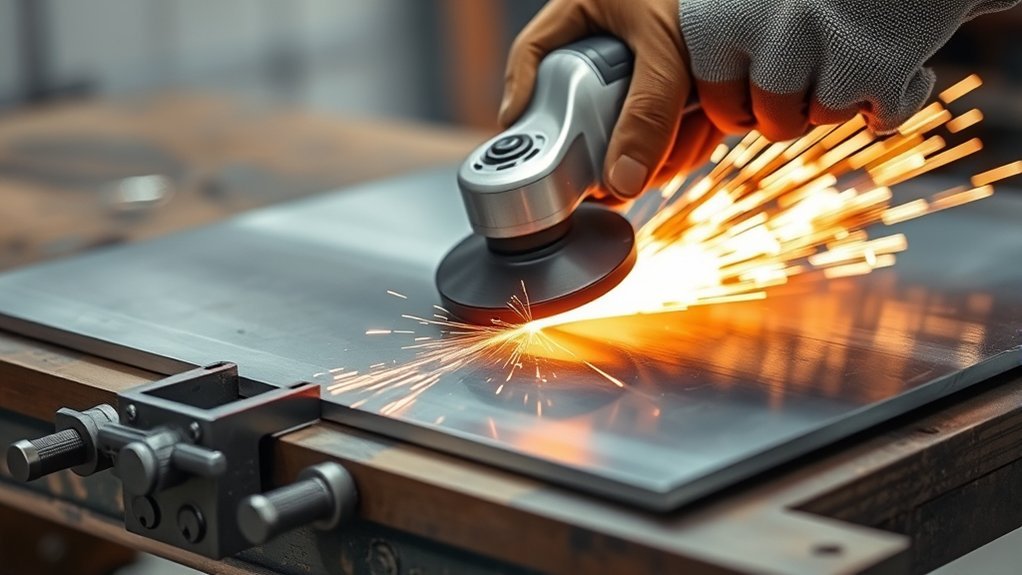
Cutting sheet metal with an angle grinder can give you a fast, straight cut, but the thin workpiece and high-speed wheel leave little room for mistakes. The safest approach is to match the wheel and guard to the grinder, clamp and support the sheet without pinching the cut, mark a clear line, and guide the tool with light, steady pressure. Last updated: July 19, 2026.
Quick Answer
To cut sheet metal straight with an angle grinder, install a reinforced metal cut-off wheel and the correct cutting guard, clamp the sheet securely, mark the line, and hold the wheel square to the surface. Let the wheel reach full speed, follow the line without twisting or forcing it, then deburr the edge after it cools.
Key Takeaways
- Use only a reinforced cut-off wheel that matches the metal, grinder diameter, arbor, guard type, and maximum speed.
- Keep the guard between you and the wheel, use the side handle, and hold the grinder with both hands.
- Support both sides of the sheet while leaving the kerf and offcut free so the wheel cannot become pinched.
- Keep the wheel perpendicular to the sheet and avoid side pressure, twisting, jamming, or forcing the cut.
- Do not cool the work with water while using an electric grinder. Stop and let the metal and wheel cool naturally.
At a Glance
| Time Required | Usually 15–45 minutes for setup, cutting, cooling, and deburring; large or complex cuts take longer |
| Difficulty | Moderate; practice on scrap before making a finished cut |
| Tools Needed | Angle grinder, compatible cut-off wheel and cutting guard, side handle, clamps, supports, marker, PPE, and a deburring tool |
| Cost | Varies by wheel, guard, clamps, and PPE; do not substitute incompatible accessories to save money |
Warning: An angle grinder can kick back or throw wheel fragments. Read your grinder and wheel instructions first. Disconnect the plug or remove the battery before installing or inspecting an accessory. Never cut without the correct guard, and never use a cut-off wheel for side grinding.
How to Use an Angle Grinder for Cutting Sheet Metal
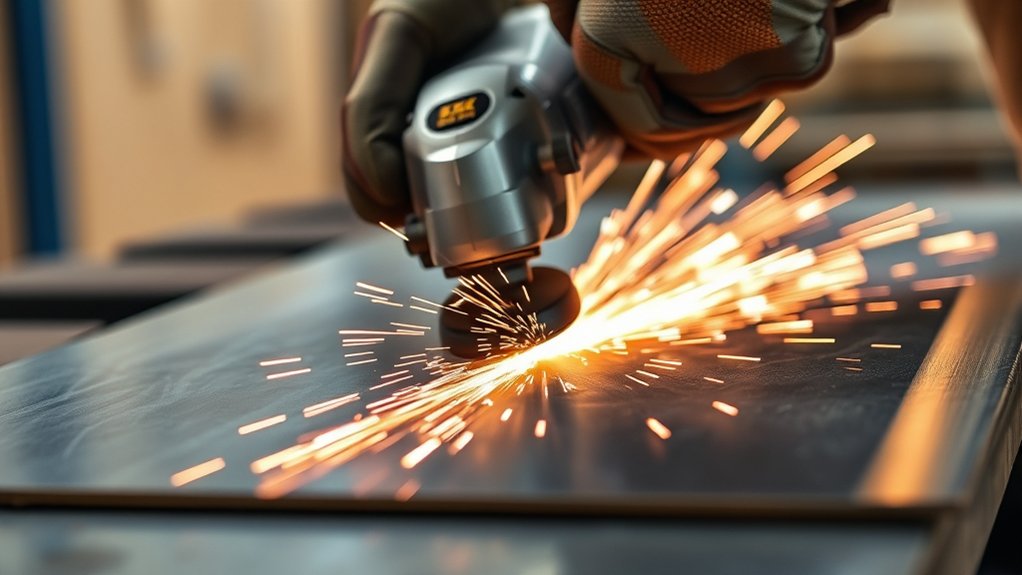
These steps apply to common flat sheet-metal cuts. Your grinder manual and the instructions printed on the wheel take priority because guard designs, flanges, wheel types, and speed limits differ.
1. Check the Metal and the Cut
Identify the base metal and any coating before you start. Painted, plated, galvanized, or otherwise coated sheet can create hazardous dust or fumes when heated. Remove combustible materials from the spark path, provide ventilation or local dust capture, and use respiratory protection selected for the actual contaminant.
An angle grinder is useful for quick trimming and straight or gently curved cuts, but it is not always the best tool. For very thin body panels, long finish-critical cuts, or work that must remain nearly distortion-free, aviation snips, a nibbler, a jigsaw with a metal blade, a metal-cutting circular saw, or a shear may offer better control.
2. Inspect and Configure the Grinder
- Disconnect power before touching the wheel, flange, or guard.
- Inspect the grinder, cord or battery, side handle, guard, flanges, and switch for damage.
- Check the cut-off wheel for chips, cracks, moisture damage, distortion, or an expired shelf-life marking if the manufacturer provides one.
- Confirm that the wheel diameter and arbor fit the grinder without homemade adapters.
- Confirm that the wheel’s maximum RPM is equal to or higher than the grinder’s no-load speed.
- Install the cutting guard required by the grinder manufacturer and position it between your body and the wheel.
- Attach the side handle and tighten the wheel only as directed in the manual.
OSHA’s portable-tool rules require appropriate guarding and inspection of abrasive wheels, including checking that grinder speed does not exceed the wheel’s marked maximum operating speed.
3. Clamp and Support the Sheet
Place the sheet on a sturdy, noncombustible work surface. You do not need a specific 1/8-inch stainless-steel bench top; a rigid bench with stable supports is enough. Clamp the workpiece so it cannot vibrate or shift.
Support the material on both sides of the line, but leave a clear gap beneath the cut. Arrange the offcut so it cannot sag inward and pinch the wheel. Keep clamps outside the grinder’s travel path and make sure the finished piece will not fall onto your feet.
4. Mark the Cut Clearly
Use a straightedge and a fine paint marker, silver pencil, soapstone, or scribe that contrasts with the metal. Measure from a known edge at two or more points, connect the marks, and check the dimensions before cutting.
A light scribe line can improve visibility, but it does not physically steer the wheel. If you clamp angle iron beside the line, use it as an offset visual reference rather than pressing the wheel against it. A manufacturer-approved cutting stand or guide is safer when you need repeatable, machine-like accuracy.
5. Start in a Safe Position
Put on your PPE, hold the grinder with both hands, and stand with balanced footing to one side of the wheel’s plane. Keep the power cord behind the tool. Start the grinder away from the workpiece and let it reach full speed while listening and feeling for unusual vibration. Stop immediately if the wheel wobbles, sounds damaged, or the tool runs roughly.
6. Make a Controlled Cut
- Bring the edge of the cut-off wheel to the line with the wheel approximately perpendicular to the sheet.
- Begin at an accessible edge when possible. Starting in the middle of a sheet is harder to control and more likely to make the wheel walk.
- Use light forward pressure and let the abrasive do the cutting. Do not force the motor to slow sharply.
- Keep the wheel in the same plane. Never twist, pry, or apply side pressure to a thin cut-off wheel.
- For thin sheet, make a light tracking pass if needed, then deepen the cut with steady passes. Keep moving so heat does not build in one spot.
- As you near the end, reduce pressure and make sure the offcut cannot close the kerf or tear the final edge.
- Release the switch and hold the grinder still until the wheel stops completely before setting it down.
Cut-off-wheel manuals commonly warn that jamming, excessive pressure, changing the wheel angle, or starting with the wheel buried in the work can cause binding, breakage, or kickback. Follow the instructions for your exact grinder and accessory.
Pro Tip: Practice your body position, spark direction, and feed rate on scrap of the same material and thickness. A straight cut comes from a clear sightline, a stable stance, and keeping the wheel in one plane, not from pushing harder.
7. Cool, Deburr, and Inspect
Let the metal and wheel cool naturally. Do not spray, dip, or wipe the hot cut with water while an electric grinder is in use. OSHA training material for angle grinders specifically advises against liquid coolants.
Once the work is cool, remove burrs with a file, deburring tool, or an accessory approved for edge finishing. Do not use the side of a thin cut-off wheel as a grinder. Check the edge for sharp tabs, cracks, heavy discoloration, and distortion before handling or installing the part.
Set Up Your Workspace for Safe Cutting
A clean, well-lit area helps you see the line and maintain stable footing. Sweep away metal debris, paper, sawdust, fuel, solvents, and other combustibles. Direct sparks away from people, windows, vehicles, gas cylinders, hoses, cords, and anything that can burn.
- Use a rigid, noncombustible work surface at a comfortable height.
- Keep bystanders and pets outside the work area.
- Provide ventilation or dust extraction that does not interfere with the grinder.
- Keep a suitable fire extinguisher nearby and inspect the area after the cut for smoldering material.
- Do not use an electric grinder in wet conditions or where flammable vapors or combustible dust may be present.
- Arrange lighting so the grinder, guard, and your hands do not cast a shadow over the mark.
Wear Essential Safety Gear for Angle Grinder Use
Your PPE must match the wheel, metal, coating, and work area. It supports safe tool setup; it does not replace the guard, correct accessory, or good cutting technique.
Eye and Face Protection
Wear impact-rated safety glasses with side protection under a face shield. The current U.S. eye and face protection standard is ANSI/ISEA Z87.1-2025; the Z87+ marking identifies high-impact protection. A face shield adds coverage for your face but should not replace safety glasses.
Hand, Body, Hearing, and Foot Protection
Wear snug, intact leather or suitable cut- and heat-resistant gloves when handling sheet metal and operating the grinder. Avoid loose cuffs, steel-mesh gloves, jewelry, drawstrings, and loose sleeves that could catch. Wear hearing protection, close-fitting natural-fiber clothing or other task-rated protective clothing, and sturdy closed-toe footwear. Tie back long hair.
Respiratory Protection
Use ventilation or local exhaust first. A NIOSH-approved N95 filtering facepiece can reduce exposure to certain non-oil particles when it fits and is used correctly, but it does not protect against gases or vapors. Coatings, stainless alloys, and unknown metals may require a different filter, cartridge, or work method. The NIOSH respirator guide explains the limits of filtering facepiece and elastomeric respirators.
Note: In a workplace, respirator selection, medical evaluation, fit testing, training, and filter-change rules may fall under an employer’s respiratory protection program. For home projects, do not guess at an unknown coating or metal; identify it before cutting.
Mark Your Cut for Metal-Cutting Accuracy

Good layout work saves more time than trying to correct a wandering cut. Clean oil and loose scale from the marking area, choose a line that stays visible under sparks, and mark the waste side so you know which edge to preserve.
- For a straight line: Mark two or more measured points, connect them with a straightedge, and add short witness marks on the waste side.
- For a gentle curve: Use a flexible ruler or template and make several relief cuts from the waste side if the shape allows.
- For a tube or curved surface: Masking tape can help establish a square reference line, but remove loose tape that could enter the wheel or spark path.
- For a visible finished edge: Leave a small finishing allowance, then file or grind to the final line with the proper accessory.
Use Techniques for Straight, Clean Cutting
Straight cuts depend on wheel alignment, support, visibility, and feed rate. Keep your eyes on the line just ahead of the wheel while still monitoring the guard and offcut. Do not stare only at the spinning disc.
Proper Tool Selection
- A grinder you can control comfortably with two hands
- A reinforced cut-off wheel approved for the metal and grinder
- The grinder manufacturer’s cutting guard and correct flanges
- A side handle, stable clamps, and noncombustible supports
- A fine marking tool and straightedge
- A file, deburring tool, or approved finishing accessory
Effective Cutting Techniques
| Technique | Why It Helps |
|---|---|
| Mark and verify the line | Reduces layout errors before material is removed |
| Keep the wheel square | Prevents side loading and helps the kerf stay straight |
| Use light, steady feed | Limits heat, wheel wear, and loss of control |
| Support without pinching | Reduces vibration while keeping the kerf open |
| Finish the last inch gently | Helps prevent the offcut from tearing or trapping the wheel |
Choosing the Right Cutting Disc for Your Metal
Do not choose a wheel by thickness alone. Read the label and instructions for the approved machine, material, application, diameter, arbor, guard, and speed.
| Material or Job | Wheel Guidance |
|---|---|
| Mild or carbon steel sheet | Use a reinforced metal cut-off wheel labeled for steel and your grinder |
| Stainless steel | Use a stainless or INOX cut-off wheel to reduce contamination risk |
| Aluminum or other nonferrous sheet | Use only a wheel specifically labeled for that metal; unsuitable abrasives can load or overheat |
| Thin, finish-sensitive sheet | A thin wheel may reduce kerf and heat, but use only a thickness approved for the tool and task |
Many 4-1/2-inch thin cut-off wheels are around 1.0–1.6 mm thick, but a universal “1 mm is best” rule is unsafe. Wheel construction and guard requirements vary. A thicker wheel may last longer, while a thin wheel usually cuts with a narrower kerf; neither is safe if it is incompatible or side-loaded.
For stainless steel, wheels labeled INOX are designed to limit contaminants such as iron, sulfur, and chlorine. Whatever the material, the wheel’s marked maximum RPM must meet or exceed the grinder’s speed.
Products Worth Considering

Premium and Value: This 20-pack 4-1/2 x 7/8-inch metal/stainless steel cut-off wheel set is specially formulated for fast cutting in metals and stainless steel


[High-Performance Cutting] Designed for cutting metal & stainless steel, these cut off wheels 4 1/2 inch work efficiently with any angle grinder wheel, supporting speeds up to 13,300 RPM.
Fix Common Cutting Problems
| Problem | Likely Cause | Safer Fix |
|---|---|---|
| Cut wanders | Poor sightline, weak marking, or wheel tilted sideways | Stop, improve the line and lighting, and restart with the wheel square |
| Sheet chatters or bends | Too little support or clamps too far from the cut | Add supports and reposition clamps while keeping the kerf open |
| Wheel binds or kicks back | Offcut pinches the kerf, wheel twists, or pressure is excessive | Release the switch, hold position until stopped, disconnect power, and correct the support |
| Heavy burrs | Dull or wrong wheel, excessive feed, or tearing at the end | Replace the wheel if needed, slow the final part of the cut, and deburr after cooling |
| Heat discoloration or warping | Dwelling, forcing, or using an unsuitable wheel | Use steady passes, pause to cool naturally, or switch to a lower-heat cutting method |
If the sheet warps, do not reach for water or a damp cloth beside the grinder. Stop, disconnect the tool, and let the work cool. Minor distortion may be correctable later, but the better fix is to reduce heat input and improve support before continuing.
Keep Your Angle Grinder Running Smoothly
Inspect the grinder before each use and follow its maintenance manual. Disconnect power before cleaning, changing accessories, or servicing the tool.
- Keep air vents or removable debris screens clear with the method approved by the manufacturer.
- Inspect the cord, plug, battery, guard, handle, flanges, and switch. Remove a damaged tool from service.
- Store abrasive wheels flat and dry, away from impact, chemicals, and temperature extremes.
- Do not lubricate the spindle or sealed bearings unless the manual specifically instructs you to do so.
- Use manufacturer-approved replacement parts and have internal repairs completed by a qualified service center.
Essential Tools for Cutting Sheet Metal

- Angle grinder: A model you can hold securely with two hands, with a working guard and side handle
- Cut-off wheel: Reinforced and labeled for the grinder, material, diameter, arbor, speed, and cutting application
- Cutting guard and flanges: The parts specified by the grinder manufacturer for that wheel type
- Clamps and supports: Enough to stop movement without closing the kerf
- Layout tools: Straightedge, tape measure, square, marker, soapstone, silver pencil, or scribe
- PPE: Z87+ safety glasses, face shield, hearing protection, snug gloves, protective clothing, sturdy footwear, and respiratory protection when the hazard assessment calls for it
- Finishing tools: File, deburring tool, or a grinder accessory approved for edge finishing
OSHA’s safe-use fact sheet for portable power tools covers guards, wheel inspection, speed compatibility, startup position, eye protection, and disconnecting the tool before service or accessory changes.
Products Worth Considering

Premium and Value: This 10-pack 4-1/2 x 7/8-inch metal/stainless steel cut-off wheel set is specially formulated for fast cutting in metals and stainless steel

【Fits All 4-1/2 Inch Angle Grinders】 PRETEC Cut Off Wheel is compatible with all 4-1/2 inch angle grinders with 7/8 inch arbor. The high rotating speed of up to 13,300 RPM, more than common 13,000 RPM, ensure maximum efficiency.

Structural Components: A Cut off wheel typically comprises an abrasive, a binder, and air holes. The abrasive cuts, the binder shapes and strengthens, and the air holes remove swarf and dissipate heat to prevent damage to the cutting disc from overheating
Frequently Asked Questions
How do you cut steel sheet straight with an angle grinder?
Mark and verify the line, fit a compatible reinforced steel cut-off wheel and cutting guard, clamp and support the sheet, then hold the wheel square to the surface. Start at an edge when possible and use light, steady pressure without twisting the wheel.
Can an angle grinder make a perfectly straight cut?
It can make a reasonably straight freehand cut, but “perfect” accuracy depends on your layout, wheel, support, skill, and finishing allowance. For long, finish-critical cuts, a shear, nibbler, metal-cutting saw with a guide, or a manufacturer-approved grinder stand may produce more repeatable results.
What is the best disc thickness for cutting sheet metal?
There is no universal best thickness. Thin wheels often make a narrow cut with less heat, but they are less tolerant of side pressure. Choose a reinforced cut-off wheel whose label approves the grinder, material, size, arbor, guard, application, and speed.
How do you prevent sheet metal from warping while cutting?
Use a sharp, compatible cut-off wheel, support the sheet close to the line, keep the wheel moving, avoid excessive pressure, and pause if heat builds. For very thin or appearance-critical sheet, use a lower-heat method such as snips, a nibbler, or a shear.
Should you cool sheet metal with water after cutting?
No water or liquid coolant should be used around an operating electric angle grinder or abrasive cut-off wheel unless the tool and process are specifically designed for wet use. Stop, disconnect power, and allow the metal and wheel to cool naturally.
Is an N95 respirator always enough for cutting sheet metal?
No. A NIOSH-approved N95 filters certain particles but does not protect against gases or vapors. The correct protection depends on the metal, coating, dust level, ventilation, and exposure. Identify the material and use the appropriate controls and respirator.
What are the most common sheet-metal cutting mistakes?
Common mistakes include removing the guard, using the wrong wheel, ignoring the RPM rating, cutting with one hand, forcing or twisting the wheel, allowing the offcut to pinch the kerf, cutting near combustibles, and touching or deburring the edge before it cools.
Conclusion
To cut sheet metal cleanly with an angle grinder, prepare the job before you pull the trigger. Match the wheel and cutting guard to the tool and material, inspect every part, support the sheet without pinching the kerf, and keep the wheel square with light pressure. Let the cut cool naturally, deburr it with the right tool, and choose a different cutting method when thin or finish-critical sheet demands more control.
Sources
- OSHA: Safe Use of Portable and Hand-Held Power Tools — guarding, inspection, speed limits, startup position, eye protection, and disconnecting power
- OSHA 29 CFR 1910.243: Guarding of Portable Powered Tools — grinder guards, wheel inspection, mounting, and maximum operating speed
- NIOSH: Respirator and Mask Types and Performance — particle filtration and the limits of N95 respirators for gases and vapors
- ANSI/ISEA Z87.1-2025 Eye and Face Protection — current standard and Z87+ high-impact marking
- Makita XAG12/XAG13 Instruction Manual — cut-off guard use, full-speed entry, and warnings against jamming and side grinding
- Norton Stainless Steel INOX Cut-Off Wheel Guidance — contaminant-controlled wheel selection for stainless steel