To extend the life of auto body welds, you should choose the correct process for the metal, clean and strip the joint area, and match filler to the base material. Keep heat low on thin panels, hold tight fit-up, and drive enough penetration for a solid bond. After welding, apply epoxy primer, seam sealer, and cavity wax to block moisture. Inspect welds often, because small flaws caught early stay small, and there’s more to improve.
Choose the Right Auto Body Welding Method
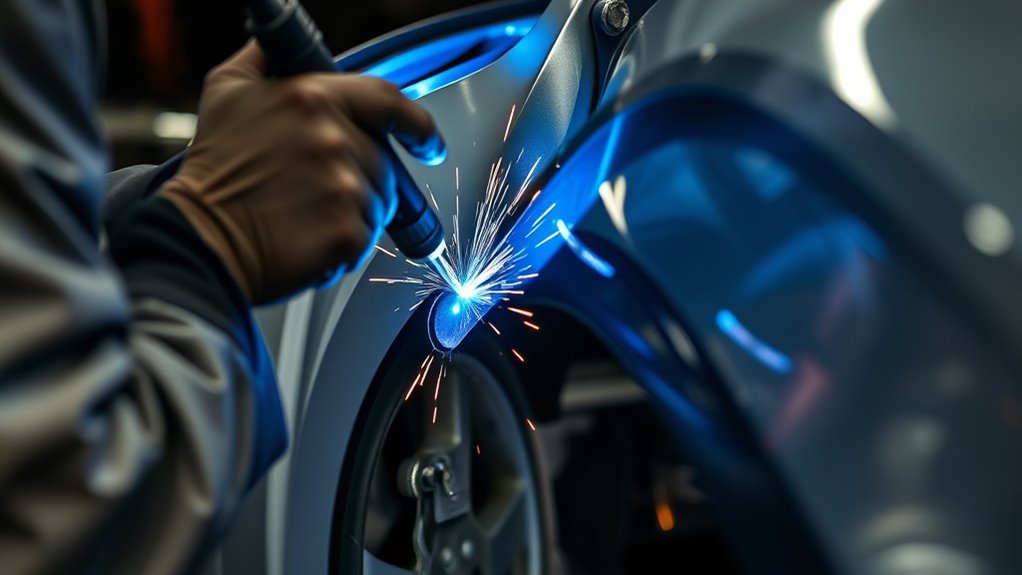
Choosing the right welding method is one of the most important decisions you’ll make in auto body repair. To choose the right auto body welding method, match the process to the metal, thickness, and repair demand.
MIG welding gives you speed, consistent penetration, and strong welds on many panels, so it’s the default for collision repair. TIG welding gives you finer control when you need precision on aluminum or thin stainless steel, where heat management matters. Stick welding can handle heavier structural work and offers portability, but it’s less suited to visible body seams.
If you pick the wrong process, you risk burn-through, weak joints, and compromised integrity. You should also select filler material that matches the base metal, because compatibility drives durability. Proper bead profiles are essential for ensuring the strength and appearance of your welds.
Investing in quality equipment and the right method frees you from repeated rework and helps you build repairs that last.
Products Worth Considering

Accessories: The black tool bag contains a 110V-100W plastic welder, Cutting tip M8, a knife, 2 hot smoothing tips-M6, 38 multi-type welding rods and 800 plastic welding staples (200 flat, 200 wavy, 200 M-type and 200 V-type)

Crafted with precision, our steel plates are laser-cut, offering unparalleled edge smoothness and dimensional accuracy compared to stamped and sheared parts.

40 copper contact tips in .030, .040, .045, .055 inch plus 5 gas nozzles and 5 diffusers for 24KD and MB24 torches. Laser-etched markings on every tip for instant size identification during shop work
Prepare Auto Body Metal for Welding
You should clean the metal surface thoroughly with a stiff brush and a suitable solvent or degreaser to remove dirt, grease, and other contaminants.
Strip all rust, oxidation, and paint from the weld zone, since they’ll weaken fusion and reduce weld integrity.
Mark the cut and weld areas clearly so you can control fit-up, edge prep, and bead placement. Additionally, ensure that you’ve removed all zinc residues, as zinc contamination can compromise weld quality.
Clean Surface Thoroughly
A clean weld starts with bare, contamination-free metal. Make sure you remove dirt, grease, and scale before you strike an arc.
I’m going to tell you straight: any residue can weaken fusion, trap porosity, and invite Rust damage later. Use stiff brushes and approved solvents to scrub the panel, then wipe it dry so no film remains.
Keep your work surface clean too, because buildup can transfer back onto the joint and poison future welds. When you start with clean steel, heat spreads more evenly, so you reduce burn-through and distortion on thin auto body sheet metal.
That control improves penetration, adhesion, and long-term fatigue resistance. Clean preparation gives you stronger, longer-lasting welds and protects the structure you’re building.
Remove Rust And Paint
Rust and paint have to come off before welding, because both will contaminate the joint and weaken fusion. Use rust removal techniques with abrasive discs or chemical removers until you expose solid metal.
Then apply paint stripping tools, such as a stiff brush or grinder, to clear coatings and embedded debris. Finish with surface preparation methods that eliminate grease, oil, and residue; even thin films can cause poor adhesion and weld failure.
Wipe the area with a suitable metal cleaning solution, then let it dry completely before you weld. Inspect the cleaned metal often, and keep it protected from new rust or contamination while you work.
- Bare steel shining through old corrosion
- Grinder sparks peeling back stubborn paint
- Clean solvent wiping away hidden oil
Mark Cut And Weld Areas
Once the metal is clean, mark the cut and weld zones with chalk or a marker so every panel line, edge, and overlap stays exact. Use marking techniques that leave clear reference points for panel preparation and later trim work.
Check both sides of the repair, then scribe control lines that protect alignment precision when you fit the replacement panel. Dress the cut edges with a stiff brush or grinder so they’re smooth and burr-free; sharp edges fight penetration and weaken the joint.
If you’re welding thicker steel, preheat it to about 300°F to cut crack risk. After cutting, test-fit the piece again before tacking it in place. That extra check keeps the structure true and lets you weld with confidence and control.
Set Heat, Filler, and Panel Fit-Up
Set the heat low enough to protect thin auto body sheet metal from burn-through and excessive distortion, then match the filler to the base metal’s mechanical properties with a thickness slightly below the panel gauge for stronger fusion.
Dial in heat settings for delicate seams; lower power keeps the panel stable and reduces shrinkage. Use filler selection that mirrors the parent metal, like 0.6 mm wire on 1 mm sheet, so the joint stays coherent and crack-resistant.
Prioritize panel alignment before you strike an arc: fit edges tight, close gaps, and wipe away every contaminant so the weld forms on clean metal, not on rust or oil. Additionally, consider using ER308L filler wire for enhanced corrosion resistance and optimal fusion in stainless applications.
Products Worth Considering

J-B Weld Body Filler: is a two-component filler system that provides waterproof, durable repairs to cracks and rust-outs on automotive bodies and home surfaces made of metal, wood, & more
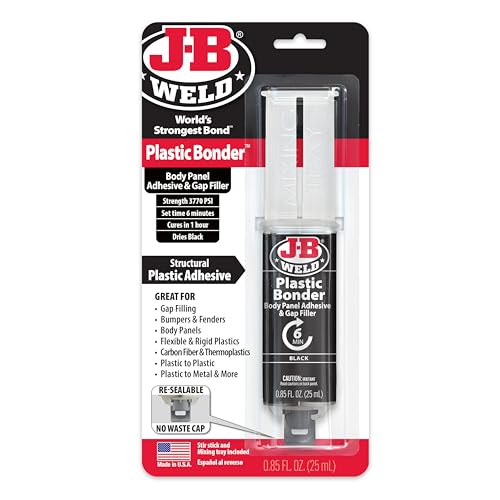
Plasticbonder: Is A Quick-Set, 2 Part, Urethane Adhesive System That Provides Strong, Lasting Repairs And Works On Thermoset, Carbon Fiber Composites, Thermoplastics, Coated Metals, Concrete & More.
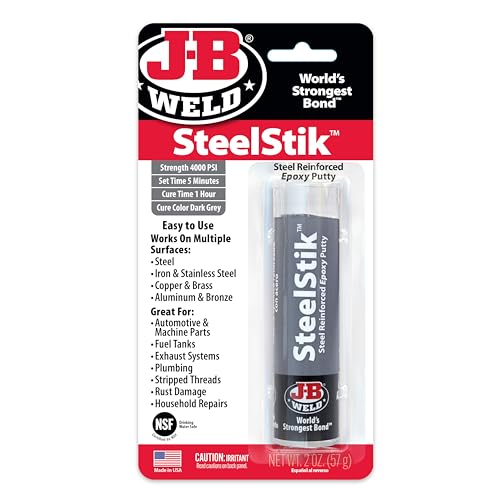
J-B Weld Steelstik: A Hand Mixable Two Part Epoxy Putty Stick That Is Steel Reinforced & Non-Rusting To Quickly Repair Or Rebuild Anything Made Of Metal! J-B Weld Steelstik Is Certified By The Nsf And Is Safe For Contact With Potable Water
Weld Auto Body Joints for Penetration
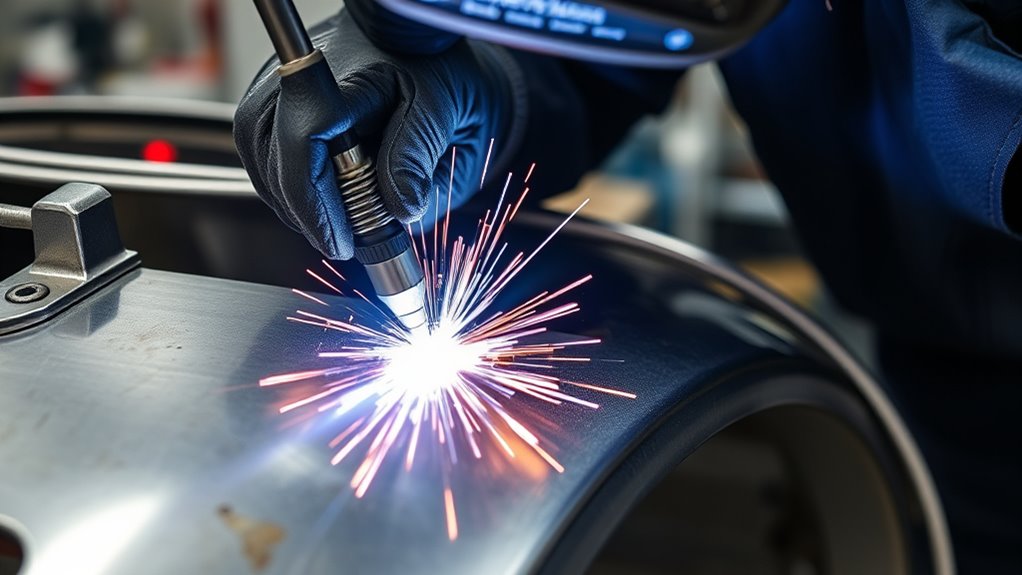
To get long-lasting auto body welds, you need enough penetration for the joint to fuse fully without overheating the panel. Aim for at least 1/8 inch of penetration on thicker sections so the bond resists cracking and failure.
Choose welding techniques that drive heat into the joint, and use vertical welding when the geometry lets you. Keep joint alignment tight; poor fit-up steals energy and weakens the fuse line.
Choose welding techniques that drive heat into the joint, and keep alignment tight to preserve a strong fuse line.
Feed the rod consistently and hold a steady torch speed so the puddle stays controlled and penetration stays uniform. If the base metal is thick, preheat it to help the arc enter deeper and reduce defects.
Verify your work with penetration testing on sample joints before you commit to the final repair. When you control heat, travel, and alignment, you weld with precision and keep the panel strong without surrendering material integrity. Additionally, consider surface preparation to enhance the weld strength and reduce the risk of defects.
Seal and Protect Welded Seams
After welding, you should coat the seam with epoxy primer on both sides to block moisture and slow corrosion. Apply seam sealer over exposed joints to close gaps and prevent contaminants from entering. Where you can access internal cavities, add cavity wax for added rust protection and keep inspection points sealed after treatment. Additionally, using gloves with heat resistance is crucial to ensure safety while performing these tasks.
Epoxy Primer Coverage
Epoxy primer should be applied to both sides of welded seams as soon as possible after welding to seal the bare metal and block moisture intrusion. You gain epoxy primer benefits: stronger corrosion resistance, less oxidation, and a tighter bond that helps the weld endure.
Use controlled application techniques—clean the surface, spray or brush an even coat, and cover the full seam edge without gaps. Respect curing time so the film hardens into a durable barrier before handling.
- Fresh weld glow fading under a uniform gray coat
- Tight seam lines shielded from rain and road spray
- Bare metal locked behind a sealed, matte surface
Inspect the area regularly; if wear exposes metal, reapply primer fast. That steady protection keeps your repairs resilient and free from rust.
Seam Sealer Application
Once the weld has cooled and the surface is clean, apply a high-quality polyurethane or silicone-based seam sealer to the joint to block moisture and protect the repair from rust and corrosion.
You should choose seam sealer types that flex with panel movement and bond tightly to bare metal.
Use disciplined application techniques: lay a uniform bead over the weld, then tool it smooth so it bridges the seam without gaps. This creates reliable moisture barriers that keep water and road contaminants out of the repair zone.
Clean prep matters; any oil, dust, or residue weakens adhesion and compromises the seal.
Inspect the sealer regularly for cracks, lifting, or wear, and reapply when needed.
A sound seam keeps your work durable, efficient, and self-reliant.
Cavity Wax Protection
Cavity wax gives welded seams a critical barrier against moisture, helping you block water intrusion before rust and corrosion can start. You gain cavity wax benefits by coating inner panels, boxed sections, and hidden flanges after body repairs and before priming.
Use controlled application techniques with a wand or nozzle so wax reaches every seam and crevice. This layer shields joints from environmental factors like condensation, road spray, salt, and temperature swings. For maximum durability, pair cavity wax with exterior undercoating to defend both sides of the repair.
- Wax mist fills a dark rocker cavity.
- A thin film clings to a folded seam.
- Water beads and slides off protected metal.
Inspect treated areas regularly, then reapply where wear, heat, or impact reduces coverage.
Inspect and Maintain Auto Body Welds
Regular inspections of auto body welds help you catch early wear, corrosion, or fatigue cracks before they turn into costly structural failures. Use weld inspection techniques like visual checks, seam probing, and close attention to heat-affected zones.
Build a routine schedule so you can spot defects before they spread. Clean welded areas first; removing dirt, paint, and oxide with stiff brushes improves assessment and repair quality.
When you find damage, apply corrosion prevention strategies quickly, including epoxy primer on exposed seams to block moisture and salt. For instance, using rust converters can neutralize existing rust and prevent further corrosion.
For repairs, trust experienced professionals with professional welding certifications, because they follow industry standards and preserve joint strength.
Don’t wait for rust to dictate your options. Consistent maintenance keeps your body structure sound, reduces downtime, and lets you stay in control of your vehicle’s safety and longevity.
Frequently Asked Questions
Why Do Welders Age so Fast?
You age fast because welding techniques expose you to heat, UV, fumes, and repetitive strain; these environmental factors accelerate metal fatigue in your body and equipment. You need PPE, ventilation, and ergonomic habits to stay resilient.
How to Stop Welds From Rusting?
You stop welds from rusting by using weld protection methods: clean, apply epoxy primer, seal seams, add cavity wax, and undercoat exposed areas. These corrosion prevention techniques and surface treatment options keep moisture out.
Do Welds Degrade Over Time?
Yes—welds can age like a bridge under traffic: you’ll see weld integrity factors shift as environmental impacts, stress, and material selection interact, so you must inspect, clean, and protect them to preserve strength.
How to Improve Weld Quality?
You improve weld quality by mastering Weld preparation techniques, choosing precise Filler material selection, and applying disciplined Heat control methods. You’ll clean surfaces, match metallurgy, and tune settings tightly, so your joints resist defects, corrosion, and distortion.
Conclusion
By choosing the right welding method, preparing the metal properly, controlling heat and filler, and fitting panels accurately, you give your auto body welds a stronger start. When you fully penetrate the joint, seal every seam, and inspect the work regularly, aren’t you extending service life before failure can begin? Keep corrosion out, watch for cracks, and maintain coated surfaces. These simple steps help your welds stay durable, clean, and reliable for years.


