You’re about to commence a precise journey into the world of plasma cutting. First, guarantee a secure power connection and confirm an adequate air supply for peak performance. Familiarize yourself with the machine’s controls, particularly the amperage settings, tailored to the metal’s thickness. Prioritize safety by donning the right PPE and eliminating any flammable threats. Ready the work clamp and torch for a clean start. Curious about perfecting those initial cuts?
Setting Up Your Plasma Cutter
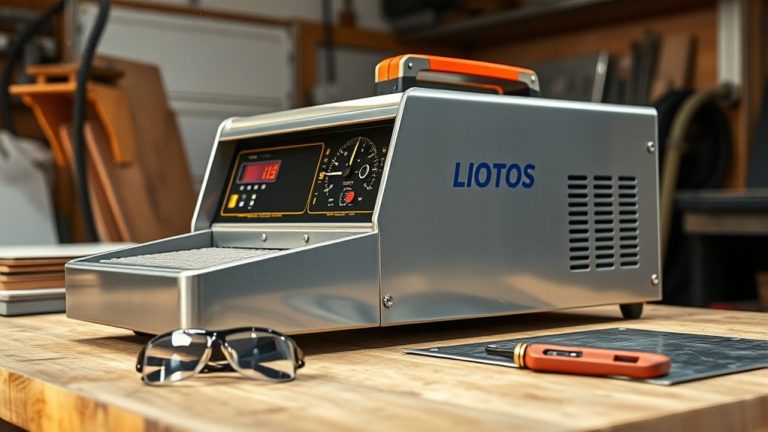
To set up your plasma cutter, start by connecting the power cable to the back of the machine and secure it with the locking ring before flipping the breaker switch to energize the unit.
Next, hook up an air line or portable air tank to the air inlet to guarantee an adequate air supply for the cutting process. Verify the power status on the front panel and adjust settings as specified in the user manual for peak performance.
For effective cutting, make sure the work clamp is securely connected to the metal or table, establishing a reliable ground connection.
Select the appropriate amperage setting on the dial based on the metal thickness. Remember, excessive amperage can increase dross or slag, complicating plasma cutter maintenance.
In troubleshooting issues, always check connections and settings first, as these are common culprits behind performance problems.
Regularly inspect the machine for wear and tear to maintain efficiency and longevity.
Understanding Machine Controls
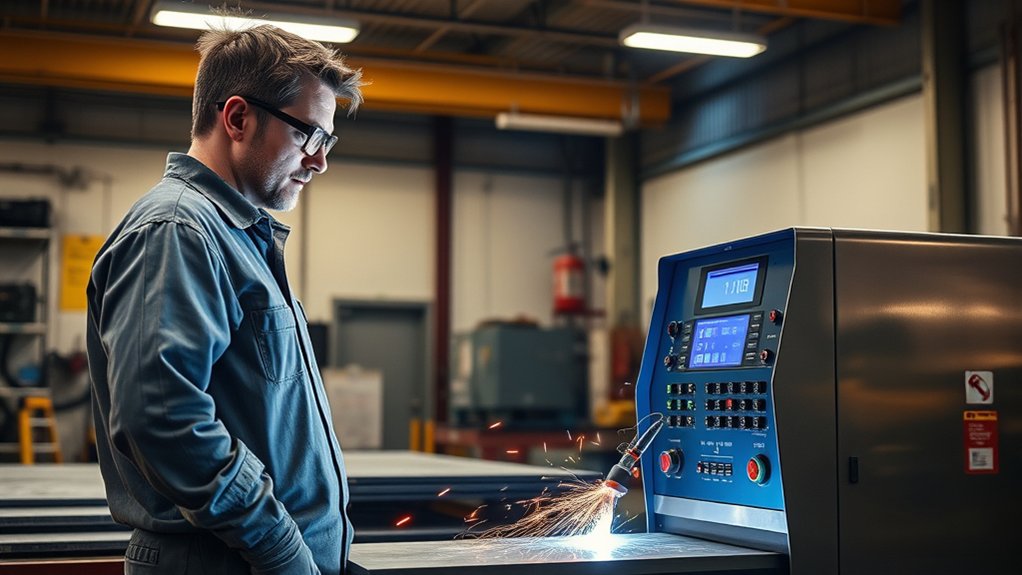
When operating a plasma cutter, understanding the machine controls is essential for achieving precise cuts and maintaining equipment longevity.
Start by familiarizing yourself with the Hypertherm Powermax 85‘s front panel. You’ll see the amperage dial, adjustable from 0 to 85 amps. For precise machine calibration, adjust the amperage based on the material thickness—higher for thicker metals, lower for thinner ones. Incorrect amperage can result in excessive dross or slag, affecting cut quality.
Next, identify the icon settings on the panel. For flat metal cutting, select the second icon down; this guarantees peak performance. The machine offers specific modes for tasks like cutting expanded metal or gouging.
Pay attention to the power status indicators to monitor the system’s condition. Regularly review and adjust the settings to align with your cutting objectives.
Mastering these controls will enhance your cutting accuracy and prolong your plasma cutter’s lifespan.
Preparing the Torch and Work Clamp
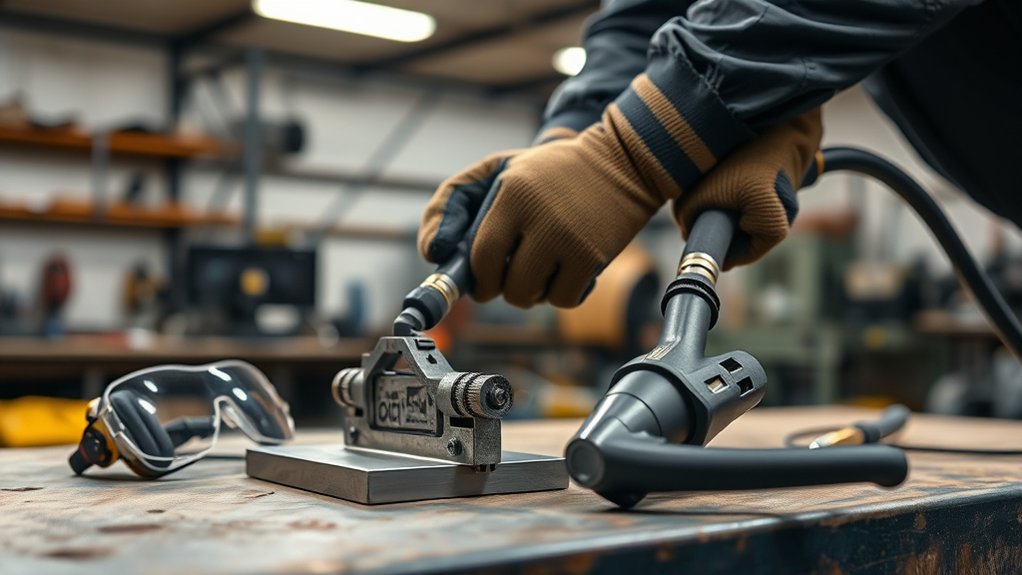
To guarantee effective cutting, securely connect the work clamp to your metal or table to establish a proper ground.
Choose the appropriate tip for your task, whether it’s a standoff tip for maintaining distance or a drag tip for direct contact.
This preparation is essential for achieving peak performance and high-quality cuts.
Ensuring Proper Grounding
Achieving proper grounding is one of the essential steps in plasma cutter operation. The importance of a secure ground connection can’t be overstated, as it guarantees effective cutting and prevents equipment damage.
Follow these steps to guarantee proper grounding:
- Secure the Work Clamp: Attach it firmly to the metal or a grounded table to establish a solid ground connection.
- Inspect the Surface: Confirm the attachment point is clean, free of paint or rust, to maintain peak conductivity.
- Verify Connection: Check the grounding before starting the cutter to avoid inconsistent performance and electrical hazards.
- Direct the Arc Safely: Proper grounding directs the arc efficiently, reducing shock risk and enhancing cut quality.
Selecting Appropriate Tips
Selecting the right tip for your plasma cutter is fundamental to achieving precise and efficient cuts. Tip selection depends on your task: use standoff tips for distance from the workpiece, drag tips for direct contact. Proper tip maintenance is critical—check and replace worn tips to prevent excessive dross. Confirm the torch is assembled securely to avoid leaks. Correct air pressure is essential for cooling and clearing molten metal.
| Tip Type | Usage |
|---|---|
| Standoff Tip | Distance cuts |
| Drag Tip | Precision contact cuts |
| Worn Tip | Needs replacement |
| Proper Air | Guarantees cooling |
Connect the work clamp to the metal or table for a stable ground, preventing arc instability. Tight connections guarantee peak performance, so inspect regularly for secure fittings.
Safety Measures and Equipment
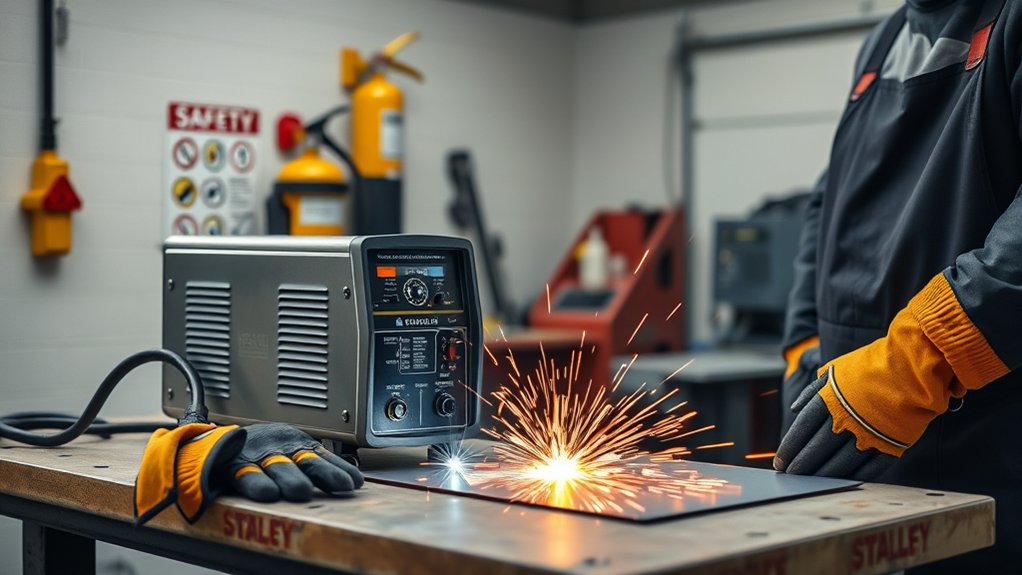
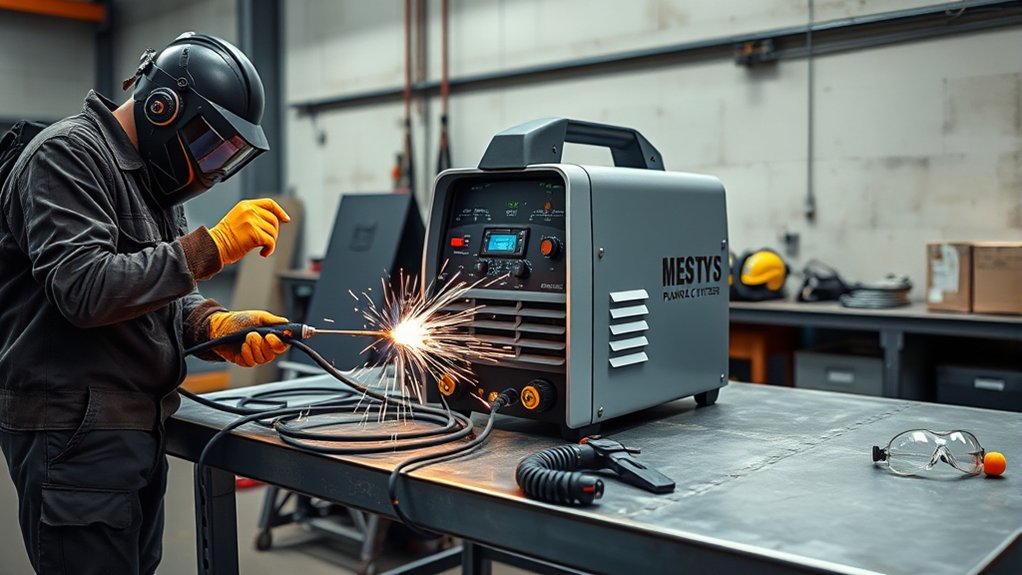
Safety is paramount when operating a plasma cutter, and understanding the essential protective equipment and protocols is critical. Proper personal protective equipment (PPE) shields you from sparks and UV radiation.
Prioritize safety with essential PPE to protect against sparks and harmful UV radiation when using a plasma cutter.
To guarantee a safe cutting experience, adhere to the following guidelines:
- Wear PPE: Don safety goggles, gloves, and flame-resistant clothing. These items protect against burns, cuts, and harmful radiation.
- Ventilation: Operate in a well-ventilated area to mitigate inhalation of noxious fumes produced during metal cutting. This step is essential for maintaining air quality and protecting your respiratory health.
- Fire Safety Precautions: Remove flammable materials from the cutting zone. Sparks and molten metal can easily ignite such materials, posing significant fire risks.
- Emergency Preparedness: Keep a Class D fire extinguisher nearby and familiarize yourself with the plasma cutter’s emergency shutoff procedures. Confirm all safety features, like the trigger lock, are fully operational before starting the machine.
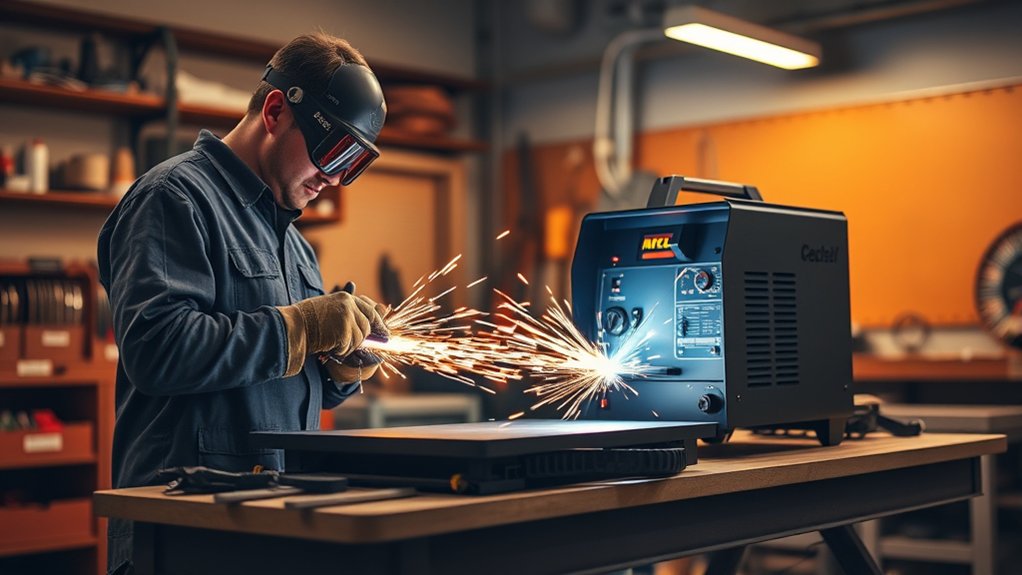
Basic Cutting Techniques
Start your cut by ensuring the work clamp is securely connected to the metal, providing an ideal ground for the plasma cutter.
For precise hole cutting, use a drag tip or create a small pilot hole to guide the torch accurately.
When making squares, maintain a consistent speed and torch angle to achieve clean edges and reduce dross formation.
Starting the Cut
Connect the work clamp securely to the metal to guarantee proper grounding and prevent electrical issues when you’re ready to start cutting with a plasma cutter.
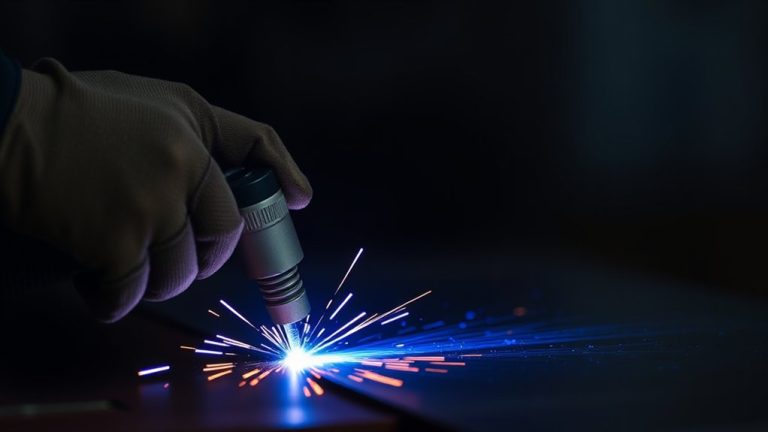
Begin with a solid starting position by aligning the torch at the material’s edge. Follow these steps for effective cutting:
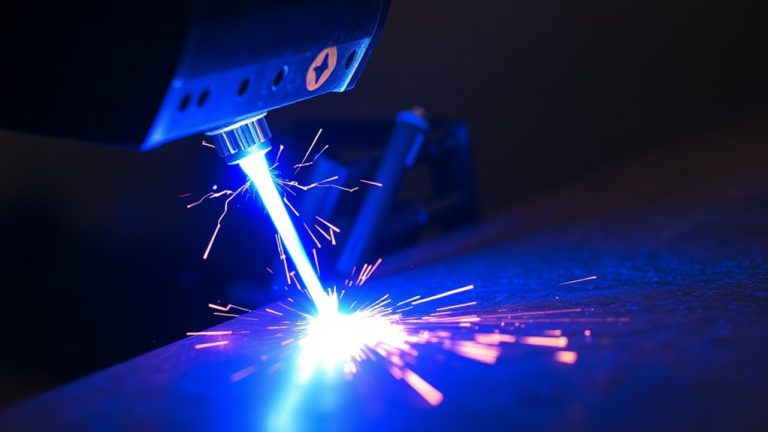
- Activate the cutter: Lift the trigger lock and press the trigger to initiate the plasma arc. This action allows the air pressure to cool the tip and clear molten metal.
- Adjust cutting angles: Slightly angle the torch to ascertain a clean entry, minimizing dross formation.
- Maintain consistent speed: Keep a steady pace and uniform distance from the material for precision cuts.
- Set appropriate amperage: Adjust based on metal thickness to optimize performance and efficiency.
Practice enhances skill.
Cutting Holes Efficiently
When you’re ready to cut holes efficiently with a plasma cutter, first make certain you’ve adjusted the amperage setting according to the metal’s thickness to prevent excessive dross.
Utilize a standoff tip to maintain the ideal distance between the torch and workpiece, essential for controlling hole diameter accurately.
Initiate the process by creating a pilot hole using a drill or a brief plasma cut. This guides the torch precisely into the workpiece.
Maintain a consistent cutting speed while tracing the hole’s circumference, guaranteeing a clean edge. Steady your hand to avoid deviations.
Secure the work clamp to the metal surface to guarantee a stable ground and prevent erratic arcs. This setup assures precision and efficiency in hole cutting.
Making Precise Squares
Accurate square cuts with a plasma cutter demand meticulous preparation and execution.
Begin by marking your square dimensions on the metal using a straight edge or square tool to guarantee precision. Follow this detailed guide:
- Adjust Amperage: Set the Hypertherm Powermax 85’s amperage to match your metal’s thickness, assuring clean cuts and minimal dross.
- Utilize a Standoff Tip: This accessory helps maintain ideal distance, offering better control and achieving cleaner edges.
- Consistent Cutting Speed: Start at one square corner, maintaining a steady hand and uniform speed to avoid jagged edges.
- Inspect Corners: After cutting, examine corners. They should be sharp and defined, but minor adjustments or touch-ups may be necessary for perfection.
Apply these steps for precise, professional results.
Advancing Your Skills With Practice
To elevate your plasma cutting skills, it’s crucial to engage in deliberate practice that hones both technique and precision. Start by perfecting sculptural designs using advanced techniques—practice cutting straight lines, circles, and intricate shapes to improve hand-eye coordination.
Adjust your plasma cutter’s amperage settings when working with different metal thicknesses; this will teach you how amperage affects the cut’s quality and cleanliness.
Fine-tune your amperage settings to master cut quality and achieve impeccable cleanliness on varying metal thicknesses.
Utilize scrap metal for trial runs. Focus on starting cuts smoothly, maintaining a steady speed, and adjusting your torch’s angle for best results. Record each session, analyze your cuts, and identify areas for improvement—track progress over time to refine your skills systematically.
Expand your knowledge by watching instructional videos on advanced cutting techniques. These resources offer insights into efficient practices, enabling you to tackle complex projects with precision.
Through consistent practice and analysis, you’ll master plasma cutting’s nuances.
Frequently Asked Questions
Can a Plasma Cutter Be Used on Non-Metal Materials?
You’d think a plasma cutter’s versatility would include non-metal applications, but alas, it excels solely on conductive materials. Stick with metals; cutting wood or plastic leaves you with a mess and a fire hazard, not precision.
How Does Ambient Temperature Affect Plasma Cutting?
Ambient temperature greatly affects plasma cutting by influencing the arc’s stability and cut quality. High temperatures can cause overheating, while low temperatures can lead to poor performance. Monitor ambient conditions to optimize temperature effects during operation.
What Is the Maintenance Schedule for a Plasma Cutter?
Your plasma cutter’s maintenance schedule includes daily checks for clean consumables and connections, weekly inspection of air filters, and monthly lubrication of moving parts. Follow a detailed maintenance checklist to guarantee peak performance. Regular maintenance tips enhance longevity.
Are There Specific Storage Requirements for a Plasma Cutter?
Yes, guarantee your plasma cutter’s storage conditions are dry and dust-free to prevent corrosion. Use protective covers for equipment protection against debris and moisture. Maintain stable temperatures to avoid thermal stress on sensitive components.
How Can I Improve Edge Quality on Thicker Metals?
To enhance edge quality on thicker metals, guarantee proper edge preparation by cleaning and beveling edges. Adjust cutting speed to accommodate material thickness, optimizing the dross removal process. Fine-tune settings for precision and minimal kerf width.
Conclusion
Mastering a plasma cutter demands precision and respect for the process. You’ve learned to set up, operate, and cut safely—skills that are the foundation of excellence. Remember, “measure twice, cut once” applies here; meticulous preparation leads to flawless execution. As you advance, hone your technique with practice and always adhere to safety protocols. Consistency in speed and angle, coupled with the right amperage, will guarantee your cuts are clean and professional every time.