A loose hood hinge rivet can make the hood shift, rattle, bind, or sit unevenly against the fender. You can often repair it by supporting the hinge, pressing the rivet back into position, clamping the joint, and welding it carefully. The repair is only safe if the hinge metal is not cracked, the rivet hole is not badly elongated, and the hood still travels smoothly after the work.
Quick Answer
To repair a loose hood hinge rivet, support the hood, relieve spring tension, mark the hinge position, press the rivet back with washers and a C-clamp, then weld the joint with short controlled beads. After it cools, inspect the weld, protect the metal from rust, reinstall the spring, and test full hood travel.
Key Takeaways
- Do not hammer the rivet. Use washers and a C-clamp so the hinge stays square.
- Relieve hood spring tension before unbolting or welding near the hinge.
- Replace the hinge instead of welding if the metal is cracked, thin, badly distorted, or the rivet hole is stretched.
- Use proper hot-work safety: eye protection, gloves, ventilation, fire shielding, and a ready extinguisher.
- Always test hood alignment and full travel before calling the repair finished.
At a Glance
| Time Required | 1 to 3 hours, depending on access, spring type, cleaning, and weld prep |
| Difficulty | Intermediate to advanced because the job combines spring tension, hood alignment, and welding |
| Tools Needed | C-clamp, washers, marker, socket set, chain coupler or spring tool, welding helmet, gloves, MIG or TIG welder, wire brush, grinder, fire blanket, extinguisher |
| Cost | DIY supplies may be low if you already own welding gear; shop cost varies with labor rate, hinge condition, paint damage, and whether the hinge must be replaced |
Warning: Hood springs store energy, and welding creates fire, fume, eye, and burn hazards. Support the hood before removing hardware, keep your hands out of the spring path, move or shield combustibles, and use proper welding PPE. If you are not comfortable controlling spring tension or welding near a vehicle, replace the hinge or hire a qualified repair shop.
Diagnose a Loose Hood Hinge Rivet
Start by inspecting the hood hinge assembly for rivet separation, side play, cracking, or a rivet head pulling through the hinge plate. A loose rivet can let the hinge shift under load, which may cause the hood to bind, sit high on one corner, or move sideways as it opens.
Open the hood slowly and watch the hinge from the side. Look for wobble at the rivet, metal dust around the joint, stretched holes, cracked brackets, or fresh scrape marks. Then compare the hood-to-fender gap on both sides so you know whether the hinge has already moved out of alignment.
A loose rivet is repairable only when the hinge metal is still solid, the hole is not badly elongated, and the hood can be realigned without force.
If the hinge is cracked, severely bent, rust-thinned, or missing metal around the rivet, do not weld the rivet as a shortcut. Replace the hinge or have a body shop repair the mounting area. Welding a weak hinge can hide the problem without restoring safe hood control.
Tools and Safety Prep Before You Start
Gather the tools before you relieve the spring. You will usually need a socket set, paint marker, washers, C-clamp, chain coupler or proper spring tool, wire brush, grinder or abrasive disc, fire blanket, welding helmet, welding gloves, long sleeves, and a MIG or TIG welder suited to the hinge material.
Mark the hinge location with tape or a paint marker before you loosen bolts. Put witness marks around the hinge and bolts so you can return the hood close to its original position during reassembly. If possible, have a helper support the hood or remove the hood completely after marking the alignment.
Before welding, check nearby wiring, insulation, washer hoses, fuel lines, plastic trim, paint, and sound deadening. Follow the vehicle service information for battery or module precautions, especially on newer vehicles with sensors, cameras, aluminum panels, or high-strength steel parts near the repair area.
Welding fumes contain metals and may include manganese, so use ventilation or local exhaust when possible. Wear a properly fitted respirator when ventilation is not enough, and avoid welding over paint, seam sealer, zinc coating, grease, or rust. OSHA notes that welding work requires controls for fumes, gases, and dust, and CDC/NIOSH identifies welding fumes as metal-containing airborne hazards.
OSHA hot-work guidance also requires fire prevention steps. Move combustibles away from the work area when practical, shield anything that cannot be moved, keep suitable extinguishing equipment ready, and maintain a fire watch after welding when sparks could ignite hidden material.
Remove the Hood Spring Safely
Relieve the hood spring’s tension before you unbolt or weld near the hinge. The spring can release suddenly, so do not use a screwdriver or pry bar as a shortcut. Those tools can slip, scar the hinge, or send the spring toward your hands or face.
Support the hood first. Then hook a chain coupler or proper spring tool to the spring and use a short chain to create controlled leverage. Anchor the chain to a solid point, such as a bench vise post or another rigid support, and pull the spring in a straight, deliberate motion until it comes off its mount.
Keep your body out of the spring’s path and wear eye protection. Once the spring is off, check the hinge arms, pivot points, and mounting bolts before you continue. If the hinge moves freely without the spring but binds when loaded, you may have an alignment problem rather than only a loose rivet.
Press the Rivet Back Into Place
Support the backside of the rivet with washers so clamp pressure spreads across the hinge instead of crushing one small spot. The washer stack should sit flat against solid metal and leave enough room for the rivet to move back into its original position.
Use a C-clamp to press the rivet slowly into place. Keep the clamp square to the rivet head and tighten it a little at a time. Do not hammer the rivet, because impact can enlarge the hole, bend the hinge leaf, or drive the rivet crooked.
Stop and inspect the rivet as it seats. The head should sit flush, the hinge plates should close evenly, and the hinge should move without a scrape or hard spot.
Support the Rivet Back
Place the washers behind the loose rivet so they support the metal around the hole. Use enough washer surface to spread the load, but do not stack them so high that the clamp slips or twists.
- Clean loose dirt and rust from the rivet area.
- Set the washer stack flat against the backside of the hinge.
- Position the C-clamp so the screw pushes straight against the rivet head.
- Tighten slowly until the rivet returns to its seated position.
If the rivet will not seat with steady pressure, stop and recheck the hinge for distortion or a stretched hole. Forcing it can make the repair harder.
Clamp It Into Place
After the rivet is seated, keep the C-clamp in place so the joint cannot move while you prepare to weld. The clamp should hold the hinge tight without twisting the arms or pulling the hood bracket out of alignment.
Check the hinge from multiple angles. The rivet head should be square, the hinge leaves should sit flat, and the hood side of the hinge should match your alignment marks. If the hinge walks out of place as you tighten the clamp, loosen it and reset the washer stack.
Pro Tip: Take a phone photo of the hinge, spring position, washer stack, and bolt marks before disassembly. It gives you a simple reference when you reinstall the spring and check hood alignment.
Verify Tight Hinge Fit
Before welding, test the hinge fit by moving it through its range without the spring installed. You should not feel side play, hard binding, or a click at the repaired rivet.
- Check that the rivet stays square under clamp pressure.
- Confirm the hinge plates sit flat with no visible gap.
- Compare the repaired hinge to the other side if the vehicle has matching hinges.
- Make sure your hood alignment marks still line up.
If the hinge does not move smoothly during this dry check, correct the fit before welding. Welding locks the problem in place if the rivet is crooked.
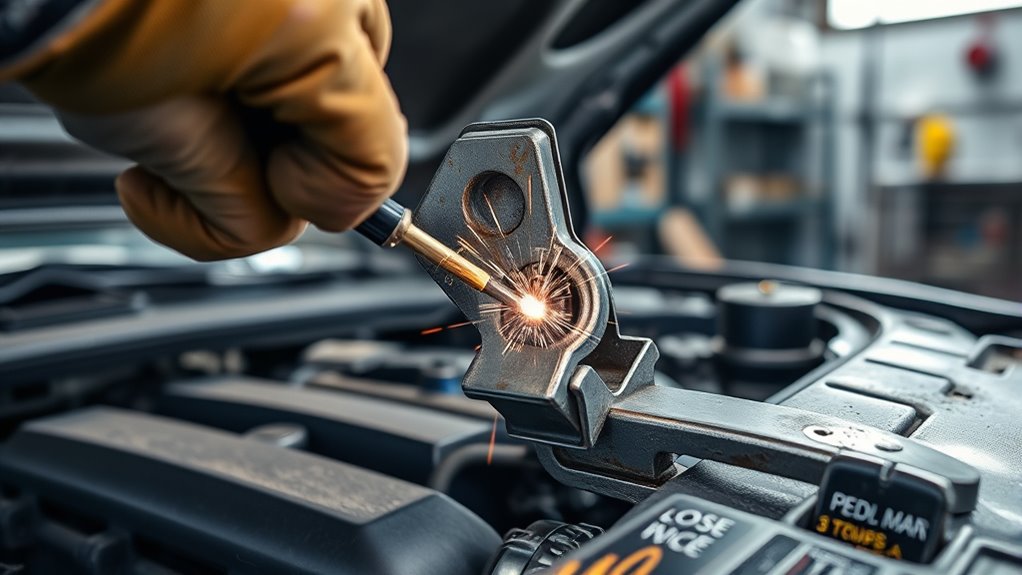
Weld the Hood Hinge for a Permanent Fix

Weld only after the rivet is fully seated, the hinge is clamped, and the surrounding metal is clean. Remove paint, rust, grease, seam sealer, and coating from the weld zone so the weld can fuse to clean metal. Keep a fire blanket behind the area if sparks could reach paint, wiring, insulation, or plastic.
Use a MIG or TIG welder with settings matched to the hinge thickness and material. For most steel hinges, short controlled tack welds or small beads are safer than a long continuous bead because they reduce heat buildup and distortion. Let the metal cool between passes.
Do not weld across the hinge pivot where it needs to move. The goal is to secure the loose rivet or surrounding joint, not to freeze the hinge mechanism. Keep the ground clamp close to the repair area and away from bearings, electronics, or moving joints.
Inspect Loose Rivets
Inspect every rivet before welding one of them. If one rivet is loose, the others may also be worn, cracked, or shifted. Mark the loose rivet and check the surrounding metal for cracks, oval holes, or rust thinning.
- Mark the rivet that moves under hand pressure.
- Check whether the rivet head is pulling through the hinge plate.
- Look for cracks that radiate from the rivet hole.
- Replace the hinge if the hole is too stretched to clamp tightly.
Weld only after the assembly sits square. If the hinge has structural damage, welding the rivet can create a hard spot beside weak metal and the hinge may fail again.
Support and Clamp
Keep the backside of the rivet supported with washers while you weld. The support helps stop the rivet from pulling through and keeps the hinge aligned during heat cycling.
Clamp the hinge firmly enough that nothing shifts, but not so tightly that you bend the bracket. Recheck the witness marks, hinge gap, and rivet position before striking an arc. If any part moves when you touch the torch or gun to the hinge, reset the clamp.
Clean the weld area again after clamping. A quick pass with a wire brush or abrasive pad removes debris that may have been trapped during fit-up.
Weld for Durability
Apply short, controlled welds around the repair point. Let the hinge cool between beads so the hood bracket does not warp. Avoid piling on weld metal, because a bulky weld can interfere with hinge travel or create a stress riser.
- Confirm the hinge metal and filler are compatible.
- Place small tack welds first so the rivet cannot move.
- Add short beads only where needed for strength.
- Let the repair cool naturally instead of quenching it with water.
- Inspect for porosity, undercut, cracks, and poor fusion.
After welding, mark or guard the hot metal so no one touches it by accident. Once cool, dress only sharp edges or high spots that could interfere with motion. Do not grind away the weld that provides the repair strength.
Reinstall the Hood Spring
After the weld cools and the hinge passes inspection, reinstall the hood spring in the reverse order of removal. Keep the spring in its original position so the hood opens with the correct force and does not pull the hinge sideways.
| Step | Action |
|---|---|
| 1 | Position the spring exactly where it sat before removal. |
| 2 | Engage the spring fully with the hinge using controlled leverage. |
| 3 | Verify secure seating and no side play. |
| 4 | Open and close the hood slowly while watching for binding or spring walk-off. |
If the spring does not seat cleanly, stop and reset it. A spring that sits half-engaged can pop off later or pull the repaired hinge out of alignment.
Check Hood Travel and Hinge Tightness
Open and close the hood through its full travel before you tighten everything for the last time. The hood should rise evenly, hold its path, and close without rubbing the fender, cowl, grille, or latch area.
Lift the hood by hand and feel for looseness, play, or sag. A stable hinge should not wobble at the repaired rivet. If the panel drops unevenly or the hood gap changes as it moves, loosen the mounting bolts slightly and realign the hinge to your witness marks.
The repair is not finished until the hood opens, closes, latches, and releases smoothly with no wobble at the hinge.
After the movement test, protect bare metal from rust. Clean the repaired area, apply primer or rust-inhibiting coating where appropriate, and lubricate hinge pivots with white lithium grease or silicone spray. Wipe away excess so it does not attract dirt.
Perform one final fire check around the weld area, especially behind insulation, wiring, seam sealer, or painted panels. Keep watching for smoke, odor, or heat after the weld is complete.
When to Call a Professional
Call a qualified body or welding shop if the hood is heavy, the spring is difficult to control, the hinge is cracked, the weld area is close to wiring or fuel components, or the repair affects hood latch engagement. Also get help if the vehicle uses aluminum or high-strength steel hinges and you are not sure which filler, process, or heat setting is correct.
A professional repair is also the better choice when the hood gap is badly uneven or the hinge mounting area is torn. In that case, welding only the rivet may not restore the structure that keeps the hood aligned at speed.
Frequently Asked Questions
Can hood hinges be repaired?
Yes, hood hinges can be repaired when the hinge metal is solid, the rivet hole is not badly stretched, and the hood still aligns correctly. If the hinge is cracked, rust-thinned, bent, or badly worn, replacement is safer than welding.
How much does it cost to repair a hood hinge?
The cost depends on labor rate, access, welding time, paint damage, and whether the hinge can be repaired or must be replaced. A simple DIY repair may only require supplies if you already own welding gear. A shop repair can cost more because it may include alignment, welding minimums, replacement parts, and refinishing.
What should I lubricate hood hinges with?
Use white lithium grease or silicone spray on the hinge pivot points after the repair is cool, clean, and protected from rust. Apply a small amount, cycle the hood several times, and wipe away excess lubricant.
How do you know if a hood hinge should be replaced instead of welded?
Replace the hinge if the rivet hole is elongated, the bracket is cracked, the hinge arm is bent, the metal is rust-thinned, or the hood cannot be aligned without force. Welding a damaged hinge can make the joint look fixed while the structure remains weak.
How do you fix a hood latch after hinge repair?
First confirm the hood hinges are aligned, then inspect the latch, striker, cable, spring, and mounting bolts. Clean and lubricate the latch pivots, adjust the striker only after the hood gaps are correct, and test the latch several times before driving.
Conclusion
A loose hood hinge rivet is fixable when the hinge metal is still strong and the hood can be aligned correctly. The safe sequence is simple but precise: diagnose the movement, support the hood, relieve spring tension, press the rivet square with washers and a C-clamp, weld with controlled heat, protect the bare metal, reinstall the spring, and test the hood slowly. If the hinge is cracked, stretched, or badly distorted, replacement is the safer repair.
Sources
- OSHA 29 CFR 1910.252, General Requirements for Welding, Cutting, and Brazing — fire prevention, fire watch, PPE, hot metal, and ventilation guidance.
- OSHA Welding, Cutting, and Brazing Safety and Health Topic — overview of welding hazards, standards, and related OSHA resources.
- CDC/NIOSH Welding Fumes and Manganese — welding fume composition, manganese exposure concerns, and confined-space exposure considerations.
- NFPA 51B, Standard for Fire Prevention During Welding, Cutting, and Other Hot Work — hot-work fire-prevention framework.


