
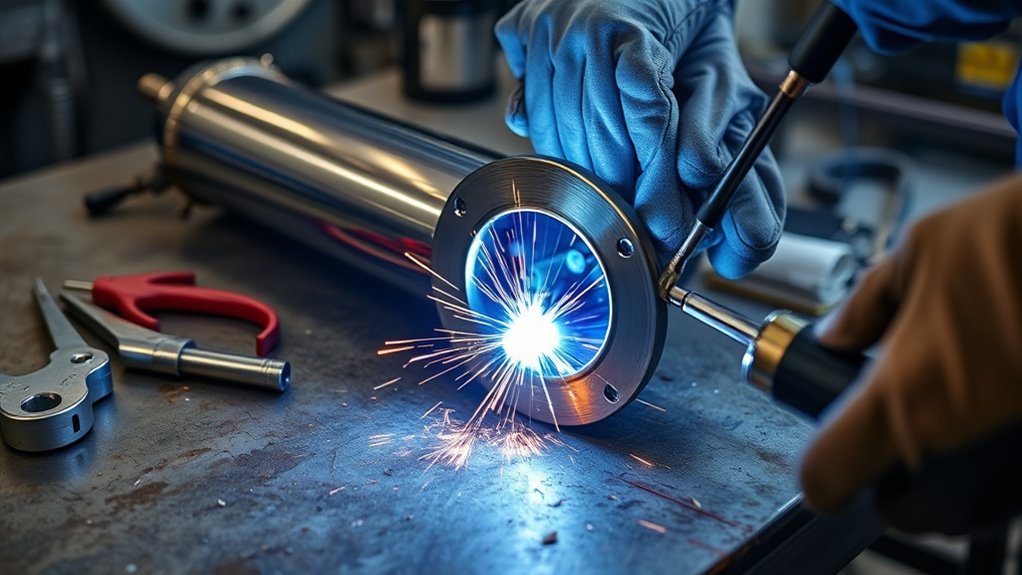
Welding a catalytic converter flange can restore a leaking or broken exhaust connection, but only when the converter itself is sound and the repair keeps the emissions system functional. A reliable job depends on the correct flange and gasket, verified base metals, clean fit-up, controlled heat, vehicle-specific safety steps, and a careful leak check after assembly.
Quick Answer
To weld a catalytic converter flange, confirm the repair is legal, identify the pipe and flange metals, clean both parts to bright metal, and clamp the flange square. Tack it at four balanced points, weld short sections with compatible filler, let it cool, install the correct gasket and hardware, then inspect and leak-test the joint.
Key Takeaways
- Repair or replace the flange only in a way that leaves the catalytic converter installed, functional, and legal for the vehicle and location.
- Follow the vehicle maker’s welding precautions before disconnecting batteries, modules, sensors, or hybrid-system components.
- Do not assume every stainless-looking exhaust pipe is 304 stainless. Confirm the base metals before selecting filler.
- Use ER309L wire or rod for many confirmed stainless-to-mild-steel joints and ER308L only for compatible confirmed 304/304L stainless joints.
- Control distortion with balanced tacks and short, spaced welds, then install the correct gasket and tighten the hardware to the vehicle maker’s specification.
At a Glance
| Time Required | Usually 1 to 3 hours for a prepared section; rusted hardware, poor access, or converter replacement can take longer |
| Difficulty | Intermediate; thin exhaust tubing can burn through and a warped flange may not seal |
| Tools Needed | Caliper or tape, grinder or wire wheel, clamps, compatible welder and filler, work clamp, PPE, fire extinguisher, torque tools, and leak-test equipment |
| Cost | Varies by flange, gasket, studs, bolts, filler, and whether the converter or adjoining pipe must be replaced |
Warning: Do not weld a test pipe, empty shell, bypass, or other part intended to remove or defeat a catalytic converter. Treat the job as hot work. Cool the exhaust, support the vehicle correctly, protect wiring and fuel or brake components, ventilate the area, and keep suitable fire-extinguishing equipment nearby.
Safety and Legality Before Welding
Keep the emissions system legal
A catalytic converter is part of the vehicle’s emissions-control system. The repair should restore a working converter and a sealed exhaust connection, not remove or reduce the converter’s function. The U.S. EPA explains that removing or disabling a catalytic converter is prohibited. It also explains that work performed for repair or replacement is not treated as prohibited tampering when the emissions device is restored to proper operation.
Replacement rules can vary by location. For example, California requires an applicable exempted aftermarket catalytic converter for vehicles covered by its rules. Check the vehicle application, inspection requirements, and local law before replacing or modifying any converter section.
Protect the vehicle’s electrical system
Before welding on an installed exhaust, read the vehicle maker’s service procedure. The correct shutdown steps can differ between conventional, hybrid, and electric vehicles. Some procedures require disconnecting both battery cables, waiting for stored energy to dissipate, disconnecting specific modules, or disabling a high-voltage system.
Place the welder’s work clamp on clean bare metal as close to the flange joint as practical, preferably on the same exhaust section being welded. A short, direct return path reduces the chance of welding current traveling through wiring, control modules, bearings, sensors, or other unintended components. Welding-equipment guidance also warns that weld current can damage electronic parts in vehicles.
Control fire, fumes, and personal exposure
Let the exhaust cool completely. If you work under the vehicle, support it on properly rated stands at approved lifting points. Never rely on a hydraulic jack alone. Remove rags, aerosols, solvents, fuel containers, dry leaves, and other combustible material from the area.
Shield oxygen-sensor wiring, fuel lines, brake lines, rubber hangers, undercoating, insulation, and plastic panels with a suitable welding blanket or metal guard. Check both sides of the weld area because sparks and conducted heat can ignite material that is not visible from your working position.
Wear safety glasses under a welding helmet, leather gloves, hearing protection, and flame-resistant clothing. Use enough local exhaust or general ventilation to keep fumes away from your breathing zone. The OSHA welding standard covers fire prevention, eye protection, ventilation, coatings, and cleaning compounds.
Check the Catalytic Converter Flange Fit
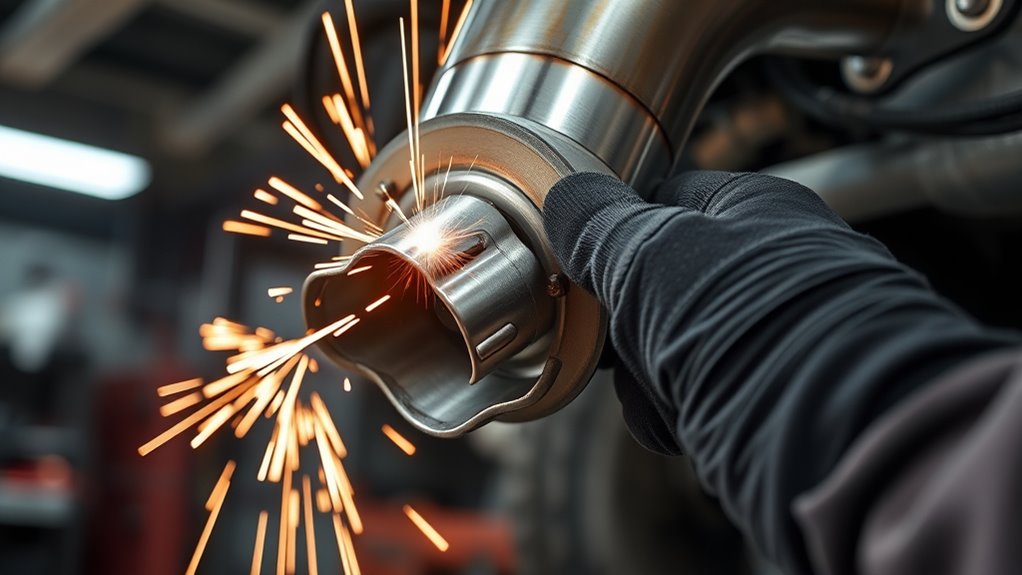
Measure the catalytic converter pipe’s outside diameter and compare it with the flange opening. A loose slip fit leaves a gap that is difficult to bridge without excess heat. A tight, uneven, or crooked fit can pull the flange off-center as the weld cools.
Confirm the flange and gasket style before cutting or welding. Exhaust connections may use a flat gasket, sealing ring, donut gasket, ball-and-socket joint, rigid bolts, or spring-loaded hardware. The flange face, gasket, bolt spacing, and pipe diameter must all match the mating connection.
Inspect the flange for cracks, warping, rust scale, elongated bolt holes, damaged threads, and deep pitting on the sealing face. Lay a flat flange on a known flat surface. If it rocks or has a damaged gasket face, replace it rather than trying to compensate with a larger weld bead or extra sealant.
A sound weld cannot compensate for a warped sealing face, incorrect gasket, misaligned bolt holes, or an exhaust system that is already under stress.
Dry-fit the flange against the converter pipe and confirm that the bolt holes align without forcing the exhaust sideways. If practical, use a flat jig, spare mating flange, or the vehicle’s mating flange to hold the new part square during tack-up. Remove the gasket before welding so heat does not damage it.
Know When Not to Weld the Flange
Welding is not the right repair when the converter shell is cracked, the adjoining tube is paper-thin, the flange face is deeply pitted, or the catalyst substrate is loose and rattling. Replace the affected compliant converter or pipe section instead of stacking weld over failing material.
A flange weld repairs an external joint. It cannot restore a contaminated, melted, broken, or inefficient catalyst inside the converter. If the vehicle has a catalyst-efficiency fault, overheating converter, internal rattle, or repeated warning light, diagnose the underlying engine and emissions problem before assuming the flange is the only fault.
Keep the welding arc on the pipe-to-flange joint rather than the converter shell whenever possible. Excess heat near the shell, oxygen-sensor bung, or substrate can damage the assembly. Use short passes and allow cooling time between sections.
Note: If the original flange cracked because the exhaust hangs low, a rubber isolator is torn, or the system is forced out of alignment, repair the support problem first. Otherwise, the new joint may crack again.
Identify the Pipe and Flange Metals Before Choosing Filler
Match the flange metal to the pipe metal when practical, but do not identify an exhaust alloy by color or appearance alone. Stainless-looking tubing is not automatically 304 stainless. Check the replacement-part description, markings, converter documentation, vehicle service information, or material specification.
For a confirmed stainless-to-mild-steel joint, ER309L wire or rod is a common choice because its alloy content tolerates mixing from both base metals. For stick welding, use the compatible E309L-type electrode specified for the joint and machine. ER308L or 308L filler is appropriate for compatible confirmed 304 or 304L stainless joints, not as a default for every stainless exhaust repair. Lincoln Electric’s stainless filler guidance lists 309L for common dissimilar-metal applications.
| Joint Type | Typical Filler Direction | Important Qualification |
|---|---|---|
| Mild steel pipe to mild steel flange | ER70S-6 MIG wire or another compatible mild-steel consumable | Choose the wire or electrode for the process, polarity, thickness, and shielding method. |
| Confirmed 304/304L stainless pipe to compatible 304/304L flange | ER308L or compatible 308L consumable | Use only after confirming the base metals and follow the filler maker’s shielding-gas requirements. |
| Confirmed stainless pipe to mild or carbon-steel flange | ER309L wire or rod, or a compatible E309L-type stick electrode | A common dissimilar-metal choice, but the exact procedure still depends on the identified stainless alloy. |
| Other confirmed stainless exhaust alloy | Follow the converter, pipe, vehicle, or filler manufacturer’s procedure | Do not assume ER308L is correct merely because both pieces appear stainless. |
| Unknown or heavily corroded metal | Identify or replace the pipe and flange section | If the metal flakes, keeps opening into holes, or cannot be cleaned to solid material, welding is not a reliable repair. |
Products Worth Considering

Premium quality ER309L stainless steel MIG welding wire 2-Lb spool.
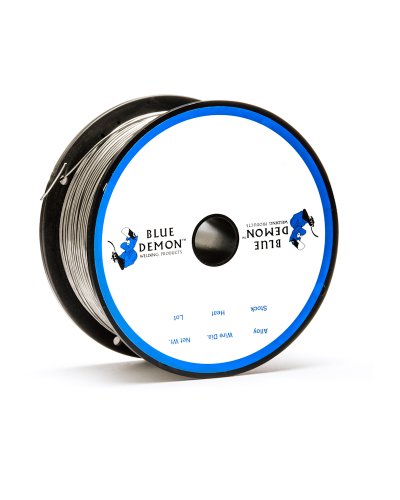
AWS classification E309LFC-O

This solid wire REQUIRES a shielding gas
Choose the Right Exhaust Welding Gear
MIG is practical for many exhaust repairs because it can make short, controlled tacks on thin tubing. TIG offers excellent puddle control and clean stainless welds when access is good. Stick welding may work on a thick flange, but it is difficult to control on thin exhaust tube. Self-shielded flux-core wire can be used outdoors, though it creates slag and often needs more cleanup.
| Gear | Purpose |
|---|---|
| MIG welder | Makes short, controlled welds with wire and shielding selected for the identified metal |
| TIG welder | Provides precise puddle and filler control on clean thin-wall joints |
| Stick welder | May suit a thick flange but carries a higher burn-through risk on thin tubing |
| Grinder, file, scraper, or dedicated wire brush | Removes rust, coating, old gasket material, soot, and weld contamination |
| Clamps, flat jig, or temporary bolts | Keeps the flange face square and the bolt holes aligned during tack-up |
| Torque wrench and correct sockets | Tightens flange hardware to the vehicle maker’s specification |
| Helmet, safety glasses, gloves, protective clothing, ventilation, and extinguisher | Protects against arc radiation, sparks, hot metal, fumes, and fire |
There is no single correct voltage, amperage, wire speed, gas, or electrode size for every catalytic converter flange. Base-metal thickness, joint gap, filler, position, shielding gas, machine design, and access all affect the setup. Start with the welder or filler maker’s chart and make a test weld on clean scrap of similar thickness.
Pro Tip: Test the setup on scrap tube joined to a thicker offcut. If the bead sits on the surface without tying into both edges, adjust the setup or travel. If the thin edge collapses, reduce heat input, shorten the weld time, improve the fit, or switch to smaller controlled tacks.
Products Worth Considering

REPLACEMENT WELDING HELMET HEADGEAR - Jackson Safety's Premium 370 Speed Dial Replacement Headgear offers a perfect fit and secure hold for your welding hood

Package: 2x Welder Mask Headband( 2 Types 1xSquare 1xRound )
Prepare the Pipe and Flange
Clean a wide enough band around the joint to expose solid bright metal on both parts. Remove rust, scale, soot, oil, paint, aluminized coating, undercoating, and old gasket material. Contamination trapped under a weld can create porosity, poor fusion, and pinholes.
Use a cleaner that is suitable for the metal and welding process, and allow it to evaporate fully. Do not use chlorinated brake cleaner or allow chlorinated-solvent vapors near the welding arc. OSHA requires chlorinated-hydrocarbon cleaning operations to be separated from welding atmospheres because heat and ultraviolet radiation can create hazardous decomposition products.
Deburr the tube and test the fit again. A slip joint should have an even fit around the circumference. A butt joint should meet squarely without a large changing gap. Mark the flange orientation before removing it, especially when the bolt pattern is offset or the pipe approaches the flange at an angle.
Remove the gasket before tack welding. Replace burned, crushed, cracked, or incorrect gaskets rather than trying to seal them with extra torque or general-purpose epoxy.
Weld the Catalytic Converter Flange
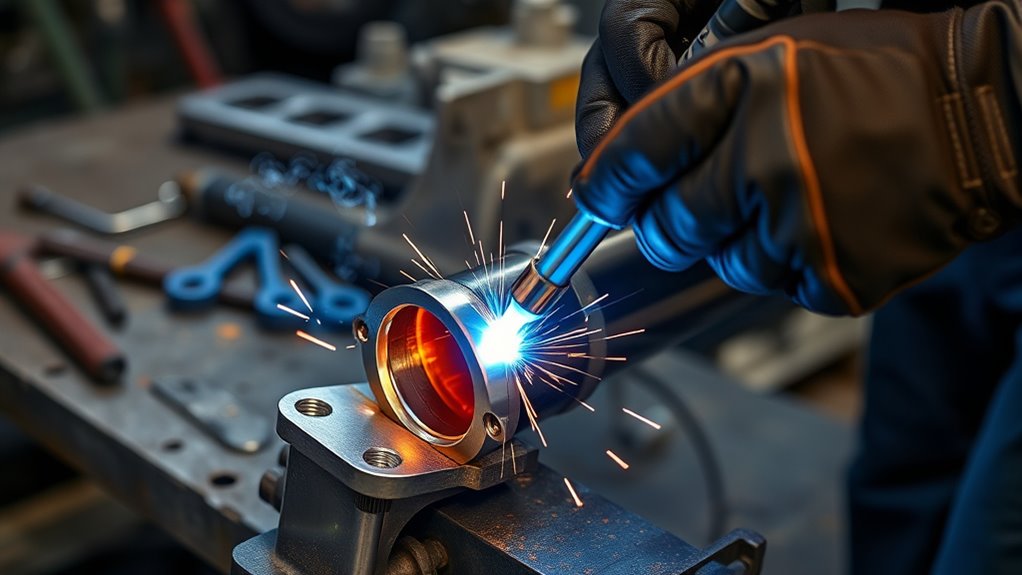
Complete the vehicle maker’s electrical-safety procedure, protect nearby components, and connect the work clamp to clean metal close to the joint. Align the flange with the pipe and secure it with a jig, clamps, or temporary hardware. If you use the mating flange for alignment, remove the gasket and avoid welding heat that could damage the adjoining component.
- Place the first tack at the top of the joint.
- Place the second tack 180 degrees opposite the first.
- Add two side tacks to create a balanced 12, 3, 6, and 9 o’clock pattern.
- Stop and recheck the flange face, pipe centerline, bolt holes, and clearance around the vehicle.
- Add short weld sections in a staggered pattern instead of running one continuous hot bead around the flange.
- Allow the metal to cool naturally between sections. Do not quench the converter or hot joint with water.
- Complete the circumference only after confirming that the flange remains square and the thin tube edge has not pulled away.
MIG technique
Use the compatible small-diameter wire, shielding gas, polarity, and machine range specified for the joint. Keep the contact-tip-to-work distance controlled and make short welds that fuse into both the flange and tube. Avoid holding the arc on the thin pipe edge.
TIG technique
Use clean filler matched to the verified metals. Establish the puddle on the thicker flange, move it toward the pipe edge, and add filler promptly. Limit dwell time so the pipe does not overheat or pull back.
Stick and flux-core technique
Stick welding is usually the least forgiving choice on thin converter tubing. Use it only when the electrode, polarity, thickness, access, and welder control are suitable. Remove all slag between passes. With flux-core wire, clean the joint thoroughly after each section before inspecting for pinholes or missed fusion.
Watch for undercut along the tube edge. A sound weld should tie into both parts without leaving a groove beside the bead or a bead that sits only on the flange. If the edge glows for an extended period, collapses, or opens into holes, stop and let the joint cool before deciding whether the remaining metal is weldable.
Repair Pinholes and Weak Areas
If inspection shows a pinhole, missed edge, or thin area, do not weld over soot, sealant, or loose slag. Mark the defect, clean it to solid bare metal, and repair only the affected area with a short controlled weld.
Use the same verified filler logic as the original joint. Use ER309L for an appropriate confirmed stainless-to-mild-steel wire or rod application, ER308L for compatible confirmed 304/304L stainless, and a compatible mild-steel consumable for mild-steel joints.
If each repair opens another hole, the pipe is too thin for a dependable weld. Cut back to solid material and install a suitable pipe or flange section, or replace the compliant converter assembly. Adding more weld to failing metal can distort the flange without producing a sealed joint.
After the weld cools, inspect the full circumference with a bright light. Look for pinholes, soot marks, cracks, undercut, missed edges, excessive bead inside a slip joint, and places where the weld did not fuse into the thin pipe.
Install the Gasket, Torque the Hardware, and Leak-Test
Install the correct new or serviceable gasket and suitable hardware. Replace damaged studs, stripped nuts, weak springs, badly rusted bolts, and hardware that the vehicle maker identifies as single-use. Bring the flange together evenly instead of fully tightening one side first.
Tighten the fasteners to the vehicle maker’s specification. Do not substitute a generic torque value, and do not treat a spring-bolt joint like an ordinary rigid bolted flange. Excess torque can crush the gasket, flatten a sealing ring, bend the flange, or damage the threads.
A low-pressure smoke test with the engine off is the safest and clearest way to find a small leak. Introduce smoke with suitable equipment and inspect the flange circumference, weld, sensor bungs, and nearby joints. Do not apply unregulated shop-air pressure to the exhaust system.
You can also inspect the connection during a cold start outdoors. Listen for a sharp tick or puff and watch for condensation or soot at the joint. Keep your hands, clothing, and test materials away from hot exhaust parts, belts, fans, and other moving components. Never run the engine in an enclosed garage.
After one complete heat cycle, let the exhaust cool and inspect the flange again. Recheck hardware only according to the vehicle maker’s procedure and specified torque. Do not automatically add torque simply because the joint has been heated.
Complete the post-repair checks
- Confirm that the exhaust hangs naturally without pulling sideways on the new flange.
- Inspect oxygen-sensor wires, connectors, heat shields, brake lines, fuel lines, and nearby insulation.
- Check the repaired area and surrounding underbody for heat damage or smoldering material.
- Reconnect batteries or modules exactly as the vehicle procedure directs.
- Start the vehicle, check for warning lights, and scan diagnostic codes if the malfunction indicator lamp appears.
- Remember that a sealed flange will not correct a failed catalyst, engine misfire, fuel-control fault, or damaged oxygen sensor.
Common Mistakes to Avoid
- Welding over rust, coating, or soot: contamination causes porosity, pinholes, and weak fusion.
- Assuming every stainless pipe is 304: filler selection must follow the identified base metals, not appearance.
- Skipping the vehicle’s electrical procedure: welding current and incorrect shutdown steps can damage modules, sensors, batteries, or high-voltage systems.
- Placing the work clamp far from the joint: this can create an unintended current path through other vehicle components.
- Welding one continuous hot bead: excess heat can burn through the tube, warp the flange, and heat the converter shell.
- Using the wrong gasket or hardware: a sound weld can still leak when the sealing parts do not match the flange design.
- Blindly retightening after a heat cycle: always follow the specified torque and joint procedure.
- Using general-purpose epoxy as structural metal: wraps and cements cannot replace a cracked load-bearing flange, missing pipe, or sound weld.
- Ignoring worn hangers or forced alignment: exhaust-system stress can crack the repaired joint again.
Frequently Asked Questions
Can you weld an exhaust flange?
Yes. You can weld an exhaust flange when the flange is flat, the adjoining pipe is solid, the parts fit correctly, and the repair keeps all required emissions equipment functional. Clean both pieces, identify the metals, clamp the flange square, tack it evenly, weld short sections, and leak-test the assembled joint.
Can I use JB Weld on an exhaust flange?
Do not use standard epoxy as a structural replacement for a flange weld. J-B Weld ExhaustWeld is a fiberglass exhaust-repair wrap that the manufacturer rates up to 1,100°F, but it cannot rebuild missing flange metal, restore a flat gasket face, or replace a load-bearing pipe-to-flange weld. Use any repair product only within its instructions.
Do you weld the inside of a slip-on flange?
Usually, no. Most slip-on exhaust flanges are welded around the accessible outside joint. An unnecessary internal bead can restrict the opening, trap slag, interfere with fit, and make inspection difficult. Use an internal weld only when the joint design and approved procedure specifically require it.
What filler should I use for a catalytic converter flange?
Use a compatible mild-steel filler for a confirmed mild-steel joint. Use ER308L for compatible confirmed 304 or 304L stainless joints. ER309L wire or rod is a common choice for suitable confirmed stainless-to-mild-steel joints. For other stainless alloys, use the converter, pipe, vehicle, or filler manufacturer’s specified procedure.
What is the metal in a catalytic converter worth?
The recycling value varies by vehicle application, converter identification, precious-metal loading, condition, recycler policy, documentation requirements, and current platinum, palladium, and rhodium markets. There is no reliable universal payout. Follow local proof-of-ownership and used-converter laws when selling or recycling one.
Should I remove the catalytic converter before welding the flange?
Remove the converter section when access is poor, alignment cannot be controlled, or nearby wiring, fuel lines, brake lines, insulation, and modules cannot be protected. Bench welding usually improves cleaning, clamping, visibility, and fire control. Reinstall the converter without forcing the exhaust out of alignment.
Can welding damage a catalytic converter?
Yes. Excessive heat, prolonged welding on the converter shell, uncontrolled spatter, poor grounding, or damage to nearby oxygen-sensor wiring can harm the assembly or vehicle. Keep the weld at the pipe-to-flange joint, use short sections, protect surrounding parts, and allow cooling between welds.
Should I disconnect the battery before welding an exhaust flange?
Follow the exact vehicle maker’s welding procedure. Many vehicle and welder manuals require both battery cables to be disconnected and the work clamp to be placed close to the weld, but some vehicles require additional module, memory, hybrid, or high-voltage steps. Do not guess on a modern vehicle.
Conclusion
To weld a catalytic converter flange correctly, first confirm that the repair will leave the converter legal and functional. Follow the vehicle’s electrical-safety procedure, identify both base metals, use the correct flange and gasket, and clean the joint to solid bare metal. Clamp the flange square, tack it in a balanced pattern, and use short weld sections with compatible filler. After cooling, install and torque the hardware to the vehicle specification, perform a controlled leak test, and inspect the surrounding sensors, wiring, supports, and underbody.
Sources
- U.S. EPA: Transportation, Air Pollution, and Climate Change FAQs — federal catalytic-converter tampering rules and the repair or replacement exception.
- California Air Resources Board: Aftermarket Catalytic Converters — California-specific approval and application requirements.
- OSHA 1910.252: Welding, Cutting, and Brazing — fire prevention, eye protection, ventilation, coatings, and cleaning-compound precautions.
- Lincoln Electric: Stainless Filler Metals — 308L and 309L filler classifications and common applications.
- Miller Electric Welding Guidelines — vehicle-electronics warnings and close work-clamp placement.
- J-B Weld ExhaustWeld Product Page — official product type, application directions, and temperature rating.




