Repairing a rusted car sill plate, often called a rocker panel, means cutting out weak metal, welding in a sound patch, and sealing the repair so moisture cannot restart the rust. The job can restore strength, fit, and appearance, but it is not a casual weld. Sills can sit close to fuel lines, brake lines, wiring, carpet, underseal, and structural mounting points, so inspect first and weld only when the area is safe, clean, and fully protected.
Quick Answer
To weld a rusted car sill, cut the corrosion back to solid steel, clean both sides of the joint, fit a tight patch, tack it in place, and stitch-weld in short, spaced bursts. Then grind lightly, seal every seam, prime, paint, apply cavity wax, and inspect for pinholes or hidden rust.
Key Takeaways
- Cut farther than the visible rust so the patch welds to solid, clean metal.
- Use MIG for most DIY sill repairs; use TIG only when fit-up is tight and you have the skill to control heat.
- Never weld near underseal, carpet, fuel lines, brake lines, or wiring until the area is exposed and protected.
- Use short tack or stitch welds, move around the panel, and let the metal cool to prevent warping.
- Seal the outside and protect the inside of the sill with cavity wax, or rust can return from the hidden side.
At a Glance
| Time Required | Small patch: several hours to one full day. Severe rust or both sides: 1–3 days or longer, plus curing time for coatings. |
| Difficulty | Advanced DIY. Structural rust near jacking points, seat belt mounts, suspension mounts, or inspection-critical areas should be assessed by a qualified body repairer. |
| Tools Needed | MIG or TIG welder, grinder, cutting wheel, flap disc, wire brush, clamps, cardboard template, sheet steel, PPE, fire blanket, extinguisher, primer, seam sealer, paint, and cavity wax. |
| Cost | DIY consumables often stay under a few hundred dollars. Professional sill welding varies widely by rust extent, vehicle design, paint work, and local labor rates, so get a written quote after inspection. |
Warning: Welding and cutting are hot work. Before you strike an arc, move flammable trim, underseal, sound deadening, carpet, fuel vapor sources, rags, and solvents away from the repair area. Keep a suitable extinguisher ready, shield anything that cannot be moved, and maintain a fire watch after welding. OSHA’s welding and cutting rules require fire hazards to be removed or guarded and fire-extinguishing equipment to be ready for use: OSHA 1910.252.
Inspect the Rusted Sill Before Cutting
Before you cut, decide whether the sill can be patched or whether it needs a larger replacement panel. Rust that looks small from the outside can spread into the inner sill, floor edge, jacking point, seat belt mount, or lower pillar. Probe the area with a pick, tap around the damage, and look inside the sill with a light if you have access through drain holes or trim openings.
If the sill is soft around a jacking point, seat belt anchorage, suspension mount, or required safety inspection area, do not treat it as a cosmetic patch. Those areas can affect crash structure and vehicle support. In that case, a full repair section or professional body shop repair is the safer route.
Cut Out the Rusted Sill Plate
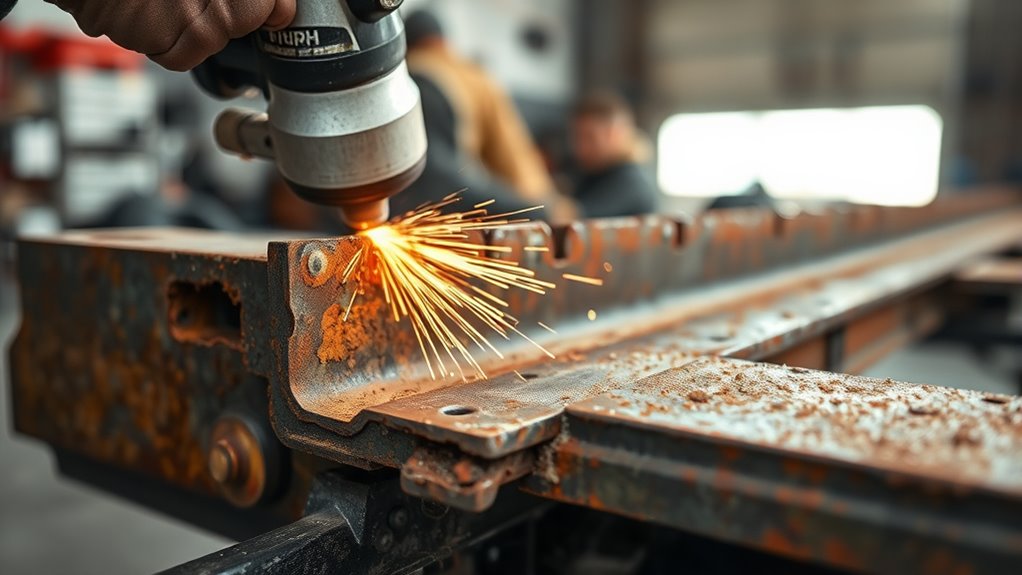
Start by exposing the sill plate so you can see the real rust boundary. Remove loose underseal, paint, seam sealer, and scale from the repair area. Sandblasting works well when available because it reveals thin metal and hidden pitting, but a grinder, wire wheel, scraper, and abrasive disc can also uncover the edge of solid steel.
Cut to clean steel, not to the edge of the visible rust. If the remaining metal is thin, pitted, or flaky, the weld will fail before the repair has a chance to last.
Mark the cut line with a scribe or marker. Simple rectangles or straight-sided sections are easier to reproduce and fit than random shapes. If the damaged area has curves or a pressed contour, make a cardboard template first, then transfer that shape to your replacement steel.
Cut slowly and check what sits behind the panel. Keep the cutting wheel away from wiring, fuel lines, brake lines, plastic clips, and interior trim. Once the rusted section is removed, dress the opening until the new patch nests neatly into the gap without force.
Clean the Metal for Welding
You need bare, bright, weldable steel around the opening and on the patch. Strip paint, rust, primer, underseal, adhesive, oil, and zinc coating from the weld zone. Contamination causes porosity, weak fusion, smoke, and poor corrosion protection after the repair.
Clean at least 1 inch beyond the weld line on the outer surface. If you can reach the back side, clean that too. A weld can look fine from the outside but fail because the back side is rusty, painted, or coated.
Strip Paint and Rust
Use a rotating wire brush, flap disc, or abrasive wheel to bring the sill edge back to clean steel. If rust remains in pits, seams, or folded edges, keep cleaning or enlarge the cut until the metal is sound. Do not weld over scaly rust and hope the filler wire will bridge it.
When you reach solid steel, check the edge thickness. If the metal burns away under light grinding or bends easily with a pick, it is too thin to keep. Cut a little farther and reshape the patch.
Degrease Before Welding
After stripping, wipe the weld area with a suitable wax and grease remover or acetone and let it flash off fully before welding. Never spray brake cleaner, solvent, or aerosol cleaner near an arc, and never weld while vapors remain. Heat can create dangerous fumes from some cleaners and coatings.
If the sill or patch is galvanized, remove the zinc coating from the weld area and use strong ventilation plus respiratory protection. Welding fume is a health hazard, and HSE guidance calls for controls such as local exhaust ventilation, respiratory protective equipment, PPE, and good general ventilation: HSE welding fume guidance.
Note: Cleaning is not just cosmetic. Paint, oil, underseal, zinc, and rust can contaminate the weld, increase fumes, and leave corrosion trapped under the finished repair.
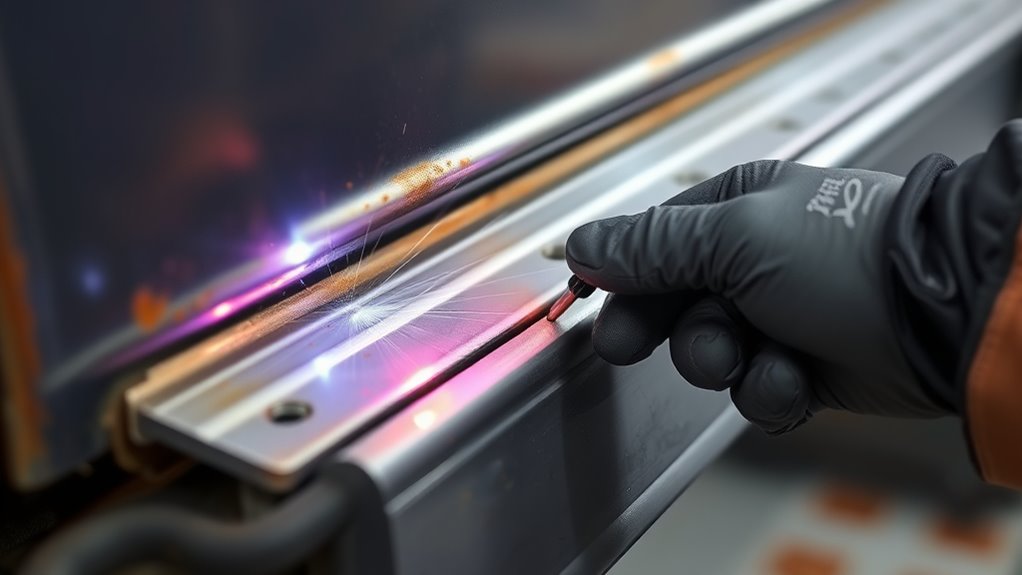
Choose MIG or TIG
For most car sill welding, MIG is the practical choice. It is faster, easier to learn, and more forgiving when the patch has a tiny, even gap. Use thin automotive sheet steel, matching wire, suitable shielding gas, and low heat settings tested on scrap from the same thickness.
TIG can give finer control and cleaner beads on thin sections, but it demands tighter fit-up, cleaner metal, steadier hand control, and more time. TIG is not automatically cooler; if you travel too slowly, it can still add enough heat to warp the sill.
| Process | Best Use | Watch Out For |
|---|---|---|
| MIG | General sill patches, plug welds, short stitch welds, and most DIY repairs. | Too much voltage or slow travel can blow through thin steel. |
| TIG | Precise patches, visible work, and very tight butt joints in skilled hands. | Poor fit-up, dirty metal, or slow travel can add heat and cause distortion. |
Whichever process you choose, practice first. Set up two pieces of scrap with the same gap and thickness as the sill patch. Your test weld should fuse both edges without burning through, piling up, or leaving pinholes.
Make the Patch Panel
Use steel that matches the original sill thickness as closely as possible. A patch that is too thin will burn through and weaken the repair. A patch that is too thick can be harder to shape and may create a stiff spot next to old thin metal.
Trace your cardboard template onto the steel, then cut the patch slightly oversize. Trim gradually until it fits the opening with an even gap. For a butt-welded patch, the surface should sit flush with the original sill. For a lap or plug-welded repair section, follow the panel design and make sure overlaps can be sealed from moisture.
Fit and Tack the Patch
Align the patch panel so it sits flush with the surrounding sill. Clamp, magnet, or screw it in place where safe, then check the gap before welding. A tight, even gap up to about 1/16 inch can work for MIG on many sill patches, but the best gap depends on panel thickness, wire size, and welder setup.
Align Patch Panel
Position the patch panel so the edges sit level with the original sill surface. Any step, twist, or proud edge will be harder to grind and seal later. Use clamps to hold the patch firmly, then check every side before applying heat.
If the panel rocks, binds, or pulls away, adjust it now. Do not force a poor fit with weld. Gaps concentrate heat, encourage blow-through, and make the finished repair harder to protect from rust.
Tack Weld Corners
Start with small tack welds at the corners and key points. Keep each tack short. After one tack, move to the opposite side or another cool area so heat does not build in one spot.
Once the patch is held, let it cool and recheck the alignment. If the patch shifted, cut or grind the tack and correct the fit before you continue. A few minutes of correction here can save hours of grinding and filler work later.
Check Fit and Gap
Scribe around the patch or use reference marks so you can see whether it moves. Inspect every seam for a consistent gap. Too tight can prevent filler from tying in properly; too wide can cause burn-through and a weak weld.
When the tacks hold and the panel still sits flush, continue with short stitch welds. Do not run one long bead along the sill.
Pro Tip: Keep a copper backing spoon or copper plate behind small gaps when you can reach the back side. Weld will not easily fuse to copper, so it can help support the puddle and reduce blow-through on thin steel.
Weld the Sill Without Warping It
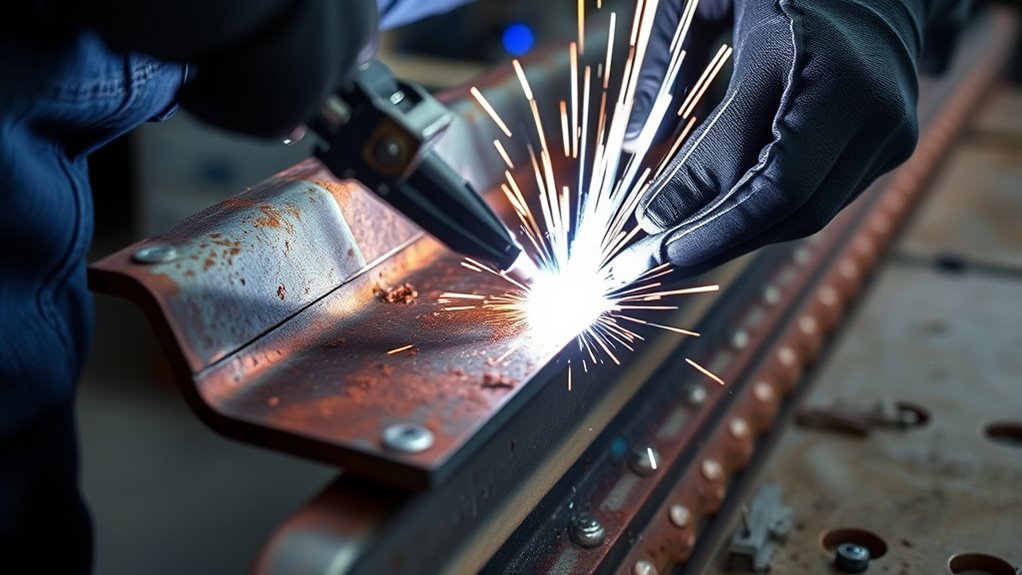
To keep the sill from warping, weld in short tacks or stitch welds instead of laying one continuous bead. Place a tack, skip several inches, place another tack, then move again. Let the panel cool between passes.
Keep the arc time short and steady. If the edge starts glowing, sagging, or blowing away, stop and let the metal cool. Adjust the welder on scrap before continuing. More wire or more heat is not always the answer; on thin steel, control comes from fit-up, clean metal, short arc time, and patience.
You can use gentle compressed air to cool the surrounding panel between tacks, but do not shock hot welds with water. Rapid cooling can increase stress and may make distortion harder to control. The goal is steady, controlled cooling, not panic cooling after too much heat.
If the sill has factory spot welds or plug weld locations, duplicate the repair method where appropriate. Drill clean plug-weld holes in the outer repair section, clamp the panels tightly, and fill each hole so the weld ties into the backing panel.
For eye and face protection, use a welding helmet or hand shield with filter lenses suited to the process and amperage. OSHA requires appropriate eye and face protection for welding hazards, including flying particles, molten metal, and injurious light radiation: OSHA 1910.133.
Grind the Welds Flush
Grind the welds flush with a flap disc or grinding wheel on an angle grinder, using light, controlled passes. Keep the tool moving and let the abrasive do the work. Your goal is a level transition between the patch and the original sill, not a thin, overheated panel.
Check the repair often with a straight edge or your hand. Stop as soon as the weld is level. If you keep grinding after the bead is flush, you can thin the surrounding steel and weaken the repair you just made.
Watch heat buildup while grinding. If the panel gets hot, pause and let it cool naturally or with gentle air. Do not lean hard on the grinder, because pressure adds heat, gouges the steel, and creates low spots that need extra filler.
Seal and Protect the Repair
Once the welds are smooth and the panel is cool, clean the repair again. Remove grinding dust, weld soot, and residue. Apply a suitable rust-inhibiting or epoxy primer to bare steel according to the product directions, then seal every seam that can collect moisture.
| Material | Use | Benefit |
|---|---|---|
| Primer | Bare welded steel | Creates a corrosion-resistant base |
| Seam sealer | Panel edges and joints | Blocks water and road grime |
| Cavity wax | Inside sill cavities | Protects hidden inner surfaces |
Run flexible automotive seam sealer along the repair edges after primer when the product system calls for it. Do not block sill drain holes. Those drains let water escape, and sealing them shut can trap moisture inside the rocker.
After the outer repair is primed, sealed, and painted, treat the inside of the sill with cavity wax. Use an extension wand so the wax reaches the back of the weld, the lower seam, and the hidden corners. Reapply protection during future maintenance if the coating thins or washes away.
Inspect the Finished Sill
With the repair sealed and coated, inspect the finished sill before reassembly. Trace every seam with a bright light and look for gaps, pinholes, rough edges, or missed bare steel. If you can access the inside, check for slag, sharp weld points, or areas that did not receive cavity wax.
Run your hand along the weld area carefully. It should feel smooth enough that trim fits correctly and moisture cannot sit against a ridge. If you find a pinhole, grind the spot clean, reweld it with a short tack, and reseal the area.
After the seam sealer and paint cure, check that sill drains remain open. A small water test can help confirm that water leaves the sill instead of pooling inside it. Road salt and trapped moisture are what started the rust, so drainage matters as much as the weld.
Troubleshooting Common Sill Welding Problems
| Problem | Likely Cause | Fix |
|---|---|---|
| Blow-through | Too much heat, wide gap, thin edge, or rusty metal. | Lower heat, shorten arc time, clean farther back, tighten the patch, and use copper backing where possible. |
| Pinholes | Contamination, missed spots, or poor tie-in between tacks. | Grind clean, reweld with short tacks, inspect with light, then reseal. |
| Porosity | Dirty metal, poor shielding gas, wind, paint, zinc, or oil. | Clean again, check gas flow, shield drafts, and remove coatings from the weld zone. |
| Warping | Long beads, too much heat, or grinding pressure. | Use spaced stitch welds, cool between passes, and grind with light pressure. |
| Rust returns | Back side left bare, drains blocked, or seam not sealed. | Open drains, reseal edges, and apply cavity wax inside the sill. |
When to Replace the Whole Sill or Call a Pro
A small outer-sill patch can be a good DIY repair when the surrounding steel is solid. A full sill or rocker replacement is safer when rust runs along the seam, reaches the inner sill, spreads around jacking points, or affects structural mounting areas.
Call a professional if you cannot expose the back side of the repair, if the sill is close to fuel or brake lines you cannot safely move, if the vehicle must pass a structural safety inspection, or if you are not confident in your weld penetration. A neat outer bead does not prove the repair is strong.
Frequently Asked Questions
Can rusty sills be repaired?
Yes, rusty sills can be repaired if the corrosion is cut back to solid metal and the patch or replacement panel is welded, sealed, and protected correctly. If rust has reached the inner sill, jacking point, seat belt mount, or structural area, a larger replacement or professional repair may be needed.
How much does car sill welding cost?
Car sill welding cost depends on the rust area, whether the inner sill is damaged, the vehicle design, paint work, and local labor rates. A small patch may cost far less than a full sill replacement, while structural corrosion can cost much more. Get a written quote after the shop inspects the metal, not just a phone estimate.
Can you MIG weld car sills?
Yes, you can MIG weld car sills, and MIG is often the best choice for a DIY sill patch. Clean the metal thoroughly, fit the patch tightly, tack it first, then stitch-weld in short bursts to control heat. Practice on same-thickness scrap before welding the car.
How long does it take to weld sills on a car?
A small sill patch can take several hours to a full day of active work, including cutting, cleaning, fitting, welding, grinding, sealing, and coating. Severe rust, both sides of the vehicle, inner sill repairs, paint work, or shop scheduling can stretch the job over several days or longer.
Should I use TIG instead of MIG for a sill repair?
Use TIG only if the patch fits very tightly and you are comfortable controlling heat on thin steel. TIG can produce a clean, precise weld, but it is slower and less forgiving. MIG is usually faster and more practical for sill patches, plug welds, and general rocker panel repair.
Do I need cavity wax after welding a sill?
Yes. The back side of the weld and the inside of the sill are vulnerable because heat burns away old coatings. After paint and sealer cure, use cavity wax with a wand to coat the hidden inner surfaces while keeping drain holes open.
Conclusion
A solid sill repair starts with honest cutting and ends with corrosion protection. Remove every weak section, clean the weld zone, fit the patch tightly, and use short, spaced welds so the panel stays straight. After grinding, seal the outside and protect the inside with cavity wax. If the rust reaches structural mounting points or you cannot make the area safe for hot work, get the repair inspected by a qualified body shop before welding.
Sources
- OSHA 1910.252 — Welding, Cutting, and Brazing: General Requirements — fire prevention, fire hazards, extinguishers, fire watch, and hot-work precautions.
- OSHA 1910.133 — Eye and Face Protection — welding eye protection and filter lens shade requirements.
- HSE — Welding Fume: Protect Your Workers — welding fume health risks and control measures.
- HSE — Controlling the Risks From Welding — ventilation, LEV, RPE, and PPE guidance for welding work.
- HSE — Welding Safety Topic Hub — welding risks, cutting metals, fume control, and safety resources.


