
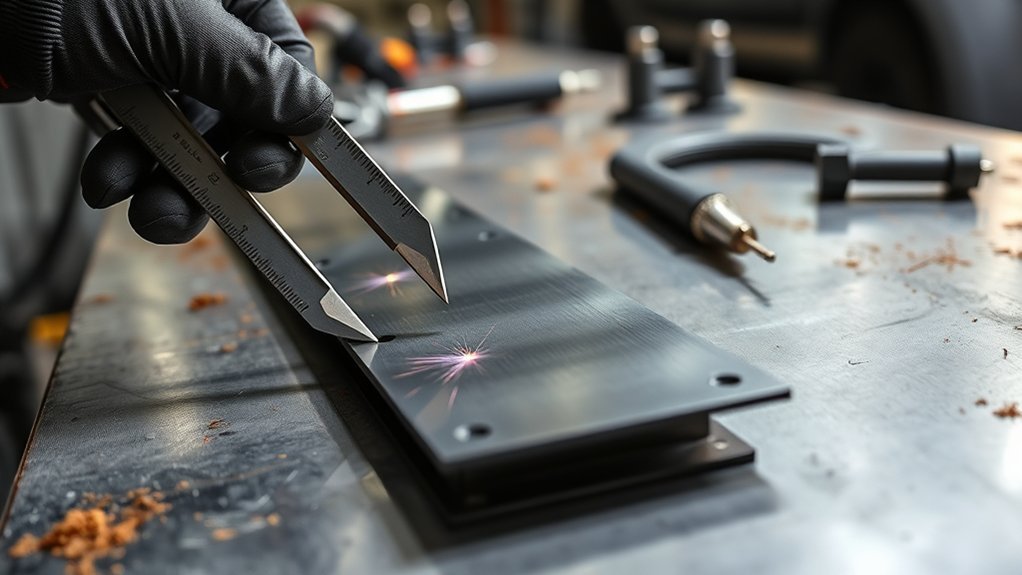
Auto body sheet metal is thin enough to warp or burn through quickly, but there is no single gauge used on every car or every body part. Many mild-steel exterior skins are roughly 24- to 20-gauge, while restoration patch stock commonly falls between 22 and 18 gauge. The correct repair material is the same thickness and material grade as the original panel, confirmed on bare metal and checked against the vehicle maker’s repair procedure.
Quick Answer
Many mild-steel outer body panels are about 24- to 20-gauge, or roughly 0.61 to 0.91 mm. Patch panels are often sold in 22- to 18-gauge steel. However, modern vehicles use different thicknesses, coatings, and steel strengths, so measure the original bare panel and follow OEM repair information before welding.
Key Takeaways
- Gauge is only a conversion label. Record the panel’s actual thickness in millimeters or decimal inches.
- The same gauge number represents different thicknesses in mild steel, galvanized steel, stainless steel, and aluminum.
- Match the original thickness, material grade, coating, and attachment method instead of choosing thicker steel for extra strength.
- Use vehicle-specific OEM procedures for rockers, pillars, rails, high-strength steel, aluminum, and other structural parts.
- For light-gauge mild steel, .023- or .024-inch solid MIG wire and spaced tack welds usually provide better heat control than larger wire or long beads.
- Protect electronics, interior materials, coatings, and high-voltage systems before welding, then restore corrosion protection afterward.
At a Glance
| Time Required | About 10–20 minutes to expose, measure, and verify a nonstructural panel; longer when OEM repair research or disassembly is required |
| Difficulty | Easy for measuring an accessible mild-steel panel; advanced for welding, structural work, aluminum, HSS, or hybrid/EV repairs |
| Tools Needed | Micrometer or digital calipers, coating-removal tools, gauge chart, PPE, lighting, and vehicle-specific OEM repair information |
| Cost | Varies by panel size and tools; patch stock is usually only one part of the total welding, preparation, refinishing, and corrosion-protection cost |
What’s in This Article
- Common Auto Body Sheet Metal Gauge Ranges
- Auto Body Sheet Metal Gauge Chart
- Common Auto Body Thickness by Part
- Identify the Material Before Choosing a Gauge
- How Car Age Affects Sheet Metal
- Why Modern Cars Use Thinner and Stronger Materials
- How to Measure Auto Sheet Metal
- How to Choose the Right Patch Panel Gauge
- Best Steel for Patch Panels
- Welding Safety Before You Start
- Basic MIG Settings for Thin Auto Metal
- Prevent Warping and Restore Corrosion Protection
- Common Auto Body Welding Mistakes
- Frequently Asked Questions
- Conclusion
- Sources
Common Auto Body Sheet Metal Gauge Ranges
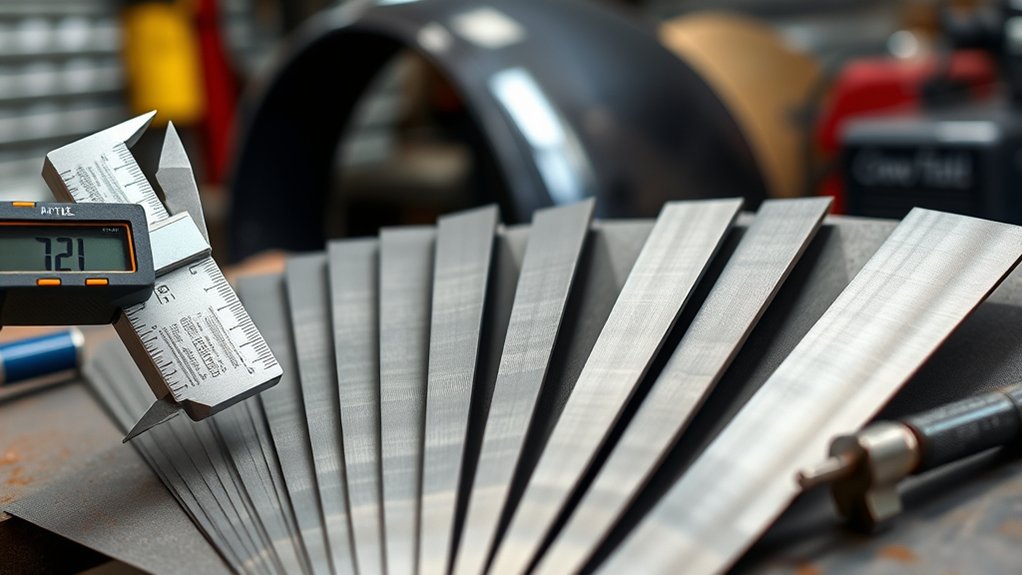
For mild-steel bodywork, you will commonly encounter material from about 24 gauge to 18 gauge. Standard mild-steel thicknesses in that range run from approximately 0.607 mm to 1.214 mm. Some reinforcements and fabricated sections are thicker, but modern structural parts may also gain strength from their steel grade rather than thickness alone.
A useful working breakdown is:
- 24- to 20-gauge mild steel: commonly encountered on thin exterior skins and light nonstructural panels.
- 22- to 18-gauge mild steel: common patch-stock range for restoration, floor repairs, fabricated brackets, and older bodywork, provided the thickness matches the original part.
- 16 gauge and thicker: may appear in brackets, mounts, reinforcements, older fabricated sections, or custom work, but should not be assumed to match a structural vehicle component.
These are identification ranges, not universal factory specifications. Two panels on the same vehicle can use different thicknesses, and one rocker or pillar assembly can contain several steel grades and layers.
For auto body repair, the measured decimal thickness and OEM material grade matter more than the gauge number printed on a sheet-metal label.
Note: Gauge is material-specific. For example, 18-gauge mild steel, galvanized steel, stainless steel, and aluminum do not have the same nominal thickness. Confirm the material before using a gauge conversion chart.
Auto Body Sheet Metal Gauge Chart
The table below shows common nominal values for uncoated mild steel. The values come from a mild-steel gauge chart and should not be applied automatically to galvanized steel, stainless steel, or aluminum. See the Metal Supermarkets sheet-metal gauge chart for material-specific conversions.
| Mild-Steel Gauge | Nominal Inches | Nominal Millimeters | General Bodywork Context |
|---|---|---|---|
| 24 gauge | 0.0239 in. | 0.607 mm | Very thin skins and light cosmetic work; heat control is critical |
| 22 gauge | 0.0299 in. | 0.759 mm | Common thin body and restoration patch range |
| 20 gauge | 0.0359 in. | 0.911 mm | Common nonstructural patch and older exterior-panel range |
| 18 gauge | 0.0478 in. | 1.214 mm | Heavier patches and fabricated sections when the original thickness matches |
| 16 gauge | 0.0598 in. | 1.518 mm | Brackets, mounts, heavy fabricated repairs, and some older sections |
| 14 gauge | 0.0747 in. | 1.897 mm | Heavy fabrication; not a default structural-body replacement specification |
Actual commercial sheet can vary within manufacturing tolerances. Paint, primer, zinc coating, filler, corrosion, and sanding can also change a measurement, so do not identify a panel from one coated reading.
Common Auto Body Thickness by Part
Body-part names provide only a starting point. A door skin is usually thinner than its intrusion beam, but a rocker or floor is not one uniform sheet. These assemblies can include outer panels, inner panels, reinforcements, brackets, adhesives, and overlapping flanges.
| Vehicle Area | Common Construction | Repair Guidance |
|---|---|---|
| Fender, door skin, or quarter-panel skin | Often thin steel around the 24- to 20-gauge range, but some vehicles use HSS or aluminum | Verify material and thickness; use low heat on weldable mild-steel skins |
| Older restoration body panel | Often conventional mild steel, sometimes heavier than a modern skin | Measure the original or an undamaged matching area instead of selecting by model year alone |
| Floor pan | Formed sheet with beads, seams, reinforcements, brackets, and overlapping areas | Match the specific layer and duplicate its shape, flanges, drainage, and corrosion protection |
| Rocker, pillar, roof rail, or frame rail | Multi-layer structural assembly that may include HSS, AHSS, or UHSS | Use the vehicle-specific OEM replacement, sectioning, attachment, and welding procedure |
| Bracket or body mount | Often thicker than a cosmetic skin and shaped to carry a local load | Match thickness, grade, shape, attachment points, and weld size |
Warning: Do not choose replacement material for a rocker, pillar, rail, suspension mount, seat-belt mounting area, or other structural component from a generic gauge chart. Obtain the vehicle-specific OEM collision-repair procedure and use the specified part, joint location, attachment method, equipment, and corrosion-protection system.
Identify the Material Before Choosing a Gauge
Thickness is only one part of material identification. Modern vehicles can combine several materials within the same body structure, and a repair that matches thickness but not material grade can still be wrong.
- Conventional mild steel: Common on many cosmetic panels and older vehicles. It is usually the most forgiving steel for forming and properly controlled MIG welding.
- High-strength and advanced high-strength steel: Used to reduce mass, improve dent resistance, and manage loads. Some exterior door skins and quarter panels now use HSS. Repairability and allowable heat depend on the OEM procedure.
- Ultra-high-strength or press-hardened steel: Common in safety-cell and intrusion-related components. Heating, straightening, or sectioning may be prohibited.
- Zinc-coated or galvanized steel: Common for corrosion protection. The coating affects gauge conversion, weld preparation, fume control, and post-repair corrosion protection.
- Aluminum: Uses a different gauge chart and requires aluminum-specific joining methods, tools, cleanliness controls, and repair information.
- Composites and plastics: Do not have a sheet-steel gauge and require a different repair process.
A magnet can help separate aluminum from magnetic steel, but it cannot identify the strength grade of steel. Consult the vehicle maker’s body-repair information or the I-CAR steel repairability guidance before heating, straightening, sectioning, or welding an unfamiliar panel.
How Car Age Affects Sheet Metal
Vehicle age can suggest what you may find, but it does not establish the gauge. Many older restoration vehicles use conventional mild-steel construction and may have heavier exterior panels than a newer vehicle. However, thickness still varies by make, model, body section, and prior repair history.
Modern vehicles are more likely to use a mix of thin mild steel, HSS, AHSS, UHSS, aluminum, adhesives, rivets, and tailored blanks. A modern outer skin may be thin, while the reinforcement behind it is much stronger and subject to strict heat or replacement rules.
Rust, abrasive blasting, grinding, repeated bodywork, and previous collision repairs can make an old panel thinner than it was when new. Reproduction panels can also differ from the factory part. Measure the actual repair area and compare it with an undamaged section or a removed cutout.
Note: Model year is a clue, not a measurement. An older vehicle can contain thin replacement panels, and a modern vehicle can contain thick or extremely strong reinforcements.
Why Modern Cars Use Thinner and Stronger Materials
Modern vehicle design is not based on making every part as thick as possible. Engineers balance material strength, stiffness, shape, joining methods, weight, durability, manufacturing, and crash-energy management across the complete structure.
The U.S. Department of Energy identifies high-strength steel, aluminum, magnesium, carbon fiber, and polymer composites as lightweighting materials that can reduce vehicle mass while maintaining safety and performance. I-CAR also notes that some OEMs use HSS in exterior skins to reduce weight and improve dent resistance.
| Design Choice | Purpose | Repair Effect |
|---|---|---|
| Thinner exterior skin | Reduce mass and make complex shapes | Greater risk of heat distortion and burn-through |
| Higher-strength steel | Carry loads with less material or improve dent resistance | Heat, straightening, welding, and sectioning may be limited |
| Tailored thickness or grade | Put strength only where the design needs it | One component may not have one uniform gauge |
| Adhesive, rivet, spot-weld, or mixed joining | Control stiffness, sealing, fatigue, and manufacturing | A continuous MIG weld may not duplicate the factory joint |
Thinner does not automatically mean weaker, and thicker patch steel does not automatically make a safer repair. The original vehicle design depends on the correct material, shape, joint, and load path working together.
How to Measure Auto Sheet Metal
A 0–1-inch micrometer provides the most controlled measurement on thin sheet. Quality digital calipers can also work when their jaws are clean, flat, and properly zeroed. Measure bare, accessible, single-layer metal whenever possible.
- Find a representative single layer. Use an exposed flange, the edge of a removed cutout, or an undamaged matching panel. Avoid folded seams and overlapping layers.
- Remove coatings from the test spot. Paint, primer, filler, seam sealer, undercoating, and corrosion can add or subtract enough thickness to change the apparent gauge.
- Clean and zero the tool. Wipe the measuring faces and confirm that the micrometer or calipers return to zero.
- Keep the measuring faces square. Do not pinch an angled edge or press so hard that thin metal flexes.
- Take at least three readings. Measure nearby points and compare them. A single low reading may be caused by rust or prior grinding.
- Record the decimal measurement. Keep the value in millimeters or inches before converting it to a gauge.
- Confirm the material. Use the correct chart for mild steel, galvanized steel, stainless steel, or aluminum.
- Check OEM repair information. For structural or late-model work, thickness alone is not enough to approve a repair.
Pro Tip: Save a clean piece of the metal removed from the repair opening. It provides a direct thickness sample and a useful test coupon for checking fit, wire speed, heat input, and penetration before welding the vehicle.
A sheet-metal gauge wheel is useful for checking clean sheet stock, but it is less reliable on a curved vehicle panel, coated edge, corroded area, or layered seam. Use it as a cross-check rather than the only measurement.
How to Choose the Right Patch Panel Gauge
The correct patch matches more than a gauge number. It should match the original panel’s actual thickness, material type, strength grade, coating, shape, and repair method. A thicker patch can be harder to shape, require more heat, and concentrate stress at the joint.
Products Worth Considering

Value Pack: The package includes 24 packs of butt welding clamps, enough quantity to meet your daily needs and replacements. Each butt welding clamps is individually wrapped in a small bag, convenient to carry and use.

AUTO SHEET METAL KIT: Suitable for repairing metal components or panels on cars, trucks, and other automotive vehicles. The aluminized finish gives the steel vastly improved anti corrosion and rust properties, extending the lifetime of your sheet metalworking repairs. Excellent properties make this 20 gauge aluminized sheet metal ideal for welding, forming, and once in place for painting.

Automotive Bodywork and Rust Repair
Match Factory Metal
For a cosmetic mild-steel skin, choose clean sheet stock as close as possible to the original decimal thickness. If the original steel measures about 0.76 mm, standard 22-gauge mild steel is a reasonable nominal match. If it measures about 0.91 mm, 20-gauge mild steel is closer.
Do not rely only on an aftermarket label. Measure reproduction panels and compare their contour, flange position, bead shape, and thickness with the original part before cutting the vehicle.
Balance Strength and Form
Using thicker steel is not a reliable way to strengthen a repair. It may make the patch stiffer than the surrounding panel, increase heat input, interfere with body lines, and move stress to the weld edge.
For nonstructural mild-steel work, choose the closest available thickness that forms and welds like the original. For a structural assembly, use the OEM-specified service part and attachment method rather than selecting generic sheet stock by gauge.
Measure Before Welding
Measure after removing paint and corrosion but before shaping the patch. Confirm the reading in more than one place. If the damaged area has been ground or rusted thin, compare it with an undamaged section or the corresponding panel on the opposite side of the vehicle.
| Repair Type | Material Choice | Key Check |
|---|---|---|
| Cosmetic mild-steel outer skin | Same-thickness low-carbon sheet steel | Confirm the panel is weldable mild steel and nonstructural |
| Older mild-steel floor patch | Same thickness as the specific floor layer | Duplicate beads, drains, flanges, seams, and corrosion protection |
| Layered rocker or pillar | OEM service part or approved section | Follow OEM material, sectioning, attachment, and weld requirements |
| HSS, AHSS, or UHSS component | OEM-specified replacement material | Confirm whether repair, heat, sectioning, or MIG welding is permitted |
| Aluminum panel | Correct alloy and thickness under the OEM procedure | Use dedicated aluminum tools and the specified joining process |
Best Steel for Patch Panels
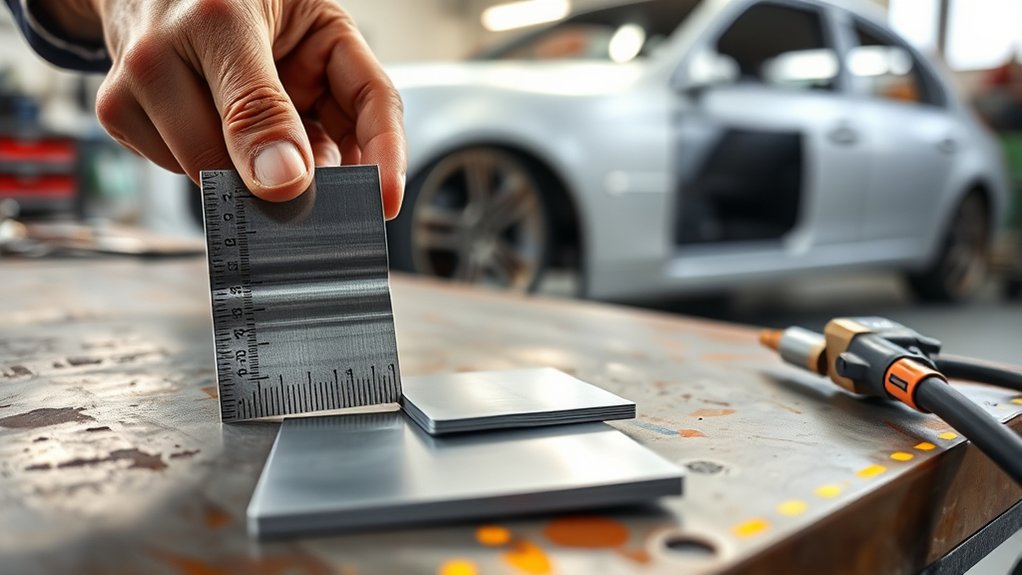
For a compatible, nonstructural mild-steel body repair, clean low-carbon cold-rolled sheet steel is often a practical choice. Its smooth surface is easier to inspect, form, fit, weld, and finish than hot-rolled sheet covered in mill scale. The correct thickness still comes from the original panel—not from a universal recommendation.
Products Worth Considering

Package Contents: 2 pieces of 20-gauge (0.9 mm) cold-rolled steel plates, each measuring 12" x 6". Coated with a light protective oil to prevent oxidation during shipping, and easily wipes clean before use

Premium 20 Gauge Mild Steel Sheet Metal – Crafted from high-quality cold rolled steel, these sheets offer exceptional durability and a smooth, uniform surface. Ideal for precision-driven projects requiring reliable material performance without compromising on structural integrit

4 Pack A36 Cold Rolled Steel Sheet Good durability and weldability requirements, ideal for structural projects requiring corrosion resistance.
Matching Factory Gauge
Measure the damaged panel or removed cutout and choose the closest nominal sheet thickness. Do not install 18-gauge steel merely because it feels stronger. At about 1.214 mm, standard 18-gauge mild steel can be much heavier than a thin exterior skin.
Matching thickness helps both pieces heat at a similar rate. It also makes a flush butt joint easier to align and reduces the amount of grinding needed after welding.
Cold-Rolled Steel Choice
Cold-rolled sheet has a smooth, consistent finish that works well for visible mild-steel patch panels. It still needs cleaning and proper preparation before welding, priming, and painting.
Hot-rolled sheet can be useful for heavier fabrication, but its mill scale must be removed from the weld and finishing areas. Avoid unknown scrap, coated appliance panels, or sheet with unidentified plating because its composition, coating, and weld behavior may be unsuitable.
Thickness and Weld Fit
A patch should sit flush without force, rocking, or a wide gap. The joint design matters as much as thickness. A tight butt joint works well for many cosmetic skin repairs, while factory flanges, plug welds, adhesives, or lap joints may be required in other locations.
Shape the patch before final trimming, leave only the gap needed for the chosen process, and test the joint on matching scrap. A smooth surface created with the correct grinding wheel can improve fit-up, but aggressive grinding can thin the panel and weaken the weld.
Welding Safety Before You Start
Vehicle welding adds hazards that are not present when two loose pieces of sheet are welded on a bench. Sparks and current can reach wiring, sensors, glass, paint, foam, seam sealer, carpet, fuel-system parts, and enclosed cavities.
Warning: Obtain the OEM shutdown and welding procedure before welding a late-model, hybrid, or electric vehicle. High-voltage batteries and cables require trained handling. Do not improvise an HV shutdown, weld near an energized system, or assume disconnecting the 12-volt battery makes every vehicle safe.
- Confirm the repair method. Check whether the panel may be welded, sectioned, straightened, bonded, riveted, or repaired with heat.
- Shut the vehicle down correctly. Follow the OEM procedure for the 12-volt battery, backup power supplies, SRS wait times, hybrid/EV systems, and memory-sensitive electronics.
- Protect nearby components. Remove or shield wiring, modules, sensors, batteries, glass, trim, carpet, paint, and other parts near the welding area.
- Inspect both sides. Remove foam, seam sealer, adhesive, undercoating, sound deadener, and other combustible material from the heat zone.
- Control fire risk. Keep a suitable extinguisher nearby, protect openings where sparks can travel, and continue checking cavities and the back of the panel after welding.
- Identify coatings. Zinc-coated steel and old paint can produce hazardous fumes. Remove only the coating required by the repair procedure and use suitable local exhaust or respiratory protection.
- Place the work clamp correctly. Follow the welder and OEM instructions, keep the current path short, and avoid routing welding current through bearings, modules, or sensitive components.
- Wear complete PPE. Use an appropriate welding helmet, safety glasses, gloves, flame-resistant clothing, hearing protection, and suitable respiratory protection for the material and ventilation conditions.
I-CAR’s vehicle-protection guidance for welding emphasizes disconnecting systems and protecting nearby modules, wiring, sensors, interior materials, glass, coatings, foam, and sealer. OSHA also requires ventilation controls for welding zinc-bearing materials indoors and warns that welding fumes and gases can be hazardous.
Basic MIG Settings for Thin Auto Metal
For weldable mild-steel cosmetic panels, short-circuit MIG with solid wire is usually easier to control than self-shielded flux-cored wire. Miller recommends .023- or .024-inch wire for most light-gauge sheet-metal work and notes that .030-inch wire can become practical around 18 gauge and thicker.
| Setup Item | General Starting Guidance |
|---|---|
| Process | Short-circuit GMAW/MIG for approved mild-steel repairs |
| Wire for light-gauge sheet | .023- or .024-inch ER70S-6 solid wire |
| Wire for 18 gauge and thicker | .023/.024 inch remains usable; .030 inch may work when supported by the machine and procedure |
| .035-inch wire | Usually unnecessarily large for thin exterior skins; reserve it for suitable thicker material and machine settings |
| Shielding gas | 75% argon/25% CO₂ is a common choice for solid-wire mild-steel MIG |
| Polarity | DCEP/electrode positive for common solid MIG wire; confirm the wire and machine instructions |
| Voltage and wire speed | Use the machine chart or manual, then fine-tune on same-thickness scrap |
| Technique | Fast, controlled tacks or short stitches placed around the repair rather than one continuous bead |
- Install the correct wire size and feed components, including the contact tip, drive roll, and liner recommended for the wire.
- Set the correct polarity and shielding-gas flow according to the wire and welder instructions.
- Start with the machine’s chart setting for the measured material thickness. Do not copy a voltage number from a different welder.
- Make test welds on two pieces of matching scrap using the same joint and position as the vehicle repair.
- Inspect the arc, bead profile, rear-side penetration, distortion, and burn-through risk.
- Adjust one control at a time until the arc is stable and the test joint has adequate fusion without excessive heat.
- Clamp the patch flush with a tight, consistent joint.
- Place the first tacks far apart, then return to fill the spaces only after the earlier welds cool.
A push gun angle can improve visibility and reduce penetration on thin sheet. Keep the arc movement direct rather than weaving, and use the fastest travel that still produces a sound weld. For additional diagnosis, review common MIG welding problems and solutions.
Note: Self-shielded flux-cored wire generally adds more heat and spatter than small-diameter solid MIG wire, making it harder to control on very thin cosmetic panels. It may be useful for other fabrication tasks, but it is not the default choice for an exterior body skin.
Prevent Warping and Restore Corrosion Protection
Warping happens when one area expands and contracts more than the surrounding panel. Thin steel reacts quickly, so controlling the weld sequence is usually more important than trying to repair distortion later.
- Use a patch that fits flush without forcing the surrounding panel.
- Keep the joint gap narrow and consistent.
- Place small tacks at widely separated points.
- Move to a cool area instead of adding another weld beside a hot tack.
- Allow the panel to cool between rounds; do not run a long continuous bead across a cosmetic skin.
- Use a copper backing tool where access and the repair design allow it.
- Planish only when suitable for the panel material and repair method.
- Grind only enough to level the weld. Excess grinding thins both the weld and the surrounding sheet.
After welding, restore every protection layer disturbed by cutting, cleaning, welding, and grinding. The exact system depends on the OEM procedure and product instructions, but it may include:
- Approved weld-through primer on specified mating flanges before joining.
- Epoxy primer or another approved corrosion-resistant coating on prepared bare metal.
- Seam sealer applied in the specified location and sequence.
- Topcoat, underbody coating, or chip protection that duplicates the factory system.
- Cavity wax on the enclosed back side of patches, flanges, rockers, pillars, and other inaccessible areas.
- Drain holes and factory openings kept clear.
Do not spray flammable cavity wax or solvent-rich products into a hot repair. Finish welding, confirm that no hidden fire remains, allow the panel to cool, and follow the coating maker’s application instructions.
Common Mistakes When Welding Auto Body Sheet Metal
Many bodywork problems begin before the first arc. Correcting material, fit-up, safety, and access problems early prevents hours of grinding, shrinking, straightening, and rust repair later.
- Trusting a gauge label without measuring: The delivered sheet or reproduction panel may not match the original part.
- Using the wrong gauge chart: Mild steel, galvanized steel, stainless steel, and aluminum use different conversions.
- Measuring paint or a folded seam: Coatings and double layers produce a false reading.
- Assuming every magnetic panel is mild steel: HSS and UHSS are also magnetic.
- Using thicker material for “extra strength”: It can change stiffness, fit, heat input, and stress distribution.
- Leaving a wide or uneven gap: The arc spends more time bridging the opening and increases burn-through risk.
- Running long beads: Concentrated heat pulls a flat panel out of shape.
- Copying another welder’s voltage: Machines, wire, joints, and power supplies differ.
- Skipping test welds: The vehicle should not be the first place you discover that the setup is too hot or lacks fusion.
- Welding over paint, rust, filler, or sealer: Contamination creates fumes, porosity, spatter, and weak fusion.
- Ignoring the back of the panel: Sparks can ignite trim, foam, undercoating, carpet, or debris inside a cavity.
- Failing to restore coatings: Bare rear surfaces and flanges can rust even when the visible repair looks finished.
Frequently Asked Questions
What thickness metal should you use for car body repairs?
Use sheet metal that matches the original panel’s bare-metal thickness and material grade. Many mild-steel cosmetic repairs fall between 24 and 18 gauge, but structural parts, reinforcements, high-strength steel, and aluminum require vehicle-specific OEM repair information.
Is .030- or .035-inch wire better for auto body welding?
For thin mild-steel body panels, neither is usually the first choice. .023- or .024-inch solid wire provides better heat control for most light-gauge work. .030-inch wire can work around 18 gauge and thicker. .035-inch wire is generally better suited to thicker fabrication than thin exterior skins.
What is the thickness of auto body metal?
There is no single thickness. Many mild-steel exterior skins are approximately 0.61 to 0.91 mm, which is about 24 to 20 gauge on a standard mild-steel chart. Restoration patches may be 22 to 18 gauge, while layered and structural parts vary by vehicle design and steel grade.
Which is thicker, 7-gauge or 12-gauge steel?
Within the same sheet-steel gauge system, 7-gauge steel is thicker than 12-gauge steel. Lower gauge numbers represent thicker sheet. Always confirm the material because the same gauge number can represent a different thickness in another metal.
Can you use 20-gauge steel for auto body patches?
Yes, when standard 20-gauge mild steel—about 0.911 mm—closely matches a weldable nonstructural mild-steel panel. Do not use it merely because it is available, and do not substitute it for an OEM-specified structural or high-strength-steel component.
Should you use hot-rolled or cold-rolled steel for patch panels?
Clean low-carbon cold-rolled steel is often easier to form and finish for visible mild-steel body patches because it has a smooth surface without heavy mill scale. The correct material is still determined by the original panel’s thickness, grade, coating, and repair procedure.
Can you measure auto body metal through paint?
Not accurately enough for gauge selection. Paint, primer, filler, zinc coating, and corrosion change the reading. Measure a clean bare-metal edge or removed cutout, and take several readings from a single layer.
Can you weld high-strength auto body steel with a normal MIG welder?
Only when the vehicle-specific OEM procedure permits that process and your equipment, wire, joint, and technician qualification meet the requirement. Some HSS or UHSS parts cannot be heated, straightened, sectioned, or repaired with a generic MIG method.
Is auto body steel galvanized?
Many automotive steel panels use zinc or another factory corrosion-protection coating, but construction varies by vehicle and part. Identify and prepare the coating under the OEM procedure, use suitable fume controls, and restore the corrosion protection after welding.
Conclusion
Auto body sheet metal commonly falls within a thin 24- to 18-gauge mild-steel range, but that range is not a repair specification. Measure clean single-layer metal, record its decimal thickness, identify the material and coating, and check the vehicle maker’s repair procedure before selecting patch stock.
For an approved nonstructural mild-steel repair, matching cold-rolled sheet, small-diameter solid MIG wire, careful fit-up, spaced tacks, and complete corrosion protection can produce a clean and durable patch. Structural, high-strength-steel, aluminum, SRS-related, and hybrid/EV repairs belong under vehicle-specific procedures and trained collision-repair practices.
Sources
- Metal Supermarkets — Sheet Metal Gauge Chart — mild-steel, galvanized-steel, stainless-steel, and aluminum gauge conversions.
- Miller — Successfully Welding Sheet Metal With MIG and TIG — light-gauge wire size, shielding gas, polarity, and heat-control guidance.
- I-CAR — Steel Repairability — high-strength exterior panels and the need for OEM material-repair guidance.
- I-CAR — Vehicle Protection When Welding — battery, electronics, interior, glass, foam, sealer, and nearby-component precautions.
- OSHA 29 CFR 1910.252 — Welding, Cutting, and Brazing — fire prevention, hazardous fumes, ventilation, and zinc-bearing material requirements.
- U.S. Department of Energy — Lightweight Materials for Cars and Trucks — vehicle lightweighting through high-strength steel, aluminum, and other advanced materials.




