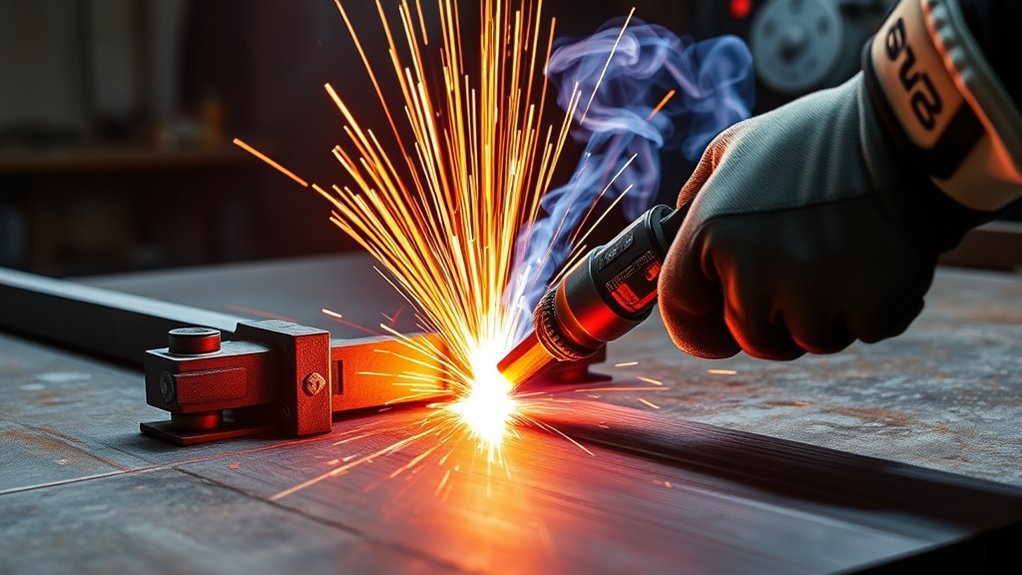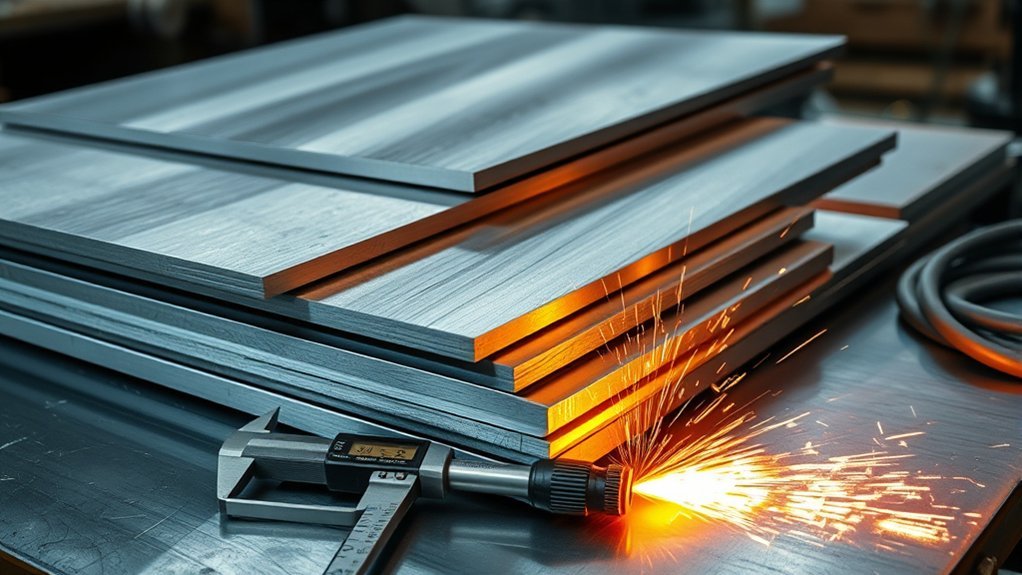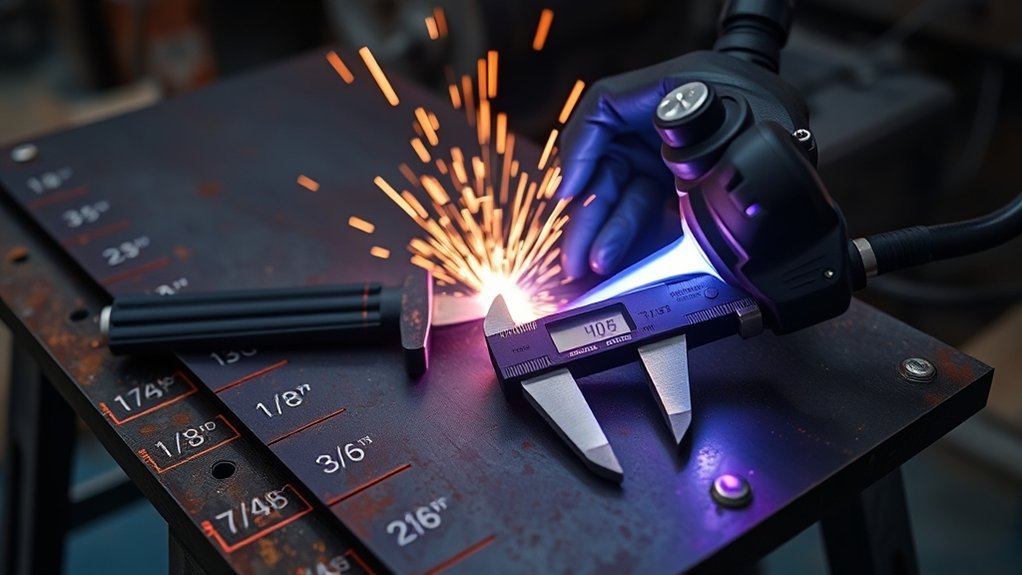
The Everlast PowerPlasma 62i is a 60-amp plasma cutter designed for hand cutting, light gouging, and CNC use. Its best results depend on more than amperage. You also need stable 208–240V power, enough compressor capacity, dry air, correct torch height, suitable consumables, and a travel speed that matches the material. This guide explains the machine’s verified cut limits, setup process, generator requirements, duty cycle, CNC features, troubleshooting, and safety precautions.
Quick Answer
The PowerPlasma 62i can make a maximum quality cut through 1-inch mild steel at about 8–12 ipm and an occasional 1-1/4-inch severance cut at about 3–5 ipm. For regular work, stay near its daily-use range, supply dry air at the correct flowing pressure, and never exceed 90 psi at the cutter’s inlet.
Key Takeaways
- The current Everlast product page lists daily cutting up to 3/4-inch mild steel at 15–20 ipm, although the older manual gives a more conservative 5/8-inch daily rating.
- Maximum quality capacity is 1 inch at roughly 8–12 ipm, while 1-1/4 inches is an occasional severance cut that will need cleanup.
- The cutter has a 60% duty cycle at 60 amps and a 100% duty cycle at 50 amps, both rated at 104°F or 40°C.
- Use approximately 6 CFM at 90 psi from a compressor with a 30-gallon tank or larger, regulate inlet pressure to 90 psi or less, and set cutting pressure while air is flowing.
- Generator power must be rated as clean power with 5% or less total harmonic distortion. Everlast specifies at least 10,000 surge watts and identifies 11,000 watts as suitable.
- Exact thin-plate speed settings should be developed on scrap because nozzle size, surface condition, voltage, air quality, and torch motion all affect the result.
At a Glance
| Time Required | About 10–20 minutes for inspection, air setup, pressure adjustment, and a test cut |
| Difficulty | Intermediate; training is recommended before cutting thick plate or using CNC controls |
| Tools Needed | PowerPlasma 62i, suitable torch and consumables, regulated compressor, air dryer, work clamp, test coupon, PPE, and fire extinguisher |
| Cost | Varies by compressor, dryer, electrical circuit, torch package, consumables, and PPE |
What’s in This Article
- Key Specifications and Power Requirements
- Clean Cut vs. Severance: What to Expect
- Real-World Cut Speeds by Material Thickness
- Generator Use and THD Considerations
- Air Quality, Postflow, and Consumable Life
- Troubleshooting Cut Quality and Error Codes
- CNC Package Capabilities and Setup Notes
- Safety Gear and Essential Accessories
- Frequently Asked Questions
- Conclusion
- Sources
Key Specifications and Power Requirements
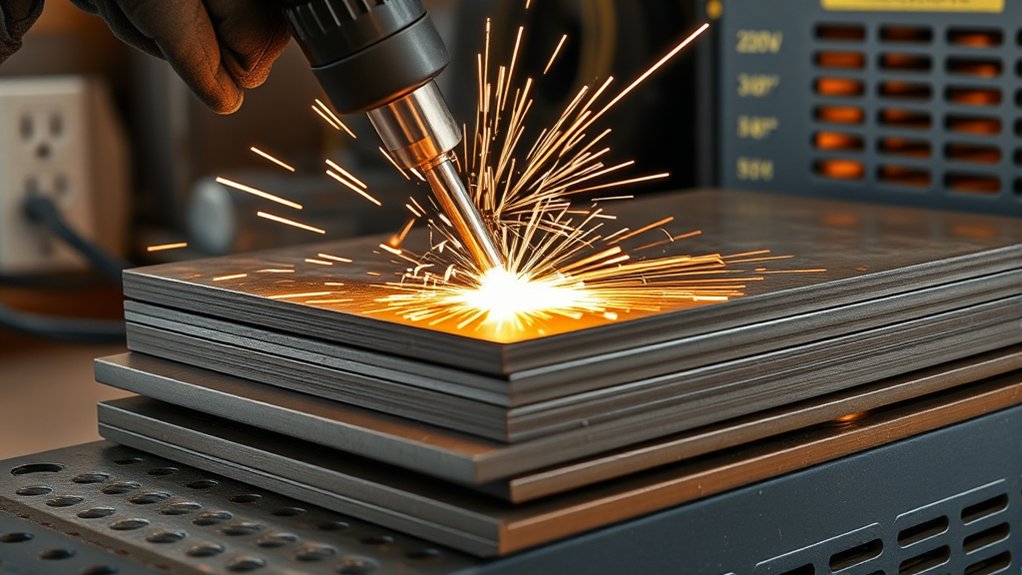
The PowerPlasma 62i uses a digitally controlled IGBT inverter and provides a 20–60 amp output range. The North American model operates on 208–240V single-phase power. Everlast publishes a maximum input-current rating of 41 amps and an effective input-current rating of 32.4 amps.
Use the following figures as capacity limits rather than guaranteed results. Cut performance changes with material type, surface condition, input voltage, air quality, torch height, nozzle size, consumable wear, and operator control.
| Specification | Published Figure | Practical Meaning |
| Daily hand cutting | Up to 3/4 inch at 15–20 ipm on the current product page | A realistic upper range for regular mild-steel work under favorable conditions |
| Older manual daily rating | 5/8 inch | A conservative planning limit when production speed and consumable life matter |
| Maximum quality cut | 1 inch at about 8–12 ipm | Possible with full output, good consumables, dry air, and careful torch control |
| Maximum severance | 1-1/4 inches at about 3–5 ipm | An occasional through-cut with bevel, dross, and post-cut grinding expected |
| Maximum hand pierce | Up to 1/2 inch | Use an edge start on thicker plate to reduce molten blowback and consumable damage |
| CNC daily thickness | About 3/8 inch in the operator manual | CNC production limits are lower because of straight-down piercing, speed expectations, and duty cycle |
| Duty cycle | 60% at 60 amps; 100% at 50 amps | At 60 amps, allow cooling after six minutes of arc time within a ten-minute period at the rated temperature |
| Compressor | About 6 CFM at 90 psi; 30-gallon tank recommended | The compressor must maintain flow without large pressure drops during long cuts |
Note: Everlast’s current product page and its older operator manual do not give the same daily hand-cut thickness. Check the manual revision supplied with your machine and use the lower figure when you need conservative production planning.
Input Power and Duty Cycle
Connect the cutter to a correctly installed 208–240V single-phase circuit. Breaker and conductor sizing must account for the machine’s nameplate ratings, installation method, conductor length, and local electrical code. Have a licensed electrician install or verify the circuit rather than adapting an existing dryer or range receptacle.
The 60% duty-cycle rating means the machine can cut for six minutes during a ten-minute period at 60 amps when the surrounding temperature is 104°F or 40°C. The remaining time is for cooling. At 50 amps, Everlast publishes a 100% duty cycle, but that still refers to a ten-minute rating period rather than unlimited operation.
Warning: Stop cutting when the E01 overtemperature code appears. Keep at least 18 inches of open space around the machine’s cooling-air openings, and do not restart until the fault clears.
Pre-Cut Setup Checklist
- Inspect the electrical supply. Confirm the receptacle, plug, circuit, and generator rating match the machine.
- Connect the air system. Install a compressor regulator, moisture separator or dryer, fine coalescing filter, and clean hose.
- Limit inlet pressure. Regulate pressure so the cutter never receives more than 90 psi.
- Inspect the torch. Turn the cutter off before checking the electrode, nozzle, retaining cap, shield, and O-rings.
- Match the consumables. Use a nozzle size suitable for the selected amperage and cutting mode.
- Attach the work clamp. Clamp directly to clean, bare metal on the workpiece rather than relying on an indirect table connection.
- Set flowing pressure. Use Air Check, then adjust pressure while air is moving through the torch. Follow the green target on the pressure guide.
- Set postflow. Begin with the manual’s rule of 1–2 seconds for every 10 amps and add time after long cuts.
- Test on scrap. Use material of the same type and thickness, then inspect sparks, bevel, dross, and edge color.
Clean Cut vs. Severance: What to Expect
A daily cut, maximum quality cut, and severance cut are not interchangeable ratings. Choose your working thickness based on the finish, speed, duty cycle, and cleanup your job requires.
- Daily cutting capacity: This is the practical upper thickness for repeat work at a useful travel speed. The current product page lists up to 3/4 inch, while the older manual lists 5/8 inch.
- Maximum quality cut: The machine can cut 1-inch mild steel at roughly 8–12 ipm under favorable conditions. Expect slower progress and greater sensitivity to torch height, air quality, and consumable wear.
- Severance capacity: A 1-1/4-inch severance cut is intended to separate the material. The edge may have heavy dross, taper, drag lines, and heat discoloration.
- Pierce capacity: Everlast lists a hand-pierce capacity up to 1/2 inch. Use an edge start above that thickness or whenever molten blowback could damage the nozzle.
- CNC production capacity: Automated cutting has lower practical thickness and pierce limits because the machine torch cannot be tilted away from molten blowback in the same way as a hand torch.
Treat the 1-1/4-inch figure as an occasional separation limit, not the thickness around which you should plan daily production.
For a squarer edge, hold the torch close to 90 degrees, maintain a consistent standoff, and keep your motion smooth. The manual recommends keeping standoff below 1/8 inch. An edge start near 1/16 inch is useful on thick plate when your consumable setup permits it.
Real-World Cut Speeds by Material Thickness
Everlast publishes speed figures for the machine’s upper capacity limits, but it does not provide a complete verified speed chart for every thin-steel thickness on the current product page. Do not treat a single internet setting as a guaranteed cut chart. Nozzle diameter, amperage, voltage at the machine, air flow, surface coating, and torch motion can all change the correct speed.
Use the manual’s amperage rule as a starting reference for hand cutting: begin around 20 amps for the first 1/8 inch of mild steel, then add roughly 10 amps for each additional 1/8 inch. Match the nozzle to the amperage and confirm the result on scrap.
1/8-Inch Starting Settings
For 1/8-inch mild steel, start near 20 amps with consumables rated for that output. Move fast enough to prevent a wide kerf and excessive heat, but not so fast that sparks trail across the underside instead of passing through the plate.
- Clean rust, paint, scale, and oil from the test area.
- Install the nozzle size recommended for the selected amperage.
- Hold the torch square and maintain the correct standoff.
- Make a short test cut without stopping or changing angle.
- Increase speed if the kerf is wide, the top edge rounds heavily, or heat distortion grows.
- Decrease speed if the arc fails to pass through or sparks trail sharply behind the torch.
1/4-Inch Starting Settings
The manual’s amperage rule points toward approximately 30 amps for 1/4-inch mild steel, but the final setting depends on nozzle size, material condition, and the finish you need. A higher amperage may increase speed, while a lower setting with the correct small-orifice nozzle may give you more control on detailed cuts.
Watch the sparks below the plate. They should pass through the cut with only a small rearward angle. Sparks that shoot far backward usually indicate excessive travel speed. Sparks that roll upward, heavy low-speed dross, and a wide heat-affected edge can indicate that you are moving too slowly.
3/8-Inch Productivity Tips
For 3/8-inch mild steel, prioritize a stable standoff, clean work-clamp connection, dry air, and smooth lead-ins before chasing maximum speed. Surface scale and worn consumables become more noticeable as thickness increases.
- Use the correct standoff: Keep the torch below the manual’s 1/8-inch maximum unless the consumable manufacturer specifies a different height.
- Keep the torch square: A consistent 90-degree angle reduces avoidable bevel.
- Set pressure under flow: Use Air Check and the LED pressure guide rather than setting pressure while the machine is idle.
- Use an edge start when practical: This reduces molten blowback and protects the nozzle.
- Record the result: Log material, thickness, amps, nozzle, pressure, speed, standoff, and consumable age.
Pro Tip: Change only one setting between test cuts. When you change speed, pressure, amperage, and height at the same time, you cannot tell which adjustment improved or damaged the edge.
Confirmed Thick-Steel Speed Ranges
- Daily-use range: Up to 3/4-inch mild steel at about 15–20 ipm on the current product page.
- Maximum quality range: Up to 1-inch mild steel at about 8–12 ipm.
- Maximum severance range: Up to 1-1/4-inch mild steel at about 3–5 ipm.
These figures assume good input power, dry air, suitable pressure, fresh consumables, and controlled torch movement. Aluminum and stainless steel generally have lower thickness capacity than mild steel. The older manual advises reducing the published mild-steel thickness figures by roughly 35–40% for those materials.
Generator Use and THD Considerations
When you run the PowerPlasma 62i from a generator, the generator must supply both enough wattage and sufficiently clean power. Everlast specifies a minimum of 10,000 surge watts and lists the cutter as suitable for use with an 11,000-watt clean-power generator.
The generator manufacturer must rate total harmonic distortion at 5% or less. A large wattage number alone does not establish compatibility. Distorted voltage or severe voltage sag can cause unstable arc behavior, fault codes, shutdowns, and damage that may affect warranty coverage.
Use the generator manufacturer’s THD rating at the receptacle. “Inverter” on the housing does not replace a documented clean-power specification.
- Confirm the generator provides 208–240V single-phase output compatible with the cutter.
- Confirm at least 10,000 surge watts, with approximately 11,000 watts providing useful headroom.
- Verify a published THD rating of 5% or less.
- Disable an economy mode if it causes slow engine response or voltage sag when the arc starts.
- Connect the cutter directly whenever the generator receptacle and cord arrangement permit it.
- Keep the generator exhaust outdoors and away from doors, windows, and occupied areas.
Extension Cords and Voltage Drop
Avoid an extension cord when possible. Everlast warns against long or undersized cords, and the machine’s published maximum input current is 41 amps. A safe conductor size cannot be chosen from length alone.
When temporary power is unavoidable, use a listed 240V cord assembly sized for the machine’s load, circuit protection, conductor material, ambient conditions, and total distance. Have an electrician calculate voltage drop and verify the plugs, receptacles, grounding path, and overcurrent protection.
Warning: Do not use a household extension cord, improvised adapter, damaged connector, or unverified dryer or range outlet. Low voltage at the cutter can weaken the arc and overheat electrical connections.
Air Quality, Postflow, and Consumable Life
The PowerPlasma 62i needs a steady supply of clean, dry, oil-free air. The included regulator and water trap catch some contamination, but Everlast requires the owner to install a separate inline air dryer to protect the torch and consumables.
Dry Air Requirements
The current product page recommends a compressor capable of approximately 6 CFM at 90 psi with a 30-gallon tank. The compressor must maintain flow while the torch is cutting, not merely reach a high static pressure before the arc starts.
- Install a compressor regulator so pressure entering the cutter never exceeds 90 psi.
- Place a moisture dryer in the air line before the cutter’s supplied regulator and water trap.
- Use a fine coalescing filter when the compressor may carry oil aerosol or fine mist.
- Drain the compressor tank and separators after each working session.
- Use a hose and fittings large enough to prevent pressure loss during long cuts.
- Set final cutting pressure with Air Check engaged and follow the machine’s green LED target.
Warning: Never supply more than 90 psi to the cutter. If pressure falls while cutting, correct the compressor capacity, hose size, restriction, or leak instead of increasing inlet pressure above the limit.
Postflow Timing Tips
Postflow keeps air moving through the torch after the arc stops. This removes heat from the torch head, electrode, and nozzle. The timer is adjustable from 0 to 50 seconds.
Everlast’s manual gives a starting rule of 1–2 seconds of postflow for every 10 amps. At 60 amps, that means an initial range of about 6–12 seconds. Increase the time after a long uninterrupted cut, repeated high-amperage cuts, or any session that leaves the torch unusually hot.
Do not reduce postflow simply to make the compressor quieter. If the compressor cycles too often, improve its capacity or air storage rather than removing torch-cooling time.
Maximizing Consumables Lifespan
- Use dry air: Moisture causes unstable arc behavior, pitting, and accelerated nozzle and electrode wear.
- Match nozzle size to amperage: Running excessive current through a small nozzle can enlarge or distort the orifice.
- Limit pilot-arc time: Start the cut promptly and use Tip Saver mode when automatic relighting is unnecessary.
- Prefer edge starts: Edge starts reduce molten metal blowing back into the torch during thick cuts.
- Maintain standoff: Excessive height reduces cutting capacity and can prevent the pilot arc from transferring.
- Use enough postflow: Increase cooling time after long or high-output cuts.
- Inspect every session: Look for an oval nozzle opening, deep electrode pit, cracked shield, damaged O-ring, loose cap, or uneven discoloration.
Turn the machine off before removing or inspecting torch parts. Replace the electrode and nozzle as a compatible set when wear has changed arc direction or cut quality. Continuing to use a badly worn part can damage the remaining consumables and torch head.
Troubleshooting Cut Quality and Error Codes
Begin troubleshooting with the work clamp, consumables, air, and torch height before changing several machine settings. Many cut problems come from a weak electrical connection, wet air, worn parts, excessive standoff, or travel speed rather than a failed power source.
| Problem | Likely Causes | What to Check |
| Arc does not transfer | Poor work-clamp contact, excessive standoff, dirty surface, worn consumables | Clamp directly to clean metal, reduce standoff, inspect the nozzle and electrode |
| Incomplete cut | Travel too fast, low amperage, voltage drop, pressure loss, worn nozzle | Slow slightly, verify amperage and nozzle size, test supply voltage, check flowing pressure |
| Heavy low-speed dross | Travel too slow, excessive heat input | Increase travel speed in small steps and check the top edge for rounding |
| Hard high-speed dross | Travel too fast or arc not fully penetrating | Reduce speed and watch whether sparks pass through with a small rearward angle |
| Excessive bevel | Worn orifice, tilted torch, excessive standoff, incorrect direction around the part | Replace worn parts, square the torch, correct height, and test cut direction |
| Rapid consumable wear | Wet air, long pilot-arc time, inadequate postflow, piercing too thick, incorrect nozzle | Service the dryer, use Tip Saver, increase cooling, use edge starts, match parts to amperage |
| E01 code | Overtemperature or exceeded duty cycle | Stop cutting, keep the machine powered for fan cooling if the manual directs, and clear airflow obstructions |
| E03 code | Air pressure too high or too low | Use Air Check, correct restrictions or leaks, and keep inlet pressure at 90 psi or less |
| E04 code | Torch not detected or retaining cap loose | Turn off power, inspect the torch connector, and tighten the cap correctly |
Note: When the display remains near 20–27 amps during a cut even though you selected a higher output, the pilot arc may not be transferring to the workpiece. Check the work-clamp connection and expose clean metal at the clamp point.
CNC Package Capabilities and Setup Notes
The PowerPlasma 62i includes a CNC interface and a separate CNC operating mode. The standard product page lists the IPT-60 hand torch with the basic machine and identifies the PTM-60 machine torch as an available CNC option. A dedicated CNC package may include different torch hardware, so verify the package contents and lead length for your exact purchase.
The machine’s CNC connector supports start and stop control, an Arc OK or OK-to-Move signal, divided arc voltage, and raw arc voltage. The operator manual identifies pins 1 and 2 for start and stop and pins 9 and 10 for the dry-contact Arc OK signal. Divided voltage can be configured for compatible torch-height controllers.
Warning: Raw arc voltage can cause severe shock or death. Do not open the cutter, move internal voltage-divider jumpers, or connect a controller to raw voltage unless you are qualified and are following the Everlast and CNC-controller instructions.
- Install the correct machine torch and compatible consumables.
- Route the torch lead so it cannot bind, pinch, rub a sharp edge, or exceed the drag chain’s bend limit.
- Connect start and stop, Arc OK, and torch-height-control signals according to both manufacturers’ pinout diagrams.
- Attach the work clamp directly to the plate or cutting table slats with a clean conductive path.
- Set pressure with Air Check while the machine is in the correct cutting mode.
- Enter a conservative pierce height, pierce delay, cut height, and speed for the first test coupon.
- Confirm the arc transfers and the Arc OK signal changes before enabling table motion.
- Inspect the pierce crater, kerf, bevel, and dross before cutting finished parts.
The manual gives approximately 3/8 inch as the recommended daily CNC cutting thickness. Production pierce capacity can be lower than the 1/2-inch hand-pierce rating because a machine torch normally starts straight above the plate and receives more molten blowback.
Pro Tip: Create separate CNC records for pierce height, cut height, pierce delay, amperage, pressure, speed, and voltage. A hand-cut setting is not automatically a safe CNC setting.
Products Worth Considering

60amps output current, suitable for Bestarc BTC500XP BTC650XP cutting machine

WITH GRADUATED SCALE: This plasma cutter comes with a graduated scale. This design enables the user to use the scale to intuitively and conveniently locate the cutting diameter, cutting more convenient and quick.

Package list : IPTM-60 CNC Complete torch 25ft a set
Safety Gear and Essential Accessories
Plasma cutting produces intense ultraviolet and infrared radiation, sparks, molten metal, hot edges, noise, fumes, and electrical hazards. Read the operator manual and obtain practical training before using the machine.
Products Worth Considering

Better clarity & True color view: The welding hood is equipped with a 3.64"x1.67" viewing window, featuring top-tier 1/1/1/1 optical clarity lenses and true color technology. You do not have to frequently flip up the helmet during work, and greatly improving the accuracy and efficiency while reducing eye strain.

Size - Shade: #8, Total Size: 133mm x 114mm x 3mm / 5.24" x 4.5" x 0.125.24" x 4.5", x Welding Filter Lens

[Size] - Shade: #8, Total Size: 108 x 50 x 3mm / 1.97" x 4.25" x 0.12", 4 x Welding Filter Lens
Eye, Face, and Body Protection
- Use a welding helmet or face shield with a shade 8 or darker filter for this 60-amp plasma cutter.
- Wear impact-rated safety glasses with side shields beneath the helmet or face shield.
- Wear dry leather cutting gloves without holes or exposed seams.
- Use flame-resistant clothing that covers your neck, arms, legs, and ankles.
- Wear leather safety footwear and avoid synthetic clothing that can melt against the skin.
- Use hearing protection during cutting, grinding, and chipping.
Fume and Ventilation Controls
Use local exhaust ventilation that captures fumes near the cut without pulling the plasma arc away from the kerf. General room airflow may not adequately control fumes from long cuts, coated metal, stainless steel, or enclosed work.
Remove paint, plating, oil, and unknown coatings from the cut area when it is safe to do so. Galvanized steel, stainless steel, lead-containing coatings, cadmium plating, and other alloys can release hazardous fumes. Do not rely on smell or visible smoke to judge exposure.
Warning: Never cut a sealed tank, drum, pipe, pressure vessel, fuel container, or container that held a flammable or toxic substance unless it has been professionally cleaned, tested, vented, and declared safe for hot work.
Fire and Electrical Safety
- Remove flammable material from above, below, beside, and behind the cut path.
- Use spark curtains or guards when hazards cannot be moved.
- Keep a suitable charged fire extinguisher within immediate reach.
- Assign a fire watch when sparks can enter concealed spaces or normal precautions are insufficient.
- Inspect the area after cutting for hot slag, embers, and smoldering material.
- Do not cut in standing water or while wearing wet gloves or clothing.
- Keep the work clamp connected directly to the material and avoid becoming part of the electrical path.
- Turn off and unplug the cutter before inspecting internal components or replacing torch parts.
- Wait at least ten minutes after unplugging before opening the case because internal capacitors may retain dangerous voltage.
Essential Accessories
- Air dryer and moisture separator
- Fine coalescing filter for oil and mist
- Regulated compressor capable of maintaining the required CFM
- Spare compatible electrodes, nozzles, shields, retaining caps, and O-rings
- Standoff or drag guide compatible with the installed consumables
- Shade-rated face protection and safety glasses
- Leather gloves and flame-resistant clothing
- Hearing protection
- Fire extinguisher and spark curtains
- Fume extraction suitable for the metal and coating being cut
Frequently Asked Questions
How loud is the PowerPlasma 62i during normal cutting?
Everlast does not publish a single verified operating-decibel figure for every cutting condition. Plasma arc noise, compressed air, the workpiece, and the compressor can all contribute. Wear hearing protection during cutting and grinding, and reduce exposure with distance, barriers, and shorter sessions.
Can the PowerPlasma 62i run on an extension cord?
A direct connection to a correctly installed 208–240V circuit is preferred. Everlast warns against long or undersized cords. When temporary power is unavoidable, have a qualified electrician size a listed cord assembly for the machine’s current, total length, conductor type, circuit protection, and allowable voltage drop.
What compressor does the PowerPlasma 62i need?
The current product page recommends approximately 6 CFM at 90 psi and a 30-gallon tank. The compressor must maintain pressure while air is flowing. Install a separate dryer, regulate inlet pressure to no more than 90 psi, and set cutting pressure with Air Check and the LED guide.
What ambient temperatures affect performance or duty cycle?
The published duty cycle is rated at 104°F or 40°C. Hotter surroundings, blocked airflow, dust, and long high-amperage cuts reduce cooling margin. The operator manual lists 14°F or -10°C as the minimum operating temperature. Cold equipment can also collect condensation when moved into a warm, humid shop.
How quickly can you get consumables and replacement torches?
Availability depends on the distributor, region, torch version, and current stock. Identify the exact IPT-60 or PTM-60 torch and consumable dimensions before ordering. Keep spare electrodes, nozzles, shields, retaining caps, and O-rings on hand rather than waiting for the installed set to fail.
Does the PowerPlasma 62i have a mobile app or Bluetooth monitoring?
Everlast’s published product page and operator manual do not list a native mobile app or Bluetooth feature. Settings and fault codes are monitored from the front panel. A separate CNC controller may provide its own job logging, torch-height data, or remote interface.
Can the PowerPlasma 62i cut aluminum and stainless steel?
Yes. Plasma cutting works on electrically conductive metals, including aluminum and stainless steel. However, do not expect the same thickness or edge quality as mild steel. The older Everlast manual advises reducing its mild-steel thickness ratings by roughly 35–40% for aluminum and stainless steel.
Conclusion
The PowerPlasma 62i can handle regular fabrication work and occasional thick-steel cuts when its supporting systems match the job. Plan routine work around the daily-use rating rather than the severance limit. Supply clean 208–240V power, keep generator THD at 5% or less, use a compressor capable of maintaining the required flow, and never exceed 90 psi at the cutter.
For each new material and thickness, install the correct consumables, set pressure while air is flowing, attach the work clamp to clean metal, and make a test cut. Read the sparks and edge instead of relying on an unverified universal speed. Dry air, controlled standoff, suitable postflow, and early consumable replacement will do more for repeatable cut quality than forcing the machine to its maximum rating.
Sources
- Everlast PowerPlasma 62i product page — current output, duty cycle, cut capacity, compressor, air-pressure, generator, torch, and CNC specifications
- Everlast PowerPlasma i Series operator manual — setup, air limits, postflow, duty cycle, operating technique, maintenance, error codes, and CNC pinout
- Everlast PowerPlasma 62i CNC package — CNC package and machine-torch information
- OSHA 29 CFR 1910.133: Eye and face protection — minimum filter-shade guidance for plasma arc cutting
- OSHA 29 CFR 1910.252: Welding, cutting, and brazing — fire prevention, guards, ventilation, and hot-work precautions
- NIOSH plasma-cutting safety overview — plasma hazards, emissions, training, and engineering controls