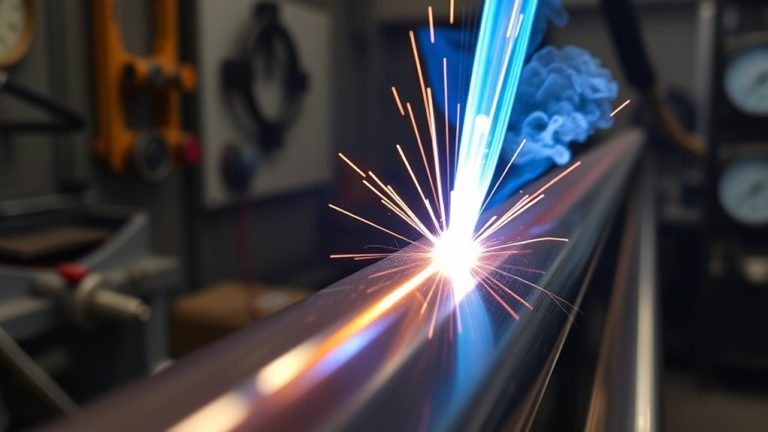
You’ll use a plasma cutter when you need clean, fast cuts across steel, stainless, or aluminum with minimal heat distortion. With proper setup—correct amperage, air quality, torch height, and travel speed—you’ll produce consistent edges for brackets, panels, and custom designs. You’ll also plan for grounding, PPE, fume control, and consumable inspection. Whether you’re fabricating, repairing, or creating art, your workflow changes with material thickness and cut type—so the next step is choosing…
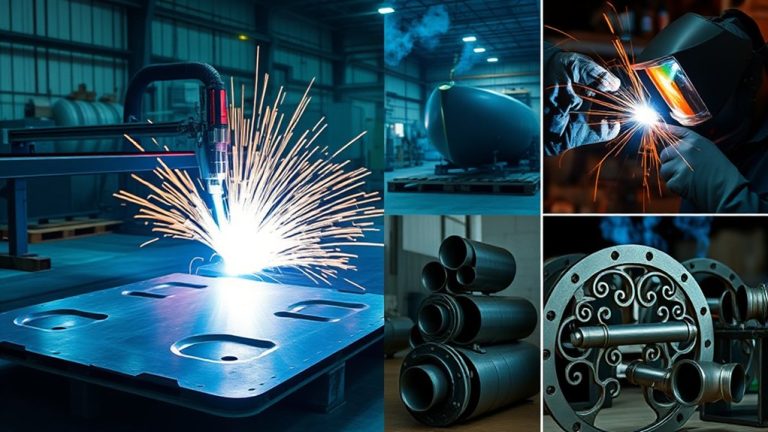
Understanding CNC Plasma Cutting

Precision starts with understanding how CNC plasma cutting turns digital designs into clean, repeatable cuts on conductive metals. You load a CAD file into specialized software, post-process it to machine code, and the controller translates those paths onto a CNC table. The torch generates a high-speed jet of ionized gas that melts and ejects material, producing sharp edges with minimal dross when parameters are correct.
You rely on CNC technology to automate motion, maintain cut height, and standardize pierce timing, which reduces human error and guarantees uniformity across parts. Set amperage, gas type, travel speed, and torch-to-work distance to balance plasma efficiency and edge quality for steel, aluminum, copper, or brass at varying thicknesses.
Verify cable routing, ground connections, and consumable condition before each run.
For safety, secure the workpiece, use eye, hand, and respiratory protection, and manage sparks and fumes with proper ventilation.
Perform dry runs to validate paths and avoid collisions.
Common Applications in Metal Fabrication
While CNC control streamlines setup and repeatability, plasma cutting proves its value on the shop floor by delivering fast, accurate profiles across stainless steel, aluminum, and copper in thicknesses up to about 50 mm.
You’ll use it to produce brackets, gussets, frames, and precision housings where tolerance and edge quality matter. In aerospace fixtures and structural components, minimal heat input limits distortion, so assemblies fit without excessive post-processing.
Apply cutting speed optimization to balance kerf width, dross formation, and consumable life. With modern plasma technology advancements—high-definition torches, refined gas mixes, and arc voltage control—you can achieve tight radii, small pierce points, and complex internal features reliably.
For heavy plate in construction or industrial skids, select amperage, standoff, and travel speed to maintain perpendicularity and reduce rework.
Follow safety: verify grounding, shield from arc glare, ventilate fumes, and secure workpieces.
For artistic fabrication, precise contours enable repeatable decorative panels, signage, and layered reliefs.
Automotive and Auto Body Repair
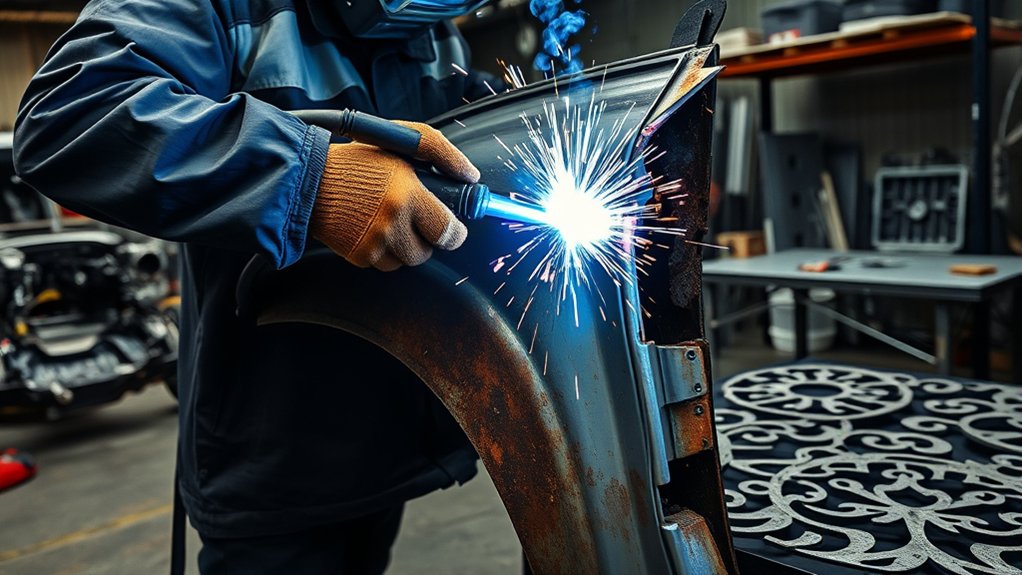
In auto body work, you’ll use a plasma cutter to remove rusted panels cleanly, controlling heat input to prevent warping adjacent steel or aluminum.
You can then fabricate custom brackets to spec—measure, mark, clamp, and cut—ensuring square edges and proper fit before welding.
For exhaust system repairs, set the correct amperage, maintain a steady standoff, and shield nearby components to make precise cuts that speed replacement with minimal distortion.
Rusted Panel Removal
Even on heavily corroded sheet metal, a properly set plasma cutter lets you remove rusted panels quickly and with control.
Verify air pressure and amperage per torch chart, then test on scrap. Mark cut lines beyond the corrosion margin to support rust prevention and accurate panel reinforcement later. Use a straightedge guide, maintain standoff, and keep travel speed steady to minimize heat input and prevent warping.
Purge coatings and trapped moisture before cutting, wear full PPE, and shield nearby wiring, glass, and fuel lines.
The arc’s precision gives clean edges on mild or stainless steel, simplifying fit-up and reducing grinding. Work in sections to avoid panel collapse; brace large spans before cutting.
Deburr, treat edges with inhibitor, and dry-fit replacement metal for a tight, weld-ready seam.
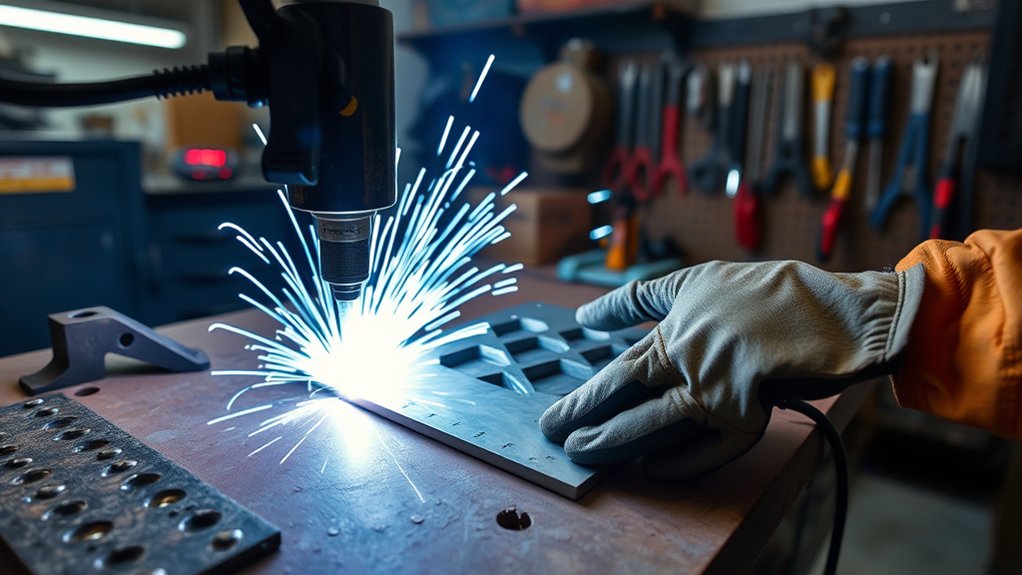
Custom Bracket Fabrication
Because accuracy drives both fit and function, you’ll use a plasma cutter to lay out and produce custom automotive brackets with tight tolerances and minimal distortion.
Start by confirming bracket materials and thickness, then select consumables, amperage, and gas to match steel or aluminum.
Build a clean CAD custom design, export cut paths, and verify hole sizes, slot clearances, and bend allowances.
Clamp the sheet, set standoff, and make test coupons to confirm kerf and heat-affected zone.
Use guides or a CNC table for repeatability and complex geometries.
Deburr edges, chase holes, and check flatness to prevent stress risers.
Dry-fit to the chassis or component, confirm clearance to moving parts, then finish with corrosion protection.
Wear eye, hand, and fume PPE.
Exhaust System Repairs
Although exhaust work often happens under time pressure, you’ll get cleaner results and faster turnarounds by using a plasma cutter to section, fit, and fabricate exhaust components with precision.
Mark cut lines, shield nearby wiring and fuel lines, and verify the system is cool and purged of vapors. Use a fine-cut nozzle to remove damaged pipe or muffler sections quickly, minimizing the heat-affected zone to prevent warping.
Square the ends, test-fit stainless or mild steel replacements, and tack before final welding to maintain alignment and proper flow. Plasma’s accuracy supports tight-radius shifts, flanges, and O2 bung openings, enabling exhaust modifications and performance enhancements without extensive rework.
Deburr, clean edges, and check clearances and hanger loads before final assembly and leak testing.
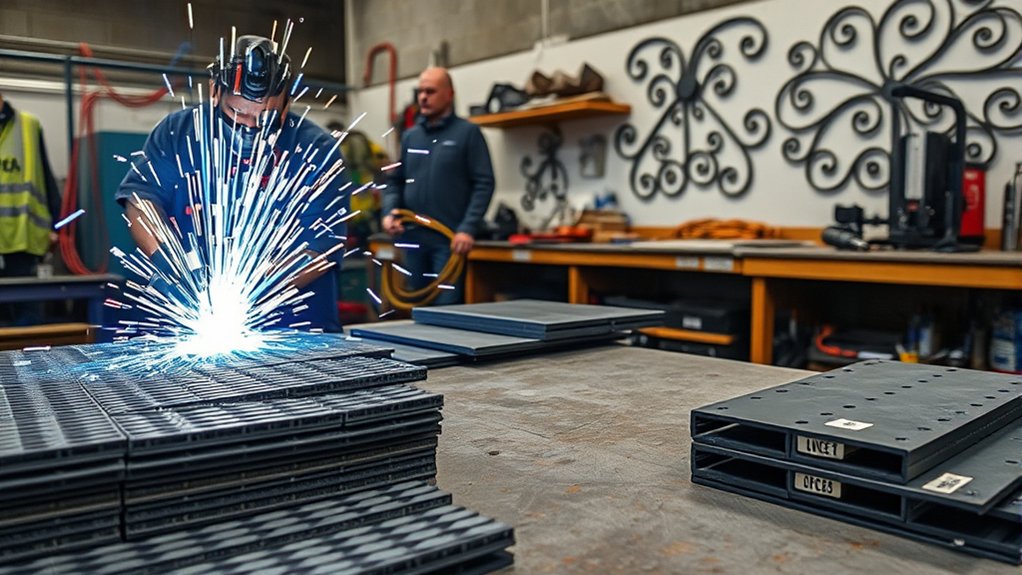
Construction and Structural Work

In construction, you’ll use a plasma cutter to make precise beam and column cuts, keeping heat input low to prevent warping and guarantee tight fits.
You can fabricate brackets on-site from plate stock, verifying measurements, grounding properly, and using guards and PPE to control sparks.
For pipe and plate fitting up to 50 mm, you’ll mark cut lines, set amperage and gas flow for thickness, and perform clean, square cuts that speed installation without compromising structural integrity.
Beam and Column Cutting
On structural jobs, you rely on a plasma cutter to make precise, clean cuts in beams and columns that protect alignment and load paths. You verify beam alignment, mark centers, and select cutting techniques that minimize the heat‑affected zone to keep flanges straight and webs true. With amperage matched to thickness (up to 50 mm), you achieve fast, controlled kerfs that avoid distortion and preserve structural capacity.
| Parameter | Practice |
|---|---|
| Material | Structural steel (mild, high‑strength, galvanized) |
| Thickness | Up to 50 mm with appropriate duty cycle |
| Quality | Narrow kerf, minimal HAZ, square edges |
You stage fire watch, isolate combustibles, clamp a straightedge or guide, and set drag‑shield standoff for consistent cuts. Compared to oxyfuel, you move faster, reduce rework, and maintain column plumb and beam fit-up for reliable bolted or welded joints.
On-Site Bracket Fabrication
Whether you’re modifying anchor tabs or shaping gusset plates, you roll a portable plasma cutter to the work zone, verify power, air quality, and duty cycle, then fixture the stock for stable, safe cuts.
You map bracket design to load paths, mark centerlines, and set torch height and amperage for the metal and thickness—steel or aluminum up to 50 mm.
Use dry, regulated air, confirm ground clamp integrity, and stage fire control.
Apply straightedge guides, drag shields, and consistent travel speed; choose cutting techniques like pierce outside the line, lead-ins, and tabbing to control heat and kerf.
Deburr lightly; minimal cleanup follows a clean cut.
Test-fit holes and slots, adjust with incremental passes, and verify squareness, edge quality, and tolerance before installation.
Pipe and Plate Fitting
Although layouts vary by site, you’ll approach pipe and plate fitting with a portable plasma cutter set up for precise, repeatable cuts that speed assembly and protect fit-up quality.
Begin with site-safe power, dry air, correct amperage, and a verified ground. Mark centers, set fixtures, and confirm pipe alignment with levels and hi-lo gauges. Use templates for saddles, miters, and slots to guarantee uniformity across multiple components.
Cut structural steel and plate up to 50 mm, holding torch standoff and travel speed to limit the heat-affected zone. Produce square corners and clean slot geometry to streamline joint preparation and reduce grinding.
For 1/4-inch steel, run near 70 inches per minute to compress schedules and labor. Deburr, check root gaps, and verify bevels. Finish with PPE, fume control, and spark containment.
HVAC and Ductwork Fabrication
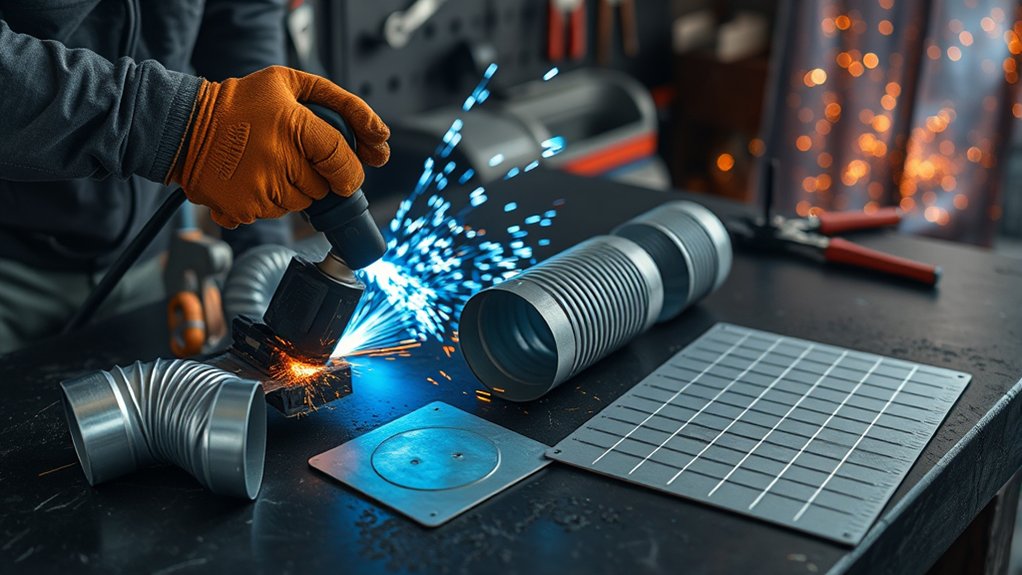
Because HVAC ductwork demands accuracy and speed, you’ll rely on a plasma cutter to produce clean, repeatable cuts in aluminum and galvanized sheet metal up to 1/4 inch thick.
Start by importing your CAD layout for duct design optimization; nest parts to minimize waste and support energy efficiency through tight-fitting joints.
Calibrate amperage, air pressure, and torch height to control kerf width and minimize the heat-affected zone, preserving structural integrity for airtight seams.
Use straightedges, circle guides, and standoff devices to maintain consistent cut quality on connections, takeoffs, dampers, and flanges.
Mark bend lines clearly to prevent distortion during forming. For complex geometries, program lead-ins and lead-outs to avoid dross on finished edges.
Deburr and verify fit before assembly to uphold airflow performance.
Follow strict safety: wear eye and hand protection, manage sparks, ground the workpiece, and ventilate to remove fumes from galvanized coatings.
Inspect consumables regularly and perform test cuts to confirm precision.
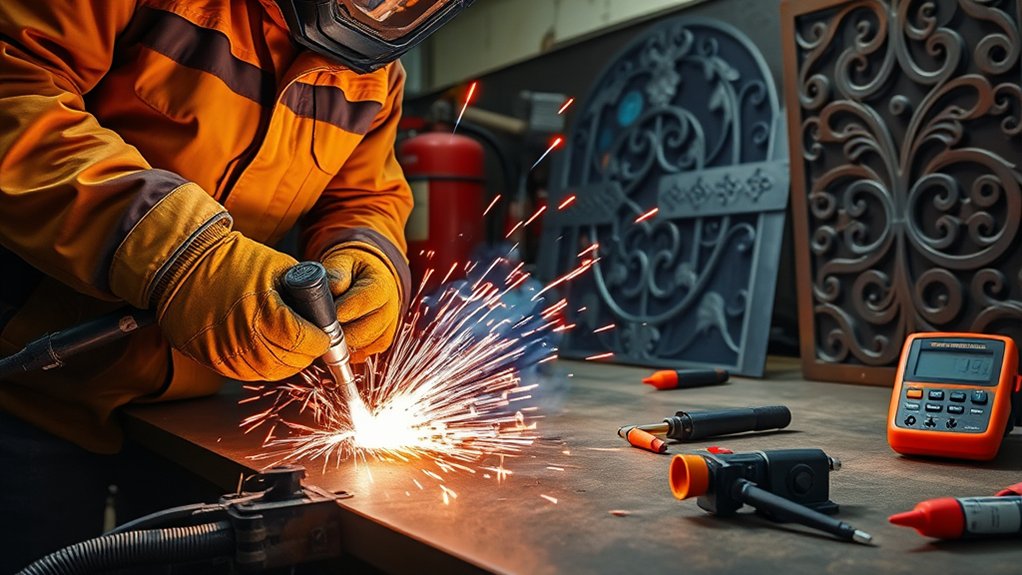
Artistic Metalwork and Sculptures
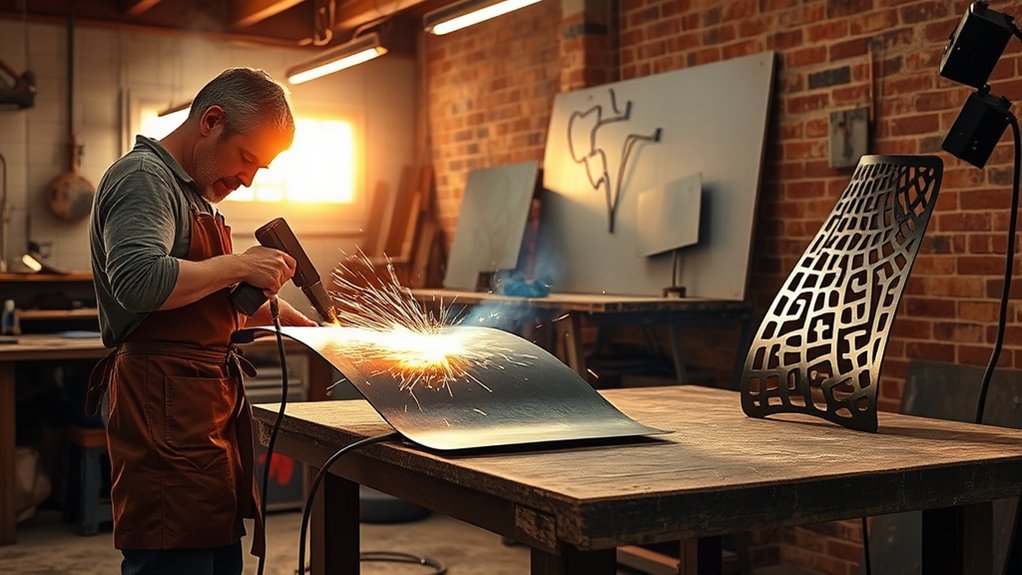
Start with a clean digital vector file and a flat, de-scaled sheet of conductive metal—stainless, aluminum, or brass—then set your plasma cutter parameters to match thickness so you maintain tight kerf control and minimize slag.
Load the file, nest parts to reduce waste, and verify torch height, amperage, and gas flow. Use test coupons to confirm edge quality before committing to full sheets.
For sculpture techniques, sequence cuts from interior to exterior to preserve stability, add micro-tabs to prevent tip-up, and plan lead-ins/lead-outs to avoid heat marks on show faces.
The high-speed plasma jet gives crisp edges with minimal cleanup, so you can chase fine line work and layered reliefs drawn from design inspiration while maintaining repeatability.
When producing editions, save cut settings to replicate uniform components for exhibitions or sales.
For large outdoor pieces, stitch-cut to limit heat input, allow cooling intervals to prevent warping, and wear appropriate PPE, maintain ventilation, and secure workpieces.
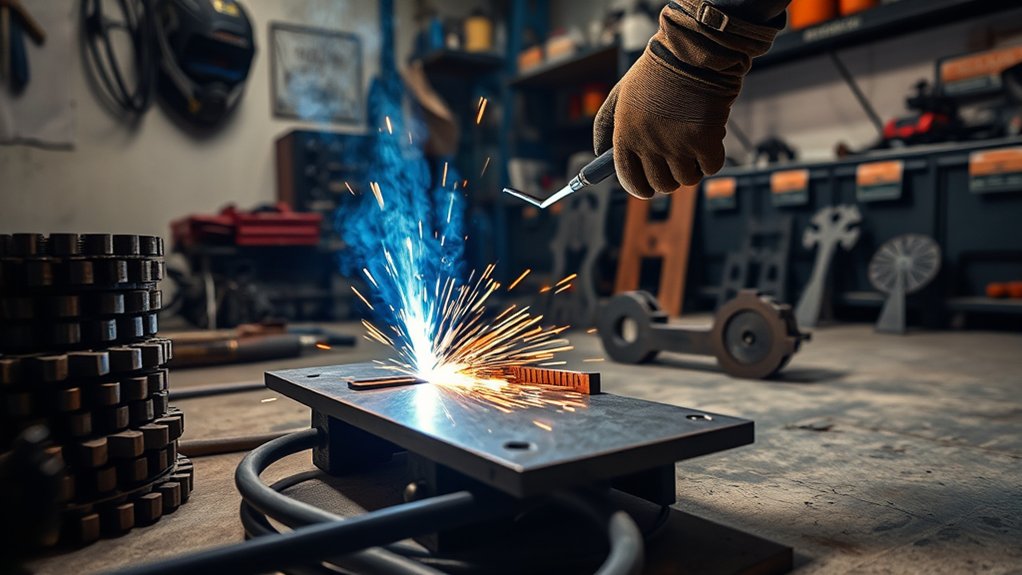
DIY Projects and Home Workshops
Two priorities define DIY plasma cutting in a home workshop: controlled, accurate process and safe, portable setup. You’ll plan cuts, verify grounding, and secure workpieces before energizing the torch. A compact unit—typically 40–80 lbs—lets you move from bench to driveway for larger panels while keeping cables untangled and ventilation clear.
Lay out DIY designs with scribed lines or templates to maintain tolerances for gates, fences, and outdoor decor. Use correct amperage, standoff distance, and travel speed to produce clean kerfs with minimal warping, reducing post-cut grinding. Stainless and aluminum projects—outdoor grills, metal furniture frames, hinges—benefit from precise joints that fit up without forcing.
Scribe lines, set amperage and standoff, and glide steadily for clean kerfs and warp-free, precise joints.
Clamp a straightedge for linear cuts; switch to circle guides for repeatable radii in metal art. Keep consumables in spec, purge moisture from air supply, and inspect leads for abrasion.
After cutting, deburr edges, confirm squareness, and dry-fit components before welding or fastener assembly to guarantee alignment and durability.
Material Compatibility and Thickness Range

You’ll cut only conductive metals—stainless, mild steel, aluminum, copper, and brass—so verify material type before setup.
Match machine amperage to the thickness spectrum, from thin sheet (around 20 gauge) to heavy plate (up to ~50 mm), and set torch height, gas flow, and speed accordingly.
Expect material-specific cut quality and speeds—e.g., faster on mild steel—so run a test pass and monitor kerf, dross, and heat-affected zone to maintain precision and safety.
Conductive Metals Only
Material compatibility defines plasma cutting: it works only on conductive metals—steel, stainless, aluminum, copper, and brass—by driving a high‑temperature plasma arc through the workpiece. You benefit from plasma technology advancements, but conductive materials limitations still apply: non‑metals and coated insulators won’t cut. Set amperage and gas flow to match alloy and cleanliness; dry, oil‑free air preserves arc stability and minimizes slag. Maintain proper standoff with a drag shield to control kerf and reduce the heat‑affected zone.
| Metal | Typical Use Case | Process Notes |
|---|---|---|
| Mild steel | Structural fab | Fast travel, low slag |
| Stainless | Food/medical | Shield gas aids edge quality |
| Aluminum | Marine panels | Higher amperage, steady feed |
Follow PPE: face shield, gloves, FR clothing, and fume extraction. Secure work clamp for a solid return path and verify grounding before piercing.
Thickness Capabilities Spectrum
While plasma cutting is confined to conductive metals, its usable thickness spans a wide range that depends on machine amperage, gas delivery, and cut speed.
You’ll match material selection to machine capacity: thin sheet around 20 gauge (≈0.8 mm) through plate approaching 2 inches (≈50 mm), model-dependent. As thickness increases, efficiency drops, so plan conservative travel speeds and adequate duty cycle.
Use amperage as your primary selector. A 55-amp unit typically pierces and cuts 1/4-inch mild steel near 70 ipm; higher-output machines, like Spectrum 875-class systems, handle up to 7/8-inch mild steel with proper cutting techniques and gas flow.
Aluminum, stainless, and copper are within scope—verify the manufacturer’s thickness ratings. Maintain safe standoff, verify air quality and pressure, and test cut speed before committing to a production pass.
Material-Specific Cut Quality
From thin sheet to 50 mm plate, plasma cutting delivers consistent, material-appropriate cut quality across conductive metals—stainless, aluminum, copper, and brass—when you match settings to alloy and thickness.
You’ll dial amperage, gas mix, and travel speed to control kerf width, taper, and heat input, minimizing the heat-affected zone to prevent warping on thin or hardened stock.
For stainless, use appropriate gas (often nitrogen or mixed gases) and tight standoff to get crisp edges with minimal slag.
On aluminum, prioritize higher travel speed and clean, oxide-free surfaces.
For copper and brass, stabilize arc with proper consumables and precise pierce timing.
Maintain slag management with correct torch angle and exit speed.
Always verify plate grounding, inspect consumables, and shield against arc flash and fumes.
Efficiency, Cost, and Workflow Benefits
Even before you strike an arc, plasma cutting streamlines your shop’s throughput and costs. You move from quote to cut with fewer steps, achieving cost saving through faster cycles and predictable edge quality.
Plasma cutting trims labor by about 40 hours per project—roughly $1,400 at $35/hour—by minimizing layout, roughing, and rework. The small heat-affected zone limits warping, so you spend less time on straightening and grinding.
With one tool handling thin sheet to thick plate, you avoid changeovers and keep jobs flowing. Compared to laser systems, lower acquisition and upkeep costs improve payback while maintaining tight tolerances and rapid turnaround.
- Reduce lead times from weeks to days by nesting parts and batch-cutting mixed thicknesses.
- Standardize cut parameters to shorten setup and improve repeatability across shifts.
- Minimize secondary operations with clean kerfs and limited distortion.
- Allocate saved labor to higher-value tasks like fit-up and welding prep.
Plan consumables, airflow, and cut paths to sustain throughput and margins.
Safety Practices, Maintenance, and Troubleshooting
Throughput and cost gains only hold if you run the cutter safely and keep it in spec. Establish safety protocols before power-up: follow PPE guidelines—flame-resistant clothing, gloves, face shield—with hearing protection and closed-toe boots.
Verify ventilation and fume extraction; confirm airflow meets manufacturer CFM requirements to mitigate gases and particulates. Check torch leads, grounds, and work clamps for damage and secure connections.
Lock in reliability with maintenance schedules. Inspect consumables (nozzles, electrodes, swirl rings) for wear, pits, or ovalization; replace at thresholds to maintain arc stability and reduce operating cost.
Clean torch bodies, check coolant or air dryers, and calibrate output current and gas pressure on schedule.
Apply structured troubleshooting techniques. Log symptoms, settings, and cut quality; verify air quality, pressure, and duty cycle.
Decode fault alerts—e.g., 0-21 indicates arc or consumable issues—then confirm consumable integrity and standoff. Run routine diagnostics, update firmware, and document fixes to minimize downtime and keep cuts consistent.
Frequently Asked Questions
How Do Plasma Cutters Perform in Outdoor, High-Wind Environments?
They perform poorly without mitigation. You manage wind impact by shielding the arc, shortening torch-to-work distance, increasing amperage, and using drag shields. Prioritize plasma stability, dry air, correct consumables, and proper grounding. Wear PPE; secure work; expect increased dross.
Can Plasma Cutters Be Powered by Portable Generators?
Yes—but like faxing a tweet, details matter. You guarantee portable generator compatibility by meeting power requirements: adequate wattage, clean sine-wave output, low THD (<5%), correct voltage, sufficient surge capacity. Use proper grounding, heavy-gauge leads, and monitor duty cycle.
What Insurance or Liability Considerations Apply to Plasma Cutting?
You need liability coverage and must follow safety regulations. Verify general liability, products-completed operations, and workers’ comp. Document training, PPE, ventilation, and hot-work permits. Maintain fire suppression, lockout/tagout, and certifications. Contractually allocate indemnity, additional insureds, and waivers. Keep incident logs.
How Noisy Are Plasma Cutters and What Are Typical Decibel Levels?
Loud yet controllable: you’ll hear 85–100 dB at the torch, sometimes peaking near 110 dB. Measure noise levels, isolate the arc, use sound reduction—enclosures, water tables, barriers—and wear hearing protection, enforce exposure limits, and monitor operators’ dosimetry.
Are There Eco-Friendly Consumables or Recycling Options for Spent Parts?
Yes. You can choose eco friendly materials like lead-free electrodes and recyclable copper nozzles. Implement recycling programs: segregate spent parts, document alloys, decontaminate, and ship to certified recyclers. Wear PPE, avoid cross-contamination, and verify MSDS before disposal or reuse.
Conclusion
You’ve seen how plasma cutters streamline fabrication, repair, and art with CNC accuracy and fast workflows. Prioritize safety: verify grounding, dry air, correct amperage, proper PPE, and clean consumables. Follow a disciplined process—layout, pierce height, lead-ins, kerf compensation, post-cut inspection. One powerful stat: OSHA estimates hand injuries drop by up to 70% when operators wear cut-resistant gloves—don’t skip them. Match torch, gas, and consumables to material and thickness, and you’ll cut cleaner, faster, and safer every time.