
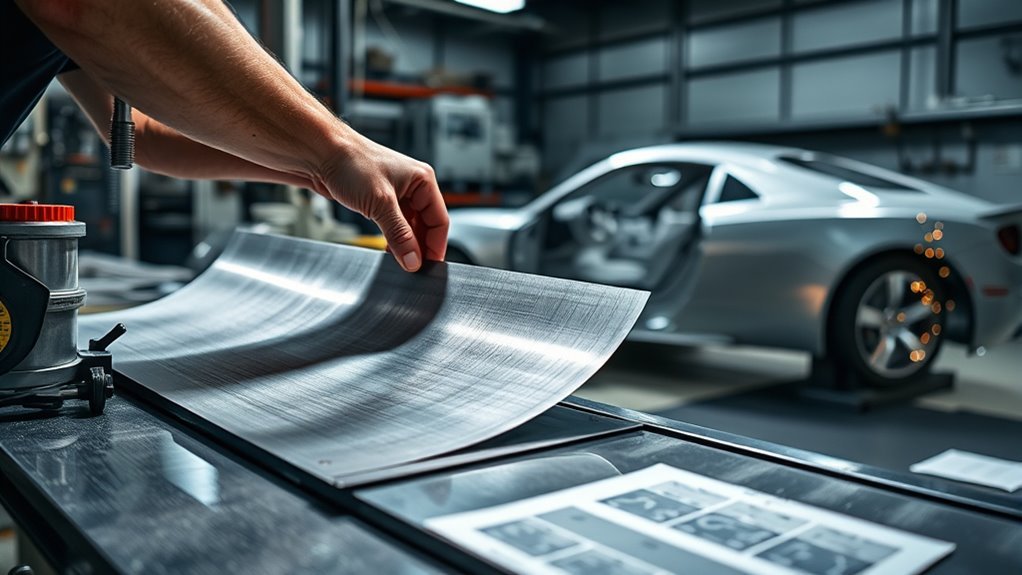
For automotive fabrication, sheet metal bending works best when you match the part design, metal type, bend radius, tooling, and inspection method before you make the first bend. A simple bracket, a patch panel, and a curved fender section do not need the same setup. Start with ductile stock, plan the bend allowance, leave enough room around holes and edges, and test springback on scrap from the same sheet before you bend the final part.
Quick Answer
To bend sheet metal for automotive fabrication, choose a ductile metal, set an inside bend radius that fits the alloy and thickness, calculate bend allowance, make a test bend, compensate for springback, and inspect the finished angle, flange length, and surface condition before welding or finishing.
Key Takeaways
- A 1× material-thickness inside radius is a useful starting point for many ductile sheets, but harder alloys, thicker stock, and some tempers need a larger radius.
- Press brakes give the cleanest repeatable bends, while air bending offers angle flexibility and rolling handles smooth curves.
- Springback is normal. Make a test bend, measure the result, then adjust the angle or tooling before bending the final part.
- Keep holes, slots, notches, and edges away from bend lines unless you add bend relief or redesign the feature.
- Use extra caution on structural or crash-related auto parts. Follow OEM repair data or outsource the bend if the part affects safety.
At a Glance
| Time Required | 15 minutes for a simple bracket; 1 to 3 hours for layout, test bends, and a fitted automotive panel |
| Difficulty | Moderate for hand tools; advanced for tight-tolerance press brake work or structural auto parts |
| Tools Needed | Press brake, box-and-pan brake, sheet metal brake, slip roll, shrinker/stretcher, calipers, angle gauge, layout tools, clamps, deburring tools, and PPE |
| Cost | Low for scrap test bends and hand-brake work; higher when CNC press brake setup, custom tooling, or outsourcing is needed |
Warning: Press brakes, hand brakes, rolls, and powered forming tools can crush fingers, pull workpieces upward, or cycle unexpectedly. Keep hands clear of the pinch point, use proper guarding, secure loose clothing, and do not operate powered equipment without training.
How Sheet Metal Bending Works for Auto Parts
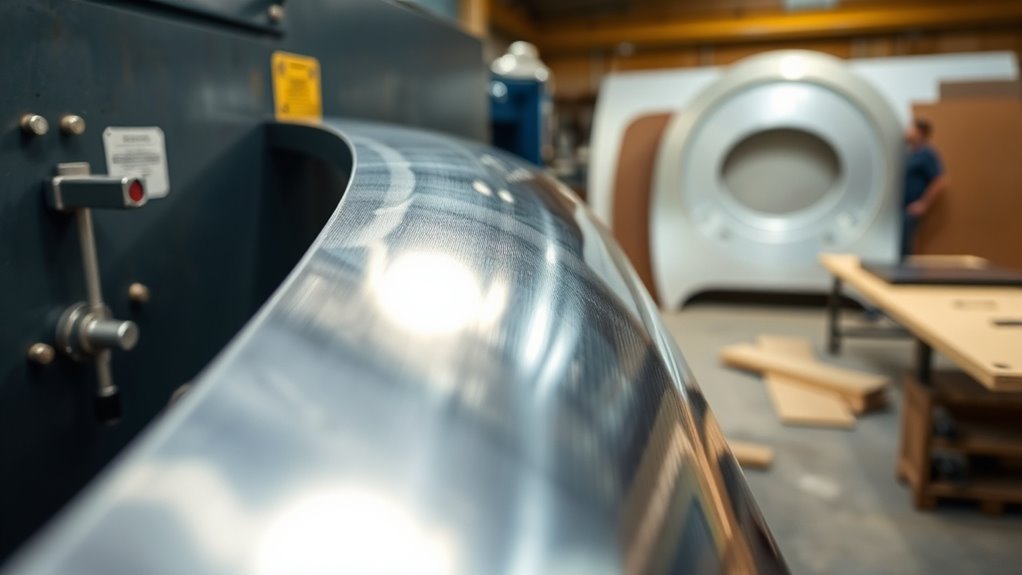
When you bend sheet metal for auto parts, you force flat stock into a controlled angle or curve without cutting through it. The outside of the bend stretches, the inside compresses, and the neutral axis between them shifts based on the material, thickness, inside radius, and forming method.
That movement is why you need bend allowance, bend deduction, and K-factor in your flat pattern. If you ignore them, the part may look correct in a sketch but come out too short, too long, or slightly twisted after forming.
Automotive fabrication often uses mild steel, galvanized steel, aluminum, stainless steel, and specialty metals. Each material responds differently. Mild steel forms easily and welds well. Aluminum saves weight but can crack if the bend radius is too tight for the alloy and temper. Stainless steel resists corrosion but usually springs back more than mild steel.
A press brake bends sheet by pressing it between a punch and die. OSHA describes powered press brakes as metalworking machines that form parts using dies attached to a moving ram or slide and a bed, with stock placed on the lower die and struck by the upper die. OSHA also identifies point-of-operation hazards and safeguarding options for powered press brakes.
Note: If the part is part of a frame rail, pillar, crash structure, seat mount, suspension mount, or restraint system, do not treat it like a simple shop bracket. Follow the vehicle maker’s repair procedure or use a qualified fabrication shop.
Sheet Metal Bending Methods for Auto Parts
To turn a flat sheet into a clean automotive part, choose the bending method that fits the shape, tolerance, and material. A sharp bracket flange needs a different process than a wheel arch patch or a hood skin repair.
| Method | Best For | Watch For |
|---|---|---|
| Press brake bending | Straight flanges, brackets, channels, patch panels, and repeat parts | Tooling radius, V-die opening, tonnage, bend sequence, and backgauge setup |
| Air bending | Flexible angles with fewer tooling changes | More springback compensation and careful angle checking |
| Bottom bending | More consistent angles when the die and punch are matched to the job | Higher force than air bending and less flexibility |
| Coining | Very tight angle control in specific production setups | High tonnage, more tool wear, and limited use in many small shops |
| Rolling | Smooth arcs, curved repair panels, fender sections, and rolled edges | Flat ends, over-rolling, and uneven pressure across the rollers |
| Shrinker / stretcher forming | Curved flanges, wheel arches, and edge shaping | Surface marks and overworking thin metal |
Air bending, bottom bending, and coining are common press brake methods. SheetMetal.Me explains the difference between these three bending styles, including how air bending uses partial contact and how bottom bending and coining use more tool engagement.
Use air bending when you need angle flexibility. The sheet contacts the punch tip and die shoulders, but it does not fully bottom into the die. This allows one tool set to make more than one angle, but springback control becomes more important.
Choose bottom bending when you need more angle consistency and the material, tooling, and tonnage are well matched. Use rolling when you need a smooth curve rather than a crisp bend line.
Properly preparing the material by removing zinc coating before welding can improve weld quality and reduce hazardous fumes after the bending work is complete.
Products Worth Considering

All-in-One Functionality: Our 3-in-1 combination sheet metal machine offers the functions of a bending machine, shearing machine, and rolling machine all in a single unit. Say goodbye to the hassle of purchasing multiple independent machines and the tedious switching process. It is a must-have for your factory and workshop, enhancing overall work efficiency.

Mini Sheet Metal Brake: The maximum bending width of the sheet metal brake is 36 inches (910 millimeters). Upgraded with a 0.31-inch thick blade and reinforced rib design, this product achieves excellent bending results, effortlessly handling 20-gauge low-carbon steel and 14-gauge aluminum bending. Our sheet metal brake is an outstanding tool for bending metal sheets, and its exceptional bending performance makes it essential for factories and workshops.

Used Book in Good Condition
Best Metals for Sheet Metal Bending
The right metal sets the limit for bend quality, springback, crack risk, corrosion resistance, and welding method. Automotive sheet metal selection often balances strength, formability, weight, and corrosion resistance. Kloeckner Metals notes that common automotive sheet metal choices include carbon steel, aluminum, and stainless steel, selected around strength, corrosion resistance, weight, and formability.
| Metal | Why It Works | Bending Caution |
|---|---|---|
| Mild steel | Affordable, easy to form, easy to weld, and common for brackets, patch panels, and custom parts | Needs primer, paint, coating, or sealant to prevent rust |
| Galvanized steel | Adds zinc coating for corrosion resistance | Coating can crack at tight bends and must be handled safely before welding |
| 5052 aluminum | Good formability and corrosion resistance for lightweight panels and non-structural parts | Radius depends on temper and thickness; test before final bending |
| 6061 aluminum | Useful for machined or structural aluminum parts in the right condition | T6 temper is more crack-prone than 5052; use larger radii or proper heat treatment guidance |
| Stainless steel | Strong corrosion resistance for trim, brackets, and exhaust-adjacent parts | Usually needs more force and more springback compensation than mild steel |
| Brass and copper | Useful for fittings, electrical parts, conductive tabs, and decorative pieces | Not typical choices for body panels or structural automotive parts |
United Aluminum’s recommended bend-radius chart shows that minimum bend radius changes with alloy, temper, and sheet thickness. Its 90-degree cold-forming chart lists different radius multiples for alloys such as 5052, 6061, and 7075, so avoid using one bend-radius rule for every metal.
Consider using flux core aluminum welding rods only for suitable non-structural aluminum repair or brazing-style work. They are not a replacement for proper TIG, MIG, or OEM-approved aluminum repair on load-bearing parts.
How to Plan the Bend Before You Start
A clean bend starts before the metal touches the brake. Spend the time on layout and test bends so you do not waste the finished panel.
- Confirm the part function. Decide whether the part is cosmetic, support, mounting, or structural. Structural and crash-related parts need higher control.
- Identify the metal. Check alloy, temper, coating, thickness, and grain direction if known.
- Choose the inside bend radius. Start with at least 1× sheet thickness for many ductile materials, then increase it when the alloy, temper, or thickness calls for it.
- Calculate the flat pattern. Use bend allowance, bend deduction, or a proven shop chart so the finished flange lands at the right length.
- Check holes and edges. Move holes, slots, and notches away from the bend line or add bend relief.
- Plan the bend sequence. Make sure earlier bends do not block later bends from fitting into the brake or die.
- Make a test bend. Use scrap from the same sheet, then measure the angle, radius, and flange length.
Pro Tip: Mark one scrap strip with the material, thickness, die opening, punch radius, target angle, and measured springback. Keep it as a setup reference for the next part.
How to Bend Sheet Metal for Automotive Fabrication
Use this workflow for brackets, patch panels, simple channels, and non-structural formed parts. For structural repairs, verify the approved procedure before bending or welding.
- Cut the blank slightly oversize if fit-up allows. This gives you room to trim after the bend.
- Deburr the edges. Sharp burrs can start cracks, mark tooling, and cut your hands.
- Mark the bend line clearly. Use a scribe, fine marker, or layout dye. Keep the mark consistent so the part lines up squarely.
- Set the brake or die. Match the punch radius, V opening, and tooling width to the material thickness and desired radius.
- Align the sheet. Use the backgauge, stops, alignment pins, or a square edge so the bend line stays parallel.
- Make a test bend first. Bend scrap to the target angle, release pressure, and measure the relaxed angle.
- Compensate for springback. Overbend slightly or adjust tooling until the released part lands at the final angle.
- Bend the real part slowly and evenly. Support long panels so they do not swing, sag, or twist during the stroke.
- Inspect the part. Check angle, flange length, twist, radius, surface marks, and hole distortion.
- Finish and protect the metal. Deburr again, clean the surface, weld if needed, and restore primer, paint, seam sealer, or corrosion protection.
How to Design Clean, Accurate Bends
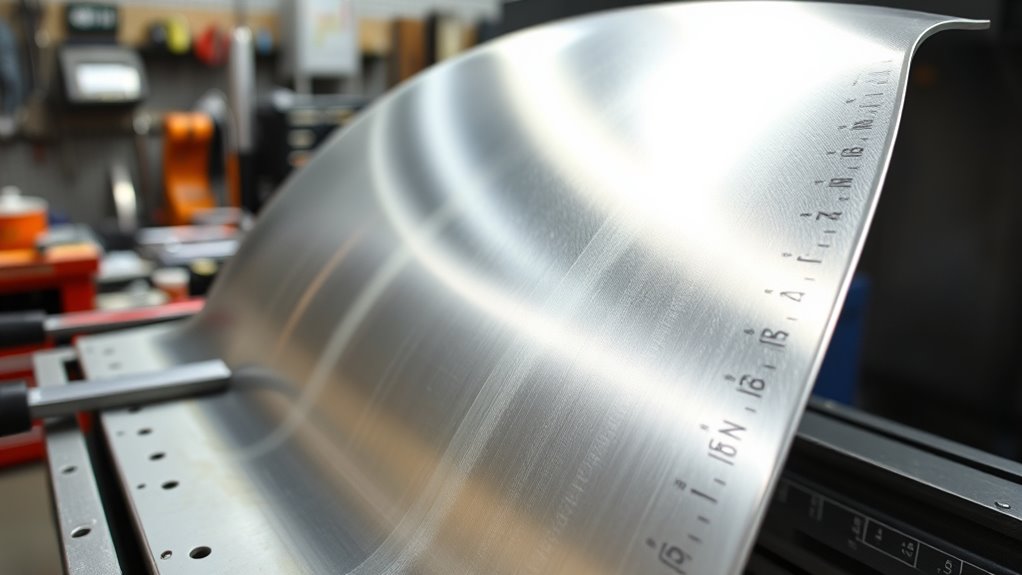
For clean, accurate bends, specify the inside bend radius, material thickness, bend angle, flange length, and tolerance before fabrication starts. Do not leave the radius as a guess. A tight radius may look sharp, but it can crack the outside surface or distort nearby holes.
Account for thickness, material, radius, grain direction, and springback before you cut the blank, not after the first part fails.
Bend Radius
A common starting point is an inside radius at least equal to the sheet thickness for ductile mild steel or formable aluminum, but the correct radius depends on the alloy and temper. Harder aluminum, stainless steel, and high-strength steel usually need larger radii.
Bend Allowance and K-Factor
Bending stretches the outside of the material and compresses the inside. The flat blank must include that movement. Use bend allowance or bend deduction from your CAD system, shop chart, or press brake software. If you are working by hand, make a test strip and build the measured result into the layout.
Holes, Slots, and Bend Relief
Do not place holes or slots right on the bend line unless the distortion is planned. Keep features away from the bend area or use bend relief cuts at the ends of flanges. Relief cuts reduce tearing and help boxes, tabs, and stepped panels fold cleanly.
Grain Direction
Sheet metal can bend differently depending on grain direction. When possible, bend across the grain rather than parallel to it, especially on aluminum or harder stock. If you cannot control grain direction, test both orientations before committing to the final blank.
A good workflow looks like this: a brake forms a crisp flange under bright shop light, a caliper checks bend radius against sheet metal thickness, a marked panel slides into the bending machine against alignment stops, and finished parts stack with consistent angles and clean bends.
Common Sheet Metal Bending Problems
Even with clean layout and correct tooling, sheet metal bending can miss the target because real material varies. Thickness, hardness, coating, grain direction, burrs, and tooling wear all affect the final result.
Springback
Springback is the elastic recovery that happens after you release bending pressure. The part opens back slightly from the formed angle. A springback study hosted by the Colorado School of Mines explains that springback depends on material stress state, bending geometry, elastic modulus, yield strength, and applied strain. The study also shows why springback is difficult to reduce to one simple rule.
Fix it by making a test bend, recording the released angle, then overbending or changing tooling until the finished angle is correct.
Cracking
Cracking usually happens when the radius is too tight, the material is too hard, the edge has burrs, or the bend runs in an unfavorable direction. Increase the radius, deburr the edge, use a softer temper, or anneal only when the material and part requirements allow it.
Hole and Edge Distortion
Holes near a bend line can stretch into ovals. Slots can pull open. Short flanges can curl. Move the feature farther away, add bend relief, or change the bend sequence.
Surface Marks and Indentations
Die marks, punch marks, and scratches can ruin a visible automotive panel. Use clean tooling, protective film, urethane pads, or soft tooling when the finished surface matters. Do not use damaged dies on visible body panels.
Wrong Flat Pattern
If the flange length is wrong after bending, the cause is often a bad bend allowance, wrong K-factor, wrong radius, or unplanned springback. Cut one test blank and measure it before cutting a full batch.
Safety Checks Before Bending Sheet Metal
Sheet metal edges are sharp, and bending equipment can create serious pinch and crush hazards. Safety glasses, gloves for handling raw stock, hearing protection, protective footwear, and fitted clothing all help, but they do not replace machine guarding and training.
OSHA’s machine guarding standards page points to general machine guarding requirements for industrial equipment. Review the applicable OSHA machine guarding standards for powered shop equipment, and follow the manual for the specific brake, roll, shear, or press you use.
- Keep fingers out of the bend zone.
- Support long panels so they do not whip upward during the bend.
- Never reach under a ram, clamping beam, or roller while the machine is live.
- Check foot pedals and switches for accidental cycling risk.
- Use lockout procedures before clearing jams, changing dies, or servicing powered equipment.
- Do not exceed the rated tonnage of the machine or tooling.
Welding Bent Auto Parts After Bending
You can weld many bent auto parts after bending, but the sequence matters. Bend first when the weld bead would block the brake or create uneven stiffness. Weld first only when the assembly needs a fixed reference or when the design requires it.
Before welding, check fit-up, remove coatings where required, and confirm the joint size. Understanding maximum fillet weld size helps prevent oversized welds that add heat, distortion, and unnecessary grinding.
Thin sheet metal moves quickly under heat. Use tack welds, skip welding, copper backing, clamps, and cooling time to reduce warping. If the sheet is galvanized, remove the zinc coating only in the weld area, control fumes, and restore corrosion protection after welding.
For beginner welding work, flux core welding can teach useful lessons about heat input and fit-up, but automotive sheet metal usually needs careful machine settings, short welds, and good surface preparation to avoid burn-through.
Quality Control and Tolerances
Do not assume every CNC press brake setup will hold the same tolerance on every material. A high-end machine can repeat very closely under controlled conditions, but the finished part still depends on material variation, tooling condition, bend sequence, angle measurement, and operator setup.
For automotive fabrication, inspect these points before accepting the part:
- Bend angle: Measure after springback, not while the part is still under pressure.
- Flange length: Check from the correct datum, not just from the nearest edge.
- Inside radius: Confirm the radius matches the design and does not crack the surface.
- Twist and bow: Lay the part on a known flat surface or fixture.
- Hole location: Check holes after bending because nearby features can move.
- Surface condition: Look for die marks, coating damage, burrs, and cracks.
If the part must fit a vehicle body opening, build a simple fixture or test-fit it before final welding. A perfect-looking bend on the bench can still be wrong if the surrounding panel, bracket, or mounting point is not square.
When to Outsource Sheet Metal Bending
Outsource the bending when your shop cannot safely or accurately form the part. That usually happens when the sheet is too thick, the bend is too long, the radius requires special tooling, the tolerance is tight, or the part is structural.
Outsourcing also makes sense for repeat batches. A fabrication shop with CNC backgauges, angle correction, controlled tooling, and inspection records can often save time and material compared with repeated trial-and-error bends in a small shop.
Products Worth Considering

Quality Craftsmanship: Crafted from high-quality carbon steel and treated with heat-resistant chrome, these sheet metal benders are built to last. The comfortable rubber-wrapped handle ensures prolonged usage without fatigue.
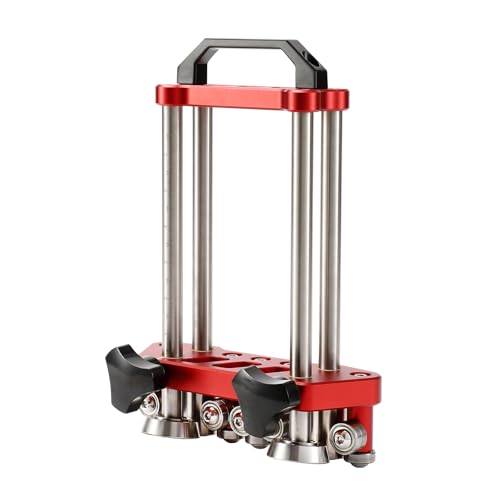
Practical Design:Oblique bearing design, bendable 0-100 degrees,Exclusive angled roller doesn't scratch material on 90° bends,Designed specifically for pros who focus on bends under 100°, such as profiling metal panels or installing snap lock panels that only need to be bent at the eave

High-Quality Construction: This 12-inch metal folding tool is constructed from cold-rolled carbon steel, ensuring high strength and durability for long-lasting use. The folding seams are formed by two 1.5mm cold-rolled steel plates that are stamped and welded together, providing excellent structural integrity and precision
Frequently Asked Questions
How do I choose the right press brake for my shop?
Choose a press brake by matching its tonnage, bending length, backgauge control, tooling options, accuracy, safety features, and maintenance needs to the work you actually do. A small shop that bends brackets may need less capacity than a shop forming long rocker panels, channels, or repeated production parts.
What safety gear is required during sheet metal bending?
Wear safety glasses, cut-resistant gloves while handling raw sheet, hearing protection when needed, protective footwear, and fitted clothing. For powered equipment, also use the required guarding, two-hand controls, presence sensing devices, lockout procedures, and operator training for that machine.
Can bent auto parts be welded afterward?
Yes, many bent auto parts can be welded afterward if the material, coating, fit-up, joint design, and heat input are controlled. Remove paint, rust, oil, and coatings from the weld area, make short welds on thin sheet, and restore corrosion protection after welding.
How does material thickness affect production cost?
Thicker sheet usually costs more to buy, cut, bend, and handle. It may need more press brake tonnage, wider dies, stronger tooling, slower setup, and more inspection. Thin sheet can also raise cost if it is easy to warp, mark, or burn through during welding.
When should I outsource bending instead of doing it in-house?
Outsource bending when the part exceeds your machine capacity, needs special tooling, has tight tolerances, uses expensive material, or affects vehicle safety. Outsourcing is also smart when several identical parts must match and you do not have fixtures or repeatable setup control.
What bend radius should I use for automotive sheet metal?
For many ductile sheets, start with an inside bend radius near the sheet thickness, then adjust for alloy, temper, thickness, grain direction, and tooling. Softer mild steel and 5052 aluminum usually bend more easily than hard aluminum, stainless steel, or high-strength steel.
Why did my sheet metal bend crack?
Cracks usually come from a bend radius that is too tight, a hard or brittle material, bending parallel to the grain, rough cut edges, burrs, or too much forming strain in one area. Increase the radius, deburr the blank, test a softer temper, or redesign the bend.
Conclusion
When you bend sheet metal correctly, you turn flat stock into a strong, accurate, road-ready part. The best results come from planning the radius, choosing the right alloy, allowing for springback, protecting holes and edges, and checking the finished bend before welding or paint. Do not chase a sharp bend just because it looks clean. A slightly larger radius, a test bend, and a careful inspection can save the part from cracks, twist, and poor fit-up.
Sources
- OSHA Powered Press Brakes – backs up press brake operation, hazards, and safeguarding guidance.
- OSHA Machine Guarding Standards – backs up general machine guarding and safety compliance context.
- United Aluminum Recommended Minimum Bend Radii – backs up alloy, temper, and thickness differences in bend radius.
- Analytical Prediction of Springback – backs up springback behavior and why compensation depends on material and bend geometry.
- SheetMetal.Me: 3 Types of Bending – backs up air bending, bottom bending, and coining method differences.
- Kloeckner Metals: Choosing Automotive Sheet Metal – backs up automotive material-selection considerations.




