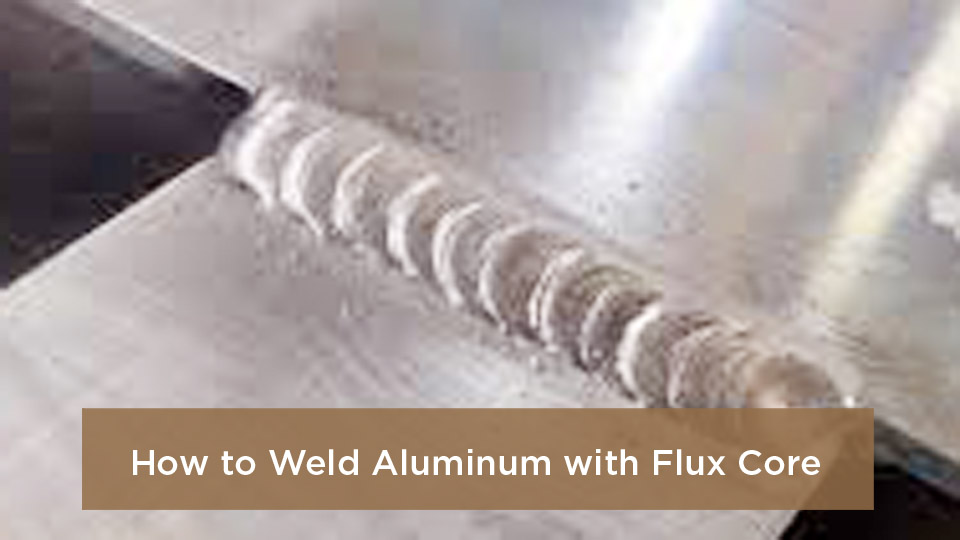
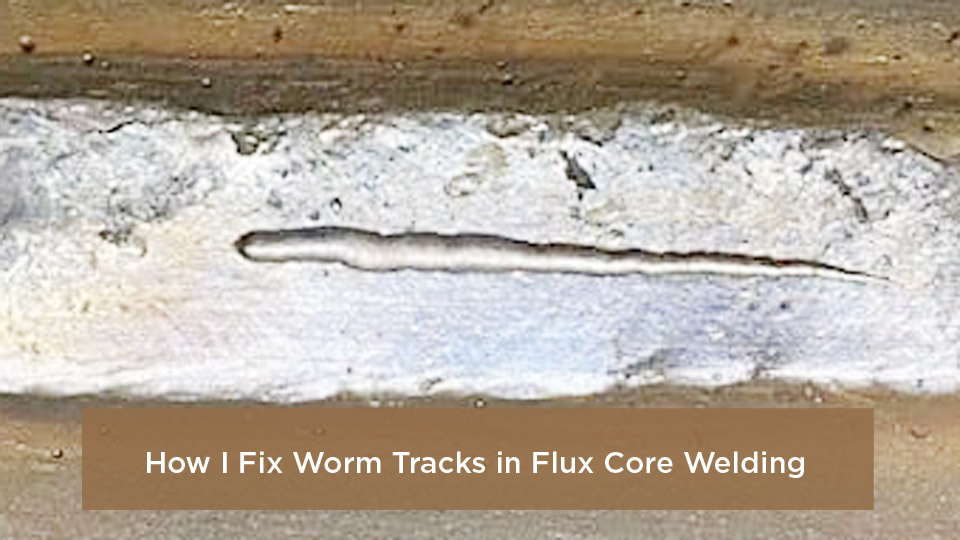
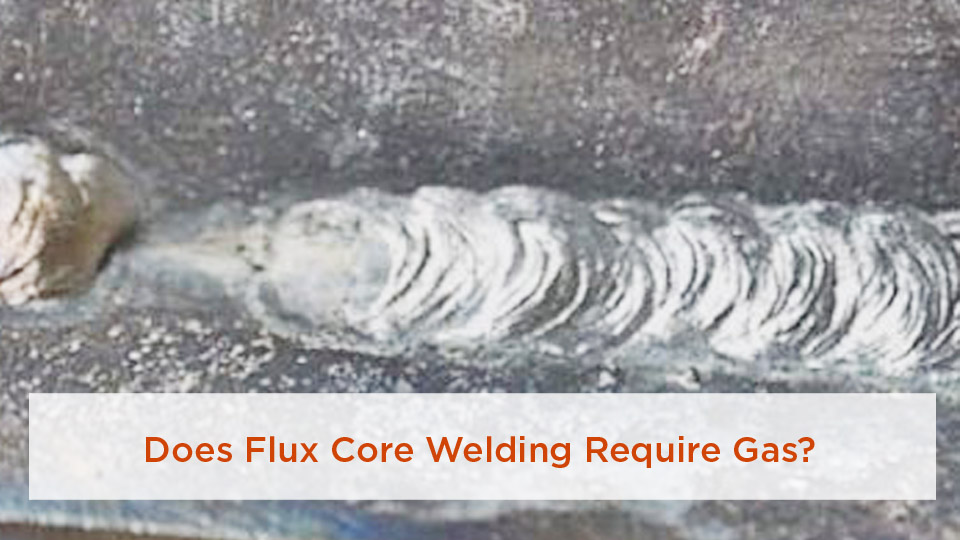
Flux core aluminum welding rods sound like a gasless shortcut for welding aluminum, but that name is often misleading. Most products sold under it are low-temperature aluminum repair rods used with a torch. They do not work like steel flux-cored MIG wire, and many do not create a fusion weld.
Quick Answer
Ordinary gasless flux-core wire cannot weld aluminum. Products called flux core aluminum welding rods are usually torch-applied, low-temperature fillers that join aluminum without melting the base metal. They can suit small, noncritical repairs, but they should not be used for structural, pressure, suspension, wheel, hitch, or other safety-critical parts.
Aluminum conducts heat quickly, forms a stubborn oxide layer, and can soften or collapse before a beginner sees an obvious color change. Those traits make cleaning, fit-up, alloy identification, and heat control more important than they are on many mild-steel projects.
This guide explains what these rods really are, when they are useful, when to choose MIG or TIG instead, and how to avoid the preparation problems that can also cause defects in conventional flux-core welding.
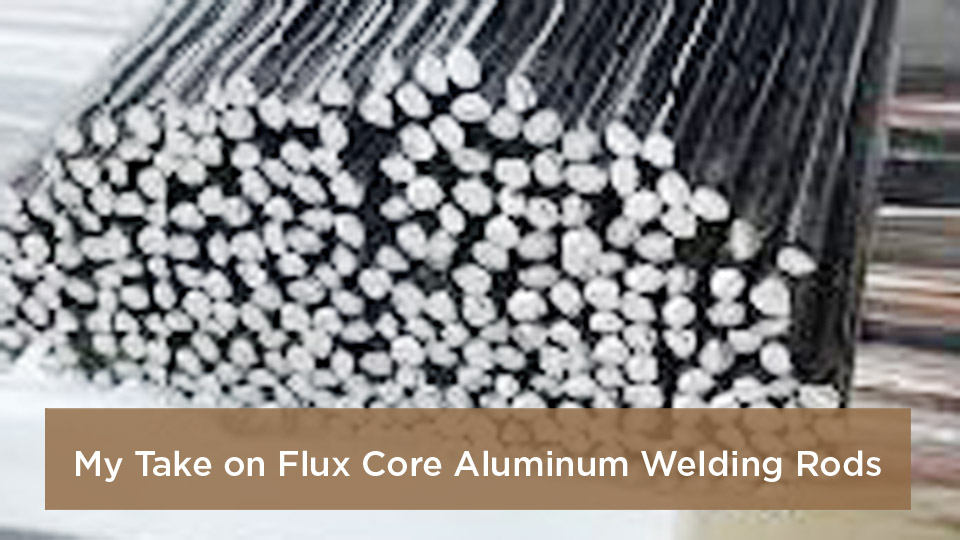
Image by atelier-tel
Key Takeaways
- “Flux core aluminum welding rod” is a loose retail term, not one clearly defined welding process.
- A filler that melts below 840°F is technically used for soldering under AWS terminology; a filler above 840°F but below the base metal’s solidus is used for brazing.
- Standard self-shielded steel flux-core wire is not suitable for welding aluminum.
- True aluminum MIG normally uses bare aluminum wire, 100% argon, and a spool gun or push-pull feeder.
- Low-temperature rods belong on small, noncritical repairs unless an approved procedure specifically allows something more demanding.
- Never heat metal that may carry chlorinated brake-cleaner or degreasing-solvent residue.
What Are Flux Core Aluminum Welding Rods?
The phrase can describe several different products. One may contain flux in its core, another may have flux on the outside, and another may be a solid low-temperature rod that requires a separate flux or relies on a proprietary alloy system. Check the package rather than assuming every rod works the same way.
The most important numbers are the filler’s melting or liquidus temperature and its recommended working range. The American Welding Society defines brazing as joining with a filler metal whose liquidus is above 840°F (450°C) but below the solidus of the base materials. A filler below 840°F falls within soldering terminology.
That distinction matters because some products marketed as aluminum “brazing and welding” rods work well below 840°F. For example, Bernzomatic lists a 720–750°F working range for its AL3 rods. By the AWS temperature definition, that is a low-temperature soldering process even though the retail product name uses broader wording.
Note: Product names are not process qualifications. Read the label, technical data sheet, safety data sheet, working temperature, compatible base metals, and cleanup instructions before heating the rod.
In each case, the goal is to melt the filler while keeping the aluminum base metal solid. The filler wets the prepared surfaces and forms a bond as it cools. That is different from TIG or MIG welding, where the arc melts part of the base metal and creates a fusion zone.
A manufacturer may publish a tensile value for its filler alloy, but that number is not a guaranteed rating for your repair. Completed-joint strength also depends on the alloy, joint shape, overlap, clearance, cleanliness, heating cycle, flux removal, workmanship, fatigue, and service temperature.
Can You Weld Aluminum with Flux Core?
You cannot weld aluminum with the ordinary self-shielded flux-core wire sold for carbon steel. Steel FCAW wire, drive-roll setup, and polarity do not turn into an aluminum process when the base metal changes.
True aluminum MIG welding normally uses bare aluminum wire such as ER4043, ER4943, or ER5356 with external shielding gas. Miller recommends 100% argon for ordinary aluminum MIG and a spool gun or push-pull system to feed the soft wire reliably.
You can join aluminum with a torch-applied low-temperature rod, but it should not be described as a fusion weld unless the base metal actually melts and the procedure meets the applicable welding requirements. In everyday product listings, “welding rod” is often marketing language rather than a precise description of the joining mechanism.
Warning: Do not use a consumer low-temperature repair rod on a trailer hitch, vehicle frame, wheel, steering or suspension part, ladder, lifting device, pressure vessel, fuel tank, refrigerant component, rotating part, or other failure-critical assembly. Use the manufacturer’s approved repair method or a qualified welding procedure.
Structural aluminum work may fall under an adopted code such as AWS D1.2. The code addresses qualified procedures, welder qualification, fabrication, and inspection. A retail rod’s package claim does not make a torch repair code-compliant.
Low-Temperature Rods vs. True Aluminum Welding
The processes may look similar from a distance because each uses heat and filler metal, but they produce different joints and require different equipment.
| Aspect | Low-Temperature Repair Rod | Aluminum MIG | Aluminum TIG |
|---|---|---|---|
| Typical heat source | Propane, MAP-Pro, or another torch approved by the rod maker | Constant-voltage electric arc | Controlled tungsten arc, commonly AC for aluminum |
| Base metal melted? | Normally no | Yes | Yes |
| Shielding or flux | Product-specific flux system | Usually 100% argon for common shop work | Usually argon or a specified argon-based blend |
| Best use | Small, accessible, noncritical repairs and buildup | Faster fabrication on suitable material thicknesses | Precise, controlled work and thinner material |
| Main limitation | No base-metal fusion; performance is highly joint-dependent | Soft-wire feeding, shielding, and heat input require proper setup | Slower and more skill-intensive |
| Structural qualification | Not assumed from a retail label | Possible with an applicable qualified procedure | Possible with an applicable qualified procedure |
A filler-metal tensile number describes a tested material property. It does not, by itself, tell you how much load a repaired bracket, casting, frame, or tank can safely carry.
Products Worth Considering

50 Rods ,1/16 ''x13' 'aluminum welding wire,Chemical Composition Requirements: Si 12%, Mg≤0.10%, Fe≤0.21%, Cu≤0.05%, Zn≤0.05%, Mn≤0.10%,AL REM

Application Field: NO NEED FLUX.Low-temperature aluminum brazing rod is suitable for brazing aluminum, aluminum alloys, aluminum-magnesium alloys, and other light-colored metals such as car suspensions, frames, motorcycle tanks, wheels, furniture, lighting fixtures, lamp heads, and even aircraft wings.

How to Choose an Aluminum Repair Rod
I would not choose one by brand name, price, or an online demonstration alone. Start with the job and the manufacturer’s technical information.
- Identify the base material: Confirm that the part is aluminum and, when possible, find its alloy designation. Painted zinc die castings and magnesium parts are sometimes mistaken for aluminum.
- Check compatible alloys: The package should identify suitable wrought or cast aluminum alloys. “Works on all aluminum” is not enough for a critical decision.
- Read the working range: Confirm whether your torch can heat the joint evenly without overheating the base metal.
- Identify the flux system: Determine whether the rod is flux-cored, flux-coated, self-fluxing under its instructions, or requires separate flux.
- Review joint requirements: Some fillers work best in close lap joints, while others can build a fillet or fill a small gap. Do not assume a large gap will produce a stronger joint.
- Check service conditions: Consider vibration, temperature, moisture, salt, chemicals, fatigue, and whether the joint will later be painted or anodized.
- Read the SDS: Know the required ventilation, PPE, storage, spill, and residue-cleanup measures.
For true MIG or TIG welding, filler selection is more specific. Hobart’s aluminum filler guide shows that base alloy, elevated-temperature exposure, anodizing, ductility, shear strength, cracking resistance, and post-weld treatment can all change the correct filler choice.
Products Worth Considering

NO SOLDER POWDER NEEDED: These aluminum rods are flux cored welding rods, no need solder powder, no other materials are required, and it is easy to use.

Only For Welding Aluminum - The aluminum welding rods are only used for welding aluminum, aluminum alloy and aluminum-magnesium alloy, high strength, good forgeability & good corrosion resistance.

Comprehensive Welding Package: our package comes with 24 low temperature universal welding rods available to meet your welding requirements; Whether you are a novice or an experienced welder, this kit of welding rods ensures you have things you need for your welding projects; Material is relatively brittle, received with breakage is a normal phenomenon, does not affect the use
How to Use Flux Core Aluminum Welding Rods Safely
The following method applies to torch-heated, low-temperature aluminum repair rods. The rod manufacturer’s instructions always take priority because filler chemistry and flux behavior vary.
At a Glance
| Time Required | About 30–90 minutes for cleaning, setup, practice, joining, cooling, and cleanup |
| Difficulty | Beginner to intermediate on clean, accessible, noncritical parts |
| Tools Needed | Approved torch and fuel, compatible rods, clamps, aluminum-dedicated stainless brush, file or abrasive, approved degreaser, PPE, ventilation, and fire extinguisher |
| Cost | Usually modest when the torch and PPE are already owned; rod and fuel prices vary by product and region |
1. Decide Whether the Repair Is Suitable
Use the rod only when the part is noncritical, accessible from a safe working position, and compatible with the product instructions. Small covers, tabs, trim, gutters, siding, hobby enclosures, and similar lightly loaded items are more realistic candidates than frames or running gear.
Stop if you cannot identify the material, if the part carries pressure or hazardous fluid, or if its failure could injure someone. Also stop if the component is heat-treated and the repair could change its strength in a safety-relevant area.
2. Read the Rod and Torch Instructions
Confirm the approved fuel, working temperature, compatible alloys, joint type, flux procedure, ventilation, eye protection, and residue-removal method. Do not substitute a hotter torch solely to speed up the work; excess heat can collapse thin aluminum before the filler behaves correctly.
3. Remove Coatings, Oil, and Oxide
Strip paint, anodizing, heavy corrosion, and damaged material from the joint area by a method suitable for aluminum. Degrease first with a cleaner approved for weld or braze preparation, follow its SDS, and allow it to evaporate completely.
Warning: Never use chlorinated brake cleaner, chlorinated degreaser, or an unidentified solvent on metal that will be heated. Hot work can decompose chlorinated residue and produce highly toxic gases. Keep solvents and their vapors away from the torch and work area.
After degreasing, remove the oxide with a clean stainless-steel hand brush dedicated only to aluminum. A clean file or carbide burr may help on heavily oxidized castings. Avoid aggressive pressure that smears contaminants into the surface.
4. Prepare and Clamp the Joint
Remove cracks to sound metal rather than covering them with filler. Fit the parts as closely as the rod instructions require. A lap joint often gives a low-temperature filler more bonded area than a simple edge-to-edge butt joint.
Clamp the work so it cannot move when hot. Arrange the joint so the filler can flow where needed without running onto a hidden surface, combustible material, hose, wire, seal, bearing, or finished panel.
5. Practice on Matching Scrap
Use a scrap piece of the same alloy and thickness when possible. Practice cleaning, heating, touching the rod to the joint, and judging flow before working on the real part.
Pro Tip: Heat the base metal and let the hot joint melt the filler. Melting the rod directly in the flame can leave a blob on metal that is still too cold for proper wetting.
6. Heat the Joint Evenly
Use the flame pattern and distance specified by the torch maker. Sweep the flame across the heavier or more heat-sinking area first, then balance the heat across the joint. Aluminum does not give the same obvious red-hot warning that steel does, so watch the rod’s behavior and the base metal carefully.
Touch the rod to the heated joint outside the direct center of the flame. When the proper temperature is reached, the filler should begin to wet the prepared surface rather than sitting as a round ball.
Move along the joint at a pace that keeps the filler flowing without allowing the base metal to sag. Do not use a universal travel speed or wait for the aluminum to “sparkle.” Visible surface collapse, sudden softness, or a widening depression means the base metal is overheating.
7. Let the Part Cool and Remove Residue
Allow the part to cool in still air unless the filler manufacturer specifically directs another method. Do not quench it simply to save time; rapid cooling can distort the part, trap residue, or contribute to cracking in an unsuitable joint.
Remove all flux residue by the method listed in the product instructions. Flux left in a crevice may absorb moisture or contribute to corrosion. Inspect both sides of the joint where accessible.
8. Inspect and Test the Repair
Look for complete wetting, a continuous bond line, smooth transitions, and no obvious cracks, voids, trapped flux, unmelted filler, or melted base-metal edges. A neat surface alone does not prove internal bonding.
Make a representative practice joint and break or bend that sample when the application allows it. The test should expose whether the filler bonded to clean aluminum or merely peeled away from an oxide-covered surface. Do not use a home bend or hammer test to certify a structural repair.
For True MIG Welding Aluminum
Do not load ordinary steel flux-core wire or an unverified “flux-core aluminum” spool. Use a machine and gun approved for aluminum, bare filler wire matched to the base alloy, and the shielding gas specified by the manufacturer.
For common shop aluminum MIG, the normal starting setup includes 100% argon, a spool gun or push-pull feeder, aluminum-compatible drive components, and the polarity listed by the equipment manufacturer, normally DCEP for conventional GMAW. Use the settings chart inside the machine or its manual rather than a generic voltage and wire-speed range.
Clean the aluminum first, then use a 10–15-degree push angle. Avoid a drag angle and large weave beads. As the workpiece absorbs heat, travel speed may need to increase to limit burn-through. Test every setup on matching scrap before welding the part.
Pros and Cons of Low-Temperature Aluminum Rods
| Pros | Cons |
|---|---|
| No welding power source or shielding-gas cylinder is needed for the torch process | The base metal is normally not fused |
| Lower working temperature can reduce distortion on a suitable part | Joint performance depends heavily on preparation, fit, and bonded area |
| Portable for small repairs where open-flame hot work is permitted | Wind can disrupt the flame and cause uneven heating |
| Useful for filling small voids or rebuilding a noncritical edge | Flux residue may require thorough cleanup |
| The basic technique can be learned on scrap without a TIG setup | Thin material can still melt suddenly, while large parts may exceed a hand torch’s heating capacity |
The rods are not automatically better outdoors simply because flux is present. A strong breeze can cool one side of the joint, push the flame away, spread fumes, and make temperature control difficult. Use a safe wind barrier only when it does not trap fumes or create a fire hazard.
Common Problems and Quick Fixes
| Symptom | Likely Cause | Correction |
|---|---|---|
| Filler forms a ball and rolls away | Oxide, oil, incompatible material, or a joint below the filler’s working temperature | Stop, cool, reclean, verify the alloy and rod, then heat the base more evenly |
| Filler melts in the flame but does not wet the joint | The rod is being heated instead of the base metal | Move the flame to the work and let the heated joint melt the filler |
| Base metal sags or opens into a hole | Too much heat, slow travel, oversized torch, or insufficient heat spreading | Stop heating, allow cooling, reduce flame input, and practice on matching scrap |
| Joint cracks during cooling | Wrong filler, restrained joint, contamination, poor joint shape, or unsuitable base alloy | Do not cover the crack; remove it, verify compatibility, improve fit-up, and remake the sample |
| Joint peels apart with filler on one side | Poor wetting or an oxide barrier | Degrease, mechanically remove oxide with an aluminum-only brush, and recheck temperature |
| White, crusty, or damp residue appears later | Flux was not completely removed | Clean by the rod maker’s method, dry the joint, and inspect for corrosion |
| Cast aluminum remains porous or dirty | Embedded oil, unknown alloy, casting porosity, coating, or contamination below the surface | Remove contaminated material, use controlled precleaning if approved, or choose a specialist repair method |
Safety for Torch Joining and Aluminum Welding
Read the rod, flux, fuel, torch, cleaner, and coating safety data before starting. Provide local exhaust or effective general ventilation so fumes move away from your breathing zone. A household fan pointed across an open flame is not a complete control plan and may spread sparks or disturb the flame.
Wear flame-resistant clothing, suitable gloves, closed footwear, and eye and face protection selected for the actual process. Torch soldering or brazing and electric-arc welding require different lens considerations. For MIG or TIG, use a welding helmet with the shade recommended for the arc current and process.
Keep an appropriate fire extinguisher ready. OSHA’s hot-work requirements call for combustible materials to be relocated or protected, identify conditions requiring a trained fire watch, and require that the fire watch continue for at least 30 minutes after welding or cutting when applicable.
Do not perform hot work on a closed container, fuel tank, refrigerant system, chemical vessel, or part that may contain flammable or toxic residue. A container that looks empty may still hold an explosive vapor. Refrigerant components require proper recovery and an approved repair procedure; never heat a charged air-conditioning line or condenser.
Inspect the torch, hose, regulator, cylinder, and connections before use. Secure cylinders upright, keep them away from heat and traffic, check connections as the manufacturer directs, and close the fuel supply when the job is complete.
Real-World Applications
Low-temperature rods can be practical for small, noncritical aluminum work where the product maker approves the base material. Examples may include a lightly loaded toolbox lid, gutter, siding, decorative panel, hobby enclosure, small tab, trim piece, or an accessible buildup repair that will not carry a safety-critical load.
A camper-shell skin or similar panel may be a candidate only after checking what lies behind it. Insulation, adhesives, wiring, sealants, wood framing, or a coated interior can create fire and fume hazards.
Marine exposure deserves extra caution. Salt and moisture make surface preparation and residue removal especially important. Do not treat a below-water hull crack, structural member, lifting point, or load-bearing boat fitting as a casual torch-rod repair.
Radiators, air-conditioning condensers, pressurized tanks, and heat exchangers should be repaired only through a procedure suitable for the alloy, pressure, fluid, cleanliness requirement, and required leak test. The fact that a rod can wet the surface does not prove the component is safe to return to service.
When to Skip Low-Temperature Aluminum Rods
Choose a qualified MIG or TIG procedure, an approved mechanical repair, or component replacement when the part is structural, dynamically loaded, pressure-containing, heat-sensitive, or difficult to inspect.
- Vehicle frames, trailer tongues, trailer hitches, suspension, steering, wheels, control arms, and brake parts
- ATV, motorcycle, or bicycle frames unless the manufacturer provides an approved repair
- Ladders, scaffolds, lifting devices, fall-protection anchors, and load-bearing railings
- Fuel tanks, compressed-gas containers, pressure vessels, radiators, and charged refrigerant components
- Engine, transmission, or machinery castings where heat, pressure, alignment, or fatigue matters
- Propellers, shafts, fans, pulleys, and other rotating parts
- Electrical conductors or bus components unless the joining system is rated for the current, temperature, and environment
- Parts whose alloy, coating, contamination, or previous repair is unknown
For precision and thin material, AC TIG offers excellent control when the operator and equipment are suitable. For faster fabrication on appropriate thicknesses, aluminum MIG with a spool gun or push-pull feeder can be more productive.
Mechanical fasteners or engineered structural adhesives may be better for some non-welded assemblies. Dissimilar aluminum-to-steel joints need special attention because direct contact can create galvanic corrosion, while high-temperature joining can form brittle intermetallic compounds. Use an engineered transition joint, isolation system, approved adhesive, or mechanical connection rather than improvising with an aluminum repair rod.
Wrapping It Up: Use the Rod for the Right Job
Flux core aluminum welding rods are useful once you stop treating them as gasless aluminum MIG wire. Most are low-temperature repair fillers that join prepared aluminum without melting the base metal. That can save setup time on small, noncritical work, but it also limits where the joint belongs.
The reliable approach is simple: identify the material, read the rod’s technical information and SDS, clean in the correct order, avoid chlorinated solvents, practice on matching scrap, heat the base evenly, remove all residue, and inspect the finished joint. When failure could hurt someone or damage important equipment, use an approved fusion-welding or replacement procedure instead.
Frequently Asked Questions
Can I use standard flux-core MIG wire on aluminum?
No. Ordinary self-shielded flux-core wire is made for compatible ferrous base metals, not aluminum. Common aluminum MIG uses bare aluminum wire, external shielding gas—usually 100% argon for ordinary shop work—and a spool gun or push-pull feeder.
Are low-temperature aluminum rods actually brazing rods?
It depends on the filler’s liquidus temperature. AWS places the dividing line at 840°F (450°C). A filler below that temperature is used in soldering terminology; a filler above it but below the base metal’s solidus is used for brazing. Retail product names do not always follow that distinction closely.
What torch should I use for an aluminum repair rod?
Use only a torch and fuel approved by the rod manufacturer for the part’s size and thickness. Propane may handle small work, while a manufacturer may recommend a hotter fuel for larger joints. More heat is not automatically better because thin aluminum can collapse without glowing red first.
Do aluminum repair rods work on cast aluminum?
Sometimes, but castings can contain oil, porosity, coatings, silicon, and unknown alloying elements. Remove contaminated material, verify that the rod maker approves cast aluminum, and make a representative test joint. Do not use the method casually on engine, pressure, suspension, or rotating castings.
How do I know whether the joint is strong enough?
A smooth bead or published filler tensile number is not proof of joint capacity. Make and destructively test a representative sample when appropriate. For a structural or safety-critical part, strength must be established through an engineered design, qualified procedure, and required inspection—not a home hammer or bend test.
Can I join stainless steel or carbon steel directly to aluminum with these rods?
Do not assume so. Aluminum-to-steel joints can suffer from poor wetting, brittle intermetallic compounds, and galvanic corrosion. Use an engineered transition material, an approved adhesive system, isolated mechanical fasteners, or a qualified specialist process.
Can I clean the aluminum with brake cleaner first?
No. Never heat metal that may carry chlorinated brake-cleaner or degreasing-solvent residue. Use a cleaner approved for weld preparation, read its SDS, provide ventilation, and let it evaporate completely before brushing away the aluminum oxide.
Can I use these rods on a trailer hitch or vehicle frame?
No, not as a general repair method. Hitches, frames, suspension parts, steering parts, and wheels experience dynamic and fatigue loading. Follow the vehicle or component manufacturer’s approved repair procedure or use a qualified structural aluminum specialist.
Sources
- American Welding Society Brazing & Soldering Manufacturers Committee — AWS temperature distinction between brazing and soldering.
- AWS D1.2/D1.2M Structural Welding Code — Aluminum — scope of structural aluminum welding requirements.
- Miller: How to Successfully MIG Weld Aluminum — cleaning, argon shielding, wire feeding, technique, and troubleshooting.
- Hobart Brothers Aluminum Filler-Metal Guide — alloy and service-condition considerations for filler selection.
- OSHA 29 CFR 1910.252 — hot-work fire prevention, combustible control, and fire-watch requirements.
- OSHA Welding, Cutting, and Brazing Chemical Hazards — hazards from coatings and heated degreasing residues.