
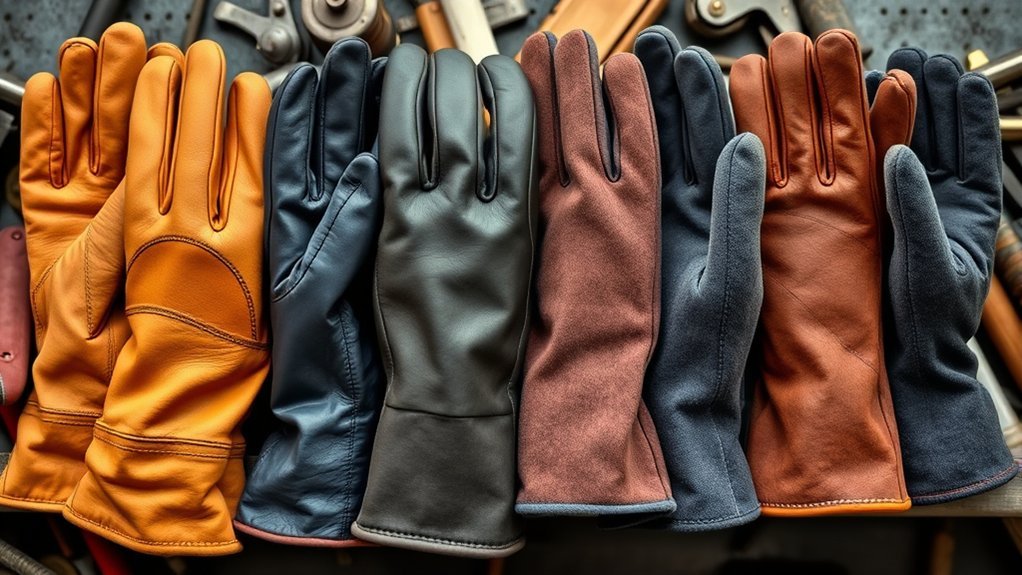
Welding gloves protect your hands from heat, sparks, spatter, slag, abrasion, and brief contact with hot metal. The best pair depends on the welding process, heat level, spatter level, and how much finger control you need. TIG gloves should feel precise, MIG gloves should balance flexibility with insulation, and stick welding gloves should put heat and forearm protection first.
Quick Answer
Choose welding gloves by matching them to the process. Use thin goatskin or deerskin gloves for TIG control, insulated cowhide or deerskin gloves for MIG, and thick split cowhide or elk-skin gauntlet gloves for stick welding. The right fit should protect your wrists while still letting you grip the torch, stinger, or filler rod safely.
Key Takeaways
- TIG welding gloves need the most dexterity, so thinner goatskin or deerskin is usually the best choice.
- MIG welding gloves need more insulation and reinforced palms because MIG creates more heat and spatter than TIG.
- Stick welding gloves should use thick leather, long gauntlet cuffs, and durable stitching for heavy heat, sparks, and slag.
- Replace gloves when the leather cracks, seams burn through, fingertips thin out, lining fails, or grip becomes poor.
At a Glance
| Time Required | 5 to 10 minutes to match the glove to your process, heat level, cuff coverage, and fit. |
| Difficulty | Easy, as long as you know whether you are TIG, MIG, stick, flux-core, or cutting. |
| Tools Needed | Your welding process, glove size chart, and a quick inspection for holes, burned seams, stiff leather, or oil contamination. |
| Cost | Varies by leather type, lining, reinforcement, cuff length, brand, and safety markings. |
Warning: Do not weld with wet, oily, cracked, or burned-through gloves. Dry leather can help insulate your hands, but wet or contaminated leather can reduce protection and make the glove unsafe.
Understanding the Importance of Welding Gloves
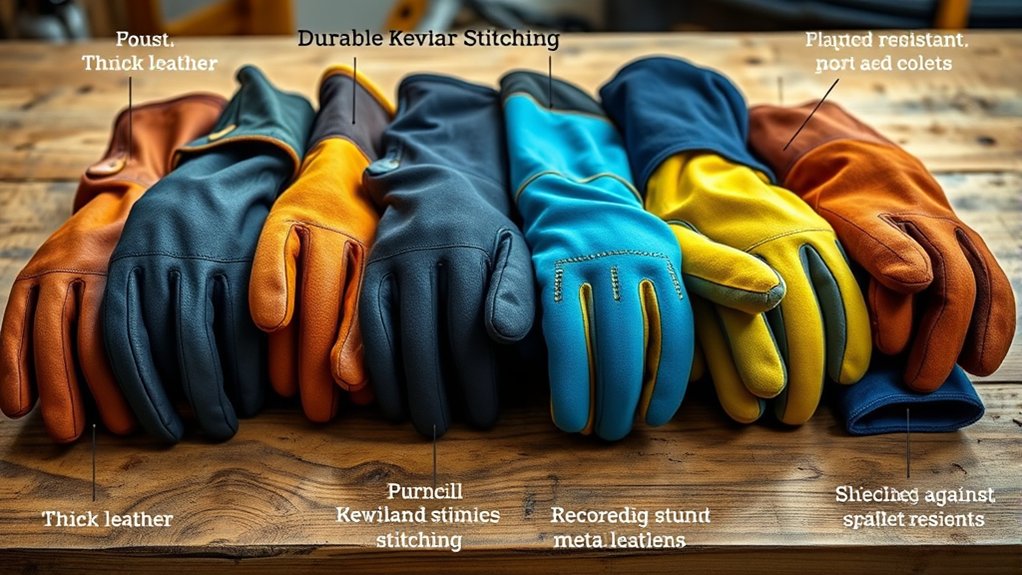
Welding gloves are part of your personal protective equipment, but they do not remove the hazard by themselves. They reduce your exposure while you also control sparks, keep flammable material away, use safe work practices, and wear the rest of your welding PPE.
OSHA’s hand protection rule says hand protection should be selected based on the task, conditions, duration of use, and the hazards present. For welding, those hazards can include heat, thermal burns, sparks, spatter, slag, cuts, abrasions, and electric shock risk.
The right glove also helps your control. If the glove is too bulky for TIG, you may struggle to feed filler rod smoothly. If it is too thin for stick welding, heat and sparks can reach your hands too quickly. A good pair gives you enough protection for the process without making the torch, gun, or electrode holder hard to manage.
Types of Welding Gloves: Unique Protection for Each Method
Different welding processes create different glove demands. Use this table as a starting point before checking the glove label and manufacturer sizing guide.
| Process | Best Glove Style | Main Priority |
| TIG | Thin goatskin or deerskin glove with snug fingers | Dexterity and filler rod control |
| MIG | Cowhide, deerskin, or pigskin glove with insulation and reinforcement | Heat, spatter, and grip balance |
| Stick | Thick split cowhide or elk-skin gauntlet glove | Maximum heat, slag, and forearm protection |
| Flux-core | Heavy MIG or stick-style glove | Spatter and heat resistance |
TIG welding gloves are usually the lightest because TIG produces less spatter and requires fine finger movement. MIG welding gloves are heavier because the process creates more sparks and heat around the gun. Stick welding gloves are the heaviest because slag, spatter, and radiant heat are more intense.
How to Pick the Best Gloves for TIG Welding
For TIG welding, choose gloves that let you feel the filler rod and move your fingers with control. Soft goatskin and deerskin are common choices because they are flexible, comfortable, and easier to control than thick split leather.
A snug fit matters. The fingertips should reach close to the end of your fingers without folding over. The thumb crotch should not pull tight when you hold the torch. The palm should flex without bunching, and the cuff should overlap your sleeve enough to keep sparks off your wrist.
Look for heat-resistant stitching, such as Kevlar thread, and avoid bulky seams on the palm side if you need precise torch control. TIG gloves still need heat protection, but too much lining can make filler rod feeding clumsy.
Pro Tip: For TIG, do a quick filler-rod test before buying. Put the glove on and roll a small rod between your fingers. If the seam or fingertip bulk gets in the way, choose a thinner glove.
Products Worth Considering

Reusable Goatskin Leather Gloves: These gloves are made from durable goatskin leather that is reusable for multiple welding projects.

WELDING GLOVES: Durable split cowhide leather welding gloves are made of high quality split cowhide leather to provide protection against abrasion and help ensure long wear. Comes in a pack of 2 pairs.

Kontour Design for Enhanced Performance: Our gloves conform to the natural shape of your hand, providing optimal finger alignment and improved control during welding tasks
MIG Welding Gloves: What to Look For
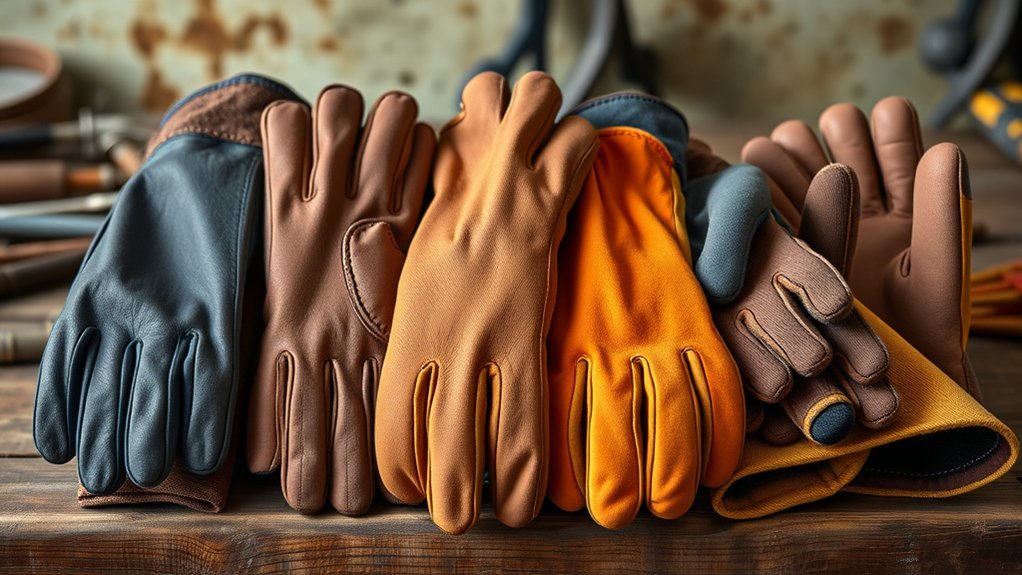
MIG welding gloves need to handle more heat and spatter than TIG gloves while still giving you enough grip to control the welding gun. A good MIG glove usually has a leather shell, light to medium insulation, and reinforced areas where the gun or workpiece rubs the palm and fingers.
- Choose durable leather: Cowhide is tough and widely used. Deerskin feels softer. Pigskin can stay more flexible when damp, but you should still avoid welding with wet gloves.
- Check the lining: Lined gloves help with heat, but too much lining can reduce control. Pick the amount of insulation based on amperage, weld length, and spatter level.
- Look for reinforcement: Reinforced palms, thumbs, and fingers help the glove last longer during repetitive gun handling.
- Check cuff coverage: A longer cuff helps protect your wrist and lower forearm from sparks and spatter.
OSHA lists burns, electrical shock, cuts, and crushed fingers among welding-related hazards that can be controlled with safe work practices and PPE. For that reason, your MIG gloves should be chosen as part of a complete safety setup, not as the only protection.
Products Worth Considering
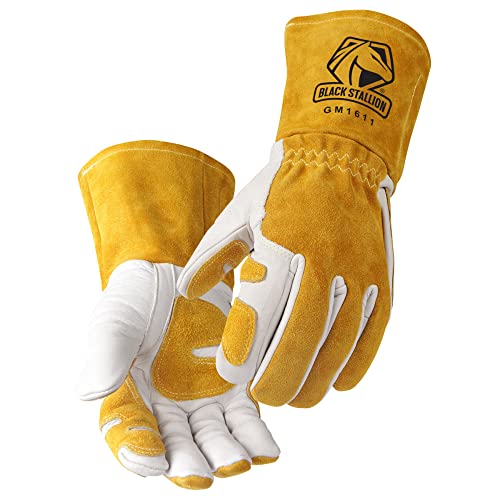
COWHIDE LEATHER: Cowhide’s dense grain structure helps shield hands from sparks, slag, and radiant heat. The fibers act as natural armor, adding extra protection against punctures and abrasions.
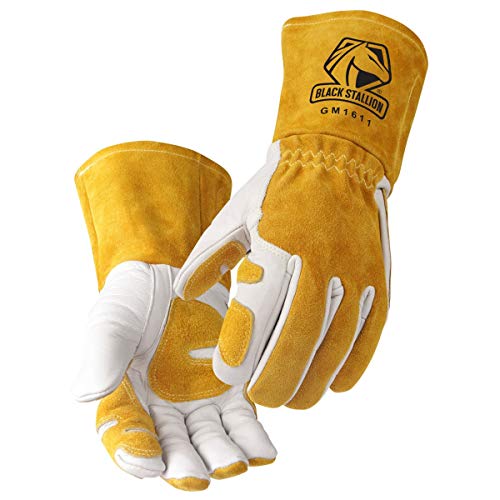
Mug welding gloves with soft cotton lining (not bulky) and seamless index finger
Kontour Design for Enhanced Performance: Our gloves conform to the natural shape of your hand, providing optimal finger alignment and improved control during welding tasks
Stick Welding Gloves: Ensuring Maximum Heat Protection
Stick welding creates more sparks, slag, and radiant heat than most light TIG or MIG work, so stick gloves should put protection first. Thick split cowhide, elk skin, or other heavy welding leather is a better match than thin TIG gloves.
Choose long gauntlet cuffs that protect your wrists and forearms. The Canadian Centre for Occupational Health and Safety recommends gauntlet-type cuff leather gloves or similar protective sleeves for welding because they help protect the wrists and forearms.
Key Features of Stick Gloves
- Thick leather: Split cowhide and elk leather give more insulation against heat, slag, and spatter.
- Long gauntlet cuffs: Extra cuff length helps cover the gap between your sleeve and glove.
- Reinforced stitching: Heat-resistant stitching helps seams survive heavy use.
- Comfortable lining: A lining can reduce heat transfer during longer welds, but it should not make the electrode holder hard to grip.
Recommended Materials for Protection
Each leather type has a different feel. Goatskin is soft and precise, so it works well for TIG. Deerskin is flexible and comfortable, which makes it useful for TIG or lighter MIG. Cowhide is durable and common for MIG and stick. Split cowhide is tougher and more heat resistant, but it is less precise. Elk skin is often chosen for stick welding because it can feel softer than heavy cowhide while still offering strong heat protection.
For heavy welding, do not choose gloves by comfort alone. Match the material to the heat, spatter, and slag you expect. If the glove feels great but lets heat through too quickly, it is the wrong glove for that job.
Proper Fit and Coverage
A welding glove should fit securely without cutting off movement. If it is too loose, the fingertips can catch on the trigger, filler rod, or electrode holder. If it is too tight, your hands fatigue faster and seams can split sooner.
- Fingers: Fingertips should not fold over or leave too much empty space.
- Palm: The palm should flex without large wrinkles that reduce grip.
- Thumb: The thumb area should not pull tight when you grip the torch or stinger.
- Cuff: The cuff should overlap your sleeve and cover your wrist.
- Grip: You should be able to hold the torch, gun, or electrode holder without slipping.
Essential Features for Choosing Welding Gloves
When comparing welding gloves, start with the hazard instead of the brand. OSHA says hand protection should be selected by evaluating the glove’s performance characteristics against the task, conditions, duration, and hazards. That means a glove that is perfect for low-amp TIG may be unsafe for hot stick welding.
Focus on these features:
- Leather type: Goatskin and deerskin improve feel. Cowhide and split leather improve durability and heat protection.
- Insulation: More insulation helps with heat but reduces finger feel.
- Cuff length: Short cuffs improve movement, while long gauntlet cuffs improve wrist and forearm coverage.
- Stitching: Kevlar or other heat-resistant stitching helps seams last longer near heat and sparks.
- Reinforcement: Extra leather on the palm, thumb, or fingers improves wear life.
- Grip texture: A secure grip helps you control tools and hot material more safely.
- Safety markings: If the glove lists standards such as EN 12477, EN 388, EN 407, or ANSI/ISEA ratings, check what the marking actually covers. Do not assume one rating covers every welding hazard.
Note: Welding gloves are not chemical gloves. If you are handling solvents, acids, cleaners, or coatings, use chemical-resistant gloves selected for that chemical, then switch back to dry welding gloves before welding.
How to Inspect and Replace Welding Gloves
Inspect your gloves before every welding session. Small damage can turn into a burn risk once heat, sparks, or slag hit the weak spot.
Replace your welding gloves when you see any of these signs:
- Holes, cuts, or thin spots in the fingertips or palm
- Burned, broken, or loose stitching
- Cracked, stiff, or brittle leather
- Oil, grease, solvent, or fuel contamination
- Wet lining or leather that has not fully dried
- Loose insulation that bunches up inside the glove
- Poor grip on the torch, gun, stinger, or workpiece
- Heat reaching your hand faster than it did when the gloves were newer
Store gloves in a dry place away from grinding dust, fuel, oil, and sharp tools. Let leather dry naturally if it becomes damp. Do not dry gloves with direct flame or high heat because that can harden and crack the leather.
Frequently Asked Questions
How should I care for my welding gloves?
Shake out dust and slag, let the gloves dry naturally, and store them in a clean, dry place. Do not soak leather welding gloves unless the manufacturer says they are washable. Check the seams, fingertips, palm, and cuff before each use.
Can I use welding gloves for other tasks?
You can use welding gloves for some hot or abrasive shop tasks, but they are not ideal for every job. They may be too bulky for precision work and are not a replacement for chemical-resistant, cut-rated, or electrically rated gloves when those hazards are present.
Are there specific sizes for welding gloves?
Yes. Most welding gloves come in sizes such as small through 2XL or 3XL. Use the manufacturer’s size chart, then test the fit by gripping your torch, MIG gun, or electrode holder. The glove should feel secure without pinching or leaving loose folded fingertips.
How often should I replace my welding gloves?
Replace welding gloves as soon as they lose protection, not on a fixed calendar. Heavy stick or flux-core work may wear gloves faster than light TIG. Replace them when you find holes, burned seams, stiff cracked leather, damaged lining, oil contamination, or poor grip.
What are the risks of using improper welding gloves?
Improper gloves can expose you to burns, sparks, spatter, cuts, poor grip, and reduced tool control. Gloves that are too thin for the process can let heat through. Gloves that are too bulky can make the torch, filler rod, trigger, or electrode holder harder to control.
Are TIG gloves safe for MIG or stick welding?
TIG gloves are usually too thin for hot MIG, flux-core, or stick welding. They are made for finger control, not heavy spatter and slag. Use heavier insulated gloves when the process creates more heat, sparks, or molten metal.
Conclusion
The best welding gloves are the ones that match your welding process and hazards. Choose thin, flexible gloves for TIG, balanced insulated gloves for MIG, and thick gauntlet-style gloves for stick welding. Check the material, lining, cuff length, stitching, grip, and fit before you weld. Most of all, replace damaged gloves early. A glove with holes, burned seams, wet leather, or poor grip is no longer protecting you the way it should.
Sources
- OSHA 1910.138 Hand Protection — supports hazard-based glove selection for task, conditions, duration, and identified hazards.
- OSHA Welding, Cutting, and Brazing Hazards and Solutions — supports welding hazard context, including burns, electrical shock, cuts, and PPE use.
- CCOHS Welding Personal Protective Equipment and Clothing — supports gauntlet cuff leather gloves, wrist and forearm protection, dry leather, and welding clothing safety.



