Welding near airbag sensors can interfere with the SRS module, damage wiring, or even trigger unintended deployment, so you should isolate the system before you strike an arc. Disconnect the negative battery terminal first, wait for stored charge to dissipate, and remove or shield nearby modules and sensors. Keep cables and grounds close to the weld site, protect the cabin from heat, and follow OEM procedures. A proper scan and post-repair test should verify everything is still safe.
Why Welding Near Airbag Sensors Is Risky
Welding near airbag sensors is risky because the arc’s electrical noise and heat can interfere with the airbag control module and nearby wiring.
You’re working with a system that treats voltage spikes and heat as threats, so welding can trigger faults, disable sensors, or, in the worst case, deploy an airbag unexpectedly. That kind of release isn’t safety; it’s loss of control.
Welding can trigger faults, disable sensors, or even deploy an airbag unexpectedly—loss of control, not safety.
Even brief exposure can damage the wiring harness, connectors, or sensor links, leaving diagnostic trouble codes after the repair. The airbag control module may also misread the disturbance and store a malfunction that persists long after you stop welding.
Heat can weaken component integrity too, creating latent failures that show up later. You need to respect this zone, because technical freedom starts with preventing avoidable injury and preserving the full function of the restraint system. Additionally, ensure proper ventilation in the work area to mitigate exposure to any harmful fumes generated during the welding process.
Disconnect the Battery Before Welding
Before you weld, disconnect the negative battery terminal first, then isolate the positive terminal to reduce the risk of voltage spikes reaching airbag electronics. You should wait at least 2 minutes after disconnection so any stored charge in the airbag system can dissipate safely. Follow the OEM disabling procedure and document each disconnect step so you can verify proper reconnection after welding. Additionally, ensure that you monitor operational parameters to prevent any unforeseen issues during the welding process.
Battery Disconnect Steps
To prevent electrical surges and protect sensitive vehicle electronics, you should disconnect both the negative and positive battery terminals before welding, starting with the negative terminal to reduce the risk of short circuits during removal. Use the battery service disconnect only if OEM guidance allows it, and treat every step as one of your core safety precautions.
| Step | Action |
|---|---|
| 1 | Remove negative terminal first |
| 2 | Remove positive terminal next |
| 3 | Cover terminals with non-conductive material |
Document each disconnection so you can restore the system correctly after welding. Keep tools clear of exposed posts, and don’t rely on memory when reassembly starts. Follow the vehicle maker’s procedure exactly; it’s your path to controlled work and safer, freer repair decisions.
Protecting Airbag Electronics
Because airbag electronics are highly sensitive, you should disconnect the vehicle battery before welding, starting with the negative terminal, to reduce the risk of voltage spikes that can damage sensors, modules, or related circuitry.
Then verify that the airbag system has fully discharged, following the manufacturer’s procedure. If you’ll weld within 12 inches of the work zone, remove or isolate airbag modules and other sensitive components.
These precautions to take help you protect airbag sensors from stray current and heat-induced faults. Document every disconnection so you can restore each connector correctly and avoid post-weld mishaps.
After welding, inspect the sensors, wiring, and connectors for damage, then clear any diagnostic trouble codes with an OBD-II scanner. You stay in control, keep the system safe, and preserve freedom from preventable failures.
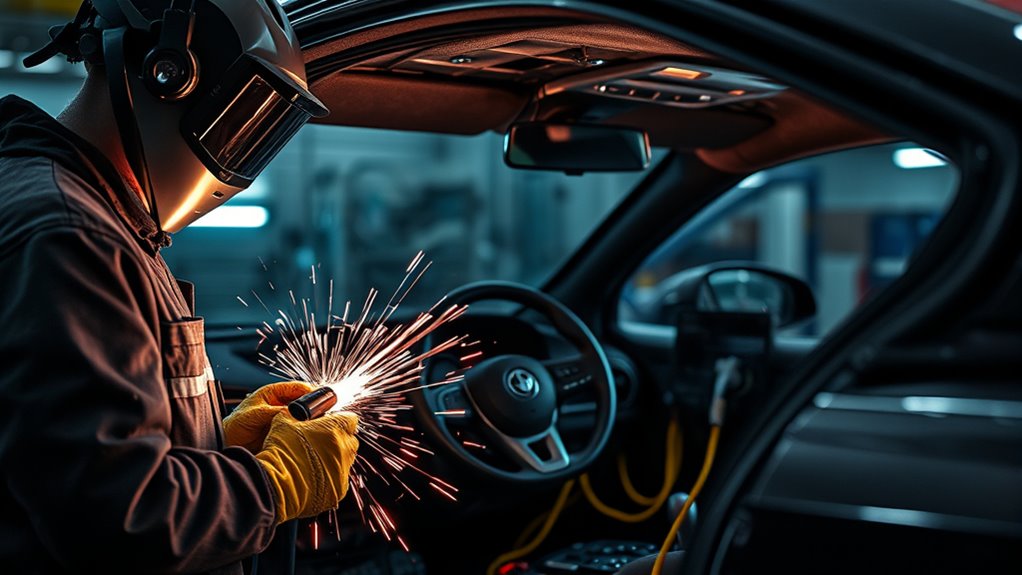
Remove Airbag Modules and Nearby Sensors
Remove airbag modules and any nearby sensors before welding so you don’t expose them to accidental deployment or heat damage.
You should follow the vehicle maker’s procedure for disconnecting the battery and disarming the airbag system, then wait for full system discharge before you touch any connectors.
Remove the airbag modules, related sensors, and their fasteners with care, and keep each part labeled so you can restore it to its original location later.
This disciplined step protects sensitive electronics and gives you control over the job instead of leaving safety to chance.
After removal, store the components away from heat, sparks, and impact.
Use heat shields and protective coverings on any nearby wiring or remaining sensor hardware that can’t be removed.
When welding is complete, inspect the control module, wiring, and connectors for heat damage, looseness, or disconnections before you reinstall everything exactly as documented. Additionally, ensure proper ventilation and fume control to mitigate risks associated with heat and fumes during the welding process.
Products Worth Considering

【All-in-One Repair Kit】This car airbag removal tool set includes 12 pieces, providing a comprehensive solution to assemble or disassemble various airbag units with ease and efficiency

Rapid Diagnostics: Vehicle airbag light is always on, not necessarily mean that airbag itself is faulty, may be seat disassembly, wiring maintenance false alarms, airbag bypass resistor can accurately simulate the resistance value of airbag module, rapid diagnosis the problems, reset faulty light

This tool set helps you to remove steering wheel airbags in a easy way.
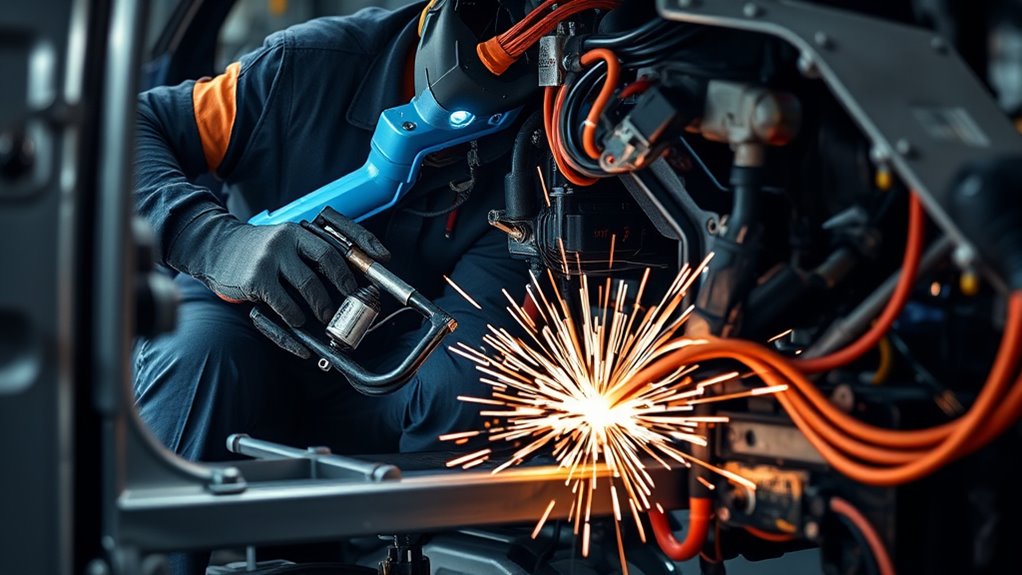
Keep Welding Cables Away From Electronics
You should route welding cables well away from sensitive electronics and sensors to avoid unintended current paths and voltage spikes. Keep at least 12 inches (300 mm) of separation, and use protective coverings where needed to reduce electrical interference. Monitor cable position throughout the weld and follow OEM routing guidelines to protect nearby systems. Proper fillet weld sizing is crucial to maintain structural integrity and prevent overheating of adjacent components.
Products Worth Considering

✿ [Premium Material] Nylon protective hose sleeve is made of premium nylon abrasive material, not only wear-resisting, but also flame retardant, strong and durable.

Our High-Performance Aramid Fiber sleeves are engineered to withstand the toughest of welding and fabrication conditions. Engineered Aramid Fiber, renowned for its exceptional heat resistance and cut protection, makes it the ideal choice for shielding your arms from sparks, flames, and sharp materials.

✔-- Superior Material: Nylon protective hose sleeve is made of premium heavy duty tight woven nylon material, not only wear-resisting, but also flame retardant, strong and durable.
Cable Routing Practices
Route welding cables at least 12 inches (300 mm) away from electronic components, wiring harnesses, sensors, and control modules to reduce the risk of interference or damage.
Your cable routing practices should keep leads separated from the vehicle’s electronics and prevent voltage spikes from finding unintended paths. Use protective coverings on exposed runs, and keep the cables off sharp edges and moving parts.
Monitor positioning throughout the weld; a shifted cable can compromise safe clearance fast.
- Maintain the 12-inch minimum at all times.
- Clamp close to the weld site on the same panel.
- Recheck cable paths before and during welding.
Protect Sensitive Electronics
Keep welding cables clear of airbag sensors, control modules, and other sensitive electronics to avoid electrical interference, false fault codes, or accidental damage. You should route leads well away from sensitive electronic components and keep at least 12 inches (300 mm) from airbags and related wiring.
Fit protective coverings on cables where contact risk exists, so you reduce short-circuit potential and protect nearby systems. During welding, keep checking cable position; vibration and movement can pull them into hazardous proximity.
If you disconnect any module or shield any component, document it before you start, then reinstall it exactly as removed. This disciplined approach keeps your workspace controlled, your electronics protected, and your repair process free from avoidable failure.
Stay at Least 12 Inches From Sensors
Maintain at least 12 inches (300 mm) of clearance from airbag sensors when welding to reduce the risk of accidental deployment or sensor damage. You should treat this minimum as a hard boundary during any repair, especially when the battery is connected in Service conditions.
Heat can skew sensor readings, and welding arcs may inject electromagnetic interference that disturbs module logic. Stay disciplined and follow OEM distance limits to keep the vehicle’s restraint system predictable.
- Measure before you strike an arc.
- Disconnect airbag system components when you’re working close.
- Recheck clearance after repositioning panels.
If you can’t preserve the 12-inch gap, stop and reassess the setup. This protects the sensors, supports safe performance, and helps you work with confidence without surrendering control to avoidable electrical risk. Additionally, ensure that you are wearing appropriate protective clothing to safeguard against potential hazards during the welding process.
Ground the Welder on the Same Panel
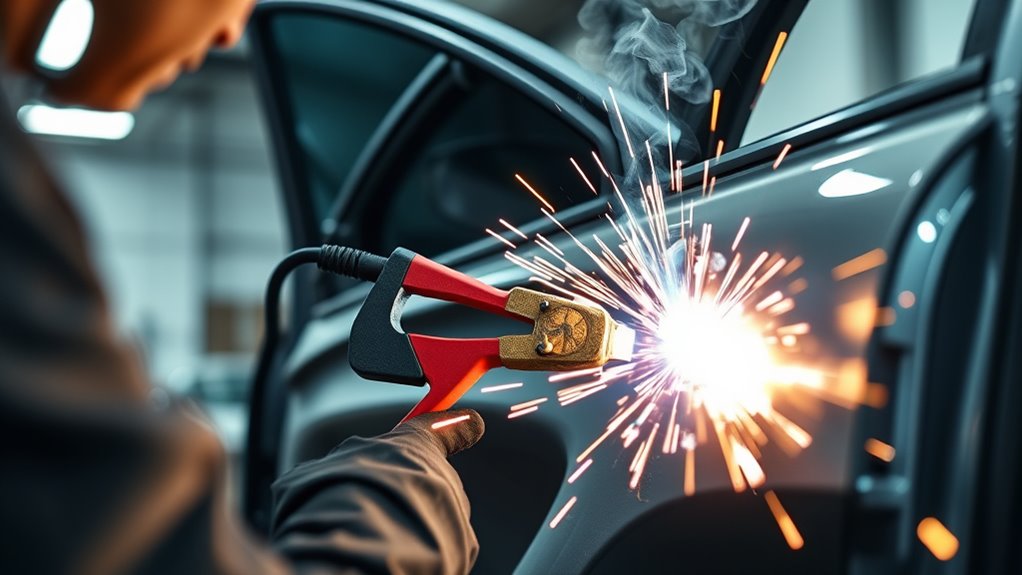
You should ground the welder on the same panel as the weld site to keep the current path short and controlled. That setup helps reduce voltage spikes and stray current that could disturb airbag sensors and other sensitive modules. Before you weld, verify the ground clamp is secure and the connection is sound. Additionally, proper surface preparation is crucial to ensure a strong weld and minimize any risk of interference with nearby electronics.
Same-Panel Grounding
Ground the welder on the same panel as the weld site to keep the return path short and controlled. During welding, this grounding practice helps you protect airbag sensors, the ECU, and other sensitive electronics from voltage spikes and stray currents.
- Clamp the welder to bare metal on the same panel.
- Keep the grounding point close to the weld area.
- Verify the clamp stays secure throughout the job.
With proper grounding, you reduce electrical interference that can trigger false airbag warnings or, worse, unintended deployment.
You also maintain a stable path for current, which supports safer welding around safety systems. Use this method every time you work near sensitive components, because careful grounding gives you more control and helps preserve system integrity without surrendering your ability to work efficiently.
Short Current Paths
Keeping the welder’s return path short and localized on the same panel helps prevent stray current from traveling through the vehicle structure and damaging airbag sensors or other sensitive electronics.
You should clamp the ground as close to the weld as possible so you maintain short current paths and keep the circuit confined. This reduces voltage spikes and limits interference with nearby electrical components.
If you let current wander through the chassis, you raise the risk of damaging systems you can’t afford to lose. Keep a solid, low-resistance connection, and stay at least 12 inches from sensitive modules when you can.
These precautions help you weld with control, reduce arc-flash risk, and protect the vehicle’s electronics without sacrificing your freedom to work efficiently.
Protect Sensitive Modules
To further protect sensitive modules, place the welder’s work clamp on the same panel where you’re welding so the current stays localized. You reduce the chance that welding current will pass through airbag sensors or other control units and create voltage spikes.
Keep the ground lead short, direct, and firmly attached so induced currents stay low and the vehicle’s electrical system doesn’t see overvoltage stress.
- Put the clamp near the weld zone.
- Verify clean, tight metal contact.
- Follow OEM grounding instructions exactly.
Inspect the clamp, cable, and panel connection before each job, and secure them again if vibration loosens anything.
This disciplined setup helps you weld with control, limits false airbag warnings, and protects sensitive modules without surrendering mobility or precision.
Protect the Cabin From Sparks and Heat
Before you strike an arc, cover all interior cabin surfaces, including seats and carpets, with flame-retardant material, and remove or fully shield any flammable upholstery or plastic parts.
In collision repair, you don’t leave the cabin exposed; you control sparks, heat, and debris with flame-retardant materials that fit tightly and resist ignition.
Place heat shields around sensitive zones, especially near airbag sensors, so radiant heat can’t migrate into electronics or trim.
Keep your torch path at least 12 inches from sensors and wiring to reduce thermal stress and electrical interference.
If you must work close to the cabin, verify that no loose fabric, foam, or trim can catch a spark.
After welding, inspect the interior for blistered plastics, scorched surfaces, or melted components.
You’re protecting more than cosmetics—you’re preserving system integrity, maintaining occupant safety, and keeping the vehicle ready for return to service without avoidable damage or delay. Additionally, ensure proper PPE usage to minimize risks during the welding process.
Check OEM Welding Procedures First
Once the cabin is protected from sparks and heat, your next step is to verify the OEM welding procedures for that exact make and model. Pull the latest Service Information before you strike an arc; don’t rely on shop memory or generic charts.
OEM guidance tells you where sensors sit, how close you can weld, and whether any modules must be disconnected first. Many procedures call for at least 12 inches (300 mm) of clearance near airbag sensors, but you must confirm the value yourself.
- Check the vehicle-specific welding bulletin.
- Confirm whether sensors or related components need removal.
- Recheck updates, especially for OEM Hybrid and Electric platforms.
Following the manufacturer’s procedure protects sensitive electronics, lowers the chance of unintended deployment, and keeps your work precise. Additionally, understanding amperage settings ensures that you maintain proper heat levels while welding near sensitive components.
If the documentation changes, adapt immediately; liberation comes from knowing the exact rule set, not guessing.
Follow Extra Steps for Hybrids and EVs
When you’re welding near airbag sensors in a hybrid or EV, disconnect both the 12-volt and high-voltage batteries first to reduce the risk of accidental deployment and electrical damage. In every Hybrid and Electric Vehicle, follow OEM service-disconnect steps before you strike an arc. Secure the vehicle, verify isolation, and keep heat shields between the weld zone and sensitive modules. Maintain at least 12 inches from sensors; if your repair forces you closer, remove the sensors and label every connector.
Additionally, ensure that you are aware of proper ventilation techniques to minimize toxic fume exposure during the welding process.
| Action | Why it matters |
|---|---|
| Disconnect both batteries | Cuts power and lowers hazard |
| Follow OEM steps | Preserves safe HV shutdown |
| Use heat shields | Blocks heat from electronics |
| Keep 12-inch clearance | Limits sensor interference |
| Document removals | Supports correct reinstallation |
Record each disconnection so you can reinstall components cleanly and keep the restraint system intact. This disciplined welding workflow protects your autonomy and the vehicle’s safety architecture.
Scan and Test the Airbag System Afterward
After welding, scan the airbag system with an OBD-II scanner to check for any diagnostic trouble codes. Then inspect the airbag control module, sensors, and nearby wiring harnesses for heat damage, loose connections, or other interference. You should verify that no connector shifted and no sensor lost alignment during the repair process.
If the scan shows stored faults, clear them only after you finish the repair and confirm the cause is gone.
- Check for codes and document them
- Inspect wiring, module, and sensors visually
- Test deployment readiness with approved procedures
Additionally, ensure that you maintain proper fit testing of any respirators used during the welding process to guard against harmful fumes.
Next, confirm the system resets normally and that the warning lamp stays off. If your vehicle supports it, perform a controlled functional test per manufacturer guidance, never improvising.
This scan-and-test step protects your freedom to drive with confidence, while reducing the risk that hidden welding damage could stop the airbags from deploying when you need them most.
Frequently Asked Questions
What Are 5 Welding Safety Precautions?
You can follow five precautions: disconnect both battery terminals, keep 12 inches from airbag technology, use heat shields, inspect wiring, and follow OEM disable steps; apply careful welding techniques to reduce surges, heat, and accidental deployment.
What Are the Safety Precautions to Follow When Working Around an Airbag?
Treat airbags like a sleeping giant: you should disconnect the battery, follow manufacturer disable steps, keep 12 inches away, shield heat and sparks, and inspect modules afterward to prevent airbag deployment and welding hazards.
What Precautions Should Be Taken When Welding a Vehicle?
You should disconnect the battery, follow OEM procedures, shield electronics, keep clear of modules, and use proper welding techniques. Check vehicle modifications first, then inspect systems afterward and clear codes to guarantee safe, liberated work.
Do You Need to Disconnect a Car Battery Before Welding?
Yes, you should disconnect the car battery before welding. You’ll reduce battery discharge risks, protect sensitive electronics, and use safer welding techniques. Follow OEM guidance, disconnect both terminals, and keep the ground clamp close to the weld.
Conclusion
When you weld near airbag sensors, you’re working at the edge of a very tight tolerance, so every precaution matters. Disconnect the battery, remove modules when required, keep cables routed away from electronics, and stay clear of sensor zones. Follow OEM procedures, especially for hybrids and EVs, and always scan the system afterward. A small mistake can become a hidden fault line. If you stay disciplined, you’ll protect the vehicle and everyone in it.


