
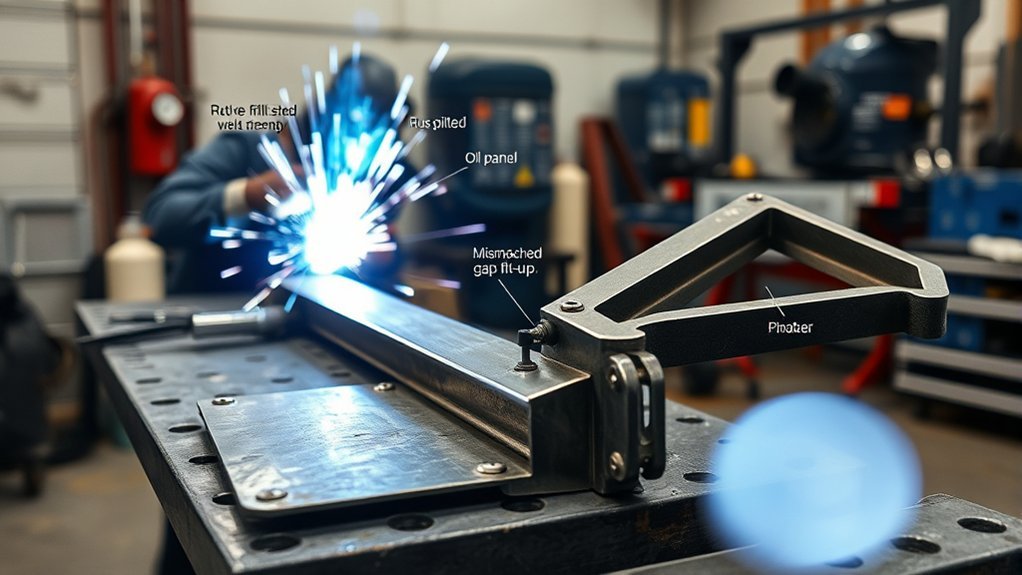
Your repair weld strength depends on more than a clean-looking bead. The base metal, heat input, penetration, filler metal, fit-up, weld placement, and inspection all decide whether the repair holds under load. MIG can be fast and practical for many routine repairs, TIG gives fine heat control, and stick can work well on heavier steel when the procedure allows it. The goal is not just to join metal. The goal is to restore a joint that is strong, safe, and suited to the part you are repairing.
Quick Answer
Repair weld strength is controlled by base-metal condition, joint design, full fusion, correct filler metal, tight fit-up, heat control, and inspection. A strong repair uses the approved process for the material, keeps the heat-affected zone under control, avoids defects, and restores corrosion protection after welding.
Key Takeaways
- Identify the base metal first. Mild steel, high-strength steel, aluminum, and cast iron do not respond to heat the same way.
- Control heat input. Too much heat can widen the HAZ, distort the part, or soften or harden nearby metal.
- Match filler and fit-up. Poor filler choice, gaps, rust, paint, oil, or misalignment can weaken the weld.
- Inspect before and after welding. Cracks, porosity, undercut, lack of fusion, and incomplete penetration can turn a repair into a failure point.
- Protect yourself and the repair. Use PPE, control fumes, and restore coatings after the weld cools.
At a Glance
| Time Required | 30 minutes to several hours, depending on prep, material, access, inspection, and coating work |
| Difficulty | Intermediate to advanced; structural and safety-critical repairs require approved procedures and skill |
| Tools Needed | Welder, correct filler, clamps, grinder, wire brush, PPE, ventilation or fume extraction, temperature tools when needed, inspection light |
| Cost | Varies by material and repair type; consumables are usually low, but structural work, inspection, and coating can add cost |
Warning: Do not weld vehicle frames, suspension mounts, airbag-related structures, seat-belt anchors, or other safety-critical areas unless the repair method, material, weld type, location, and inspection steps are approved for that exact vehicle or part. Welding can also create hazardous fumes, UV radiation, heat, sparks, and fire risk, so use proper PPE and ventilation.
What Determines Repair Weld Strength?
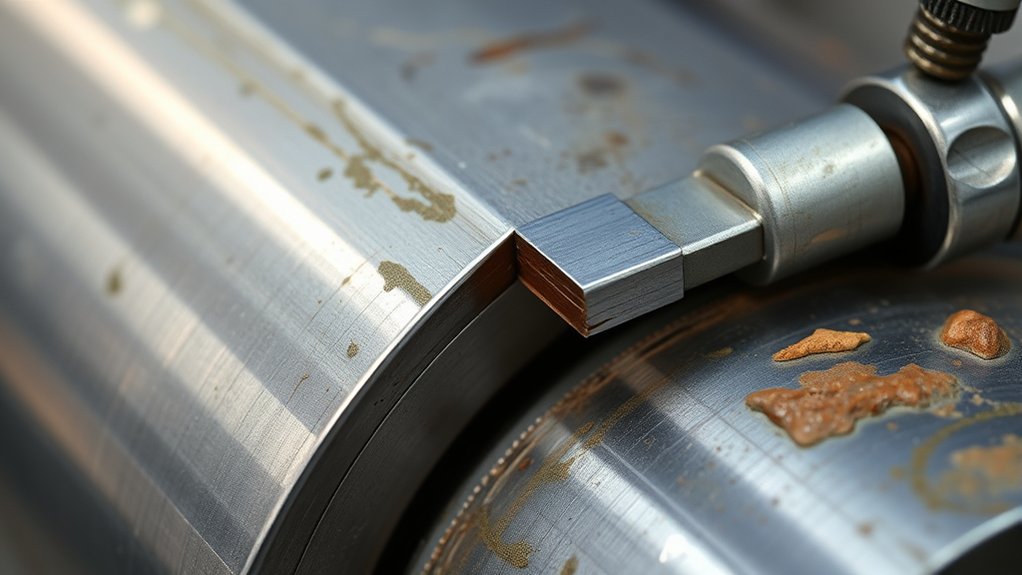
Repair weld strength starts with the welding process, but it does not end there. You also need the right base metal condition, joint design, weld size, filler metal, penetration, fusion, and heat control. If any one of those is wrong, the bead may look acceptable while the repair is still weak.
Full fusion matters because the weld metal must bond to the base metal along the joint. Good penetration matters because the weld must reach the root or the designed depth of the joint. Filler metal matters because it must work with the base metal, the service load, and the repair procedure. Heat input matters because welding changes the nearby metal in the heat-affected zone, often called the HAZ.
For vehicle and equipment repairs, the strongest choice is usually the approved repair procedure, not the biggest bead. A larger weld can add heat, distortion, stress, and brittleness if the part was not designed for it. A strong repair is controlled, clean, correctly placed, and inspected after welding.
Note: A weld can fail even when the bead looks smooth. Visual appearance helps, but it does not prove penetration, fusion, toughness, or fatigue strength.
Check the Base Metal Before You Weld
Before choosing MIG, TIG, stick, or any other process, identify the metal you are repairing. Mild steel is more forgiving than many high-strength steels. Aluminum moves heat quickly and needs clean oxide removal. Cast iron can crack if it is heated or cooled too quickly. Advanced high-strength steels used in vehicle structures may lose designed properties if heated in the wrong place.
Use labels, service information, manufacturer repair data, part markings, and known material specs when you can. If you cannot identify the material, treat the repair as unknown and stop before welding a structural part. Guessing can create a joint that is too hard, too soft, too brittle, or placed in the wrong load path.
- Check whether the part is structural or cosmetic.
- Confirm whether welding is allowed on that part.
- Confirm the approved weld type, such as plug weld, butt weld, stitch weld, or weld-bonded seam.
- Check whether preheat, interpass temperature control, or post-weld heat treatment is required.
- Remove coatings, sealers, paint, undercoating, rust, oil, and moisture from the weld zone.
How MIG, TIG, and Stick Affect Results
MIG, TIG, and stick welding each affect repair strength differently because they deliver heat, filler metal, and penetration in different ways. The best choice depends on the base metal, thickness, access, required weld type, and the repair standard you must meet.
| Process | Strength Advantage | Main Risk | Best Use |
|---|---|---|---|
| MIG / GMAW | Fast, consistent, and practical for many steel repairs | Poor settings can cause lack of fusion, burn-through, spatter, or porosity | Routine steel repair, plug welds, sheet-metal work when approved |
| TIG / GTAW | Fine heat control and clean welds | Slow travel can add too much heat if you linger | Thin metal, aluminum, stainless, precise repair work |
| Stick / SMAW | Works well outdoors and on heavier steel when the electrode and procedure fit | More slag, more heat, and higher distortion risk on thin panels | Thicker steel, field repairs, dirty environments after proper cleaning |
No process automatically creates a strong repair. Set voltage, amperage, wire speed or electrode size, polarity, shielding gas, and travel speed for the metal thickness and joint design. A steady travel speed helps keep bead shape, fusion, and heat input consistent. Maintaining a steady travel speed is one of the simplest ways to avoid weak, uneven welds.
Products Worth Considering
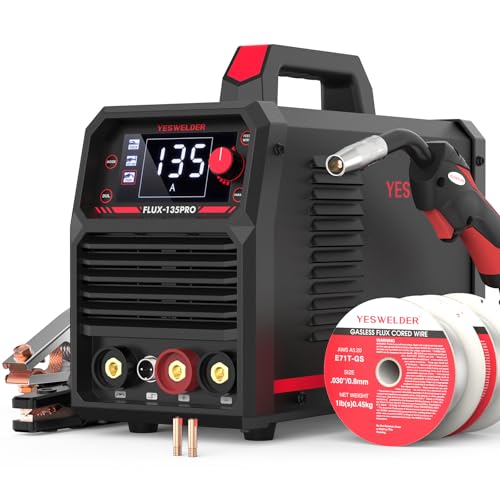
READY OUT OF THE BOX: Start welding immediately! It masterfully handles Gasless Flux Core MIG, Stick, and Lift TIG (Extra Lift TIG torch required). This budget-friendly 3-in-1 machine includes extra E71T-GS .030''&.035'' flux core wires, known for its smooth arc and high feedability. Say goodbye to heavy shielding gas cylinders—perfect for outdoor, windy, or all-position welding.
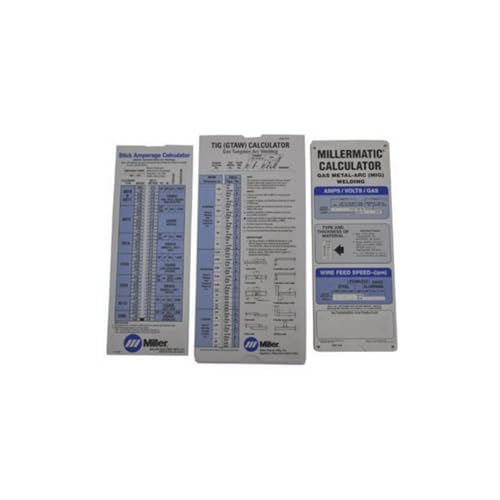
Comprehensive 3‑in‑1 reference pack covers MIG, TIG and Stick welding parameters—ideal for welders who work across multiple processes

How Heat Changes the HAZ
Welding melts the weld zone, but it also heats nearby base metal that does not melt. That nearby area is the heat-affected zone. The HAZ can become softer, harder, more brittle, or more stressed depending on the metal and how quickly it heats and cools.
Too much heat input can widen the HAZ and distort the part. Too little heat can leave lack of fusion or incomplete penetration. Fast cooling can create hard, brittle microstructures in some steels. Slow, controlled cooling can help some materials, but it can harm others if the procedure is wrong. This is why the repair procedure matters more than guesswork.
| Heat Condition | Likely HAZ Effect | What To Do |
|---|---|---|
| High heat input | Wider HAZ, more distortion, possible softening or hardening | Use approved settings and avoid overwelding |
| Fast cooling | Hard or brittle zones in susceptible steels | Use required preheat, interpass control, or slow cooling only when specified |
| Poor travel speed | Uneven bead, inconsistent penetration, more defects | Practice on matching scrap before the repair |
| PWHT | Can relieve residual stress and improve properties when required | Use only the specified time, temperature, and cooling method |
Post-weld heat treatment, or PWHT, is not a universal fix. It can reduce residual stress and improve properties on some materials, but it can damage others if the temperature or hold time is wrong. Use PWHT only when the material, code, or manufacturer procedure calls for it.
Pro Tip: When you are practicing settings, use scrap from the same thickness and material as the repair. A coupon from a different metal can make your settings look better than they will be on the real part.
How Filler Metal and Fit-Up Affect Strength
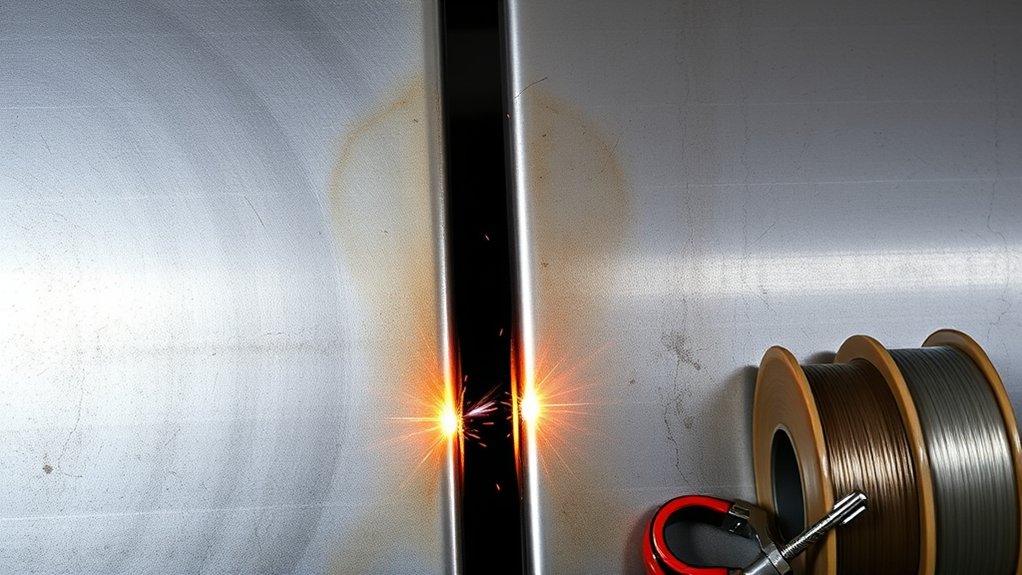
Even with good heat control, weld strength depends heavily on filler metal selection and fit-up. The filler must suit the base metal, process, joint type, and service load. A filler that is too weak, too hard, too brittle, or chemically mismatched can create a joint that cracks or fails early.
Fit-up matters because the weld cannot bridge poor alignment forever. Large gaps, uneven bevels, loose panels, and mismatched edges make it harder to get full fusion and correct weld size. They also create stress points where cracks can start.
- Clean the joint. Remove rust, paint, oil, zinc coating, seam sealer, undercoating, and moisture from the weld area.
- Prepare the edge. Bevel thicker metal when required so the weld can reach the root.
- Clamp tightly. Keep the joint aligned and supported during tacking and welding.
- Control the gap. Use the gap required by the procedure, not a gap caused by poor cutting.
- Feed consistently. Uneven filler deposition changes bead shape and can reduce strength.
For more on sizing and understanding welded joints, see how to calculate the strength of welded joints.
Why Weld Design and Placement Matter
Once the filler and fit-up are right, the joint still has to be designed and placed so the load does not concentrate in one weak spot. Weld design affects stress distribution. A weld placed at the edge of a crack, hole, bend, or high-stress corner may fail faster than a smaller weld placed in a better load path.
- Place welds where the approved repair procedure allows them.
- Weld to sound metal, not rust-thinned or cracked metal.
- Choose a joint design that gives clear torch access.
- Avoid overwelding thin panels because extra heat can warp the part.
- Use stitch welds when you need to limit heat and distortion.
- Use plug welds only where the hole size, spacing, and preparation match the repair procedure.
Good placement spreads load through the part instead of forcing it through one narrow seam. This helps reduce fatigue cracking and keeps the HAZ from becoming the weak link.
Repair Welding Techniques That Reduce Failure
You reduce failure risk by controlling heat, cleaning thoroughly, matching filler to base metal, using sound joint design, and inspecting the work as you go. The following techniques help build a repair that is stronger than a quick patch.
Products Worth Considering
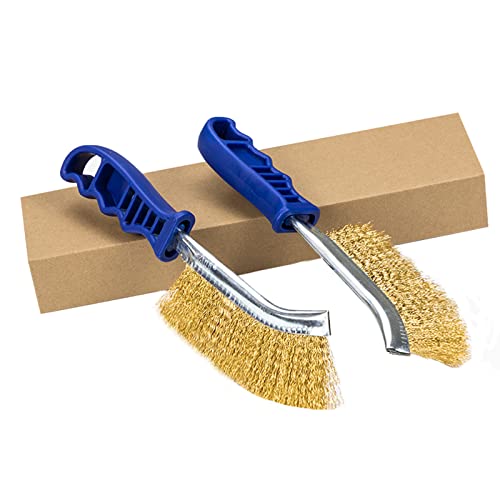
【Practical】:Carbon steel&stainless steel bristles for heavy duty jobs,remove rust and paint quickly with this wire welding brush set, wire brushes are ideal for removing paint stains, welding slag,solder,scale,rust, great for remove corrosion and more from parts, equipment, machinery and other surfaces. Also great for cleaning threads, grills or tile(Different from other similar products, this product has more bristles and thicker bristles)

Durable Stainless Steel Wire Brushes: This 15PCS stainless steel wire brush set is made of high-quality stainless steel bristles and strong plastic handles, ensuring long-lasting durability for heavy-duty cleaning and rust removal tasks.

Value Pack: Wire brush kit set includes 3 x 1-inch pen brushes, 3 x 2-inch wheel brushes, and 4 x 2-inch cup brushes, covering all your cleaning and grinding needs. Perfect for both large surfaces and tight spaces
Proper Heat Control
- Set amperage, voltage, wire speed, and travel speed for the thickness of the part.
- Use tack welds to hold alignment before running longer beads.
- Move around the joint when possible to spread heat.
- Let the part cool as required by the procedure.
- Use multi-pass welding on thicker joints when one large pass would add too much heat or leave poor fusion.
- Use post-weld heat treatment only when the material or procedure requires it.
These steps help reduce cracking, warping, burn-through, and heat-related weakness.
Strong Joint Design
A strong joint starts with geometry. Choose a joint that lets the weld reach the root, gives the torch enough access, and keeps the load from focusing on one sharp edge. Long continuous beads are not always stronger. On thin panels, stitch welding can control heat and reduce distortion better than one long pass.
On thicker metal, multi-pass welds can help you build the joint in layers. Clean between passes so slag, oxides, and debris do not become inclusions. If the first pass is weak, the next pass does not magically fix it.
Clean Prep and Contamination Control
Contamination is one of the fastest ways to weaken a repair weld. Paint, oil, rust, undercoating, moisture, zinc, and sealers can cause porosity, poor fusion, fumes, and cracking. Clean both sides of the joint when possible, not just the side you can see.
- Grind or sand to clean metal in the weld zone.
- Use a dedicated stainless brush for aluminum.
- Keep filler wire and rods dry and clean.
- Do not weld over seam sealer, cavity wax, or undercoating.
- Remove flammable materials from the back side of the panel before welding.
Inspection Before and After Welding
Inspection starts before you strike an arc. Check the base metal for cracks, thinning, corrosion, and hidden damage. After welding, inspect the bead, the toe of the weld, the back side when accessible, and the surrounding HAZ.
| What You See | Possible Cause | Fix |
|---|---|---|
| Porosity or pinholes | Contamination, poor shielding, moisture, dirty filler | Clean deeper, check gas flow, protect from drafts, replace contaminated consumables |
| Undercut at weld edge | Too much heat, bad angle, wrong travel speed | Reduce heat, correct angle, adjust travel speed, repair if outside acceptance limits |
| Lack of fusion | Low heat, poor angle, dirty metal, poor access | Remove the defect, clean, improve access, reset the machine, and reweld |
| Cracking | Wrong filler, fast cooling, high restraint, hard HAZ, contamination | Stop and identify the cause before rewelding; cracks usually require removal and a corrected procedure |
For critical repairs, visual inspection alone may not be enough. Dye penetrant, magnetic particle, ultrasonic, or radiographic testing may be needed depending on the part and standard.
Corrosion Protection After Welding
A repair weld can be strong on day one and still fail later if corrosion starts around it. Welding burns away coatings and exposes fresh metal. After the weld cools and passes inspection, protect the area again.
- Remove slag, spatter, soot, and loose oxide.
- Dress the weld only as much as the repair procedure allows.
- Apply weld-through primer only where it is approved before welding.
- After welding, apply epoxy primer, seam sealer, cavity wax, paint, or undercoating as required for that location.
- Protect the back side of the repair when it is exposed to water, salt, or road debris.
When Not to Weld a Repair
Some repairs should not be welded, even if you can physically run a bead on them. Do not weld when the base metal is too thin from corrosion, the part is cracked beyond the repair area, the material is unknown, or the manufacturer does not allow welding there.
Do not weld near fuel vapors, batteries, airbags, wiring, foam, insulation, or flammable coatings until the area is made safe. Do not weld in confined spaces without proper ventilation and a safe-work plan. The OSHA welding fume fact sheet notes that welding fumes and gases can create serious health hazards, and that outdoor or open work areas do not automatically guarantee adequate ventilation.
Frequently Asked Questions
How do you increase repair weld strength?
Start with clean metal, correct fit-up, a joint design that supports the load, and a filler metal that matches the base metal and repair procedure. Then control heat input, travel speed, and weld size. Inspect for porosity, undercut, cracks, lack of fusion, and incomplete penetration before putting the part back in service.
Why can welding reduce strength near the repair?
Welding changes the metal beside the bead in the heat-affected zone. Depending on the alloy and cooling rate, that area can soften, harden, become brittle, distort, or hold residual stress. Good heat control and the correct procedure reduce that risk.
What is the golden rule in welding?
The golden rule is to make a sound weld, not just a good-looking bead. That means clean base metal, correct settings, full fusion, proper penetration, the right filler, safe heat control, and inspection before the repair is trusted.
Which part affects weld strength the most?
No single part controls weld strength by itself. Joint design, base metal, filler metal, heat input, penetration, fusion, weld size, defects, and service load all work together. In repair work, the approved procedure and the condition of the base metal are often the first things to check.
Does a bigger weld make a repair stronger?
Not always. A weld that is too large can add heat, distortion, residual stress, and a wider HAZ. The strongest repair uses the weld size and pattern required for the joint, not the largest bead you can make.
How can welders reduce long-term health risks?
Use proper ventilation or fume extraction, keep your head out of the plume, wear the right helmet and PPE, control fire hazards, and use respiratory protection when ventilation is not enough. Follow OSHA guidance, especially around coated metals, stainless steel, galvanized steel, and confined spaces.
Conclusion
When you repair metal, you are not just putting two pieces back together. You are controlling repair weld strength through base-metal identification, heat input, penetration, fusion, filler choice, fit-up, weld placement, inspection, and corrosion protection. MIG, TIG, and stick can all produce strong repairs when the process fits the material and procedure. The safest approach is simple: clean the joint, control the heat, use the approved filler and weld design, inspect the result, and protect the repair after it cools.
Sources
- OSHA: Welding, Cutting, and Brazing — OSHA standards and hazards for welding operations.
- OSHA: Controlling Hazardous Fume and Gases during Welding — welding fume hazards, exposure factors, ventilation, and respiratory protection guidance.
- Strain Incompatibility as a Source of Residual Stress in Welding and Additive Manufacturing — research on residual stress formation during welding and deposition.
- A Computational Framework to Predict Weld Integrity and Microstructural Heterogeneity — research on heat input, filler composition, hardness, residual stress, and weld-region properties.
- Tailored Heat Treatments to Characterise Fracture Resistance of Critical Weld Regions — research on HAZ microstructures, hardness, toughness, and brittle zones.




