Welding position numbers, like 1G, 2G, 3G, and 4G, define the orientation of weld joints. Each position affects your techniques and skills, presenting unique challenges. For instance, 1G is flat and easiest, while 4G requires advanced control as you work overhead. Understanding these positions is vital for meeting industry standards and ensuring weld quality. Mastering them enhances your versatility in various projects, and you’ll discover essential techniques and best practices as you continue to explore.
Why Welding Position Numbers Matter

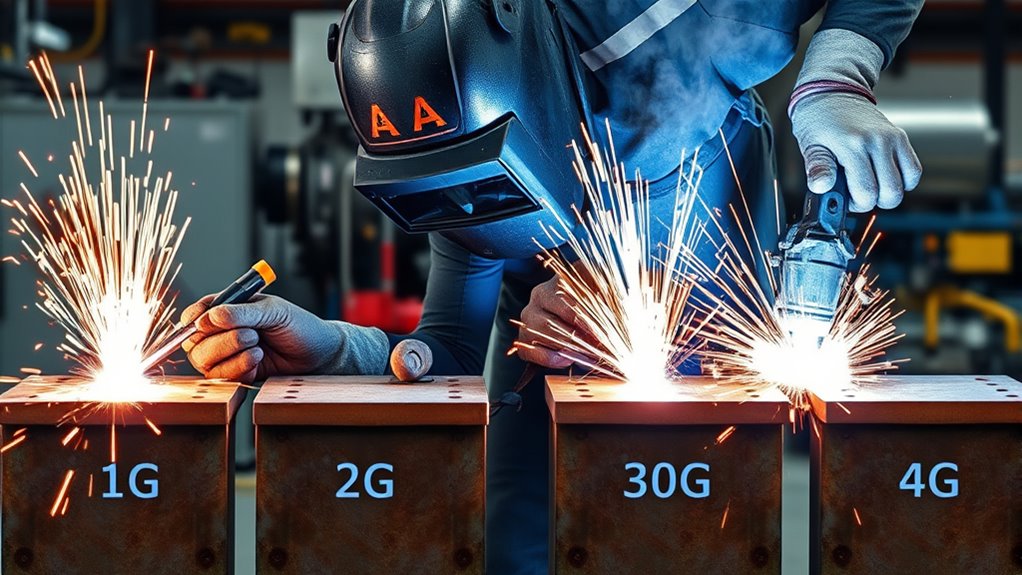
Welding position numbers are crucial for any welder aiming to master their craft. These designations—1G, 2G, 3G, and 4G—indicate the orientation of weld joints, directly impacting the techniques and skills you’ll need.
For instance, 1G represents a flat position, while 4G is an overhead position, which presents unique challenges, primarily due to gravity affecting molten metal flow. Understanding these numbers is essential for compliance with welding codes like AWS and ASME, ensuring your welds meet industry standards.
1G signifies a flat position, while 4G is overhead, each presenting unique challenges due to gravity’s influence on molten metal flow.
Moreover, the choice of welding position influences the effectiveness of filler metals; specific fillers are optimized for certain positions. Proper fillet weld sizing is also critical, as it impacts the overall quality and integrity of your welds.
Mastering these welding position numbers not only enhances your versatility but also equips you to tackle diverse projects with confidence. Ultimately, this knowledge liberates you, allowing you to adapt and excel in various welding conditions, ensuring you remain a capable and skilled welder.
Basics of Welding Positions: 1G to 4G
Understanding the basics of welding positions—1G to 4G—is essential for your skill development.
Each position presents unique challenges that affect your technique and the quality of your welds.
Mastering these techniques not only enhances your capabilities but also guarantees you meet industry standards effectively. For example, knowing welding parameters such as amperage and voltage is crucial for achieving quality welds in various positions.
Common Welding Positions
When tackling various welding tasks, you’ll encounter distinct positions that influence the technique and skill required for effective execution.
The 1G position, or flat position, is the simplest, allowing gravity to assist you with groove and fillet welds.
In contrast, the 2G horizontal position requires you to manage the molten metal’s behavior as you weld along a vertical workpiece, increasing complexity.
The 3G vertical position involves welding either upward or downward, demanding precise control over heat and travel speed.
Finally, the challenging 4G overhead position necessitates advanced techniques to maintain control of the weld pool from below, commonly used in structures like bridges and pipeline undersides.
Mastering these welding positions is essential for successful outcomes.
Importance of Positioning Techniques
Mastering welding positions is essential for achieving high-quality welds in various applications. The 1G position, flat on a horizontal surface, simplifies control thanks to gravity, making it ideal for beginners.
In contrast, the 2G position requires you to manage a vertical workpiece, necessitating careful technique to prevent the molten metal from sagging. Progressing to the 3G position introduces complexity, as you must adjust parameters to control the weld puddle’s flow vertically.
Finally, the 4G position demands advanced skills for overhead welding, where gravity complicates molten metal control. By mastering these techniques across 1G to 4G, you guarantee not only quality welds but also compliance with industry standards, enhancing your expertise in the field.
Techniques for Mastering Each Welding Position Based on Skill Level
To effectively master each welding position, you need to adapt your techniques according to your skill level and the specific challenges each position presents.
Start with the Flat Position (1G), where gravity aids your weld puddle, allowing you to practice speed and control with minimal risk of defects.
As you progress to the Horizontal Position (2G), focus on maintaining a steady hand and consistent travel speed to prevent sagging.
When tackling the Vertical Position (3G), you’ll need to adjust your heat and wire feed speed to effectively control the puddle against gravity.
Finally, the Overhead Position (4G) demands advanced techniques; here, experience plays a vital role in maintaining control and preventing drips. Additionally, understanding heat input control is crucial to avoid burn-through, especially when working with thin metals.
Regular practice on scrap material in all positions is essential for refining your skills, building confidence, and preparing for real projects.
Products Worth Considering

Crafted with precision, our steel plates are laser-cut, offering unparalleled edge smoothness and dimensional accuracy compared to stamped and sheared parts.

More Choices: there comes with 5 welding coupons in 5 different styles, allowing you to weld 2 different styles of square dice, 1 triangular dice, 1 pyramid sieve and 1 prismatic sieve

Father's Day Gift: If your father is an excellent welder, you can give this as a gift to him. He will be very happy.
Filler Metal Selection for Welding Positions
As you refine your welding techniques across various positions, selecting the right filler metal becomes a key factor influencing your success. Your choice of filler metal directly impacts the welding process and your ability to perform effectively in different positions.
Here’s what to take into account:
- 1G and 2G Positions: These allow for a broader range of filler metals, like E70T-XX, suitable for flat/horizontal applications.
- 3G and 4G Positions: These require specialized filler metals, often designed for vertical and overhead work, ensuring better control and stability during welding.
- Process Versatility: TIG and Short-Circuit MIG processes permit universal filler metals across all positions, enhancing your adaptability, while Stick and Flux-Cored Welding may restrict you to flat and horizontal positions.
Understanding these distinctions will empower you to choose the right filler metal, optimizing your performance in each welding position. Additionally, consider the flux core welding techniques that can improve your effectiveness, especially in challenging positions.
Products Worth Considering

Maximized Adhesion & Strength: Evercoat Body Shop Metal Reinforced Filler delivers superior adhesion to aluminum, galvanized steel, and steel, ensuring lasting repairs that won’t weaken over time, even under tough conditions.

Enhanced Adhesive: Metal repair glue is designed to withstand cooler temperatures, ensuring a slightly hardened adhesive. In case of hardening, simply soak the a tube glue in hot water for softening before use

Upgrade Packaging: These welding rods are packed in sturdy plastic packaging that is very waterproof and the welding wire will not get damp even if placed in water. This packaging can be reused
Common Applications and Safety Considerations for 1G, 2G, 3G, and 4G Welding
While each welding position serves distinct applications, understanding their common uses and safety considerations is essential for effective execution.
The 1G position is prevalent in horizontal plate welding for structural steel, while 2G is ideal for butt welds in fixed materials like beams and frames.
The 1G position excels in horizontal plate welding, while the 2G position is perfect for butt welds in fixed materials.
The 3G position is important for vertical structures, often utilized in steel columns and pipelines, requiring upward or downward techniques.
Overhead welding, or 4G, is common in bridge construction and pipeline undersides, demanding high skill due to gravity’s impact on the molten weld pool.
Safety considerations are paramount; wearing appropriate personal protective equipment (PPE) is significant, especially in the 4G position, to protect against falling molten metal.
Additionally, technique adjustments, such as managing heat and travel speed, are essential in the 2G and 3G positions to prevent defects like sagging or undercutting.
Essential Tips for Success in Each Welding Position
Understanding the nuances of each welding position can greatly enhance your success in various applications. Here are essential tips to excel in the 1G, 2G, 3G, and 4G positions:
- 1G Position: Focus on steady travel speed and proper heat control. Gravity aids in puddle stability, making it ideal for beginners to practice and prepare.
- 2G Position: Keep a slight upward angle on your torch. This combats gravity, ensuring even bead formation and avoiding sagging in your welds.
- 3G and 4G Positions: Use a reduced wire feed speed in vertical welding to manipulate the puddle effectively. Additionally, be mindful of the zinc fumes produced when welding galvanized steel, as they can affect both health and weld quality.
For overhead welding, prioritize comfort and adjust welding parameters for maximum penetration while managing molten metal.
Regular practice on scrap materials in each position will build your confidence and technique, making you adept at handling the unique challenges each position presents.
Frequently Asked Questions
What Is 5G 6G Welding Position?
5G welding involves fixed horizontal pipes, focusing on joint designs and precise techniques for quality. Conversely, 6G standards require advanced skills at a 45-degree angle, essential for certifications, enhancing workflow efficiency and adhering to safety protocols.
What’s the Difference Between 3G and 4G Welding?
In 3G, you control molten pools vertically, utilizing various welding techniques and electrode types. In 4G, you tackle overhead challenges, emphasizing joint preparation, safety precautions, and inspection methods to minimize welding defects and guarantee project success.
Conclusion
Mastering welding positions 1G through 4G is like maneuvering through a complex dance; each position requires unique steps and techniques. Just as a dancer adapts to the rhythm of the music, you must adjust your approach based on the specific challenges of each position. Remember, consistent practice not only hones your skills but also builds confidence. So, embrace the learning curve, and soon you’ll be executing your welds with the precision of a seasoned performer on stage.


