
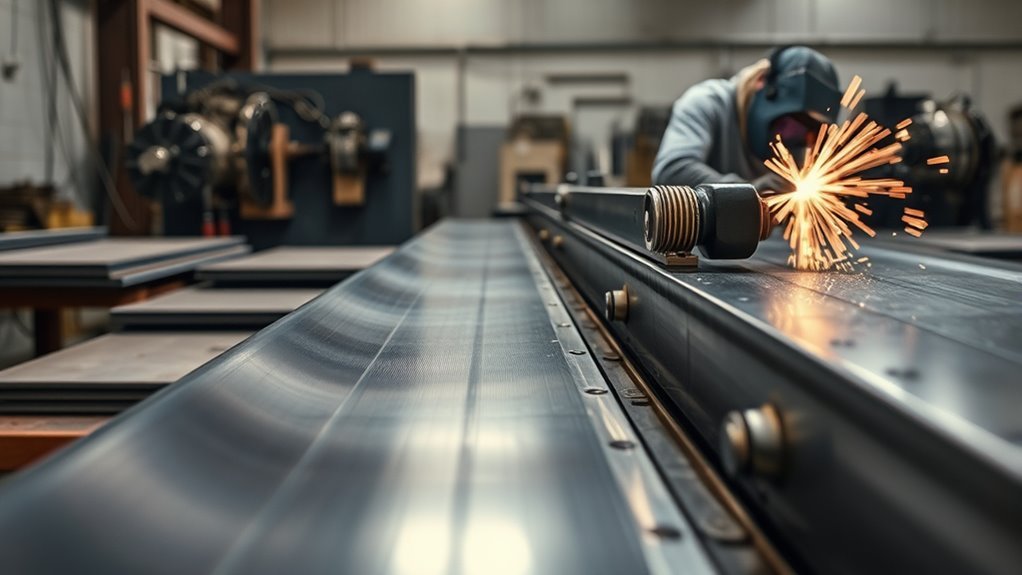
A panel flanger is a sheet-metal forming tool used to create a lip, step, or offset edge so two automotive panels can overlap and sit nearly flush before welding, spot welding, or approved panel bonding. It is most useful on patch panels, wheel arches, quarter-panel repairs, and other non-structural bodywork where clean fit-up matters. A flange can make alignment easier, but it does not prevent rust or warping by itself. You still need clean metal, correct weld settings, proper heat control, seam sealing, and corrosion protection.
Quick Answer
A panel flanger forms an offset lip along sheet metal so a patch panel can overlap the original panel and sit flush. In welding, that overlap gives you a controlled area for plug welds, spot welds, or approved adhesive bonding. The seam must still be sealed and protected against corrosion.
Key Takeaways
- A panel flanger does not simply “make a stronger weld.” It improves fit-up by creating a consistent lap or offset for welding, bonding, or fastening.
- Flanged seams are common in automotive patch-panel work, but they can trap moisture if you skip primer, seam sealer, undercoating, or cavity wax.
- Use flanging mainly on cosmetic or approved replacement-panel areas. For structural parts, high-strength steel, pillars, rails, and crash zones, follow the vehicle maker’s repair procedure.
- Heat control matters. Skip weld, cool between welds, and avoid forcing the flange in one hard squeeze to reduce distortion and ghost lines.
At a Glance
| Time Required | About 30 minutes for a small practice patch; longer for a full quarter-panel or rocker-area repair. |
| Difficulty | Beginner to intermediate for practice panels; advanced when welding thin exterior body panels without warping. |
| Tools Needed | Manual or pneumatic panel flanger, clamps, marker, grinder, deburring tool, MIG welder or approved bonding system, PPE, seam sealer, primer, and corrosion protection. |
| Cost | Varies by tool quality and repair type. A small hand flanger is simpler; pneumatic punch-flange tools, coatings, adhesives, and welding supplies add cost. |
Understanding Panel Flanging: Definition and Function
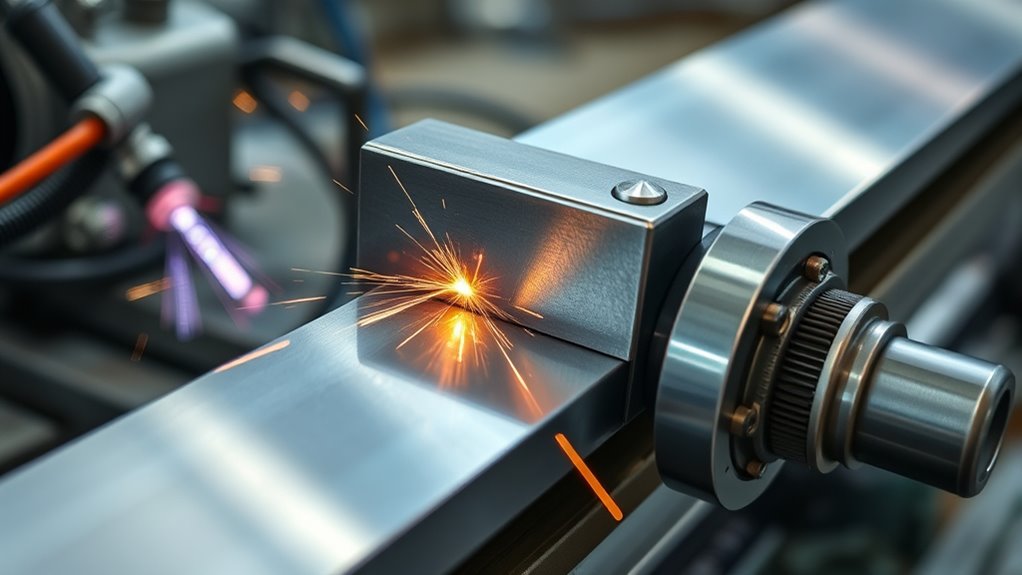
Panel flanging is the process of shaping the edge of sheet metal so another panel can overlap it cleanly. In auto body repair, the flange is often a shallow offset, also called a step or joggle, rather than a full upright flange. The goal is simple: the replacement patch drops into the recessed edge, the outside surfaces line up, and you get a controlled seam for welding or bonding.
A flanging tool may be manual or pneumatic. A manual tool gives you more feel and control on small areas. A pneumatic punch-flange tool is faster and often includes a punch for plug-weld holes. A brake, hammer and dolly, or dedicated forming tool can also create a flange on larger or straighter panels.
Flanging helps with alignment because the panel edge acts like a ledge. It can also add stiffness to thin sheet metal and give you an overlap for plug welds or squeeze-type resistance spot welds. However, weld penetration still depends on correct settings, clean metal, hole size, clamp pressure, and technique. For more on welding setup, see this guide to MIG welding settings.
Note: In collision repair, “flange” can mean different things. A patch-panel flange, a hem flange, and a pipe flange are not the same. This article focuses on sheet-metal panel flanging for automotive body repair.
Top Advantages of Panel Flanging in Welding Applications
Panel flanging is useful because it makes thin sheet-metal repairs easier to hold, align, and weld. When the flange is shaped correctly, the patch panel has a consistent landing area instead of floating edge-to-edge. That helps you clamp the repair, check gaps, and keep the panel from shifting while you tack it in place.
The biggest advantages are:
- Better fit-up: The offset edge helps the new panel sit flush with the original sheet metal.
- More consistent plug-weld placement: The lap area gives you a defined place for punched or drilled plug-weld holes.
- Easier clamping: The overlap helps hold the repair steady while you tack, weld, or bond.
- More options: Some repairs may combine welding with an approved adhesive or corrosion-protection system when the vehicle maker allows it.
- Cleaner finish: A well-formed flange can reduce high edges and low spots before filler and primer work begin.
Modern collision-repair products also support panel bonding and structural bonding when used according to the correct repair procedure. 3M’s collision repair adhesive guidance notes that approved two-part epoxy adhesives are used in OEM-recommended repairs for strength, peel resistance, temperature resistance, and corrosion protection. That does not mean adhesive is right for every flange. It means you should match the method to the vehicle, panel, material, and OEM procedure.
Warning: Do not flange, section, weld, or bond structural panels, pillars, rails, reinforcements, or high-strength steel parts unless the vehicle maker’s repair procedure allows it. The wrong seam location or joining method can weaken crash performance.
Common Applications of Panel Flanging in Automotive Repair
Panel flanging is most common in thin-gauge automotive bodywork where you need a flush patch or a controlled overlap. You may see it used on:
- Quarter-panel patches and wheel-arch repairs
- Lower fender or rocker-cover patches, when approved
- Inner fender wells and non-visible repair areas
- Floor patches on restoration work
- Small rust repair panels where a butt weld is not practical
- Replacement panels that call for plug welds, spot welds, or bonding along an overlap
When repairing automotive bodywork, the flange should match the panel thickness as closely as possible. If the step is too shallow, the patch will sit high. If it is too deep, the patch will sit low and require extra filler. The goal is not to hide a bad cut. The goal is to create a stable seam with clean metal contact.
Flanging is not always the best choice. A butt weld may be better on exterior show surfaces because it avoids a hidden overlap. Adhesive bonding may be better when the OEM procedure calls for it. Squeeze-type resistance spot welding may be required on some factory-style replacement seams. Always compare the repair goal before choosing the flange.
Products Worth Considering

Non-Scratch Pry Tools: Made from durable nylon, this auto trim removal tool kit protects your car’s surfaces from scratches while offering strong leverage for trims, panels, and dashboards

【Full Toolkit】Not just a basic pry kit—Includes 4 pry tools + 1 clip remover — designed for dashboards, door panels, trims, audio units, and interior clips. Designed to handle delicate trims and tough disassembly jobs. Multiple colors available for easy tool identification.

19 Pcs Trim removal tools - Works great for car audio/radio system installing or removing, door panel, moldings, emblems, window trims or automotive interior repairing and furniture restoration
How to Flange and Weld a Patch Panel
Good flanging starts before the tool touches the panel. You need a clean cut line, sound metal, and a plan for where the welds, adhesive, sealer, and coatings will go.
- Check the repair procedure first. For late-model collision work, confirm the approved sectioning location and joining method. 3M’s metal shop repair resources stress pre-fitting, cutting, panel prep, and installation when following OEM recommendations.
- Cut back to solid metal. Remove rust, stretched metal, old seam sealer, paint, undercoating, and contamination. A flange made in weak metal will not hold a durable weld.
- Deburr the edge. Sharp burrs can create poor fit-up and make the flange distort.
- Mark the flange depth. Match the flange width to the patch design and plug-weld plan. Keep the offset consistent so the patch sits flush.
- Form the flange gradually. Use light, overlapping squeezes rather than one hard bite. On curved panels, move slowly and check the panel shape often.
- Punch or drill plug-weld holes if needed. Use the hole size required by the repair procedure, product instructions, or welding test coupon. Do not guess on structural repairs.
- Test fit the patch. Clamp it in place and check surface height, gaps, and body lines before welding.
- Prepare the hidden surfaces. Use the coating system required for the repair. Some weld areas may need weld-through primer when specified; non-welded hidden areas often need epoxy primer, seam sealer, or cavity wax after welding.
- Tack and weld with heat control. Use short tacks, skip around the panel, and let the metal cool. Long beads on thin body panels cause warping.
- Grind only what is needed. Over-grinding thins the sheet metal and weakens the repair.
- Seal and protect the seam. Apply seam sealer, undercoating, and cavity wax where appropriate. Flanged seams need corrosion protection because the overlap can hold moisture.
Pro Tip: Make a test coupon from the same thickness of scrap metal before welding the vehicle. Flange it, punch a plug-weld hole, weld it, then break or cut it open to confirm fusion and penetration before touching the repair panel.
Warning: Welding creates UV radiation, hot metal, sparks, fumes, and fire hazards. Wear proper eye and face protection, gloves, and protective clothing. Keep combustibles away or guarded, maintain ventilation, and follow hot-work safety practices from OSHA’s welding hazard guidance.
Products Worth Considering

Punch designed for easy replacement

✔【2 in 1 Function】The tool can achieve the hole punching and flanging of workpiece, for creating and installing patch panels, replacement panels, or custom sheet metal work.

Designed for measuring and aligning automotive body panel gaps with consistent accuracy
Troubleshooting Panel Flanging Issues
Most panel flanging problems come from rushing the cut, squeezing too hard, welding too hot, or skipping corrosion protection. Use the flange as a fit-up aid, not as a way to hide poor preparation.
Common Flanging Problems
If the flange looks wavy, the tool pressure may be uneven or the panel may be too thin, rusty, or curved for a fast pass. If the patch sits high, the flange is too shallow or the patch edge is riding on burrs. If the patch sits low, the flange is too deep or the original panel edge is stretched.
To correct the problem, stop before welding. Rework the flange with a hammer and dolly, shrink small stretched areas if you have the skill, or remake the patch if the fit is too far off. Welding over bad fit-up usually creates more grinding, filler, and distortion later.
Moisture Trapping Concerns
A flanged seam is an overlap seam, and overlap seams can trap moisture. That is why corrosion protection matters as much as the weld itself. Lower quarter panels, wheel openings, rocker areas, and pinchweld flanges see water, road salt, and dirt. If the backside is left bare, rust can start where you cannot see it.
Use the coating system that fits the repair. 3M’s corrosion protection guidance covers cavity wax, undercoating, seam sealing, and overlap-joint protection for collision repair. The exact product and order depend on whether the area will be welded, bonded, painted, or sealed.
Distortion During Flanging Process
Distortion can happen during flanging or welding. During flanging, it often comes from squeezing the tool too hard in one spot or forcing a straight flange into a curved panel. During welding, it usually comes from too much heat in one area.
To reduce distortion, use small overlapping tool movements, support the panel with a dolly when possible, and check the body line often. When welding, use tacks and short plug welds instead of long beads. Let the panel cool between welds and avoid grinding the metal thin.
Weak Plug Welds
Weak plug welds usually come from dirty metal, poor clamp pressure, holes that are too small, too little heat, or welding only to the top panel instead of fusing into the lower flange. The weld should tie both layers together.
Before welding the car, practice on scrap of the same thickness. Adjust wire speed, voltage, and travel until the plug weld is flat enough to finish but fused enough to survive a destructive test. For general setup help, review common welding types and choose the process that fits the panel material.
Ghost Lines and Repair Mapping
A ghost line can appear when the overlap edge, filler edge, or heat-affected zone prints through the paint later. This is more likely when the flange sits high, filler is applied too thick, or the repair area is not feathered and sealed correctly.
Keep the flange flat, use the least filler needed, and do not bridge filler over unstable paint edges. Finish work matters: grind carefully, epoxy prime where appropriate, seal seams, and follow the paint system’s cure and prep instructions.
How Does Flanging Stack Up Against Other Joining Methods?
Flanging is one option, not the default answer for every panel. The right joining method depends on the panel location, vehicle material, appearance standard, available equipment, and OEM procedure.
| Method | Best Use | Main Caution |
| Flanged lap joint with plug welds | Patch panels, wheel arches, non-visible overlaps, and areas where plug welds are approved. | Can trap moisture if the seam is not sealed and coated. |
| Butt weld | Exterior show surfaces and restoration work where no overlap is desired. | Requires tighter fit-up and better heat control on thin panels. |
| Panel bonding adhesive | OEM-approved panel replacement, outer panels, and areas where adhesive bonding is specified. | Must match the OEM procedure and adhesive instructions; not a shortcut for structural welding unless approved. |
| Squeeze-type resistance spot welding | Factory-style flanges where access, equipment, and procedure allow it. | Requires proper equipment, access to both sides, and procedure-matched settings. |
| Hemming | Door skins, hood edges, deck lids, and factory-style folded outer-panel edges. | A hem is not the same as a patch-panel flange and needs its own sealing process. |
In short, choose flanging when you need controlled overlap and flush fit. Choose butt welding when you want no hidden seam. Choose adhesive bonding, spot welding, or weld bonding only when the repair procedure and materials support it. For additional joint basics, this article on butt joints explains where edge-to-edge welding fits into fabrication.
Frequently Asked Questions
How does a flange tool work?
A flange tool squeezes the sheet-metal edge between shaped jaws. The jaws form a small offset, lip, or step so another panel can overlap it. Pneumatic punch-flange tools can also punch holes for plug welds, which saves time on patch-panel repairs.
Is it better to TIG or MIG weld body panels?
MIG welding is more common for automotive body panels because it is faster and easier to use for plug welds and patch repairs. TIG gives excellent control and a clean weld, but it is slower and puts more heat into the panel if the user is not skilled. For thin panels, the best process is the one you can control without warping the metal.
What is the main purpose of a flange on a body panel?
The main purpose is to create a stable overlap or offset edge so two panels can fit together neatly. In auto body repair, that can improve alignment, support plug welds, and help the patch sit flush with the surrounding panel.
Do flanged seams rust faster?
They can rust faster if the overlap is left bare or unsealed because moisture can sit between the layers. A flanged seam should be cleaned, welded or bonded correctly, sealed, primed, and protected on the backside with the right coating or cavity wax.
Can you use a panel flanger on structural vehicle parts?
Only if the OEM repair procedure allows that exact repair. Structural parts, pillars, rails, reinforcements, and high-strength steel areas may require specific sectioning locations, weld types, adhesives, rivets, or replacement methods. Do not create your own flange in a crash-energy area.
Can you weld a slip-on flange to an elbow?
Yes, in pipe welding, a slip-on flange can be welded to compatible pipe fittings when the material, fit-up, code, and welding procedure allow it. That is a different topic from an automotive panel flanger, which forms sheet metal for body-panel repair.
Conclusion
A panel flanger is a practical tool for creating flush, controlled overlaps in automotive sheet-metal repair. Used well, it helps patch panels line up, gives you a better landing area for plug welds or approved bonding, and can make the finished repair cleaner. Used poorly, it can create rust pockets, distortion, weak plug welds, and ghost lines under paint.
The best results come from careful fit-up, light forming pressure, clean metal, tested weld settings, and strong corrosion protection. For collision repairs, the safest rule is simple: follow the vehicle maker’s repair procedure first, then choose the flanging, welding, bonding, and sealing method that matches the panel and material.
Sources
- 3M Structural and Panel Bond Adhesives for Collision Repair — supports OEM-recommended adhesive bonding, weld bonding, strength, and corrosion-protection guidance.
- 3M Metal Panel, Body & Dent SOPs — supports panel repair, pre-fitting, cutting, panel prep, bonding, and steel panel replacement process guidance.
- 3M Collision Repair Corrosion Protection — supports seam sealing, weld sealing, cavity wax, undercoating, and overlap-joint corrosion protection.
- OSHA Welding, Cutting, and Brazing Hazards and Solutions — supports welding hazard, PPE, fume, UV radiation, burn, and electrical shock safety guidance.
- OSHA 1910.252 General Requirements for Welding, Cutting, and Brazing — supports hot-work and fire-prevention precautions.
- OSHA 1910.133 Eye and Face Protection — supports eye and face protection requirements for welding work.




