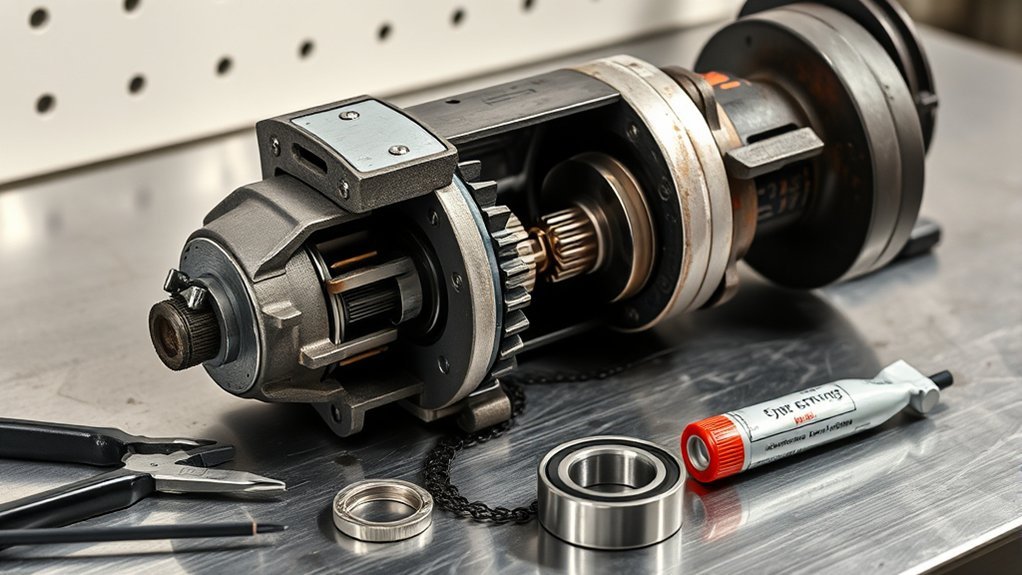
Replacing angle grinder bearings can reduce growling noise, spindle play, heat, and vibration, but the repair is model-specific. A safe result depends on identifying the exact bearing and suffix, supporting the correct race during removal and installation, protecting the motor and wiring, and rebuilding the grinder exactly as the manufacturer intended. Stop if you find a bent spindle, cracked housing, burnt insulation, damaged gears, or uncertain wire routing.
Quick Answer
To replace angle grinder bearings, disconnect and control the power source, remove the wheel and required covers, verify the full bearing designation from the old part or official parts diagram, pull the bearing straight off, press the replacement through the fitted race, reassemble all guards and hardware, then complete a staged safety test.
Key Takeaways
- Noise and vibration can come from a bearing, wheel, flange, gear, spindle, brush, or housing problem, so diagnose before ordering parts.
- Match the exact model, type, and full bearing code. A basic size such as 608 does not confirm the shield, seal, clearance, or fit required by the grinder.
- Apply installation force only to the ring with the interference fit: the inner race for a shaft fit and the outer race for a housing fit.
- Do not pack a sealed or shielded replacement bearing with gearbox grease unless the tool or bearing manufacturer specifically requires it.
- Do not power the grinder until the housing, guard, side handle, flanges, wiring, and retainers are fully restored and checked.
At a Glance
| Time Required | About 45 minutes to 3 hours. Pressed gears, hidden retainers, seized bearings, and electrical checks can add time. |
| Difficulty | Moderate to advanced. Stop if the repair requires live testing, armature rewinding, press work you cannot support safely, or electrical safety verification you cannot perform. |
| Tools Needed | Correct screwdrivers or hex keys, snap-ring pliers if required, bearing puller or separator, bearing driver or press, matching sockets, soft mallet, calipers, parts tray, cleaner, and model-approved gear grease. |
| Cost | Varies by model, bearing count, and tool access. Check the official parts price before buying pullers, grease, brushes, gears, or electrical test equipment. |
Warning: Unplug a corded grinder or remove the battery before servicing, keep the disconnected plug or battery under your control, and verify that the switch is off. For workplace servicing, OSHA 1910.147 addresses unexpected energization and includes a cord-and-plug exception when the equipment is unplugged and the plug remains under the servicing employee’s exclusive control. Never perform an exposed or live powered test.
Signs Angle Grinder Bearings Need Replacement
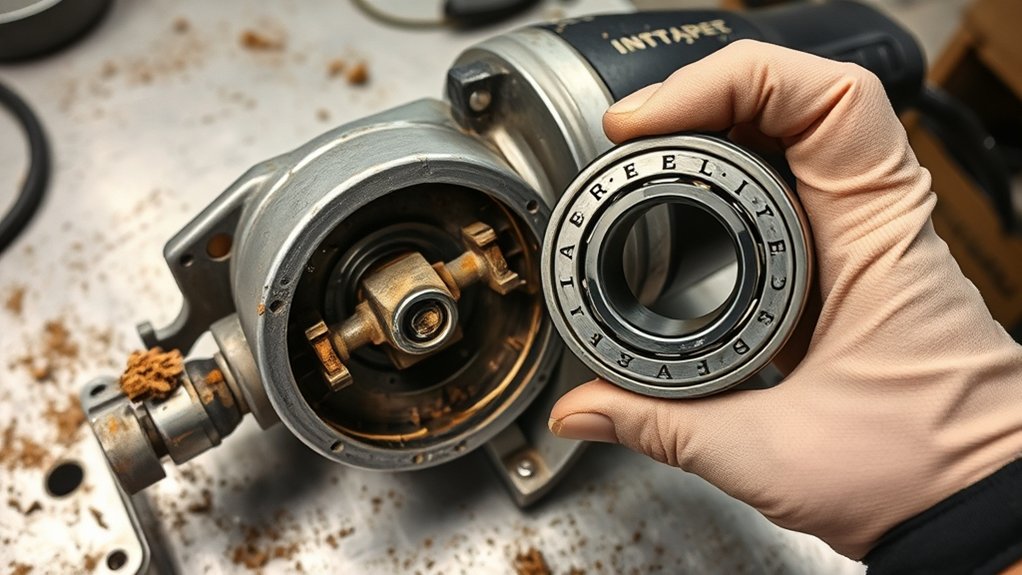
Bad bearings often give warning signs before the grinder fails, but no single symptom proves that a bearing is the cause. Compare the tool with its normal sound and feel, then rule out the wheel, flanges, guard, spindle lock, gears, and brushes before opening the housing.
- Grinding, growling, or rumbling: A damaged race or rolling element may become louder as speed rises.
- Heavy vibration: Bearings are one possibility, but an unbalanced disc, damaged flange, bent spindle, loose gear, or cracked housing can feel similar.
- Spindle side play: With power isolated and the wheel removed, noticeable radial movement needs inspection.
- Heat near the gear or motor housing: Friction, excess grease, damaged gears, blocked cooling paths, overloading, or an electrical fault can all cause heat.
- Rough hand rotation: Gear mesh creates some normal resistance, but the spindle should move evenly without gritty spots, scraping, or tight sections.
- Uneven wheel runout: Stop immediately and check the disc, flanges, spindle, retainers, and bearing fit.
Spindle Bearing vs. Armature Bearing Symptoms
The front spindle bearing sits near the wheel and gearbox, while armature bearings support the motor shaft. Noise or looseness concentrated at the gear head can point toward the spindle side. Noise from the motor body, rubbing at the fan, or roughness when the armature is removed can point toward an armature bearing. Gears and bearings transmit sound through the housing, so use these clues only as a starting point.
Note: Test the grinder with the wheel removed only by hand while power is disconnected. Do not use the spindle lock as a diagnostic brake, and do not press it while the spindle is moving.
When Not to Replace Angle Grinder Bearings Yourself
Stop the repair if you find burnt wiring, melted insulation, a cracked gear or motor housing, stripped spindle threads, a bent spindle, chipped gear teeth, a damaged commutator, a loose bearing seat, or an electronic module you cannot inspect safely. A new bearing cannot correct those faults.
Also use an authorized or qualified repair technician when the bearing is trapped behind a pressed gear or fan you cannot support correctly, when a service procedure calls for electrical safety tests, or when the tool must be powered while open. Some manufacturers place model-specific limits on gear-case separation and reassembly; for example, this DEWALT grinder manual directs users to service the tool if the gear case and motor housing separate beyond its stated limit.
If the grinder may still be covered, read the warranty and service terms before opening it. Do not assume that every repair has the same effect on coverage; the answer depends on the brand, region, failure, and warranty terms.
Tools and Parts for Angle Grinder Bearing Replacement
Gather the parts and tools before disassembly. Use a tray, labeled cups, or a magnetic bowl for screws, washers, spacers, keys, brush caps, and retaining rings. Keep different screw lengths separated.
Products Worth Considering

Carbon Steel Material - The 2 Inch bearing gear puller is made of high-quality carbon steel material, the point of the mandrill through a special heat treatment process, solid for long service life with great performance.

3PC. BEARING PULLER SET: This 3-piece professional rear axle bearing removal tool set by Orion Motor Tech works with your 5/8" slide hammer to let you quickly and easily pop out worn or damaged semi-floating rear axle bearings

Dual Size Bearing Separators: Includes 2 inches and 3 inches bearing separators to accommodate different bearing sizes for versatile applications
Model Information and Replacement Parts
- Exact brand, model, type, and serial or production code from the nameplate
- Official exploded parts diagram or service information for that exact version
- Correct bearing with the complete designation, including shield or seal and any clearance suffix
- New retaining ring, wave washer, O-ring, gasket, or locking hardware if the service information requires replacement
- Manufacturer-approved gearbox grease in the specified type and amount
Hand Tools and Repair Supplies
- Screwdriver set, Torx bits, or hex keys that fit the housing screws correctly
- Pliers and snap-ring pliers for the retainers used by the model
- Small bearing puller or bearing separator with suitable support plates
- Arbor press or bearing driver set; a square, correctly sized socket may serve as a driver when it contacts only the intended race
- Soft-faced mallet for tapping a driver, not the bearing itself
- Calipers for checking bore, outside diameter, and width when the code cannot be read
- Marker, phone camera, and parts tray for recording orientation and screw locations
- Lint-free cloths, a soft brush, and plastic-safe cleaner approved for the tool
Safety Equipment and Cleaning Controls
Wear safety glasses during disassembly and when using pullers or retaining-ring pliers. Cut-resistant gloves can protect your hands while the tool is fully de-energized, but keep gloves and loose clothing away from any powered rotating part. Avoid blowing unknown grinding dust into the air or deeper into the motor. Use a suitable vacuum or controlled brushing method, and use respiratory protection appropriate to the dust hazard when required.
Identify the Correct Bearing Before You Disassemble
Do not order a bearing only because another grinder used the same basic number. Two bearings with the same dimensions can differ in shielding, sealing, internal clearance, precision, grease, temperature rating, or fit. Match the official part number whenever possible.
Products Worth Considering

【Value Sets】The grinder nut set includes 1 angle grinder wrench and 6 angle grinder nuts (3 inner flange nuts, 3 outer flange nuts). Please check size and compatibility before ordering. Please contact us with any questions or concerns. We prioritize your satisfaction .
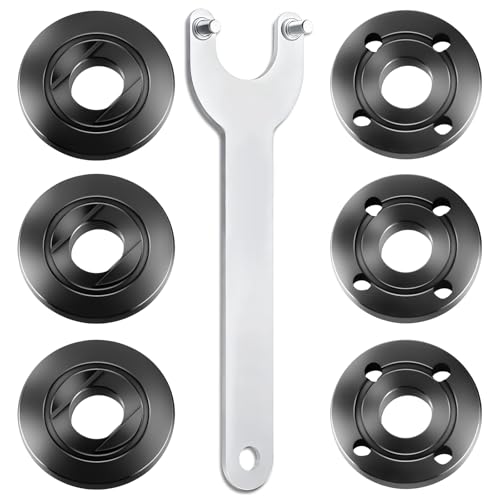
WHAT YOU GET: Includes 1 extended angle grinder wrench and 6 thickened-design flange nuts (3 inner nuts + 3 outer nuts), always have spare nuts to avoid downtime.

Critical Motor Component: This ball bearing (part #N214432) is a precision high-speed bearing that supports the motor armature or spindle in compatible with DeWalt angle grinders
Read the Full Bearing Designation
Clean the outer face gently and record every stamped number and suffix. Codes such as Z, ZZ, 2Z, RS, and 2RS commonly describe shields or seals, but bearing makers do not use every suffix in exactly the same way. The NSK bearing designation guide shows examples such as ZZ or -2Z for shields on both sides and DDU or -2RS for seals on both sides. Match the complete manufacturer designation or an approved cross-reference, not just the basic number.
Use the Tool Parts Diagram
Search the manufacturer’s official parts system using the complete model and type code. Confirm whether the diagram lists one or more bearings and note their positions. A grinder may use different bearings at the spindle, armature front, and armature rear.
Measure Only When Needed
If the code is unreadable and official parts data is unavailable, measure the inside diameter, outside diameter, and width with clean calipers. Also record the shield or seal arrangement, snap-ring groove, flange, shoulder, and any clearance marking. Measurement confirms size, but it does not by itself confirm the correct internal specification.
Pro Tip: Photograph every layer before removing it. Capture gear orientation, washer order, retaining-ring direction, wire routing, brush position, and screw length. Mark parts only where the mark cannot contaminate a bearing, commutator, gear tooth, or electrical contact.
How to Disassemble Your Angle Grinder
Work on a clean, well-lit bench. Let the tool cool, remove loose grinding dust without spreading it, and keep the official parts diagram nearby. Do not pry until you have checked for hidden screws, clips, brush assemblies, or threaded retainers.
Step 1: Isolate Power and Confirm the Switch Is Off
Unplug the cord or remove the battery and keep it away from the bench. Cycle the switch only while the power source is absent to confirm it moves freely, then return it to off. Do not rely on the trigger, lock-off, or electronic brake as the only energy-control measure.
Step 2: Remove the Wheel, Guard, and Handle as Needed
Remove the accessory, outer flange or nut, inner flange, and side handle. Remove the guard only when the grinder design requires it for repair access. Keep every washer, flange, key, and spacer in order because reversing one can create wheel runout or poor clamping. The guard and side handle must be restored before a powered operational test.
Step 3: Open the Gear and Motor Housings
Remove housing screws with the correct bit and keep different lengths separated. Lift covers straight where possible. If the case resists, recheck the diagram for hidden fasteners, brush caps, retaining rings, or tabs. Do not force a screwdriver into a seam where it can crack plastic, distort aluminum, or cut insulation.
Step 4: Inspect the Gears, Spindle, and Wiring
Before removing a bearing, inspect the bevel gear, pinion, spindle, fan, armature, wire insulation, strain relief, switch leads, and grease. Look for chipped teeth, metal particles, burnt or hardened grease, fan contact, arcing damage, loose seats, and a bent shaft. If the gear train is damaged, replacing only the bearing may not solve the problem.
Step 5: Release Brushes or Connections Only if Required
Brushed grinders may require the carbon brushes to be lifted or removed before the armature comes out. Note each brush’s direction and keep the spring controlled. Replace chipped, cracked, oil-contaminated, or unevenly worn brushes as a pair when the manufacturer specifies. Brushless grinders use electronic controls and do not have serviceable carbon brushes; do not disconnect modules unless the service procedure covers it.
Angle Grinder Bearing Replacement Steps
The exact retainer and press sequence varies by model. Some grinders use snap rings, nuts, keys, wave washers, thread locker, pressed gears, or left-hand threads. Follow the official diagram and never assume a part loosens in the usual direction.
Step 6: Remove Retainers, Gears, and the Old Bearing
Remove the listed retaining ring, nut, washer, gear, or spacer before pulling the bearing. Place puller jaws or a bearing separator behind the correct ring or supported component, then pull straight and evenly. Support the shaft or assembly so the force does not pass through the fan, commutator, windings, gear teeth, or soft housing.
Do not wedge screwdrivers behind the bearing or strike the shaft end without a manufacturer-approved method. If the fit is seized, stop and use the service procedure or a repair shop. Do not use an open flame. Avoid penetrating fluids unless the tool manufacturer approves the product and you can keep it away from plastics, insulation, windings, brushes, and lubrication surfaces.
Step 7: Clean and Inspect the Bearing Seats
Wipe the shaft and housing bore with a lint-free cloth. Remove grit, loose corrosion, old locking compound, and metal fragments without scratching the seat. Check the shoulder, bore, shaft diameter, snap-ring groove, and spacer surfaces for burrs or wear. A loose, oval, cracked, or heavily scored seat requires more than a new bearing.
Step 8: Install the New Bearing Correctly
Keep the new bearing in its clean packaging until installation. Start it square. When pressing a bearing onto a shaft, drive or press the inner race. When pressing it into a housing, drive or press the outer race. If both rings receive an interference fit at the same time, use a fitting tool that supports both rings in the same plane.
The SKF bearing installation guide warns against direct blows and against transmitting mounting force through the rolling elements. Use steady press force when possible. If light tapping is allowed, tap the driver evenly with a soft mallet and stop when the bearing reaches its shoulder or specified retaining surface.
Warning: If the bearing starts crooked, becomes tight before reaching its seat, or requires heavy impact, stop. Forcing it can score the shaft, crack the housing, brinell the races, or create unsafe spindle runout.
Note: A new sealed or shielded bearing is normally supplied with its own lubricant. Do not wash it, remove its shields or seals, or fill it with gearbox grease unless the bearing and tool instructions specifically require that work. Gear grease belongs in the gearbox in the specified amount, not inside a closed bearing.
How to Reassemble Your Angle Grinder for Optimal Performance
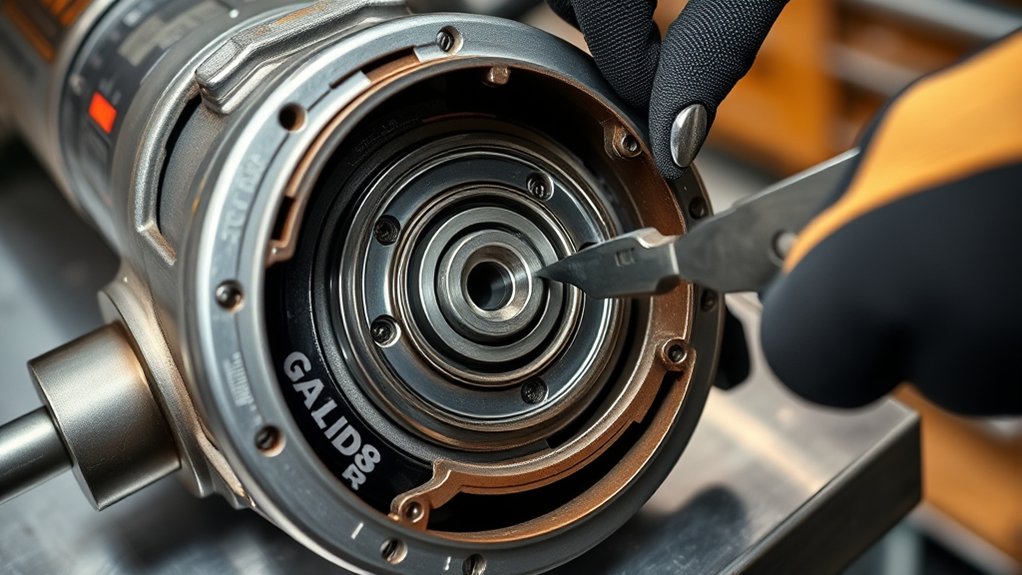
Reassemble the grinder slowly and compare each layer with your photos and parts diagram. A bearing repair is not complete until the gear train, electrical insulation, strain relief, guard, handle, flanges, and fasteners are restored.
Step 9: Reinstall Gears, Retainers, and Housings
- Restore every spacer and retainer: Install keys, washers, wave washers, snap rings, gears, nuts, and covers in their original order and orientation.
- Use the specified gear grease: Remove contaminated grease and apply only the type and amount required by the model. Too much can increase drag and heat.
- Route wires correctly: Keep conductors out of screw bosses, housing seams, fans, gears, and moving switch parts.
- Seat brushes correctly: Reused brushes should return to their recorded orientation and slide freely. Springs and caps must sit correctly.
- Tighten to service data: Use manufacturer torque values where provided. Tighten housing screws evenly; do not guess at high torque in plastic or aluminum.
Step 10: Check Rotation, Fit, and Electrical Condition
Before reconnecting power, turn the spindle by hand through several revolutions. It should feel even, with normal gear resistance but no scraping, binding, or sudden tight spot. Check radial and axial play, housing gaps, brush caps, cord strain relief, battery contacts, spindle lock movement, and switch return.
If internal wiring, grounding, double-insulation barriers, or electronic controls were disturbed and you cannot verify them, do not power the grinder. A qualified repair facility can perform the model-appropriate electrical and functional tests.
Post-Repair Safety Test Before Using a Wheel
Complete testing in stages and follow the grinder’s own manual. Never run the tool with an open housing, exposed wiring, missing gear cover, loose guard, or unsecured side handle.
- Confirm that all housing screws, brush caps, retainers, flanges, the guard, and the side handle are installed and secure.
- Verify that the switch is off before reconnecting the cord or battery.
- Position the guard between the operator and the wheel area. Keep bystanders away and stand outside the plane of any installed accessory.
- Follow the manufacturer-approved initial no-load test. Stop at once for scraping, rattling, abnormal sparking, smoke, odor, surging, or heavy vibration.
- Disconnect power again and check for heat, loose screws, grease leakage, housing movement, and spindle play.
- Inspect the correct accessory, confirm its rated speed is not below the grinder’s speed, and install it with the correct flange and nut. OSHA 1910.243 requires workplace abrasive-wheel guarding and addresses wheel inspection, flange condition, and speed compatibility.
- Run the fully assembled grinder at no load in a safe direction for the period stated by its manual before applying it to work.
Do not return the grinder to service if it still vibrates heavily, overheats quickly, smells burnt, produces unusual sparks, loses speed, or makes a grinding or rubbing sound.
Troubleshooting Common Issues After Bearing Replacement
If the grinder still feels wrong, disconnect power and use the symptom to narrow the fault. Do not keep running it to see whether the noise disappears.
| Symptom | Likely Cause | What to Check |
| Grinding noise remains | Bearing not seated, damaged gear, rubbing fan, misaligned housing, or another worn bearing | Inspect both armature bearings, spindle bearing, gear teeth, fan clearance, spacers, and housing alignment. |
| Spindle wobbles | Wrong bearing, worn seat, bent spindle, missing spacer, or loose retainer | Verify the full bearing designation, shaft and bore fit, snap rings, gear nut, inner flange, and spindle straightness. |
| Tool overheats quickly | Bearing preload or fit problem, excess grease, dragging brush, blocked cooling path, tight gear mesh, or motor fault | Check free rotation, grease quantity, brush travel, fan and vents, gear alignment, bearing clearance, and armature condition. |
| Tool will not start | Brush, switch, wire, battery, interlock, or reassembly problem | Recheck brush caps, spring position, wire routing, connectors, battery seating, switch movement, and any model-specific electronic reset procedure. |
| Excessive sparking or surging | Brush orientation, damaged commutator, pinched lead, armature fault, or electronic-control problem | Stop immediately. Inspect the brushes and commutator only with power isolated; use professional service for electrical diagnosis. |
Essential Maintenance Tips for Longer Bearing Life
Regular care reduces contamination, overload, and impact damage. Keep the grinder clean, use the correct accessory, avoid side-loading cutting wheels, and stop when a new sound or vibration appears.
- Clean vents by the method stated in the manual; avoid forcing abrasive dust deeper into the tool.
- Inspect the cord, plug, battery, guard, side handle, flanges, spindle threads, and wheel before each use.
- Use an accessory with the correct diameter, arbor, type, and speed rating.
- Let the accessory cut or grind without excessive pressure that can overload the bearings and gears.
- Do not use a cutting wheel for side grinding or a grinding wheel for cutting.
- Stop at regular intervals to rest your hands and arms during long sessions.
- Store the grinder and spare bearings in a clean, dry place away from grinding dust and moisture.
Keeping Your Angle Grinder in Top Shape: Best Practices
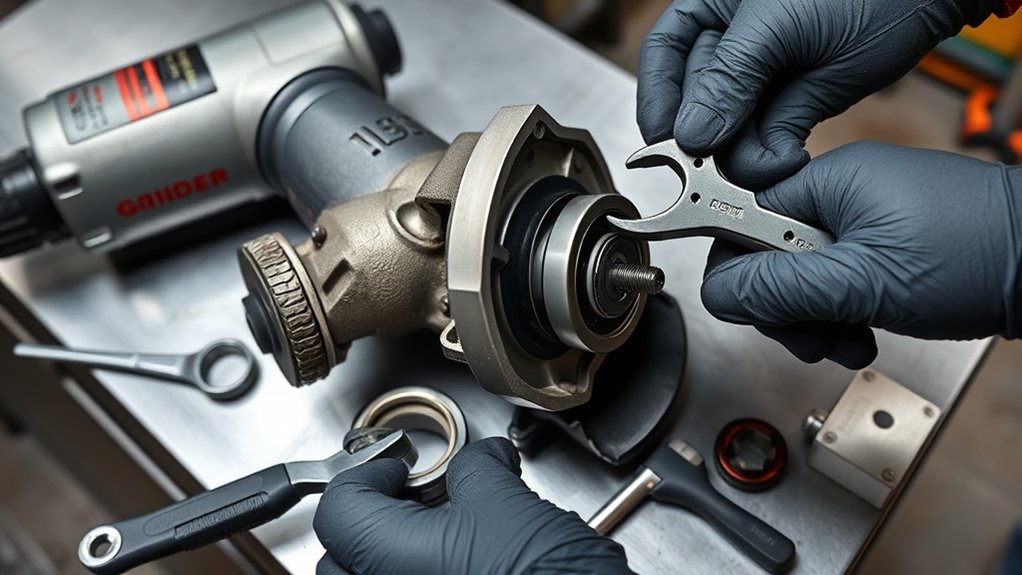
Before each job, make sure the guard and handles are secure, the accessory is undamaged and correct for the task, and the matching flanges and locking nut are clean and installed correctly. SafeWork SA’s angle grinder guidance recommends two-hand control, secure guards and handles, correct discs and flanges, disconnection before disc changes, and regular breaks for the hands and arms.
New vibration is a stop-and-check signal. Inspect the wheel, flanges, spindle, guard, and gear head instead of pushing through the job.
Keep the guard positioned between you and the wheel, use the side handle, hold the tool with both hands, and allow the accessory to stop before setting the grinder down. If the tool develops a defect, remove it from service until the fault is properly repaired.
Frequently Asked Questions
How do I remove a bearing from an angle grinder?
Disconnect the power source, remove the accessory and required housings, take off all model-specific retainers, and use a bearing puller or separator behind the supported ring. Pull straight and keep the load away from the fan, windings, gear teeth, and soft housing.
Can I pull a grinder bearing without a puller?
Sometimes a service procedure uses a press, drift, or supported housing method, but improvised prying is risky. Do not wedge a screwdriver against a fan, gear, winding, plastic body, or aluminum case. A repair shop is safer when the bearing is seized or trapped behind a pressed part.
What bearing size does an angle grinder use?
There is no universal size. Verify the exact grinder model and type, use the official parts diagram, and read the full code on the old bearing. Measurements confirm bore, outside diameter, and width, but they do not confirm clearance, seal, shield, or lubricant specifications.
What do ZZ, 2Z, RS, and 2RS mean on a bearing?
They commonly identify shields or seals. ZZ or 2Z often means shields on both sides, while 2RS often means seals on both sides. Manufacturer conventions differ, so use the maker’s designation guide and match the complete code or an approved cross-reference.
Should I add grease to a new grinder bearing?
Do not add gearbox grease to a new sealed or shielded bearing unless the bearing and tool instructions require it. Closed bearings are normally supplied lubricated. Apply only the specified grease and amount to the gearbox components that the service information identifies.
Should I replace both angle grinder bearings at the same time?
Not automatically. Inspect every accessible bearing and follow the parts or service guidance. Replacing a second worn bearing can prevent a repeat teardown, but changing a good bearing adds cost and another chance to damage a shaft, housing, fan, or winding.
How do I know if the problem is the bearing or the brushes?
Bearing faults often cause rough rotation, rumbling, heat, play, or vibration. Brush faults more often cause weak starting, cutting out, excessive sparking, or no power. Gears, the armature, switch, wheel, and flanges can imitate either group of symptoms, so inspect the whole system.
What are common angle grinder bearing replacement mistakes?
Common mistakes include working with power connected, ordering by size alone, losing spacers, pressing through the rolling elements, hitting the bearing directly, using open flame, overpacking gear grease, pinching wires, reversing brushes, omitting retainers, and testing before the housing, guard, and handle are secure.
Conclusion
Angle grinder bearing replacement is a precision repair, not just a parts swap. Diagnose the fault, verify the complete bearing specification, control the power source, document every part, and support the correct race during removal and installation. Rebuild the electrical and mechanical safety features exactly, then follow the model’s test procedure. If the grinder still vibrates, overheats, sparks abnormally, or sounds rough, disconnect it and find the underlying fault before using it again.
Sources
- OSHA 1910.147, Control of Hazardous Energy — supports workplace control of unexpected energization and the cord-and-plug servicing exception.
- OSHA 1910.243, Guarding of Portable Powered Tools — supports abrasive-wheel guarding, inspection, flange condition, and wheel-speed compatibility.
- SafeWork SA Angle Grinders — supports two-hand use, guard and handle checks, correct discs and flanges, PPE, and power disconnection before disc changes.
- DEWALT DCG413 Instruction Manual — demonstrates model-specific guard, gear-case, reassembly, and no-load accessory-test instructions.
- SKF Bearing Installation and Maintenance Guide — supports clean handling, correct race support, and avoiding force through rolling elements.
- NSK Bearing Designation Systems — supports interpretation of common seal and shield suffixes and the need to read the complete designation.