Angle grinder gearbox problems usually show up as new noise, heat, vibration, grease leakage, rough spindle movement, or a loss of power under load. Start with the safe checks first: unplug the grinder, let it cool, remove the wheel, inspect the guard and handle, then check the spindle and gear housing before you run any test.
Quick Answer
To diagnose angle grinder gearbox problems, unplug the tool, remove the wheel, check for cracked housing, grease leaks, loose spindle movement, rough hand rotation, burnt smell, and damaged guards. If the grinder makes grinding, whining, rattling, or squealing sounds during a brief no-load test, stop using it and inspect or service the gearbox.
Key Takeaways
- Most gearbox problems begin as noise, heat, vibration, rough spindle movement, or grease leaking from the gear housing.
- Always rule out simple causes first, such as a cracked disc, wrong flange, loose handle, damaged guard, or incorrect accessory.
- Do not run a grinder with a cracked gear housing, missing guard, loose spindle, exposed wiring, smoke, burning smell, or severe vibration.
- Use the lubricant and service method listed in your owner’s manual. Do not pack the gearbox with random grease.
At a Glance
| Time Required | 10 to 30 minutes for basic checks; longer if the gearbox cover is removed by a qualified person |
| Difficulty | Beginner for visual checks; intermediate to advanced for internal gearbox service |
| Tools Needed | Safety glasses or face shield, gloves, hearing protection, clean cloth, flashlight, correct wheel wrench, screwdriver, and the owner’s manual |
| Cost | $0 for inspection; usually $10 to $30 for approved grease or small parts; more for bearings, gears, or professional repair |
Warning: Unplug a corded grinder or remove the battery before inspection, wheel changes, cleaning, or any service work. Never test-run a grinder with a cracked housing, missing guard, damaged wheel, loose spindle, exposed wiring, smoke, or severe vibration.
Safety First: Preparing Your Angle Grinder for Inspection
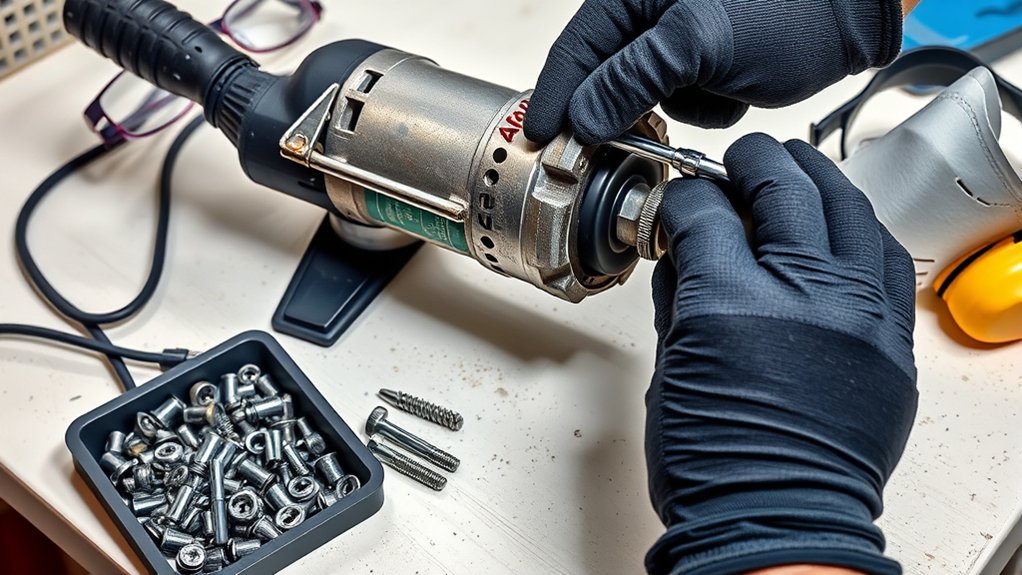
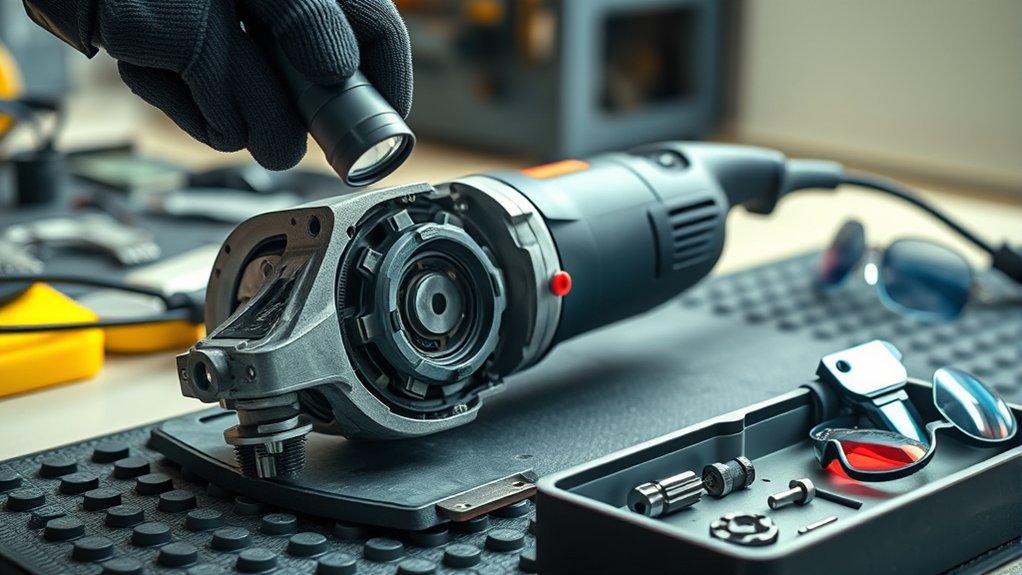
Before you inspect the gearbox, make the grinder safe to handle. Disconnect the plug from the outlet or remove the battery pack. Let the tool cool fully if it was just used, because the gear housing, wheel, and spindle can stay hot after grinding.
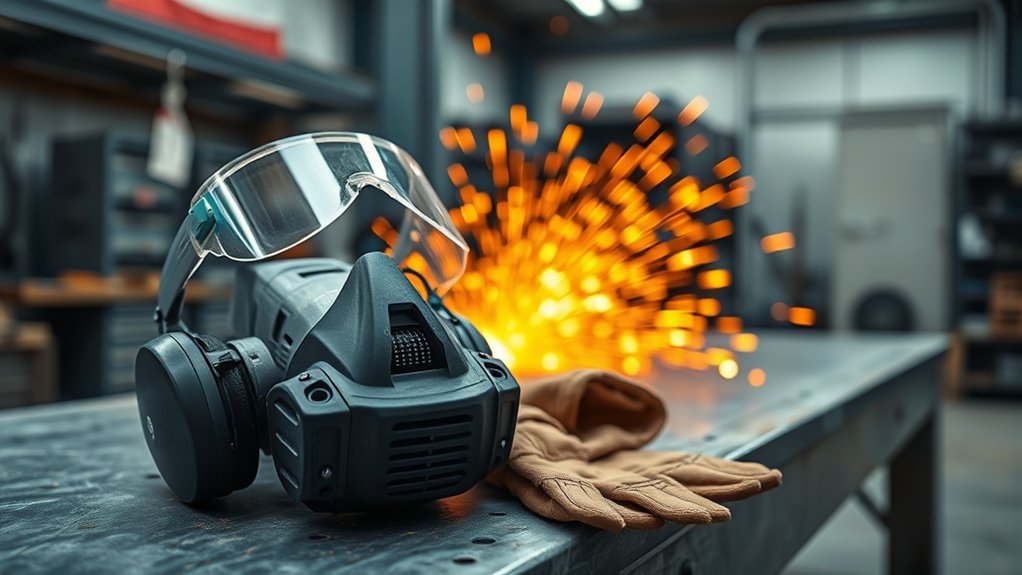
Wear safety glasses or a face shield, fitted gloves, and hearing protection for any later no-load test. The OSHA abrasive wheel machinery standard requires abrasive wheel machines to use safety guards in most applications, so do not remove or bypass the guard while troubleshooting.
Clean the outside of the grinder with a dry cloth. Dust, metal grit, and old grease can hide cracks, loose screws, and leaking seals. Do not use water or liquid cleaners around vents, switches, or the motor housing.
Check your owner’s manual before opening any cover. Some grinders allow basic gear-housing service, while others should go to a qualified repair center. The Makita 9557PB instruction manual, for example, tells users to disconnect the tool before adjustments and to have the tool serviced by a qualified repair person when repair is needed.
Angle Grinder Gearbox Symptoms and Likely Causes
Do not blame the gearbox until you rule out the disc, flange, guard, and handle. A cracked wheel, wrong accessory, loose lock nut, or damaged flange can create noise and vibration that feels like gear failure.
| Symptom | Likely Cause | What to Do |
|---|---|---|
| Grinding or crunching noise | Worn gear teeth, broken bearing, or metal debris in grease | Stop using it and inspect the gearbox or send it for repair |
| High-pitched whine | Dry gears, worn bearings, or poor gear mesh | Check manual-approved lubrication and bearing condition |
| Rattle at start or coast-down | Loose gear housing screws, worn bearing seat, or damaged spindle parts | Tighten external screws only if manual allows; service if rattle remains |
| Grease leak or dark oily residue | Overfilled gearbox, overheated grease, worn seal, or damaged gasket | Clean, inspect, and use only approved grease if serviceable |
| Severe vibration | Cracked disc, wrong flange, bent spindle, worn bearing, or gear damage | Remove the wheel and test by hand before any powered test |
| Gets hot quickly | Low lubrication, overloaded tool, clogged vents, bearing drag, or worn gears | Let it cool, clean vents, reduce load, and inspect the gearbox |
Gearbox Visual Inspection: Identifying Damage and Wear
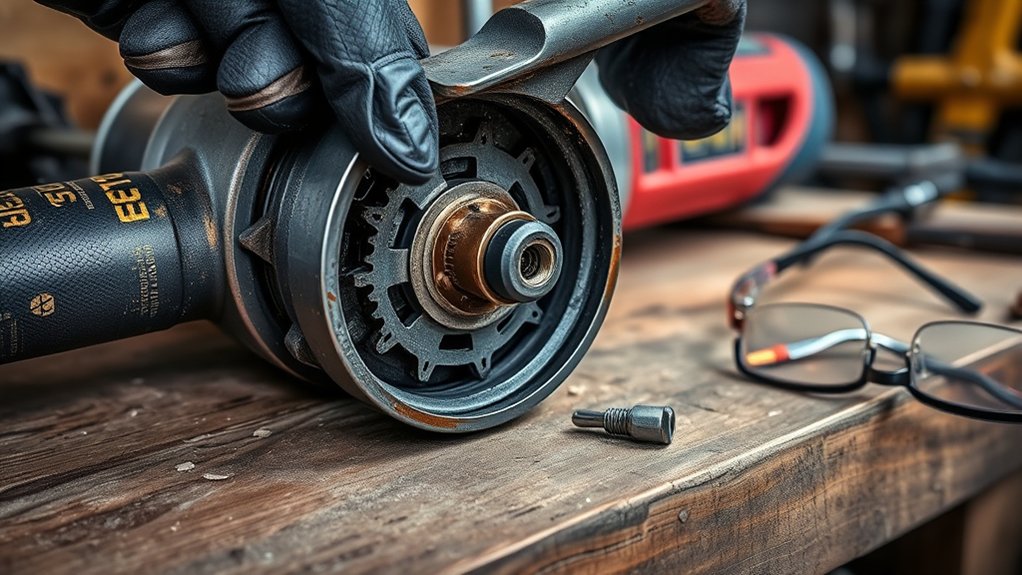
Look over the gear housing before you remove any screws. Check for cracks, dents, missing fasteners, stripped screw heads, heat discoloration, or grease pushed out around the housing seam. A cracked housing can let gears move out of alignment, so stop using the grinder until it is repaired.
Next, remove the wheel and accessory hardware. Inspect the guard, handle, lock nut, flange, and spindle threads. The SafeWork SA angle grinder guidance recommends confirming that the guard and handles are secure, the disc is not damaged, and the correct flange, nut, disc diameter, and disc type are used before operation.
Products Worth Considering

100% Quality Assurance: Well-designed, well-crafted. Not an OEM part, but meets OEM manufacturing requirements. This is the manufacturer's replacement and is functionally equivalent to the previous part.

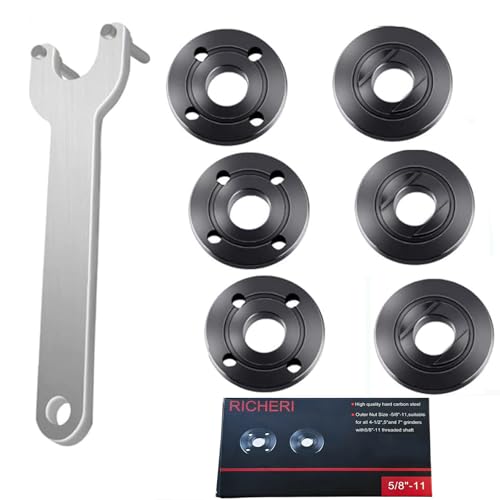
【Value Sets】The grinder nut set includes 1 angle grinder wrench and 6 angle grinder nuts (3 inner flange nuts, 3 outer flange nuts). Please check size and compatibility before ordering. Please contact us with any questions or concerns. We prioritize your satisfaction .
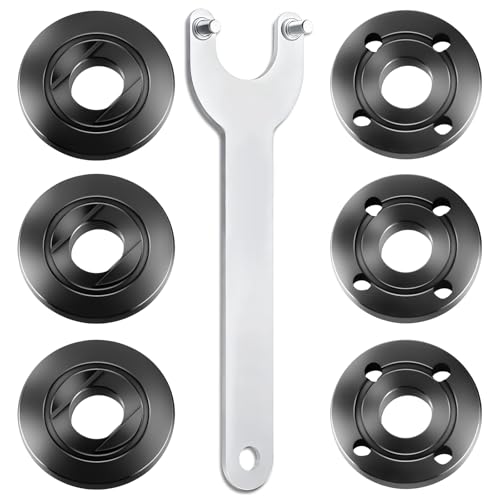
WHAT YOU GET: Includes 1 extended angle grinder wrench and 6 thickened-design flange nuts (3 inner nuts + 3 outer nuts), always have spare nuts to avoid downtime.
Common Visual Indicators
Common gearbox warning signs include grease leakage, cracked housing, loose screws, rough spindle movement, dark burnt grease, and metal glitter in old grease. You may also see uneven wear where the spindle exits the gear case.
Small grease staining is not always a failure, especially on an older tool. Fresh wet grease, repeated leakage after cleaning, or grease mixed with metal particles is more serious. These signs point to seal wear, overheating, or internal gear damage.
Gear Tooth Examination
If your manual allows gear-housing access, inspect the gear teeth under good light. Healthy teeth should look evenly worn. Warning signs include pitting, chips, cracks, missing tooth edges, blue or black heat marks, and heavy scoring.
Rotate the spindle by hand with the tool unplugged and the wheel removed. It should turn smoothly with steady resistance. A rough, notchy, or tight feel can point to damaged bearings, chipped gears, or debris in the grease.
Seal and Gasket Inspection
Do not pressure-test a small angle grinder gearbox unless the manufacturer gives that exact procedure. For most users, the safe check is visual. Look for grease at the gear housing seam, around the spindle, or near screw holes.
Clean the area, let the tool sit, and check again after a short no-load test only if the grinder is otherwise safe to run. If grease returns quickly, the gasket may be pinched, the seal may be worn, or the gearbox may be overfilled.
Note: Many compact angle grinders use grease in the gear case, not a bath of liquid oil. A dark oily film may be separated grease, not motor oil.
Check Gearbox Lubrication Levels
Proper lubrication reduces heat, gear wear, and bearing drag. Poor lubrication can cause whining, rough rotation, and quick overheating. Too much grease can also be a problem because it may churn, heat up, and push past seals.
Use only the grease type and amount listed in your grinder’s service information. If the manual does not give a user-service gearbox procedure, do not guess. Take the tool to an authorized repair center or a qualified power-tool technician.
Lubrication problems often sound like a high-pitched whine first. If the sound changes to grinding or crunching, stop the tool and inspect it before more damage occurs.
- Use clean, manufacturer-approved grease for serviceable gear cases.
- Do not mix unknown greases, because incompatible grease can separate or lose consistency.
- Look for metal shavings, burnt smell, or blackened grease, which can point to gear or bearing wear.
- Clean vents and avoid overloading the grinder, since heat can shorten grease and bearing life.
Inspect Gears for Wear and Damage
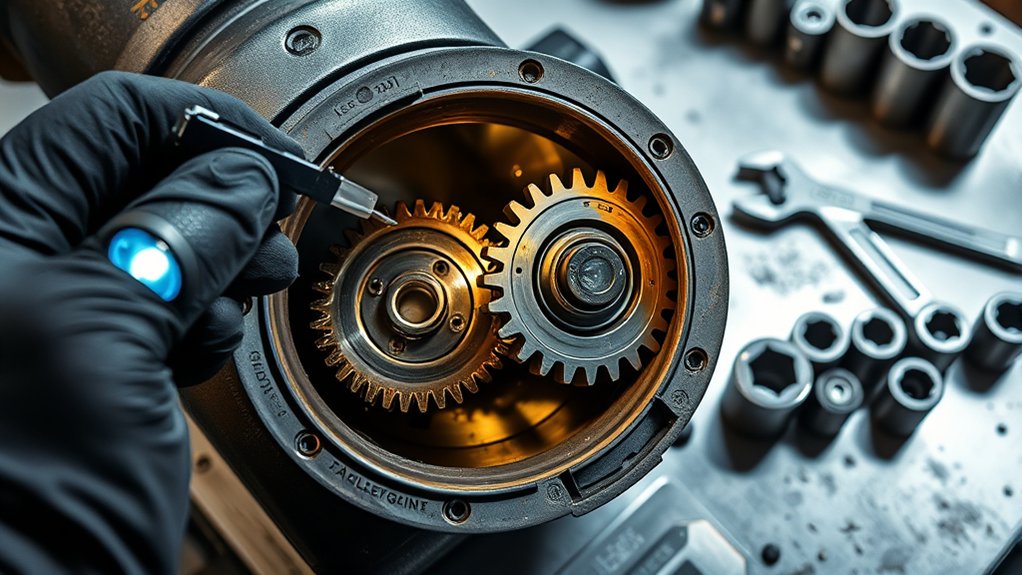
Inspecting gears helps you decide whether the grinder needs simple service, a new bearing, a gear set, or replacement. If the tool is under warranty, stop before disassembly and check the warranty terms first.
Look for pitting, scoring, chipped teeth, uneven wear, cracked teeth, and heat discoloration. Also inspect the bearing areas. A good gear set will not last if the bearing that supports it is loose or rough.
Backlash is the small amount of play between meshing gears. A little play is normal. Excessive clunking, uneven tight spots, or a spindle that moves side to side can mean worn gears, worn bearings, or a damaged gear housing.
| Type of Damage | What It Usually Means | Action Required |
|---|---|---|
| Pitting or scoring | Low lubrication, contamination, or long use | Clean, inspect bearings, and replace worn gears if noise remains |
| Cracks or chips | Gear teeth are structurally damaged | Replace the gear set or retire the grinder |
| Excessive backlash | Worn gear teeth, bearings, or housing seats | Service by a qualified repair person |
| Blue or black discoloration | Overheating from overload, friction, or low grease | Replace heat-damaged parts and correct the cause |
| Binding or resistance | Bearing drag, broken tooth, debris, or misalignment | Do not run the grinder until repaired |
Testing Performance: Running the Grinder for Diagnostics
Only run a diagnostic test after the grinder passes the unplugged checks. The wheel must be undamaged and rated for the grinder speed, the guard must be installed, the side handle must be secure, and the work area must be clear.
The Makita 9557PB product specifications show that a common 4-1/2 inch angle grinder can run at 11,000 RPM, so even a short test deserves full PPE and a safe stance.
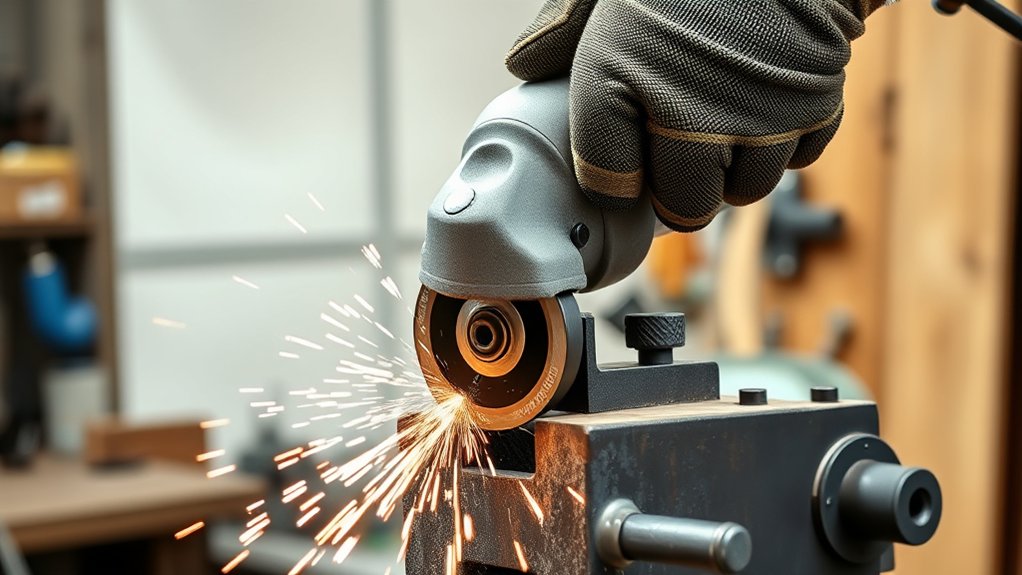
Hold the grinder with two hands. Keep bystanders away. Start the tool away from your body and let it reach full speed with no load. Listen for grinding, whining, rattling, or squealing. Watch for wobble, vibration, smoke, or fast heat buildup.
- Stop immediately if the grinder vibrates hard, smokes, smells burnt, or makes a crunching sound.
- Do not test under load until the no-load test is smooth and quiet.
- Do not set the grinder down until the wheel has stopped completely.
Pro Tip: Record a short no-load sound clip when the grinder is healthy. Later, a change in pitch, rattle, or coast-down sound is easier to spot.
Diagnosing Noises: What Unusual Sounds Indicate?
Noise is one of the best early clues. A smooth grinder has a steady motor sound and a clean coast-down. A gearbox problem often adds a rough mechanical sound that changes with speed.
Grinding or crunching usually points to damaged gear teeth, broken bearings, or metal debris inside the gear case. Stop using the grinder.
Whining often points to dry gears, bearing wear, or poor gear mesh. Check for heat and grease condition before using the tool again.
Clicking or popping can mean chipped teeth, loose hardware, or a damaged spindle part. Remove the wheel and rotate the spindle by hand.
High-pitched squealing can come from a dry bearing, tight bearing, or friction inside the gear case. Do not keep running it to “see if it clears.”
Rattling during startup or coast-down can mean loose screws, worn bearings, or a loose gear on the shaft. If external screws are tight and the sound remains, service is needed.
Checking for Misalignment: Ensuring Proper Gear Mesh
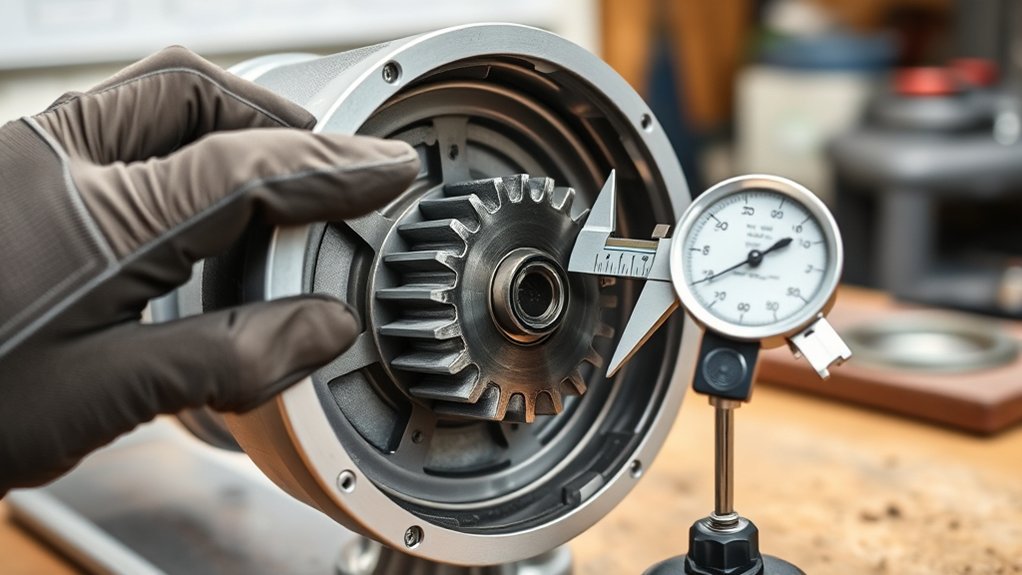
Misalignment happens when gears no longer mesh at the correct angle or depth. In an angle grinder, this can come from worn bearings, a bent spindle, cracked gear housing, loose housing screws, or impact damage from a drop.
Start with simple checks. With the grinder unplugged and wheel removed, hold the tool firmly and try to move the spindle side to side. A tiny amount of movement may be normal, but clear looseness, clunking, or a scraping feel is not.
Rotate the spindle by hand. Feel for tight spots, skipping, or uneven resistance. Then inspect the gear housing seam and screw bosses for cracks. If the tool was dropped, do not assume it is safe just because it still runs.
Most users do not need laser alignment tools for an angle grinder. If the gear mesh looks uneven, the spindle wobbles, or the bearings feel rough, the practical fix is bearing or gear replacement by a qualified repair person.
Disc, Flange, and Guard Checks Before Blaming the Gearbox
A gearbox can sound bad when the real problem is outside the gearbox. Before opening the tool, check these parts:
- Disc: Replace any wheel with cracks, chips, water damage, warping, or unknown history.
- Speed rating: The wheel rating must be equal to or higher than the grinder’s marked speed.
- Flange and lock nut: Use the correct parts for the wheel type and install them in the correct direction.
- Guard: Keep it installed and positioned between the wheel and your body.
- Side handle: Install it tightly so you can control torque and kickback.
- Spindle lock: Make sure it releases fully before running the grinder.
SafeWork SA warns that the wrong disc can shatter or grab the workpiece and cause kickback. That can feel like a gearbox fault, but it is really an accessory and setup problem.
Know When to Call in the Pros
Some angle grinder problems are not worth DIY repair. Call a qualified repair person or replace the grinder if you see cracked housing, a loose spindle, damaged safety guard, exposed wiring, smoke, burning smell, repeated overheating, severe grease leakage, or gear teeth with chips or cracks.
Professional service is also the better choice if the grinder is under warranty, the gear case is sealed, replacement parts are hard to find, or the repair cost is close to the price of a safe new tool.
If you depend on the grinder for work, do not keep using it until it fails completely. A failing gearbox can damage the spindle, throw the wheel out of balance, and increase the risk of kickback or wheel breakage.
Repair or Replace the Grinder?
Repair makes sense when the grinder is a higher-quality model, parts are available, the motor is healthy, and the problem is limited to grease, bearings, seals, or a replaceable gear set. Replacement often makes more sense for low-cost grinders with worn gears, cracked housings, damaged switches, or multiple failures.
Use this quick rule: if the repair costs more than half the price of a comparable new grinder, replacement is usually smarter unless the tool is a professional model with available parts and a known service history.
Products Worth Considering
Replacement part numbers: 224399-1, 193465-4, 224568-4 parts Fit for Makita 9005BZ 9015B 9505BH 9527PB 9527NB 9015DB 9561CV 9016B 9049 9067L 9077SL 9564,GA7021, GA9040S 9" 15A, GA5010Z 10.5A 5", 9557NB, 9558PB, GA6020, 9005B, 9503BH, 9524NB, 9528PB, 9528NB 9" 15A Angle Grinder, etc

Compatible with: 193465-4, 9029, 9069, 9016DB, 9047L, 9558NB, 9557PB, GA5020 10.5A 5" SJS, 9565PC 5" SJS, 9554NB, 9015A, etc.

Package Includes: 227506-5 227471-8 Angle Grinder Spiral Bevel Gear Kit, Replace 227542-1 227541-3
Frequently Asked Questions
What are common angle grinder gearbox problems?
Common gearbox problems include worn gears, dry or contaminated grease, rough bearings, cracked gear housing, worn seals, loose housing screws, and poor gear mesh. These usually show up as grinding noise, whining, heat, vibration, grease leakage, or rough spindle movement.
What are 10 safety precautions before using a grinding machine?
Before using a grinder, inspect the wheel, confirm the speed rating, secure the guard, install the side handle, check the flange and lock nut, wear eye and hearing protection, keep loose clothing away, clear bystanders, hold the tool with two hands, and let the wheel reach full speed before touching the work.
What are signs my angle grinder needs repair?
Your grinder likely needs repair if it has severe vibration, rough spindle movement, grinding or rattling noise, repeated overheating, grease leaking from the gear housing, a burning smell, smoke, cracked housing, damaged guard, or power loss that continues after checking the wheel and power supply.
What causes an angle grinder to stop working?
An angle grinder can stop working because of a failed switch, damaged cord, worn brushes, overheated motor, dead battery, seized bearing, jammed gearbox, broken gear teeth, or an overload protection system. Unplug the tool before inspection and do not force it to restart if the spindle feels stuck.
Can I add grease to an angle grinder gearbox myself?
You can add grease only if your owner’s manual gives a user-service procedure and the correct grease type. Do not overfill the gear case or mix unknown greases. If the manual does not cover gearbox service, use a qualified repair center.
Is it safe to run an angle grinder that makes gearbox noise?
Do not keep using a grinder that makes new grinding, crunching, rattling, or squealing sounds. Stop, unplug it, remove the wheel, and inspect the spindle, guard, flange, wheel, and gear housing. If the noise remains during a safe no-load test, repair or replace the tool.
Conclusion
Diagnosing angle grinder gearbox problems is safest when you work in order. Start with the unplugged checks, rule out the wheel and mounting hardware, inspect the gear housing, then run only a brief no-load test if the tool passes the safety checks. New grinding noise, fast heat buildup, grease leakage, spindle looseness, or rough rotation means the gearbox needs attention. If the housing is cracked, the spindle is loose, or the grinder vibrates badly, stop using it and get it repaired or replaced.
Sources
- OSHA 29 CFR 1910.215, Abrasive Wheel Machinery — guard requirements and abrasive wheel safety context.
- SafeWork SA, Angle Grinders — guard, handle, disc, PPE, kickback, and safe-use checks.
- Makita 9557PB Instruction Manual — disconnecting power before adjustments, PPE, accessory checks, and service guidance.
- Makita 9557PB Product Details — example grinder speed, wheel size, guard, side handle, and metal gear housing details.
- CDC/NIOSH Noise and Hearing Loss — hearing protection and occupational noise prevention context.