
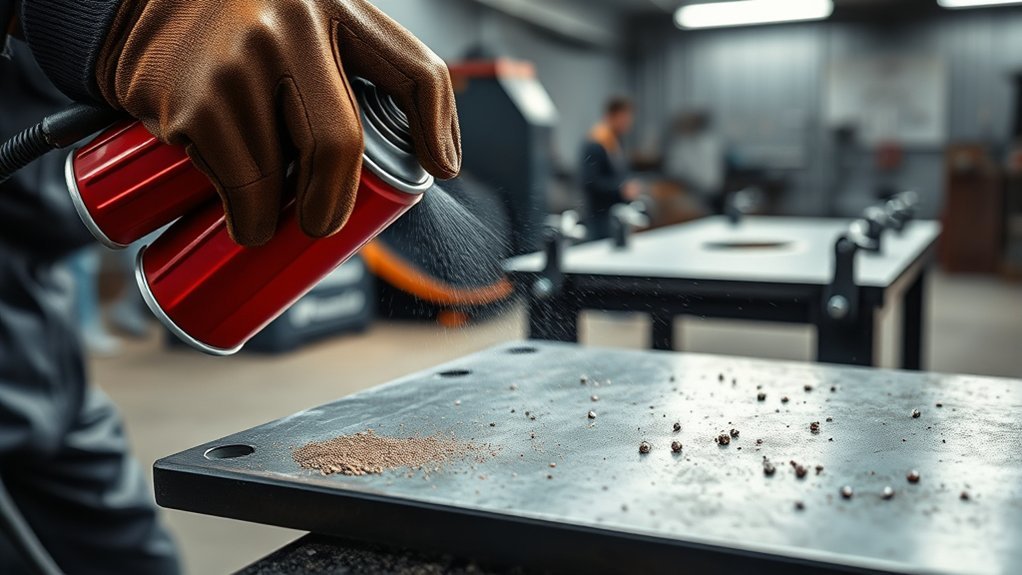
Anti-spatter spray can reduce scraping and protect nearby metal, fixtures, and MIG-gun parts, but it must match the job. Formula, flammability, drying time, paint compatibility, and hot-nozzle use vary by product. Apply only a thin film where the label permits, keep unnecessary residue out of the joint, and correct the welding conditions that created excessive spatter in the first place.
Quick Answer
Anti-spatter spray is a pre-weld coating that helps molten droplets release from nearby metal, fixtures, and MIG-gun parts. Apply only a thin film where the label allows, keep the joint clean unless the product is approved for weld-through use, and check the label or SDS for flammability, drying, ventilation, and paintability.
Key Takeaways
- Use anti-spatter before welding and apply the thinnest effective film.
- Follow the exact product label for spray distance, shaking, drying, hot-surface use, cleanup, and reapplication.
- Choose a product explicitly labeled paintable or coating-compatible when the finished part will be painted or powder coated.
- Use nozzle dip sparingly and keep it away from the nozzle insulator and shielding-gas passages.
- Treat heavy spatter as a setup problem first: check the metal, wire, gas, polarity, voltage, wire-feed speed, stickout, and consumables.
At a Glance
| Time Required | About 2–5 minutes for preparation and application, plus any label-required drying time. |
| Difficulty | Easy, but product selection and contamination control require care. |
| Tools Needed | Approved anti-spatter product, clean rags, a soft nozzle brush or proper spatter tool, label-approved cleaner if needed, and welding PPE. |
| Cost | Low; only a small amount of one approved product is normally needed, with price varying by formula and package size. |
What Is Anti-Spatter Spray?
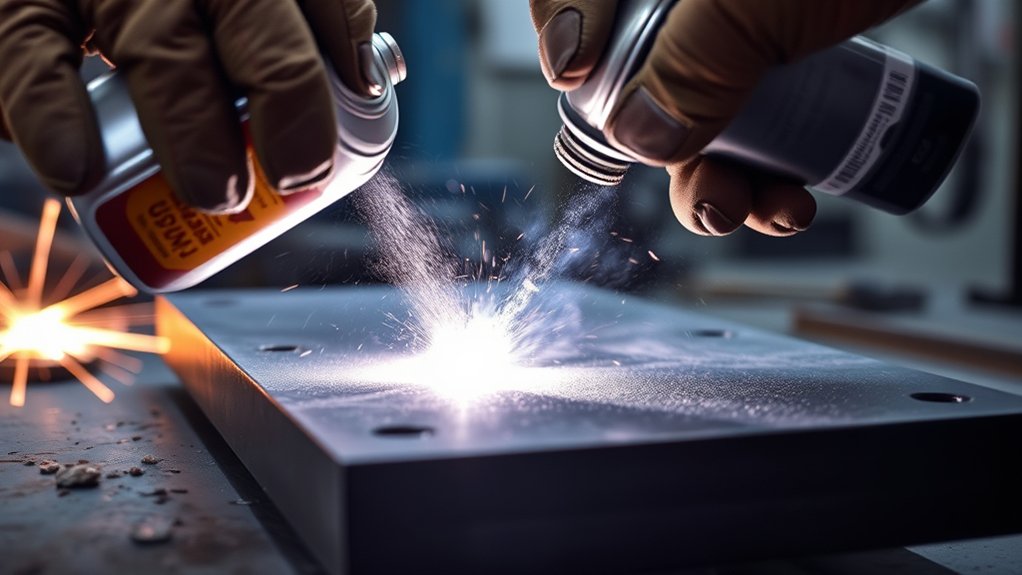
Anti-spatter spray is a welding aid that leaves a temporary film on surfaces where molten droplets are likely to land. The film does not stop droplets from forming. Instead, it makes them less likely to bond tightly to the workpiece, fixture, bench guard, torch nozzle, or other approved surface.
It is most useful during welding processes that can throw noticeable spatter, including many MIG/GMAW and flux-cored applications. Properly run TIG welding normally produces little spatter, so spraying a TIG joint is usually unnecessary and may introduce contamination without providing a useful benefit.
Current products use different chemistries. Some are water-based emulsions, while others use oil- or solvent-based films. Many are silicone-free, and some are specifically labeled paintable. For example, CRC describes its water-based welder’s anti-spatter as silicone-free and easy to wipe away. Product properties still vary, so do not assume that water-based, silicone-free, paintable, low-odor, or nonflammable mean the same thing.
Anti-spatter is a cleanup aid, not a substitute for clean metal, sound consumables, stable shielding gas, and correct machine settings. A high-quality anti-spatter spray may help protect nearby surfaces, but its label remains the controlling source for safe use.
How Anti-Spatter Products Differ
Choose the formula by reading the label, technical data sheet, and safety data sheet rather than relying on the product name alone. Pay attention to the following claims:
- Water-based: Often easier to remove from metal and fixtures, but an aerosol version may still use a flammable propellant.
- Solvent- or oil-based: May dry quickly or provide a durable film, but can require a separate degreasing step before painting.
- Silicone-free: Reduces one common source of coating contamination, but does not automatically guarantee paintability.
- Paintable: Indicates that the manufacturer intends the product for parts that will receive a coating when its preparation instructions are followed.
- Nonflammable: Must be stated by the manufacturer for the specific product. Never infer it from “water-based” or “low odor.”
- Hot- or cold-dip compatible: Applies mainly to nozzle gel. Only use a warm or hot nozzle when the product expressly permits it.
Note: “Silicone-free” and “paintable” answer different questions. For a part that will be coated, look for both suitable chemistry and explicit finishing instructions, then remove residue exactly as directed.
Products Worth Considering

2-Pack (32 oz total) – Double the protection for professional welding operations.
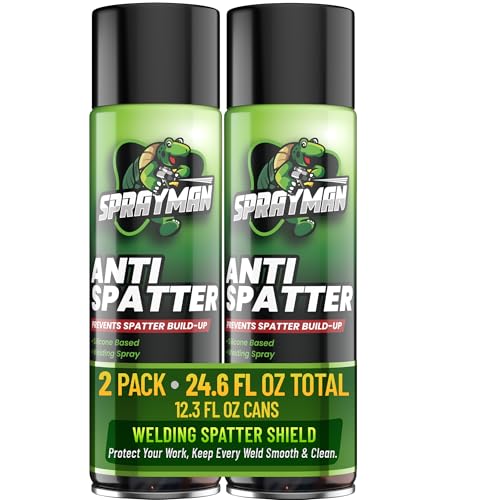
Heavy-Duty, Industrial Anti-Spatter Protection: Sprayman’s Anti-Spatter Welding Spray prevents spatter adhesion on Arc, MIG abd TIG Welding Equipment, including nozzles, torches, and tools.

Heavy Duty Anti-Spatter Protection: Prevents weld spatter build-up on MIG, TIG, and Arc welding tips, nozzles, and surrounding surfaces for cleaner welds and reduced maintenance.
When Should You Use Anti-Spatter Spray?
Apply anti-spatter before welding when exposed surfaces, fixtures, clamps, tooling, splash guards, or approved torch parts are likely to collect spatter. It is especially useful when cleanup access will be poor after assembly or when grinding could damage a finished surface or change a part’s dimensions.
A light film can also help in tight positions where scraping around a fixture would be difficult. Apply it only to the likely catch zones. Do not soak the entire workpiece, and do not spray directly into an active arc.
If the part will be painted, powder coated, plated, bonded, or sealed, choose a formula explicitly approved for that finishing process. “Paintable” normally assumes that any required drying and cleaning steps have been completed.
Anti-spatter spray does not control welding fumes. Welding galvanized steel, stainless steel, coated metal, or other fume-producing materials still requires the correct process controls. Follow proper procedures for zinc fumes, use ventilation suitable for the work, and keep your breathing zone out of the fume plume.
Safety Before You Spray
Read the product label and safety data sheet before first use. Check the listed hazards, ventilation requirements, incompatible materials, required PPE, first-aid instructions, storage temperature, and disposal method. Recheck the label when changing brands or switching from a bulk liquid to an aerosol.
Warning: Never spray an aerosol into an active arc, flame, spark stream, or onto a surface hotter than the label allows. Do not assume a water-based aerosol is nonflammable. Keep cans away from welding heat, do not puncture or burn them, and provide the ventilation required by the product and welding process.
OSHA’s welding-ventilation rules require fumes and smoke to be controlled and contain special precautions for chlorinated solvent vapors around inert-gas metal-arc welding. Do not use brake cleaner, chlorinated degreaser, or another improvised solvent as an anti-spatter substitute. Keep chlorinated cleaning operations away from the exposed arc and make sure cleaned surfaces are thoroughly dry before welding.
Wear the welding helmet, safety glasses, gloves, protective clothing, footwear, and respiratory protection required by the welding procedure and workplace assessment. Anti-spatter does not reduce ultraviolet radiation, hot-metal hazards, electric-shock risk, or the need for fire prevention.
The welding work lead and electrical grounding are not the same thing. Before welding, attach the work lead firmly to clean metal and inspect the connection. Separately, follow the welder manufacturer’s instructions for grounding the machine frame. OSHA’s arc-welding standard addresses these as separate requirements.
Use process-specific guidance when switching equipment. For example, plasma-cutting safety gear overlaps with welding PPE but does not replace the instructions for your welding process or chemical product.
How to Apply Anti-Spatter Spray Correctly
- Read the label and SDS. Confirm that the product is approved for the workpiece, nozzle, fixture, temperature, and finishing process. Follow any instructions to shake, mix, dilute, or dry the product.
- Prepare the joint. Remove oil, grease, moisture, loose rust, paint, and other contamination from the weld joint. Anti-spatter should not trap dirt under the film or replace normal weld preparation.
- Check the welding circuit. Attach the work clamp to clean metal and inspect the gun, cable, contact tip, nozzle, gas supply, and wire path.
- Test the product. On coated, visible, or finish-critical parts, apply a small amount to scrap or a hidden area. Confirm that it wipes away and does not stain or soften the surface.
- Apply a thin, controlled film. Hold the container at the distance stated on its label and cover only the surfaces likely to catch spatter. Keep unnecessary product out of the weld joint and puddle unless the manufacturer expressly approves weld-through application.
- Wait as directed. Some products are ready immediately, while others need time for water or solvent to evaporate. Do not begin welding until the label’s preparation and drying instructions are satisfied.
- Protect the nozzle carefully. Use only a product approved for MIG-gun components. For dip compounds, stop welding and dip only the front portion of the nozzle. Do not immerse the insulator or obstruct the diffuser’s gas holes.
- Weld and watch the result. Stop and inspect if the arc becomes unstable, shielding gas appears restricted, unusual smoke or odor develops, or the weld shows porosity.
- Clean after welding. Let the part cool, remove loose spatter with a suitable tool, and clean away residue according to the label. Before painting or bonding, complete the coating manufacturer’s required surface preparation.
Pro Tip: Start with less product than you think you need. Add a little more only if spatter still bonds firmly. A visibly wet or dripping surface is usually a sign that the application is heavier than necessary.
Spray vs. Gel vs. Nozzle Dip: Which One Should You Use?
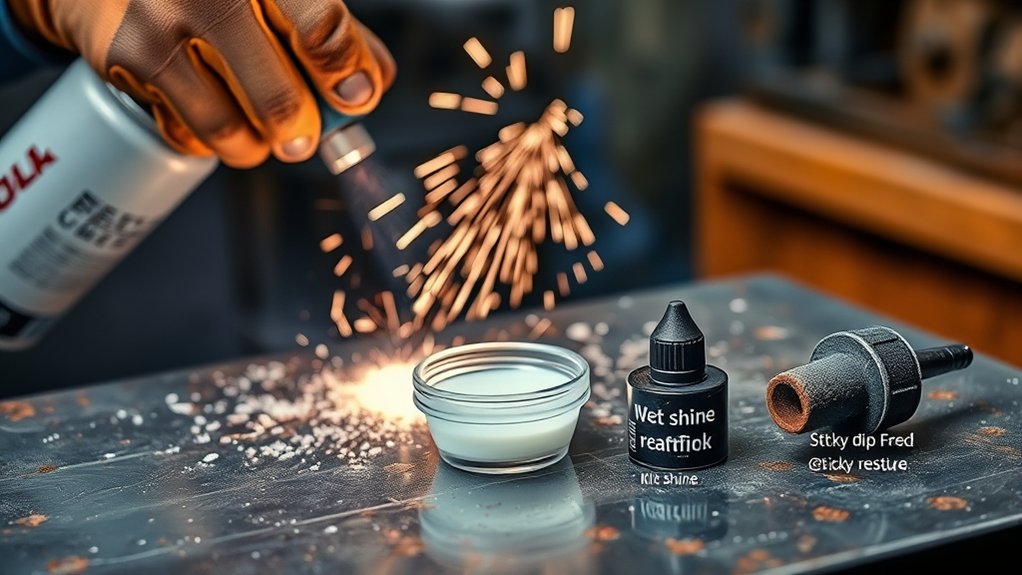
Match the product form to the surface you need to protect. Spray works well for broad, controlled coverage. Gel stays in place on smaller components or vertical surfaces. Nozzle dip is a gel or liquid intended specifically for the front of a MIG nozzle.
Do not treat gel and nozzle dip as interchangeable with workpiece spray. A product intended for torch consumables may leave a film that is unsuitable for a paint surface, while a workpiece spray may not be approved for the nozzle’s heat or insulating materials.
| Product Type | Best Use | Main Advantage | Main Caution |
|---|---|---|---|
| Spray | Workpieces, fixtures, clamps, tooling, splash guards, and approved torch parts. | Fast, even coverage over a larger area. | Overspray can reach the joint, floor, equipment, or a surface that must be coated later. |
| Gel | Small areas, vertical surfaces, and components requiring a thicker localized film. | Resists running and can remain where placed. | Excess gel can collect dirt, enter the weld area, or require more cleaning. |
| Nozzle dip | Focused protection for the front of a MIG torch nozzle. | Helps make nozzle spatter easier to remove. | Deep or prolonged dipping can wet the insulator, obstruct gas passages, and contribute to poor shielding. |
A product such as Cooter Snot Tip Dip may help with nozzle buildup when used according to its directions. For general technique, Bernard recommends using anti-spatter compound sparingly and dipping only the front 1.5 inches of a semiautomatic nozzle.
Some gels are specifically approved for a hot or cold nozzle. CRC, for example, describes its Nozzle-Dip HD gel as suitable for hot or cold dipping. Do not extend that permission to a different gel unless its own label provides the same instruction.
Products Worth Considering

APPLICATION METHOD: Enhance welding efficiency by dipping nozzles or contact tips in our specialized welding nozzle gel; reapply as needed for continuous protection and improved welding experience.

【SILICON FREE SAFE FORMULA】 Zero silicone, odorless, non-toxic & non-flammable raw material, eliminates weld porosity caused by silicone residue during high heat welding.
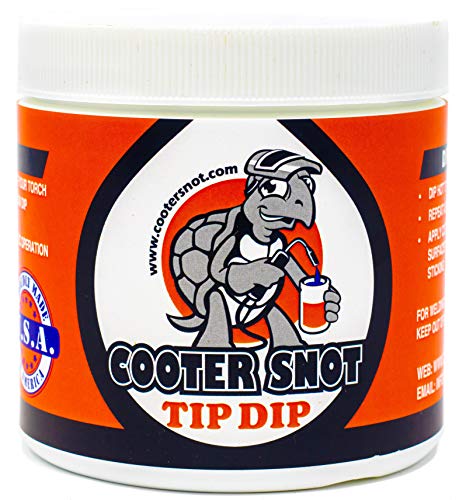
MIG tip dip, not a lecture. Dip the hot tip. Thin coat. Back to the weld. Works on tips and nozzles you can dip — MIG / GMAW, Arc, TIG.
How to Use Anti-Spatter When the Part Will Be Painted
Coating compatibility matters because anti-spatter residue can interfere with paint, powder coat, adhesive, sealant, or plating. Silicone contamination is a common concern, but choosing a silicone-free product is only the first check.
Look for an explicit paintable or coating-compatible claim. Then follow the manufacturer’s drying and removal directions. A water-based film may wipe away with water or a damp cloth, while an oil- or solvent-based film may need a compatible cleaner or degreaser. Do not leave residue simply because the product is marketed as paintable.
After welding, remove spatter and residue, complete the coating maker’s normal cleaning and surface-profile requirements, and test a small area when appearance is critical. If fisheyes, craters, loss of adhesion, or other finish defects appear, stop and review both the anti-spatter and coating instructions.
Pro Tip: Keep one labeled bottle or can for finish-critical work instead of using the same unknown shop product on every material. This reduces mix-ups between paintable and non-paintable formulas.
How to Reduce Welding Spatter at the Source
Anti-spatter makes cleanup easier, but it does not repair an unstable arc. Start with the machine’s parameter chart or the wire manufacturer’s procedure for the material, wire diameter, shielding gas, joint, and position.
Miller’s MIG troubleshooting guidance identifies several common causes of excessive spatter, including unsuitable voltage or travel speed, dirty base metal or wire, inadequate shielding gas, and excessive wire stickout. Check the following:
- Voltage and wire-feed speed: Keep them within the recommended range and balanced for a stable transfer.
- Wire diameter: Use a size suitable for the material and machine. A larger wire is not automatically wrong, but it requires a different operating range.
- Shielding gas: Confirm the correct gas, flow rate, hose condition, regulator setting, and protection from drafts.
- Polarity: Match the polarity to the wire. Solid MIG wire and self-shielded flux-cored wire commonly require different polarity.
- Stickout and gun angle: Excessive contact-tip-to-work distance can destabilize the arc and increase spatter.
- Metal and wire cleanliness: Remove grease, oil, moisture, heavy rust, paint, and loose mill scale from the joint. Store wire where it stays clean and dry.
- Consumables: Inspect the contact tip, diffuser, nozzle, liner, and drive rolls. Worn or clogged parts can disturb wire feeding and shielding gas.
- Work-clamp contact: Attach the clamp firmly to clean metal so the welding circuit remains stable.
- Travel technique: Keep a steady speed and angle instead of allowing the wire to stub repeatedly into cold metal.
Some pulsed or controlled short-circuit programs can reduce spatter when the machine, shielding gas, filler wire, and procedure support them. They still require correct setup. Metal-cored wire may handle limited surface scale in some applications, but it should not be used as an excuse to skip the wire manufacturer’s preparation requirements.
Keeping the base metal clean and matching polarity and technique to the selected flux-cored wire will usually do more for weld quality than adding a heavier anti-spatter film.
Anti-spatter should make a sound welding process easier to clean. It should not be the product holding an unstable arc together.
Anti-Spatter Troubleshooting
| Problem | Likely Causes | What to Do |
|---|---|---|
| Spatter still sticks firmly | Film too thin, wrong product for the temperature or surface, incomplete coverage, or extreme spatter caused by poor settings. | Confirm product suitability, apply a controlled second test coat if allowed, and correct the welding setup. |
| Porosity appears after application | Residue in the joint, excessive nozzle dip, blocked gas holes, drafts, a leak, or contaminated metal. | Stop welding, clean the joint and consumables, restore gas flow, and use less compound. |
| Nozzle or diffuser clogs | The nozzle was dipped too deeply or excess compound and debris entered the gas passages. | Clean with the correct nozzle tool, inspect the insulator and diffuser, replace damaged parts, and reduce dipping depth. |
| Paint develops fisheyes or poor adhesion | Incompatible chemistry, overspray, or incomplete residue removal. | Stop coating, clean the part according to both manufacturers’ instructions, and switch to an explicitly paintable formula. |
| Heavy spatter continues | Unsuitable voltage or wire-feed speed, excessive stickout, wrong polarity, dirty wire or metal, poor gas coverage, or worn consumables. | Use the machine and wire charts, verify gas and polarity, clean the joint, shorten stickout, and inspect the gun. |
| Aerosol sprays unevenly | Blocked actuator, incorrect can temperature, poor mixing, or an almost empty container. | Stop using it near the welding area and follow the label’s actuator-cleaning, temperature, and shaking instructions. |
Common Mistakes to Avoid With Anti-Spatter Spray
The most common mistake is using too much. A wet, heavy coat can collect dirt, migrate into the joint, create a slippery floor or fixture, and add a larger cleaning job before coating. Begin with a light film and increase coverage only when the label permits it.
Another mistake is treating all formulas as interchangeable. A product suitable for a cool workpiece may not be suitable for a hot nozzle. A silicone-free product may not be approved for painting, and a water-based aerosol may still have flammability precautions.
Do not spray an energized torch or active arc. Do not dip the whole nozzle. Do not coat the nozzle insulator. Do not fill the diffuser’s gas holes with gel. Do not weld over a wet product unless the manufacturer explicitly approves that use.
Finally, do not keep adding anti-spatter to compensate for dirty metal, a poor work-clamp connection, incorrect polarity, unstable parameters, worn consumables, or inadequate shielding gas. Correct those conditions first.
Frequently Asked Questions
Does welding anti-spatter spray work?
Yes. A suitable product can make spatter easier to remove from approved surfaces and help limit buildup on MIG-gun components. It does not prevent every droplet or correct the welding condition that produced it.
How do you use anti-spatter spray when welding?
Clean and prepare the joint, read the product label, test a small area, and apply a thin film only to surfaces likely to catch spatter. Keep unnecessary residue out of the joint, allow any required drying time, and clean the part after welding as directed.
Can you weld over anti-spatter spray?
Only when the specific product says it is approved for that use. Otherwise, keep the joint clean and apply the film around the weld zone. Excess or wet residue in the puddle can contribute to contamination, an unstable arc, or porosity.
Where do you spray anti-spatter?
Apply it to approved workpiece areas, fixtures, clamps, tooling, splash guards, and torch parts that are likely to catch spatter. Avoid heavy overspray, the active arc, gas passages, electrical contacts, and any weld joint the label does not approve.
Is anti-spatter spray safe for metal that will be painted?
Some products are designed for parts that will be painted or coated. Choose one explicitly labeled paintable or coating-compatible, preferably silicone-free when the finishing procedure calls for it, and remove residue according to both the anti-spatter and coating instructions.
Can anti-spatter spray cause porosity?
Excess or unsuitable product can contribute to porosity if it contaminates the joint, blocks shielding-gas passages, damages a nozzle insulator, or upsets gas coverage. Use the minimum effective amount and stop to investigate any new weld defect.
Do you need anti-spatter spray for TIG welding?
Usually not. Correct TIG welding normally produces little or no spatter. Spraying the TIG joint may add contamination without solving a real problem. Investigate the process and surface preparation if a TIG setup is throwing material unexpectedly.
Can you dip a hot MIG nozzle in anti-spatter gel?
Only when that gel is specifically labeled for hot dipping. Stop welding first, dip only the front portion of the nozzle, and avoid the insulator and gas holes. Never assume another brand or formula has the same temperature approval.
Is water-based anti-spatter spray nonflammable?
Not necessarily. The liquid film may be water-based while an aerosol uses a flammable propellant or carries other fire precautions. Read the exact container label and SDS, and never spray it into an active arc or flame.
Safety Disclaimer: This article is for informational purposes only and does not replace the product label, safety data sheet, welding-machine manual, workplace rules, or guidance from a qualified welding instructor or safety professional. Use the ventilation, PPE, fire controls, electrical precautions, and safe welding procedures required for the specific process, material, coating, and chemical product.
Conclusion
Anti-spatter spray works best as a thin, carefully selected pre-weld film. Match the formula to the workpiece, temperature, torch component, and finishing process. Keep unnecessary residue out of the joint, follow the label for drying and cleanup, and use nozzle dip only on the front of an approved nozzle.
For cleaner welds, reduce spatter at its source with clean metal, a secure work-clamp connection, correct polarity, steady wire feeding, suitable gas coverage, sound consumables, and balanced settings. Used that way, anti-spatter protects surfaces and shortens finishing work without becoming a source of contamination.
Sources
- CRC Welder’s Anti-Spatter — water-based, silicone-free formula characteristics, approved applications, removal, and aerosol specifications.
- CRC Weld-Aid Nozzle-Dip HD — manufacturer guidance for hot- or cold-nozzle dipping and paintable water-based gel.
- Bernard: MIG Gun Consumables—Tips to Extend Life — proper nozzle-dip depth, sparing application, gas-hole protection, and nozzle cleaning.
- Miller: Common MIG Weld Defects — causes and corrections for excessive spatter and other MIG-welding problems.
- OSHA 1926.353 — welding ventilation and precautions involving chlorinated solvent vapors near inert-gas metal-arc welding.
- OSHA 1910.254 — arc-welding work-lead attachment, machine hookup, grounding, and equipment-operation requirements.




