
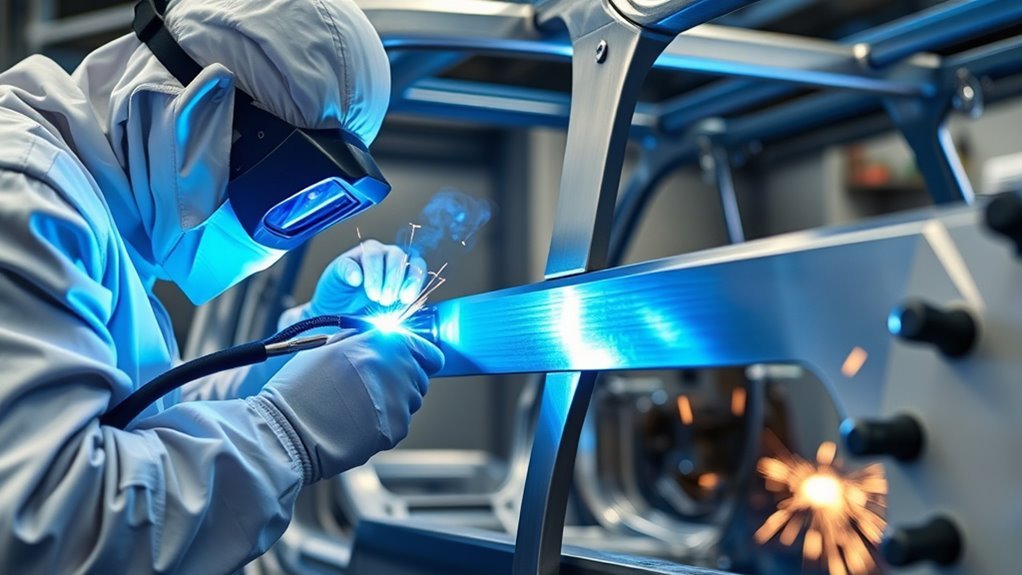
Aluminum-intensive vehicle designs change repair welding because aluminum behaves very differently from steel. It conducts heat quickly, melts at a lower temperature, and forms a hard oxide layer that can contaminate the weld if you do not remove it first. For a safe repair, you need clean joints, controlled heat, aluminum-ready equipment, and the exact OEM repair procedure for that vehicle.
Quick Answer
Aluminum vehicle repair welding requires OEM-approved procedures, dedicated aluminum tools, careful oxide removal, proper shielding gas, and tight heat control. MIG welding, often pulsed MIG with a spool gun or push-pull system, is common when the repair procedure allows it. Structural aluminum repairs should be handled by trained technicians, not guessed in the shop.
Key Takeaways
- Always check the OEM repair procedure before welding an aluminum vehicle part.
- Clean aluminum immediately before welding because oxide and contamination can cause porosity, weak fusion, and rework.
- Use aluminum-dedicated tools, liners, contact tips, and wire-feed equipment to prevent contamination and feeding problems.
- Control heat with correct settings, short arc length, fast travel, and test welds on similar material.
- Finish the repair with inspection, corrosion protection, seam sealing, and refinishing steps required by the vehicle maker.
At a Glance
| Time Required | Varies by repair. Plan extra time for OEM research, test welds, cleaning, setup, welding, inspection, and corrosion protection. |
| Difficulty | Advanced. Structural aluminum vehicle welding should be done only with proper training, equipment, and approved repair information. |
| Tools Needed | OEM repair information, aluminum-capable MIG welder, spool gun or push-pull gun, argon shielding gas, approved filler wire, dedicated stainless brush, PPE, fume control, clamps, and inspection tools. |
| Cost | Low for small consumables, but high for professional equipment, subscriptions, training, and structural repair validation. |
Warning: Do not weld structural aluminum vehicle parts unless the OEM procedure allows welding at that location. Welding can create harmful fumes and gases, and coated or contaminated surfaces can add extra hazards. Use proper PPE, remove coatings as directed, control fire risk, and follow OSHA welding safety guidance.
Why Aluminum Repairs Need Different Welding
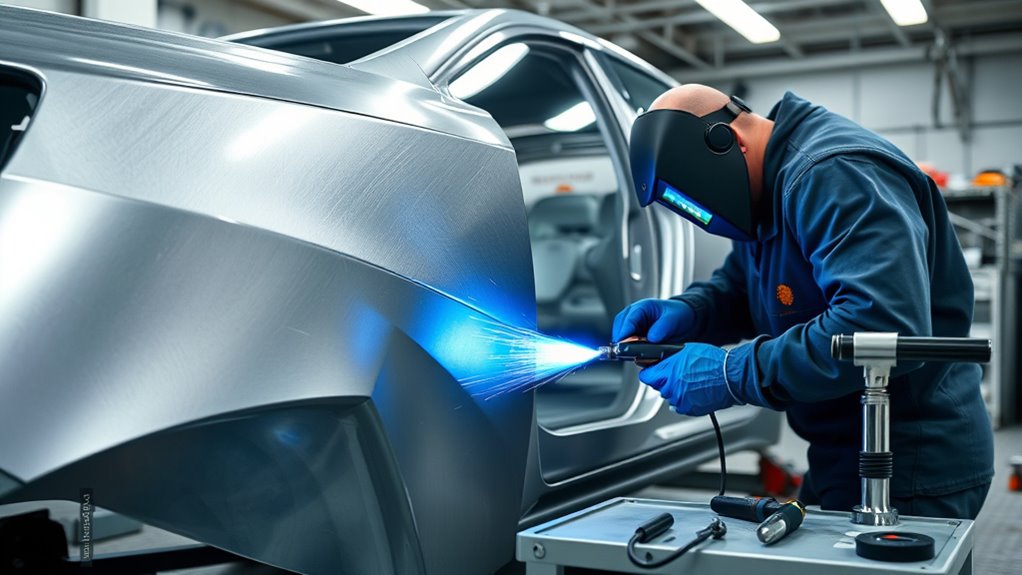
Aluminum repairs need different welding because the metal melts near 1,220°F, while many steels melt at much higher temperatures. That lower melting point gives you less room for error on thin panels, brackets, and castings.
Aluminum also conducts heat quickly. The weld area may look cool one moment and then burn through or distort the next. This is why travel speed, arc length, amperage, wire feed, and joint fit-up matter so much.
The oxide layer adds another challenge. Aluminum oxide forms fast on exposed aluminum and melts at a much higher temperature than the base metal. If you leave it in the joint, it can cause lack of fusion, porosity, inclusions, and weak welds.
In collision repair, MIG welding is often the most practical process for approved aluminum welds because it is productive and repeatable. Pulsed MIG can help reduce heat input on thinner sections, but it is not a universal shortcut. The correct process is always the one named in the OEM repair information.
Check OEM Procedures Before Choosing a Weld Repair
Before you strike an arc, confirm that the part is repairable by welding. Aluminum-intensive vehicles often use a mix of welds, rivets, self-piercing rivets, flow-drill screws, structural adhesive, laser welds, and replacement-only sections. A repair that looks simple can still affect crash performance.
Use the vehicle maker’s repair procedure to confirm these items:
- The exact repair location and sectioning limits
- Whether welding, rivet bonding, adhesive bonding, or replacement is required
- The approved welding process, weld size, and weld spacing
- Approved filler wire, shielding gas, and machine settings when listed
- Required test welds, destructive tests, and visual inspection steps
- Corrosion protection, seam sealer, and refinishing requirements
For structural collision work, do not rely on general welding experience alone. OEM repair information, qualified training, and a written welding procedure help protect strength, fit, corrosion resistance, and occupant safety.
Note: If the OEM procedure says to replace a part, rivet-bond a joint, or use a specific fastener pattern, do not substitute a weld because it feels stronger. The original joint design may be controlling crash energy, corrosion behavior, and fatigue life.
Prep Aluminum Joints Before Welding
Start by mechanically cleaning every surface in the joint, including the edges and backside. Aluminum oxide, paint, adhesive, undercoat, sealers, oil, and grinding residue can all create defects fast.
Use a dedicated stainless steel brush or approved abrasive that is used only on aluminum. Do not use a brush or sanding disc that touched steel, because steel particles can embed in aluminum and lead to contamination or corrosion later.
| Step | Action | Why It Matters |
|---|---|---|
| 1 | Remove coatings outside the weld zone as directed by the OEM procedure. | Paint, adhesive, sealer, and undercoat can create fumes and porosity. |
| 2 | Degrease with an approved cleaner and allow it to evaporate fully. | Oil and solvent residue can contaminate the weld pool. |
| 3 | Mechanically remove oxide from the joint faces, edges, and backside. | Oxide can block fusion and trap contamination. |
| 4 | Check fit-up, clamp the joint, and confirm the gap matches the repair procedure. | Poor fit-up increases heat input and burn-through risk. |
| 5 | Weld soon after cleaning. | Fresh oxide forms quickly on exposed aluminum. |
This disciplined prep reduces porosity, limits heat damage, and gives you a better chance of producing a weld that passes inspection.
Pro Tip: Clean first, then weld soon. If the cleaned joint sits while you set up another job, clean it again before welding.
Select the Right Welding Process and Equipment
With the joint cleaned and inspected, choose the welding process named in the repair procedure. For many aluminum body repairs, gas metal arc welding, commonly called MIG or GMAW, is the practical choice. It feeds filler wire continuously and uses shielding gas to protect the weld pool.
Pulsed MIG is useful on many thin aluminum repairs because it alternates higher and lower current levels. This helps control droplet transfer and heat input. Still, your settings must match the base metal, thickness, joint style, wire diameter, and machine capability.
TIG welding can be useful for certain precision work, but it is slower and may not be the approved method for a collision repair joint. Resistance spot welding, rivet bonding, and adhesive bonding may also be required in some areas. Follow the repair procedure, not habit.
Products Worth Considering

Replacement: This 150A spool gun is the replacement for the Spoolmate 150 gun (Please confirm the model of the welder and the compatibility of the welding gun before...
Shielding Gas and Filler Wire
Most aluminum MIG welding uses argon shielding gas, though some applications may use helium blends. Use the gas type and flow range required by the procedure or welding machine setup chart. Too little shielding can cause porosity, while too much flow can create turbulence and pull air into the weld zone.
Filler wire matters too. ER4043 and ER5356 are common aluminum filler families, but they are not interchangeable for every vehicle alloy or structural location. Use the filler wire specified by the OEM procedure or qualified welding procedure.
Wire Feed Setup
Aluminum wire is soft, so it needs a smooth feed path. A spool gun or push-pull gun helps reduce birdnesting. Use aluminum-compatible drive rolls, a clean liner, the correct contact tip, and a short, gentle cable path.
Do not use steel-contaminated consumables on aluminum work. Keep dedicated aluminum tools, abrasives, brushes, clamps, and work areas where possible.
Prevent Burn-Through and Heat Damage
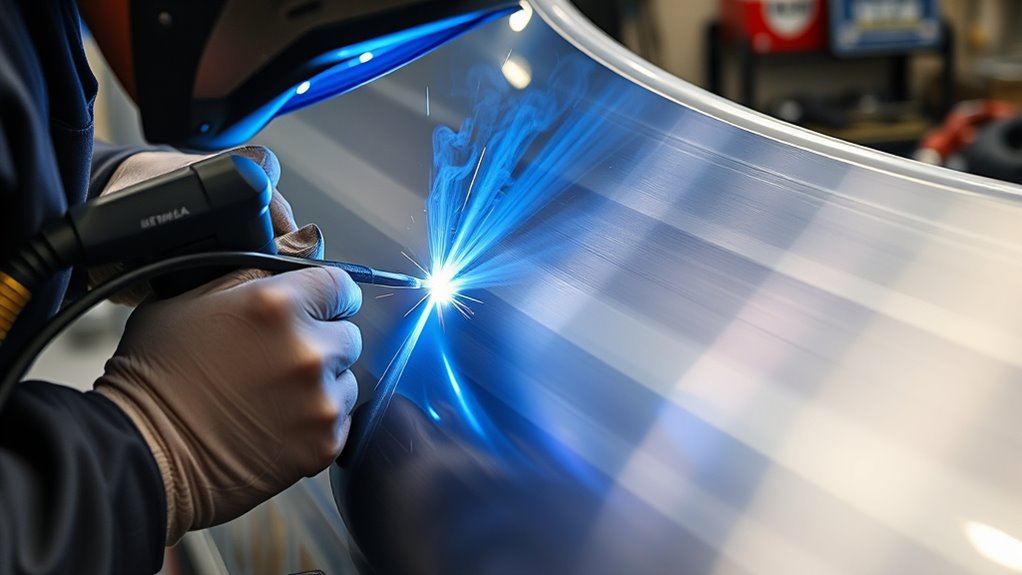
You need to control heat input closely when welding aluminum because thin sections are prone to burn-through, distortion, and softening near the weld. This is especially important on structural panels and load paths.
Control Heat Input
Start with test welds on scrap material that matches the repair thickness and alloy as closely as possible. Confirm bead profile, fusion, penetration, and backside appearance before welding the vehicle.
Use a short arc, steady travel speed, correct gun angle, and proper contact-tip-to-work distance. If you move too slowly, the panel can overheat. If you move too fast, the weld may sit on top without proper fusion.
Pulsed MIG settings can help manage heat, but they do not replace fit-up or cleaning. Poor gaps, dirty metal, and unstable wire feed all force you to add more heat than the joint should need.
Aluminum does not give the same color warning as steel before it melts. Treat heat control as a setup, technique, and inspection problem, not just an amperage problem.
Use Proper Cleaning
Clean aluminum immediately before welding to stop oxide, dirt, grease, and coatings from weakening the joint. Mechanical cleaning is essential because solvent alone will not remove the oxide layer.
Inspect the joint after cleaning. If you see dark residue, trapped adhesive, paint edges, soot, or grinding dust, stop and clean again. A clean weld zone helps reduce porosity, burn-through, and lack of fusion.
Match Your Equipment to Aluminum Repairs
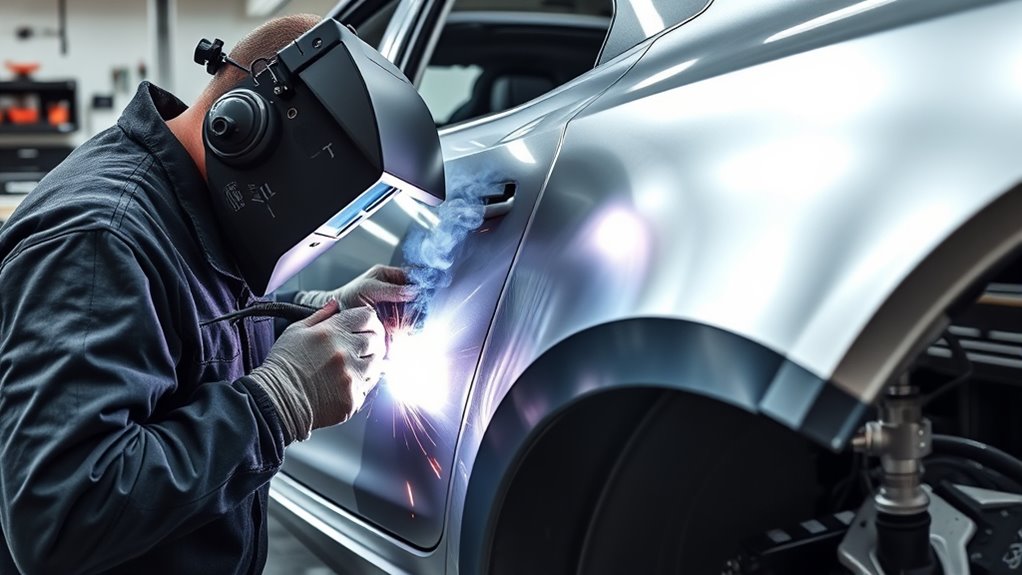
Selecting the right welding machine is essential for aluminum repairs. The machine must have enough control for the material thickness, filler wire, and transfer mode required by the repair.
Pair the machine with aluminum-specific equipment, such as a spool gun or push-pull system, U-groove drive rolls, clean liners, and the correct contact tips. These parts help feed soft aluminum wire without shaving it, jamming it, or causing an unstable arc.
Keep your aluminum equipment separate from steel work. Cross-contamination can weaken welds and create corrosion problems later. Dedicated storage also keeps aluminum wire cleaner and drier.
Spot welding still has a place on some structures, and adhesive bonding or rivet bonding may be required on others. For many approved aluminum weld repairs, MIG gives you the productivity and control you need, but only when the procedure, machine, and technician skill all line up.
Products Worth Considering

Smooth Welding Performance: Designed to handle 0.030-inch and 0.035-inch wires, our spool gun ensures stable arcs, minimal splatter, and high-precision welds. It is...
Follow a Safe Aluminum Repair Welding Workflow
A repeatable workflow helps you avoid missed steps and unsafe shortcuts. Use this sequence as a general guide, then follow the vehicle-specific procedure for exact requirements.
- Research the repair: Read the OEM procedure, warnings, sectioning limits, and welding requirements.
- Prepare the vehicle: Follow required battery, electrical, trim, restraint-system, and fire-prevention steps.
- Control fumes and fire risk: Remove coatings as directed, use ventilation or local exhaust, and keep combustibles away.
- Prepare the joint: Clean, remove oxide, verify fit-up, and clamp the part securely.
- Set up the welder: Install the right wire, gas, drive rolls, liner, contact tip, and machine program.
- Make test welds: Weld coupons that match the repair and inspect or test them as required.
- Weld the repair: Use controlled heat, correct travel speed, and the specified weld pattern.
- Inspect the weld: Check for porosity, undercut, lack of fusion, cracks, excessive buildup, and distortion.
- Finish only as allowed: Dress welds only where the OEM procedure permits it.
- Restore protection: Apply corrosion protection, seam sealer, cavity wax, primer, and refinishing materials as specified.
Inspect, Finish, and Protect the Repair
A good aluminum repair is not complete when the bead cools. Inspect the weld visually and compare it with the procedure or shop welding standard. Look for cracks, pinholes, soot, crater defects, undercut, cold lap, and uneven bead shape.
Some repairs require test weld coupons before the vehicle weld. Others may require destructive testing of sample welds, such as bend, peel, or break tests. If the test weld fails, correct the setup before welding the vehicle.
Be careful when grinding or dressing aluminum welds. Removing too much weld metal can reduce strength. Dress only where allowed, and avoid thinning the surrounding panel.
After welding, restore corrosion protection. Aluminum resists rust, but it can still corrode, especially where dissimilar metals, trapped moisture, road salt, or damaged coatings are present. Use OEM-approved primers, sealers, cavity wax, and refinishing steps.
Troubleshooting Common Aluminum Weld Problems
| Problem | Likely Cause | Fix |
|---|---|---|
| Porosity | Oxide, moisture, oil, poor shielding, dirty wire, or excessive gas turbulence | Reclean the joint, check gas flow, replace contaminated wire, and protect the weld from drafts. |
| Burn-through | Too much heat, slow travel, poor fit-up, or thin material | Reduce heat input, improve fit-up, increase travel speed, and test settings on matching scrap. |
| Lack of fusion | Oxide left in joint, low heat, wrong angle, or fast travel | Remove oxide, adjust settings, correct gun angle, and verify penetration on test welds. |
| Birdnesting | Soft wire feeding problem, wrong drive rolls, dirty liner, or excessive cable bend | Use a spool gun or push-pull gun, correct drive rolls, clean liner, and proper tension. |
| Black soot | Long arc, poor shielding, contamination, or wrong travel technique | Shorten the arc, clean the joint, check gas coverage, and correct the gun angle. |
| Distortion | Excess heat, poor clamping, or long continuous welds | Clamp securely, use the required weld sequence, and avoid overwelding. |
Follow OEM Repair Procedures and Training
When you are repairing aluminum-intensive vehicles, you need to follow the OEM repair procedure exactly. Those instructions are built to preserve structural integrity, crash performance, corrosion protection, and safety.
OEM repair procedures tell you which panels, fasteners, heat limits, weld locations, adhesives, and refinishing steps are acceptable. They also tell you when welding is not allowed.
Training matters here. Aluminum repair has its own cleaning, wire-feeding, heat-control, and inspection demands. Programs from recognized collision-repair training organizations can help technicians understand why each step matters and how to prove the weld is acceptable before working on the vehicle.
That precision is not red tape. It is the difference between a repair that only looks finished and a repair that can perform as intended in real service.
Frequently Asked Questions
Why is aluminum harder to repair than steel?
Aluminum conducts heat quickly, melts at a lower temperature, forms oxide fast, and can lose strength in the heat-affected zone. It also needs cleaner prep, dedicated tools, and more careful wire feeding than steel.
Which welding process is commonly used for automotive aluminum repairs?
MIG welding, also called GMAW, is common for approved aluminum vehicle weld repairs because it is productive and repeatable. Pulsed MIG can help control heat on thin material. TIG, resistance spot welding, rivet bonding, adhesive bonding, or part replacement may be required depending on the OEM procedure.
Can aluminum and steel be welded together in vehicle repair?
Not with normal fusion welding in most repair situations. Aluminum and steel can form brittle intermetallic compounds, and mixed-metal joints can create corrosion issues. Vehicle repairs usually use OEM-specified fasteners, adhesives, isolation materials, or replacement methods instead.
What is the trick to welding aluminum cleanly?
The main trick is preparation. Remove coatings, degrease, mechanically clean the oxide layer, clamp the joint tightly, use the correct filler and shielding gas, and weld soon after cleaning. Then control heat with proper settings and travel speed.
Do you need a spool gun to MIG weld aluminum?
A spool gun is not the only option, but it is often helpful because aluminum wire is soft and can jam in a long liner. A push-pull gun is another strong choice for professional work. Use the feed system approved for your machine, wire, and repair procedure.
Can you grind aluminum welds flat after repair?
Only if the OEM procedure allows it. Overgrinding can thin the panel, remove needed weld reinforcement, and reduce strength. Dress the weld only as specified, then restore corrosion protection and refinishing materials.
Why does aluminum welding get porosity?
Porosity often comes from moisture, oil, oxide, dirty wire, poor gas coverage, drafts, or contaminated base metal. Clean the joint, protect the shielding gas, store wire correctly, and make test welds before welding the vehicle.
Conclusion
When you repair aluminum-intensive vehicles, you cannot treat welding like ordinary steel work. You need OEM repair information, clean joints, aluminum-ready equipment, correct MIG or pulsed MIG setup, tight heat control, and trained technique.
Do the prep, make test welds, inspect the result, and restore corrosion protection after the repair. In aluminum vehicle repair welding, precision is not optional. It is what separates a safe, durable repair from a weak joint that can fail later.
Sources
- OSHA: Welding, Cutting, and Brazing — safety standards and hazard guidance for welding work.
- OSHA Fact Sheet: Controlling Hazardous Fume and Gases during Welding — welding fume, gas, ventilation, and exposure-control guidance.
- American Welding Society Standards — welding codes and standards used for qualified welding procedures.
- I-CAR — collision repair training and education for modern vehicle materials and procedures.
- OEM1Stop — access point for manufacturer repair information and OEM procedure resources.




