
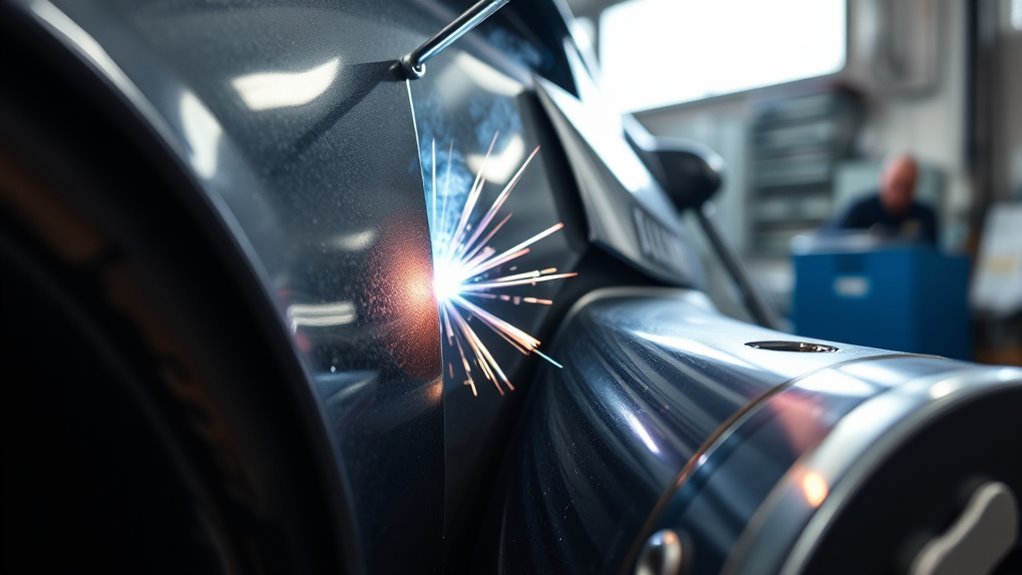
High humidity can hurt auto body welds when moisture reaches the panel, filler wire, electrode coating, or shielding area before you strike an arc. The real danger is not one magic humidity number. It is condensation, damp consumables, dirty metal, and unstable shielding that can lead to porosity, oxidation, weak fusion, and extra rework.
Quick Answer
Humidity affects welding by adding moisture that can break down under arc heat, feed hydrogen into the weld pool, and leave gas pockets as the weld cools. Check dew point, dry the metal, store consumables sealed, and do not weld on panels that show condensation.
Key Takeaways
- High relative humidity is a warning sign, but dew point and surface temperature tell you whether condensation is likely.
- Moisture on steel or aluminum can increase porosity, oxidation, and hydrogen-related weld problems.
- Cold panels brought into a warm, humid shop need time to warm up before welding.
- Dry metal, sealed consumables, clean surfaces, and stable airflow do more for weld quality than chasing one fixed humidity percentage.
At a Glance
| Time Required | 5 to 15 minutes before welding, longer if the panel is cold or visibly damp |
| Difficulty | Easy, but it requires consistency |
| Tools Needed | Thermo-hygrometer, infrared thermometer, clean towels, approved solvent, dry wire or rods, and optional dehumidifier |
| Cost | Usually low if you already have cleaning supplies; moderate if you add a shop dehumidifier |
Warning: Do not weld on wet panels, in standing water, or near damp electrical leads. Follow the vehicle maker’s repair procedure for structural welds, wear proper PPE, control fumes, and review OSHA welding safety guidance before working around coatings, galvanized steel, fuel systems, or enclosed areas.
How Humidity Affects Weld Quality
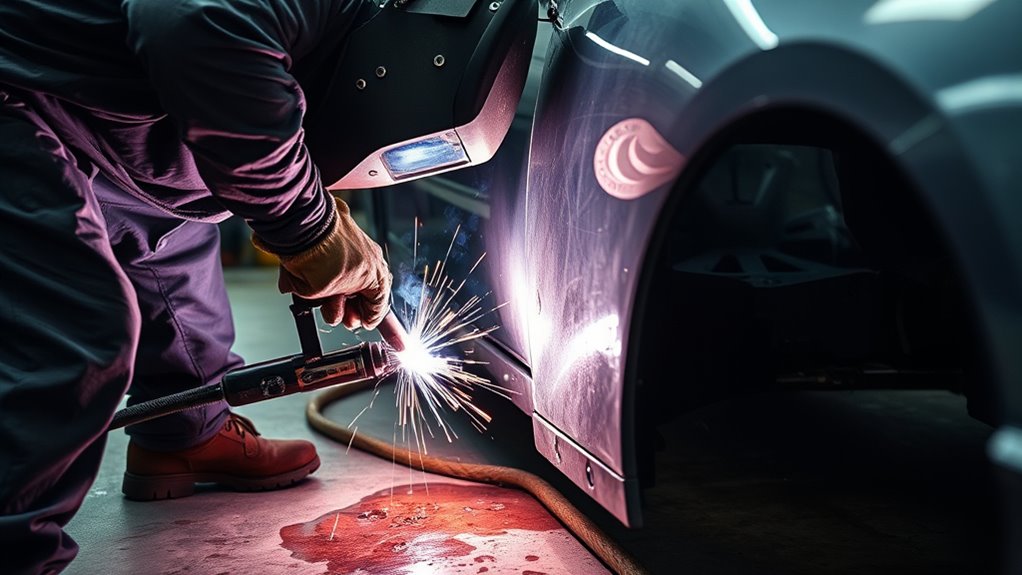
Humidity affects weld quality most when it leaves moisture on the workpiece or lets damp consumables feed contamination into the arc. A panel can look clean and still hold a thin film of water, oil, oxide, or cleaning residue.
When arc heat hits that moisture, water can break down and add hydrogen to the molten weld pool. As the weld cools, trapped gas may form pinholes or internal pores. Those defects can weaken the joint, create leak paths, and force you to grind out and redo the weld.
High humidity also speeds surface oxidation. On steel, that can mean flash rust after cleaning. On aluminum, oxide and hydroxide films can trap contamination and raise the risk of porosity. That is why clean, dry metal matters just as much as voltage, wire speed, and travel angle.
Note: Relative humidity changes with air temperature. A shop can show a high RH number in the morning and still be safe after the air and panel warm up. Dew point and panel temperature give you the better answer.
Why Humidity Causes Porosity in Welds
Porosity forms when gas is trapped in the weld before it can escape. In humid conditions, that gas can come from moisture on the base metal, damp wire, damp electrode flux, dirty shielding gas paths, oil, paint, seam sealer, or a long unstable arc.
Moisture does not have to be visible to cause trouble. A thin damp film on a cool panel can be enough to create pinholes, soot, oxide buildup, or a weak-looking bead.
Steel and aluminum react differently, but both need dry preparation. Steel is more sensitive to hydrogen-related cracking as strength increases, while aluminum is especially sensitive to hydrogen porosity and oxide contamination. If you are welding modern high-strength automotive steel or aluminum structure, follow the OEM repair manual instead of guessing.
Maintaining proper welder settings still matters, but settings will not fix a wet panel. Clean metal, dry consumables, and stable shielding must come first.
Check Dew Point Before You Weld
Dew point is the temperature where air becomes saturated and moisture can condense. If the panel is at or below the dew point, water can form on the metal even if you cannot see droplets yet.
Use this quick check before welding in a humid garage or body shop:
- Measure shop temperature and relative humidity with a thermo-hygrometer.
- Check the dew point on the meter or a dew-point calculator.
- Measure the panel with an infrared thermometer.
- Do not weld if the panel is at the dew point, below it, or visibly sweating.
- Warm the panel, reduce humidity, or wait until the metal temperature is safely above the dew point.
A panel that sat outside overnight can be colder than the air inside your shop. Give it time to stabilize before cleaning and welding. This one habit can prevent a lot of mystery porosity.
Pro Tip: Wipe the panel after it warms, not before. If you clean a cold panel and then it sweats again, you have to clean and dry it a second time before welding.
Set Up Your Weld Area for Humid Conditions
When humidity is part of the job, treat the weld bay as a controlled work area. You do not need a laboratory, but you do need dry air, stable temperatures, and clean storage for your welding supplies.
Run a dehumidifier if the shop stays damp. Keep doors closed during heavy rain when possible, and avoid welding where fans blow damp air or dust across the weld. Air movement can also disturb shielding gas on MIG and TIG welds.
Store wire, electrodes, and consumables in a dry, climate-controlled space. Keep opened MIG wire covered when it is not in use, inspect spools for rust or discoloration, and discard wire that has corrosion or contamination. If you use stick electrodes, follow the manufacturer’s storage and rebake instructions for that exact rod type.
Self-shielded flux core, such as wires discussed in this self-shielded flux core review, can be more forgiving when wind disrupts shielding gas. It does not make wet metal acceptable. The base metal still has to be dry and clean.
Products Worth Considering

【INDUSTRIAL MOISTURE CONTROL FOR LARGE SPACES】 Engineered to remove up to 320 pints of moisture per day (95°F, 90% RH), this heavy-duty dehumidifier is suitable for areas up to 9,500 sq.ft. Designed for warehouses, basements, crawl spaces, workshops, garages, construction zones, and restoration projects where high-capacity humidity control is required.

Powerful Dehumidification: Equipped with a premium branded compressor, this commercial dehumidifier draws out up to 125 pints/day (under saturation conditions), ideal for crawl spaces, basements, or industrial areas up to 1,300 sq. ft
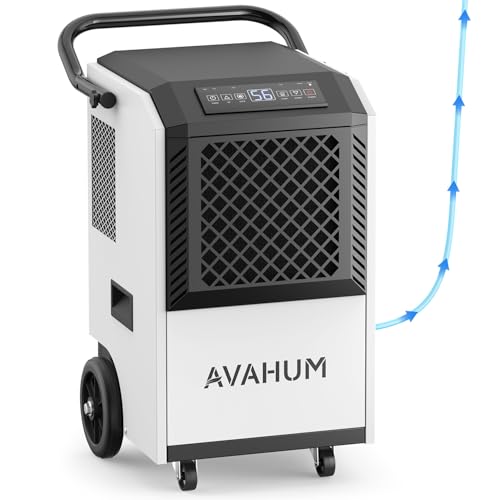
【High-Efficiency Commercial Dehumidifier for 7500 Sq. Ft.】This 160 pint commercial dehumidifier removes up to 160 pints of moisture per day (95°F, 90% RH), designed for large areas up to 7500 sq.ft. Ideal for basement, warehouse, garage, crawl space, workshop, construction site, and flood repair drying applications. Powerful airflow ensures fast and efficient automatic moisture removal in commercial and industrial environments.
Control Moisture Before You Weld
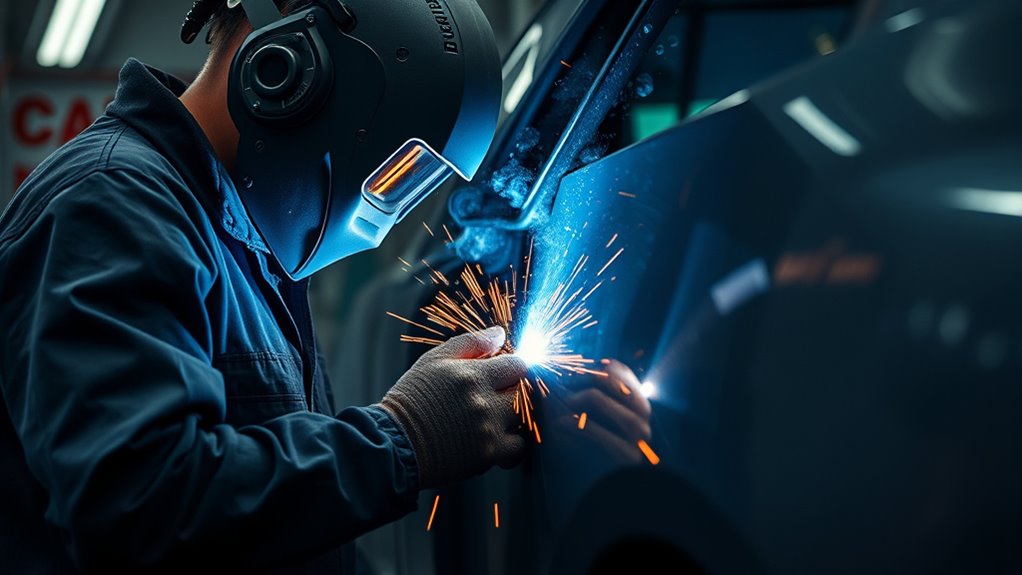
Moisture control starts before the arc. If the surface is damp, rusty, oily, or coated, the weld pool will pull in contamination. Dry every panel after cleaning, then verify the panel has not cooled back to the dew point.
| Check | Target | Action |
|---|---|---|
| Relative humidity | As low and stable as practical | Use a meter and dehumidifier when needed |
| Panel temperature | Above dew point | Warm cold panels before cleaning and welding |
| Base metal | Clean, dry, bare metal at the weld zone | Remove paint, primer, rust, seam sealer, oil, and solvent residue |
| Filler wire or rods | Dry and uncontaminated | Store sealed; replace rusty or damp consumables |
| Cables and clamps | Dry and secure | Check for loose grounds, corrosion, and damaged cables |
Do not rely on the arc to “burn off” moisture. It may burn off what you can see, but it can also add gas to the puddle and leave defects behind.
Products Worth Considering

WATER LEAK DETECTOR detects relative moisture content from leaks and flooding
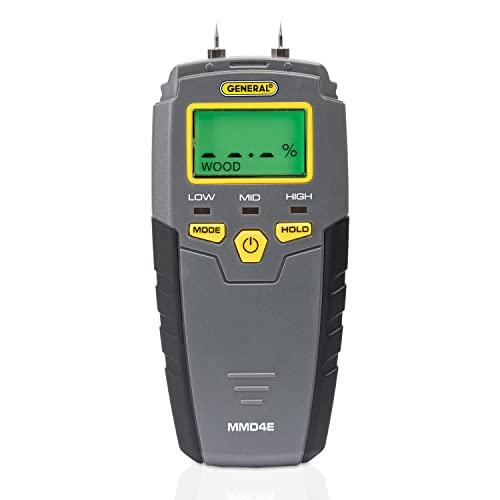
HUMIDITY SENSOR: Our handy meter tool can quickly determine what level of remediation is needed to keep your family safe from black mold. High levels of dampness that go untreated are the leading cause of harmful fungus growth in the home.

🌲【Accurate and fast measurements reveal hidden water leaks】: It has 2 high-precision pins that can penetrate the surface to be tested and quickly measure moisture content to estimate potential moisture increase throughout the home. COCZOW moisture meter is the ideal tool for measuring moisture.
Ideal Conditions for Clean Auto Body Welds
For clean auto body welds, aim for a dry, stable shop where the panel, filler material, and surrounding air have had time to equalize. If humidity is high, slow down and verify the surface before welding.
There is no single humidity number that guarantees success or failure. As a practical rule, treat high humidity as a reason to check dew point, inspect for condensation, and dry the work area. If metal feels cool, looks hazy, or fogs after wiping, wait and fix the environment first.
Before you strike an arc, clean the base metal with the right method for the material. Use a dedicated stainless brush for aluminum. Use approved solvent only where the repair procedure allows, and let it flash off fully before welding. Never weld through cleaner, paint, undercoating, seam sealer, or unknown residue.
For steel patch panels, remove rust and coatings from both sides of the joint where possible. For aluminum, clean the oxide layer shortly before welding because oxide can reform. For structural repairs, follow the OEM weld type, location, plug-weld size, corrosion protection, and inspection procedure.
Proper cleaning metal is one of the simplest ways to prevent contamination, but humidity control keeps the clean surface from becoming damp again before the weld is made.
Troubleshooting Humidity-Related Weld Defects
If humidity is affecting the weld, the signs often show up quickly. Stop and correct the cause instead of turning up heat and hoping the bead improves.
- Pinholes in the bead: Check for damp metal, contaminated wire, poor shielding gas coverage, or coating residue.
- Soot or black residue: Clean the metal again, check shielding gas flow, and inspect for oil, primer, adhesive, or seam sealer near the weld.
- Unstable arc: Inspect the ground clamp, wire condition, contact tip, liner, and power settings.
- Rust appearing after prep: Reduce shop humidity, clean smaller sections at a time, and weld soon after prep.
- Aluminum porosity: Reclean with a dedicated stainless brush, verify dry shielding gas flow, and weld soon after oxide removal.
Note: If a weld is porous on a structural area, do not cover it with filler or primer. Grind out the defect only if the repair procedure allows it, then reweld and inspect the joint.
Frequently Asked Questions
Does humidity affect welding?
Yes. Humidity affects welding when moisture reaches the metal, filler, electrode coating, or shielding area. That moisture can increase porosity, oxidation, hydrogen pickup, and bead inconsistency. The safest approach is to keep the surface dry, check dew point, and store consumables properly.
Is 70% humidity too high for auto body welding?
It can be, but 70% relative humidity is not an automatic stop point by itself. If the panel is warm, dry, and above the dew point, you may still weld successfully. If the panel is cool, sweating, rusty, or freshly brought in from cold storage, stop and dry the area first.
Do I need a -70°F dew point for body shop welding?
No, not for normal auto body shop work. A -70°F dew point is an extreme dryness target and should not be treated as a standard garage requirement. For practical repairs, focus on keeping the panel above the dew point, free of condensation, and fully dry before welding.
How much humidity is too much for epoxy primer or filler?
Follow the product data sheet for the exact epoxy primer, filler, or coating you use. Many coatings are sensitive to humidity, surface temperature, and dew point. A common shop practice is to avoid coating damp metal and make sure the surface is safely above the dew point before application.
What is the golden rule in welding?
Control the conditions before you control the bead. Clean the metal, dry the surface, use the correct settings, protect the weld pool, and follow the repair procedure. A good weld starts before the trigger is pulled.
Can a dehumidifier improve weld quality?
Yes, a dehumidifier can help in a damp garage or shop by lowering moisture in the air and reducing condensation risk. It works best when paired with stable temperature, dry consumable storage, clean metal prep, and good ventilation.
Conclusion
Humidity can compromise auto body welds when it allows moisture to collect on the panel, filler material, or weld area. That moisture can lead to porosity, oxidation, weak fusion, and inconsistent bead quality. Instead of treating 70% humidity or any single number as a pass-fail rule, check dew point, warm cold panels, dry the metal, and store consumables properly. In welding, prevention is cheaper than grinding out a failed bead later.
Sources
- National Weather Service: Dew Point vs Humidity — supports dew point and relative humidity explanation.
- OSHA: Welding, Cutting, and Brazing — supports welding safety and hazard guidance.
- CDC/NIOSH: Welding Fumes — supports fume and ventilation safety context.
- American Welding Society: Standards and Publications — supports standards-based welding procedure and quality context.
- Hydrogen Trapping and Embrittlement in Metals — A Review — supports the broader discussion of hydrogen effects in metals.




