
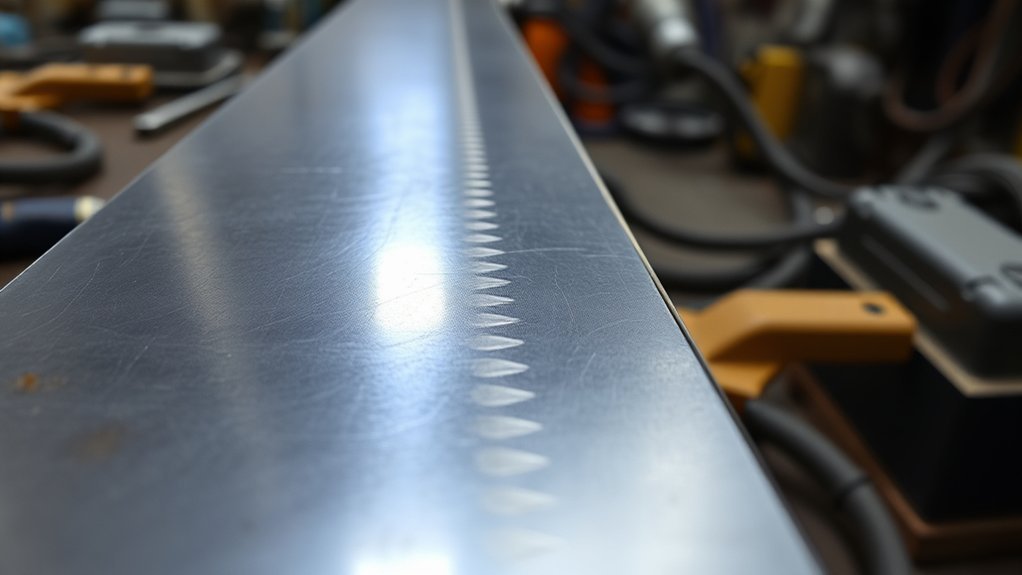
You cannot tell that a weld is strong enough from bead appearance alone. A clean, even bead is a useful first sign, but real strength depends on the joint design, weld size, fusion, base metal, filler metal, loading, service conditions, and the acceptance rules for the job. Start with a careful visual check, then use the required test or qualified inspector when failure could hurt someone or damage equipment.
Quick Answer
A weld is strong enough only when it matches the joint design and service load, has the required size and fusion, and meets the applicable acceptance criteria. A clean bead is only a screening clue. For structural, pressure, lifting, vehicle, or other safety-critical work, use the specified inspection or qualification test and a qualified inspector.
Key Takeaways
- A pretty bead can still hide incomplete fusion, root defects, slag, or internal porosity.
- Compare weld size and profile with the drawing, welding procedure, or applicable code instead of using a universal “looks good” rule.
- Visual testing checks surface condition and dimensions. Penetrant and magnetic particle testing find certain surface defects, while ultrasonic and radiographic testing can examine below the surface.
- Use destructive tests on representative coupons, not on a finished part that must remain in service.
- Stop using a cracked, undersized, poorly fused, or safety-critical weld until a qualified welder, inspector, or engineer evaluates it.
At a Glance
| Time Required | About 10–20 minutes for cleaning, measuring, and a basic visual check; formal testing takes longer |
| Difficulty | Beginner for basic surface checks; advanced for code acceptance, engineering review, and NDT interpretation |
| Tools Needed | Good lighting, wire brush, chipping hammer, magnifier, ruler, square, and a fillet weld gauge; specialized equipment for NDT |
| Cost | Little or no cost for a basic visual check; professional inspection and testing vary by method, access, material, and job requirements |
Warning: Do not use an unverified weld for a lifting point, trailer hitch, roll cage, pressure vessel, structural frame, vehicle suspension, railing, fuel system, or any part whose failure could injure someone. Do not “proof test” it by standing, bouncing, hanging, driving, or lifting with it. Follow the design, code, and inspection requirements for the actual application.
Assessing Weld Appearance for Strength
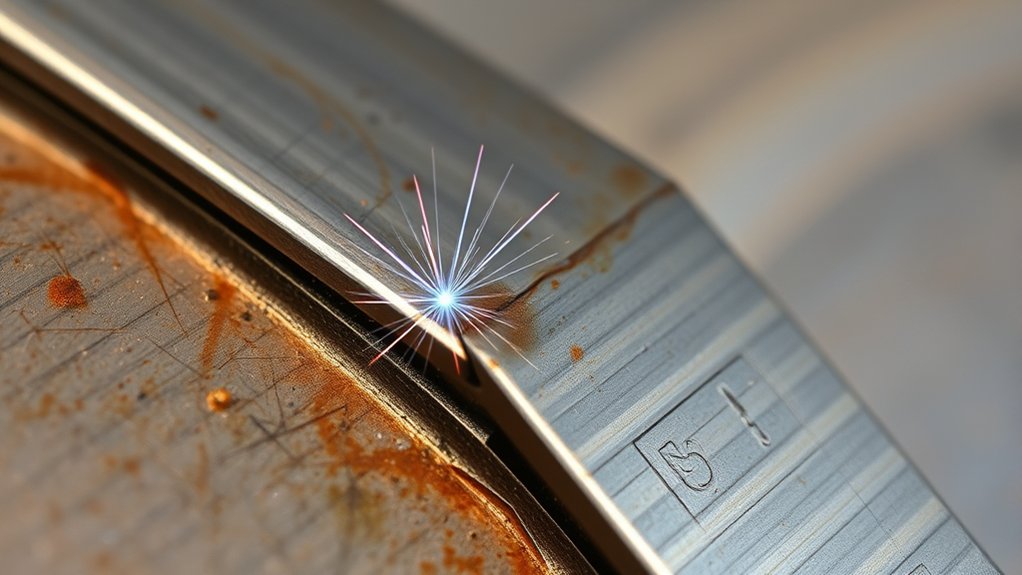
Begin by cleaning the weld and examining it under bright light. The American Society for Nondestructive Testing describes visual testing as a method for finding visible surface conditions and checking compliance with specifications. It is the fastest inspection step, but it cannot prove internal fusion or calculate the load capacity of the joint.
Look along the full bead, including starts, stops, craters, toes, and any accessible root side. Check for a stable width, a smooth transition into the base metal, and a profile that matches the joint. Sudden changes can point to inconsistent travel speed, arc length, gun or rod angle, fit-up, or heat input. A stable arc helps you control these variables, so correct problems that cause poor arc stability before trusting the result.
Reject or investigate visible cracks. Also note undercut, overlap, open porosity, slag lines, incomplete fill, burn-through, arc strikes, rough restarts, and distortion. These are discontinuities, but not every discontinuity is automatically rejectable. The applicable drawing, welding procedure specification, contract, or code sets the acceptance limit.
Note: You cannot confirm full penetration or hidden sidewall fusion by looking only at the weld face. Even a smooth bead may contain internal lack of fusion, root defects, slag, porosity, or delayed cracking.
What a Strong Weld Should Look Like
A sound weld usually looks controlled and properly sized, but “strong enough” means more than appearance. The joint must have enough effective weld area for the direction and type of load. Static weight, vibration, repeated fatigue cycles, impact, temperature change, corrosion, and pressure can demand different designs and acceptance rules.
For a fillet weld, compare the leg size and profile with the drawing or procedure. Equal-looking legs are useful only when the joint calls for an equal-leg fillet. For a groove weld, check required fill, reinforcement, alignment, and the root condition where accessible. Tack welds that remain in the joint must also be sound and compatible with the final welding procedure.
- Positive surface signs: correct size, smooth toe transition, stable profile, complete fill, clean starts and stops, and no visible cracks or gross defects.
- Warning signs: undersize welds, sharp undercut, overlap or cold lap, excessive convexity, severe concavity, burn-through, crater cracks, open porosity, trapped slag, or misalignment.
- Automatic reason for more review: the weld carries people, pressure, suspended loads, repeated vibration, impact, or a structural load.
What “Strong Enough” Actually Means
A weld is acceptable when the complete joint meets the requirements for its intended service. That decision normally depends on four separate questions:
- Was the joint designed for the load? A flawless bead can still be too small, too short, or placed in the wrong location. Use the drawing or an engineering calculation, not appearance, to determine required weld size. This guide to factors that affect welded-joint strength explains why geometry and loading matter.
- Was the correct procedure used? Base metal, filler metal, process, polarity, shielding, joint preparation, preheat, heat input, and welding position can change performance.
- Does the finished weld meet acceptance criteria? Compare dimensions and discontinuities with the specified code, standard, drawing, or procedure.
- Was the right level of inspection used? Visual testing may be enough for a non-critical shop item, but critical work may require surface or volumetric NDT, procedure qualification, welder qualification, or destructive testing of representative coupons.
A weld should be accepted because it meets the job’s design and inspection requirements, not because the bead looks attractive.
Key Tests for Weld Integrity
Choose a test that can find the type of problem you are concerned about. The AWS B1 Committee publishes guides for visual examination and nondestructive examination of welds, while ASNT lists the main NDT methods and their uses.
| Method | Best For | Important Limit |
|---|---|---|
| Visual testing (VT) | Bead size, profile, alignment, surface cracks, undercut, overlap, open porosity, and workmanship | Cannot confirm most hidden internal defects |
| Liquid penetrant testing (PT) | Surface-breaking cracks and other openings in clean, nonporous materials | Does not reveal closed subsurface flaws; surface preparation and dwell time matter |
| Magnetic particle testing (MT) | Surface and near-surface discontinuities in ferromagnetic materials such as many carbon steels | Not suitable for aluminum or nonmagnetic austenitic stainless steel |
| Ultrasonic testing (UT) | Internal discontinuities and thickness information | Geometry, surface condition, thickness, calibration, and operator skill affect results |
| Radiographic testing (RT) | A recorded image of internal conditions, including many volumetric flaws | Uses ionizing radiation and requires controlled access, qualified personnel, and suitable geometry |
| Destructive coupon tests | Bend performance, fracture surface, fusion, penetration, ductility, and tensile properties | The tested coupon is damaged; the test method and acceptance limits must match the governing requirement |
Liquid penetrant testing reveals surface-breaking openings in nonporous materials. Magnetic particle testing is limited to ferromagnetic materials. Ultrasonic testing uses high-frequency sound, while radiographic testing uses X-rays or gamma rays to view internal conditions. None of these methods is a universal substitute for design verification.
Products Worth Considering

Easy-to-use pouch provides industry leading presumptive testing results.

Standard grade kit

🔧【Complete 13-Piece Kit for Versatile Inspection】 This comprehensive weld inspection gauge set includes a straight ruler, MG-11, MG-8, high/low gauges, fillet gauge, filler gauge, HJC45B, weld gauge, micrometer card, nibbler gauge, and inspection mirror. You get all essential tools in one box, ready to handle bevel angles, heights, widths, gaps, and bite depths across various welding projects.
Common Indicators of a Strong Weld
The most useful indicators are not isolated cosmetic features. They are a consistent set of observations that agree with the design, procedure, and required inspection results. A weld is more credible when the material and filler are known, fit-up was controlled, the bead is correctly sized, the toes are fused, the root is acceptable where visible, and the selected test shows no rejectable indications.
Visual Integrity Assessment
Perform the visual check in a fixed order so you do not miss a defect:
- Check the joint before welding: Confirm material, bevel, root opening, alignment, cleanliness, and access.
- Observe the process where practical: Watch arc stability, shielding, travel speed, puddle control, interpass cleaning, and distortion.
- Clean the finished weld: Remove slag, soot, loose spatter, oil, and dirt without grinding away evidence.
- Measure it: Check weld length, fillet leg size, profile, reinforcement, underfill, and alignment against the requirement.
- Inspect every end and transition: Starts, stops, craters, repairs, tie-ins, and arc strikes often reveal problems.
- Record what you find: Photograph and mark questionable areas before grinding or repair when documentation matters.
Destructive Testing Methods
Bend, tension, fillet-break, nick-break, and macrosection tests can reveal different aspects of weld performance. A guided bend can expose incomplete fusion, incomplete penetration, cracking, or severe porosity when prepared and evaluated under the correct test method. AWS notes that guided bend testing is useful, but the fixture, specimen preparation, base metal, and acceptance rules must be followed for the result to mean anything.
Use representative coupons made with the same base metal, thickness, joint, position, filler, settings, and technique as the real work. Do not assume that “failure in the base metal” is the only acceptable outcome. The required result depends on the test standard and the purpose of the test.
Warning: Do not perform improvised impact, bend, or break tests on an installed part. Stored energy can release suddenly, and broken coupons can produce sharp, fast-moving fragments. Test scrap coupons with eye and face protection, secure clamping, and a controlled setup.
Visual Inspection Checklist Before You Trust the Weld
Use this checklist before you paint, grind, load, or install the part:
- Requirement identified: You know the drawing, weld symbol, procedure, or minimum weld size.
- Material known: The base metal and filler metal are compatible with the service condition.
- Surface clean: Slag, soot, oil, paint, rust, moisture, and loose scale no longer hide the weld.
- Correct dimensions: Weld length, leg size, fill, reinforcement, and alignment match the requirement.
- No visible cracks: Check the crater, toes, root side, starts, stops, and repaired areas.
- No rejectable undercut: Grooves beside the weld are measured and compared with the acceptance limit.
- No overlap or cold lap: Weld metal blends into the base metal instead of rolling over it.
- No rejectable porosity: Open pinholes, clusters, or worm tracks are evaluated against the governing criteria.
- No visible slag inclusion: There are no trapped lines, pockets, or uncleaned areas between passes.
- Root checked where accessible: Look for incomplete penetration, burn-through, suck-back, or missed fusion.
- Distortion acceptable: Warping has not changed fit-up, alignment, clearance, or the intended load path.
- Required NDT complete: Any specified PT, MT, UT, or RT has been performed and accepted by qualified personnel.
Pro Tip: Inspect and photograph the weld before grinding. Grinding may hide undercut, overlap, porosity, crater shape, and bead profile. It can also reduce the weld below its required size.
Common Defects That Compromise Weld Strength
Defects matter because they reduce effective weld area, create sharp stress raisers, interrupt fusion, or provide a path for cracking. Their acceptability depends on size, location, material, loading, and the governing rules.
- Cracks: Treat any visible crack as a serious reject condition until a qualified person evaluates and removes it. Causes can include hydrogen, high restraint, poor crater fill, hard microstructures, rapid cooling, or unsuitable filler.
- Incomplete fusion or penetration: The weld has not bonded to a sidewall or root. This can leave a hidden planar defect even when the surface looks smooth.
- Porosity: Gas cavities can be isolated, clustered, or elongated. Contamination, moisture, drafts, poor shielding, or an unstable process are common contributors. Review the causes of porosity from surface contamination before repairing it.
- Slag inclusion: Slag trapped between passes or along a sidewall can interrupt fusion. Clean every pass and correct angle, heat, and bead placement.
- Undercut: A groove at the weld toe reduces section thickness and can raise local stress. Correct the technique and compare its depth and length with the acceptance limit. These methods for preventing undercut can help.
- Overlap or cold lap: Weld metal flows onto the surface without proper fusion, creating a notch-like edge and a misleadingly wide bead.
- Undersize or incomplete fill: The weld may be neat but still lack enough effective area for the load.
- Excessive reinforcement or convexity: More metal is not always better. A poor profile can create a sharp transition, hide fusion problems, add distortion, or exceed acceptance limits.
- Arc strikes and poor repairs: Stray arc marks, unremoved cracks, or welding over a defect can create new crack sites and trap the original problem.
How to Make Sure Your Welds Are Strong
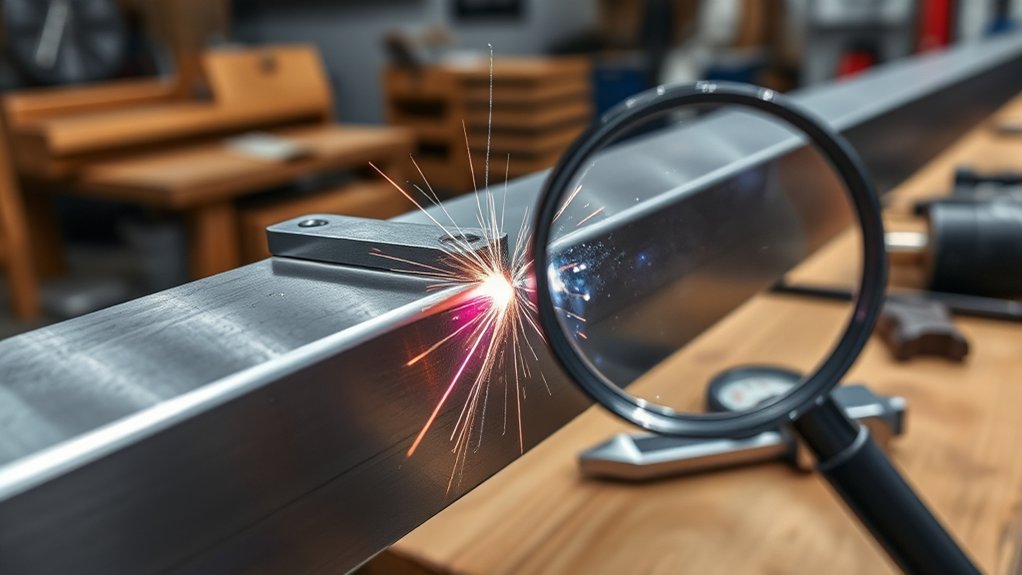
Strong welds begin before the arc starts. Identify the base metal, choose a suitable filler, follow a proven procedure, and prepare the joint to the correct bevel, root face, gap, and alignment. Remove oil, rust, paint, galvanizing, moisture, and scale from the weld zone. For flux-core work, use process-specific setup and cleaning practices such as these flux-core welding tips.
Set voltage, amperage, wire feed, polarity, gas flow, electrode angle, travel speed, and stickout for the exact process and thickness. Make a test coupon when you change material, thickness, joint type, position, filler, machine, gas, or technique. Cut or bend the coupon before committing to the final part.
Control heat between passes. Too little heat can cause incomplete fusion, while excessive heat can increase distortion, burn-through, grain growth, or loss of properties in some materials. Clean slag between passes and fill craters before stopping. When a formal welding procedure specification applies, follow it rather than improvising settings.
Inspection is part of the process, not an afterthought. Check fit-up before welding, observe each pass, and inspect the finished joint before finishing. Use the required NDT or coupon tests when the consequences of failure are high.
How to Measure Weld Size With a Fillet Weld Gauge
A fillet weld gauge helps you compare leg size and profile with a stated requirement. It does not determine whether the joint is engineered correctly or whether hidden fusion is acceptable.
- Clean the toes and face. Slag, spatter, and paint can change the reading.
- Choose the gauge leaf for the required size. Use the drawing or weld symbol, not a guess.
- Seat the gauge against both base-metal surfaces. Do not rock it over spatter or distortion.
- Check each leg and the face profile. Measure several locations, especially starts, stops, and changes in position.
- Record undersize, excessive convexity, or excessive concavity. Compare each indication with the applicable acceptance criteria.
Note: A larger-looking fillet weld is not automatically stronger. Excessive convexity can add metal without adding useful throat, and an oversized weld can increase heat input, distortion, cost, and residual stress.
Products Worth Considering

7piece Fillet Weld Set Gage Rl Gauge

12piece Fillet Weld Set Gage Rl Gauge

【7 pieces Weld Fillet Gauges】: 7 pieces weld fillet gauges are held by bolt and nut that can be disassembled, each weld gauge can be used to check the size of fillet legs and fillet throats
Step-by-Step: How to Check if a Weld Is Strong Enough
- Define the service. Identify the load, direction, vibration, impact, fatigue, pressure, temperature, corrosion, and consequences of failure.
- Find the requirement. Use the drawing, weld symbol, WPS, repair procedure, manufacturer instruction, or applicable code.
- Confirm material and filler. Make sure the base metal and consumable are known and compatible.
- Review joint preparation. Check bevel, root gap, fit-up, alignment, backing, and cleanliness.
- Clean the finished weld. Remove slag and surface contamination without grinding away evidence.
- Inspect the full surface. Check profile, toes, starts, stops, craters, root side, repairs, and nearby arc strikes.
- Measure the weld. Verify length, fillet leg size, fill, reinforcement, undercut, and alignment.
- Compare findings with acceptance criteria. Do not invent a pass or fail limit.
- Test a representative coupon when appropriate. Match material, thickness, joint, position, filler, and settings.
- Use the specified NDT. Select VT, PT, MT, UT, or RT based on the defect type, material, geometry, and governing requirement.
- Document repairs and reinspect. Remove the full defect, correct the cause, reweld under an approved method, and repeat the required inspection.
- Get professional approval for critical work. A qualified welding inspector or engineer should make the final decision when safety or code compliance is involved.
Safe Home Tests for Practice Welds
Home tests can improve your technique, but they are useful only on practice coupons. Make the coupon from the same material and thickness as the planned job, then use the same joint, position, filler, polarity, and settings.
- Bend test: Secure a prepared coupon and bend it in a controlled fixture or vise. Examine the stretched surface for cracks, incomplete fusion, and separation.
- Fillet-break test: Break a T-joint coupon so the fracture exposes the root and fusion line. Look for unfused areas, slag, and porosity.
- Cut-and-polish check: Cut across the weld, smooth the cross-section, and inspect bead shape and fusion. A chemical macro-etch can reveal more detail, but use only a recognized procedure with proper chemical training and PPE.
- Tension test: A calibrated test machine can measure strength, but an improvised pull with a vehicle, jack, chain, or hoist does not produce a reliable or safe result.
Passing a home coupon test does not certify a finished structural or pressure weld. It only shows how that coupon performed under that test.
When to Seek Professional Welding Advice?
Ask a qualified welder, certified welding inspector, NDT technician, or engineer for help when any of these conditions applies:
- The part is safety-critical: It supports people, a vehicle, pressure, fuel, a suspended load, a guard, a railing, or a structure.
- The requirement is unclear: You do not know the material, weld size, filler, procedure, code, or load.
- You find cracks or suspected lack of fusion: These defects require complete removal and a controlled repair plan.
- A coupon or NDT result fails: Do not keep adjusting and repairing the real part without finding the root cause.
- The material needs special control: Aluminum, stainless steel, cast iron, hardened steel, high-strength steel, and galvanized material can require specific preparation, heat control, filler, shielding, or post-weld treatment.
- The weld has already been loaded or damaged: Fatigue, impact, fire, corrosion, or deformation may require more than a surface repair.
Safety Notes Before Testing or Repairing a Weld
Inspection and repair can expose you to sharp metal, hot surfaces, UV and infrared radiation, fumes, gases, grinding dust, noise, electric shock, fire, and stored mechanical energy. Follow the OSHA welding, cutting, and brazing guidance. Use suitable eye and face protection, gloves, flame-resistant clothing, hearing protection, ventilation, and respiratory protection when required.
Do not weld over a crack, slag pocket, porous area, or suspected lack of fusion. Remove the full defect, inspect the excavation, correct the cause, and reweld with a suitable procedure. After the repair passes inspection, restore corrosion protection. Do not use filler, paint, or coating over rust to hide an uninspected weld.
Radiographic testing uses ionizing radiation and must be controlled by trained, authorized personnel. Penetrant and magnetic-particle products also require correct surface preparation, dwell time, cleaning, lighting, and disposal. Do not treat a consumer kit as automatic proof that a critical weld is safe.
Frequently Asked Questions
How do I know if my weld is strong enough?
Confirm the required joint design and weld size, inspect the cleaned weld for visible defects, measure it against the drawing or procedure, and use the specified NDT or coupon test. Appearance alone cannot prove internal fusion or load capacity. Critical work needs acceptance by a qualified person.
Is E6013 or E7018 stronger?
The AWS E7018 classification has a 70 ksi minimum tensile-strength requirement, while E6013 has a 60 ksi minimum. That does not make every E7018 joint safer. The correct electrode depends on the base metal, design, position, procedure, hydrogen control, power source, and service conditions.
What is the golden rule in welding?
Make the weld fit for its intended service. Use the correct design, material, filler, preparation, settings, technique, heat control, inspection, and acceptance criteria. A neat bead is useful, but it is not the final requirement.
Does welding make people age faster?
Welding does not automatically make someone age faster. However, repeated exposure to fumes, UV radiation, heat, noise, awkward posture, and heavy work can harm health when hazards are not controlled. Ventilation, correct PPE, exposure control, rest, hydration, and medical evaluation after concerning symptoms reduce risk.
Can a weld look good but still be weak?
Yes. A smooth surface can hide incomplete fusion, poor root penetration, slag, internal porosity, or cracking. The weld may also be too small for the load even when it is defect-free.
Should I grind a weld to check if it is strong?
Inspect and measure the weld before grinding. Grinding may hide surface evidence and reduce weld size. On a scrap coupon, cutting and polishing a cross-section can help you inspect fusion. Grind a finished weld only when the design allows it and the remaining size still meets the requirement.
What is the easiest way to test a practice weld at home?
Weld a representative scrap coupon, then perform a controlled bend, fillet-break, or cut-and-polish inspection. Match the planned material, joint, position, filler, and settings. Wear eye and face protection and secure the coupon. This does not replace professional inspection for critical work.
Can I test a weld by hitting it with a hammer?
Only use an impact or break test on a secured practice coupon and treat the result as a rough training check. Do not hit an installed or safety-critical part. An improvised hammer test has no universal acceptance criteria and can create flying fragments or hidden damage.
Can weld metal be stronger than the base metal?
The deposited weld metal can have a higher specified tensile strength than the base metal, but the complete joint may still be limited by the heat-affected zone, joint geometry, defects, fatigue, or poor fit-up. Consumable strength alone does not prove that the weldment is strong enough.
Conclusion
A weld is strong enough only when the whole joint meets its design and service requirements. Start with a clean visual inspection and accurate measurements, but do not confuse a smooth bead with proof of fusion or capacity. Use representative coupon tests or the specified VT, PT, MT, UT, or RT method when needed. For structural, pressure, lifting, automotive, or other safety-critical work, stop using the part until a qualified inspector or engineer accepts it.
Sources
- American Welding Society B1 Committee on Methods of Inspection and the FHWA welding inspection training manual: visual examination, measurement, discontinuities, and acceptance criteria.
- American Society for Nondestructive Testing: NDT Methods: capabilities and limits of VT, PT, MT, UT, and RT.
- AWS: Why Guided Bend Tests Fail and How to Fix Them: what bend tests can reveal and why the correct method matters.
- Lincoln Electric Fleetweld 37 E6013 data sheet and Lincoln Electric Excalibur 7018 MR data sheet: AWS classification tensile requirements and product properties.
- OSHA Welding, Cutting, and Brazing and 29 CFR Part 1910 Subpart Q: welding hazards, ventilation, fire prevention, and worker protection.
- AWS Free Welding Resources and Safety Guides: official safety sheets and technical guidance.




