You can shape metal with plasma like a sketch on steel—freehand for organic lines, templates for crisp contours. Choose an amperage that matches thickness, keep consumables fresh, and set air pressure right to avoid dross. Mix mild steel, stainless, and copper for texture, then grind, brush, and patina for contrast. Manage travel speed to control kerf and taper, and don proper PPE. If you want cleaner cuts and fewer warps, start with this simple setup…
Freehand vs. Template Cutting for Metal Art

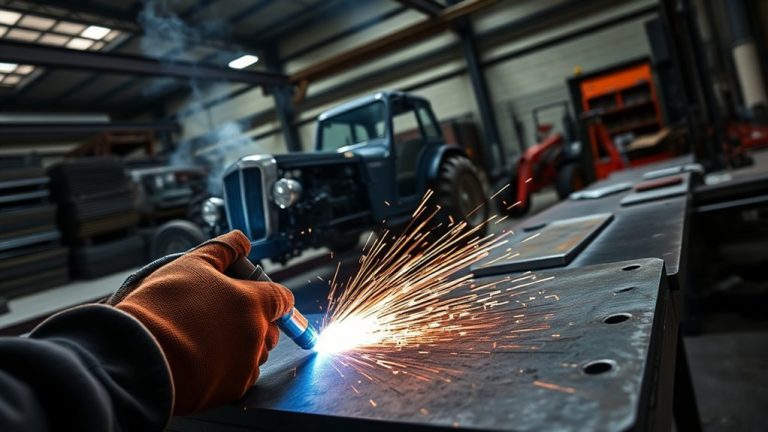
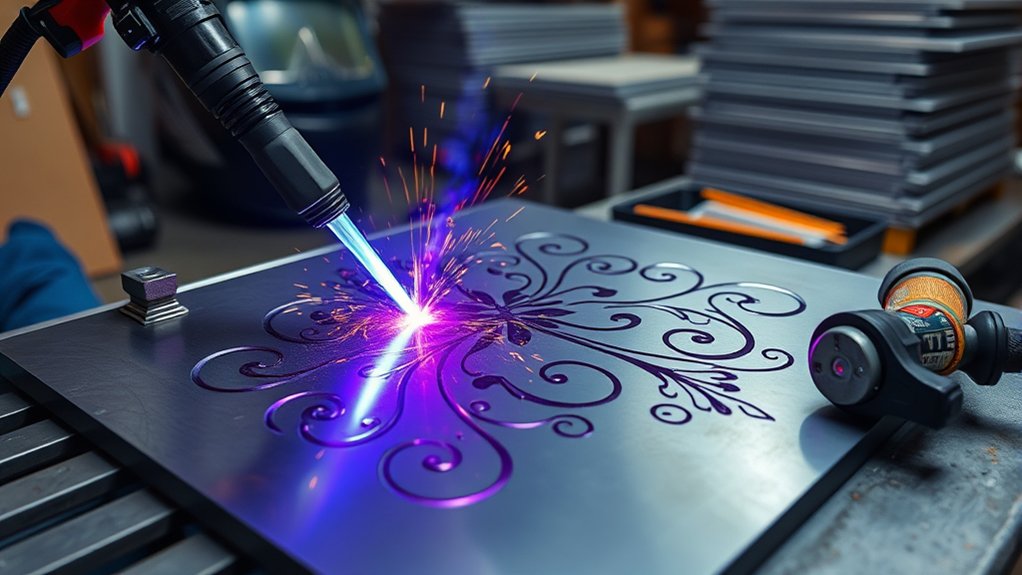
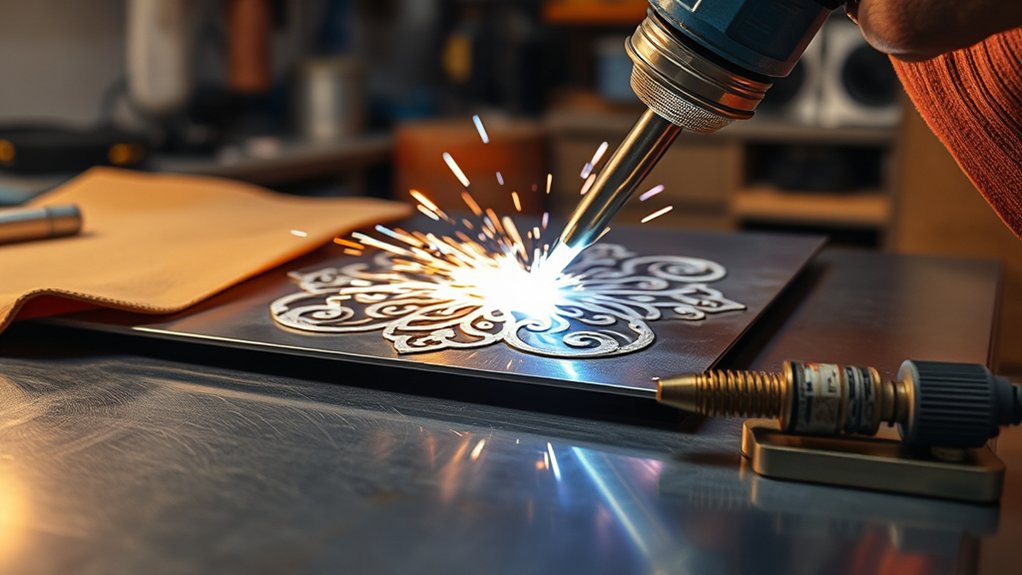
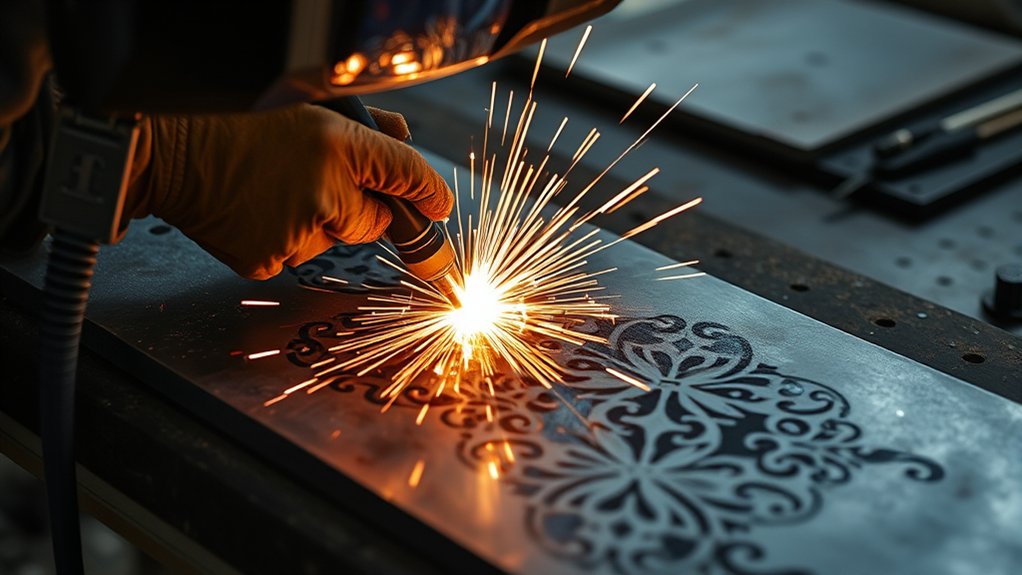
Why choose freehand over a template—or blend both? You’ll feel the arc’s heat, guide the torch, and let freehand creativity shape organic lines, textures, and unique signatures.
With a handheld plasma torch, you can sketch with chalk directly on the plate, then trace the marks, adjusting on the fly for flow, negative space, and depth cues.
When repeatability matters, switch to template precision: clamp a steel or heat-resistant stencil, set your standoff, and follow the edge for crisp contours and consistent geometry.
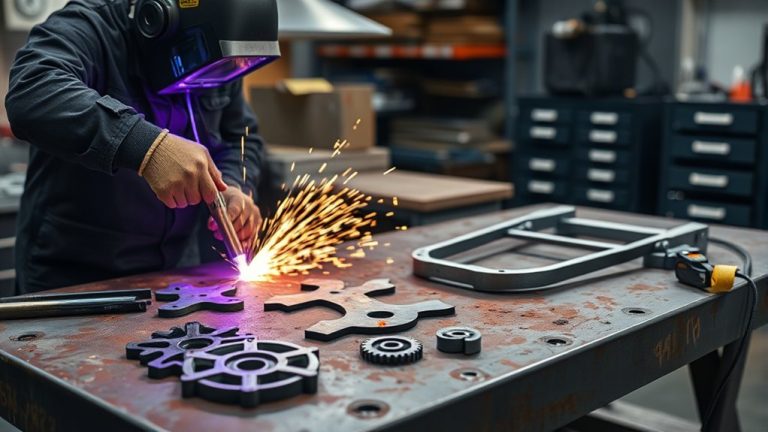
Combine both to speed up production and detail work. Layout large forms with templates to minimize error, then pivot to freehand for filigree, scrolls, and distressed edges.
If you’ve got CNC access, nest intricate elements digitally, cut the tight patterns, and return to hand passes for custom accents and surface character.
With today’s light industrial machines, you can scale projects efficiently while preserving the individuality that hand-guided cuts deliver.
Choosing the Right Plasma Cutter and Accessories
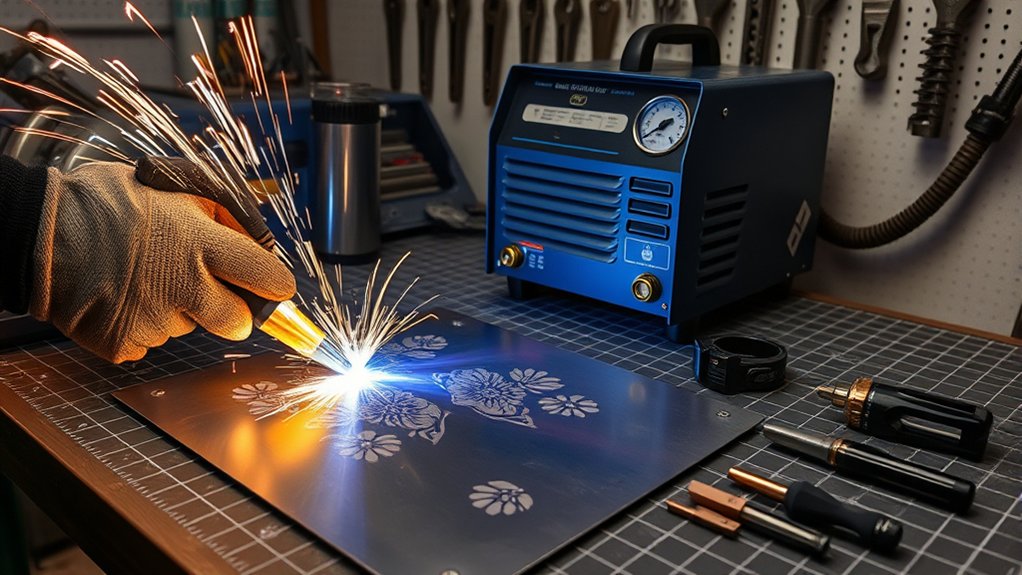
Before you strike an arc, match the cutter to your metal: gauge the thickest material you’ll cut, the duty cycle you’ll need, and the power you have in the shop. Compare plasma cutter types by output power and real cut speed. If you’re on 120 volts, a Powermax30 XP is a nimble handheld choice for thin stock and quick, clean lines. Want range? The Powermax45 XP bridges handheld and CNC, slicing up to 16 mm (5/8 inch) while keeping edges square and kerfs tight.
- Size consumables to the amperage; Hypertherm FineCut tips sharpen detail on thin metals.
- Keep spare nozzles, electrodes, and shields; change them at the first sign of taper or dross.
- Follow the manual for maintenance; clean air, correct standoff, and proper ground boost precision and lifespan.
| Feel | Hear | See |
|---|---|---|
| Confidence | Smooth arc | Tight kerf |
| Control | Crisp pierce | Bright line |
| Flow | Even hiss | Minimal dross |
Metals and Materials: What You Can Cut and Combine
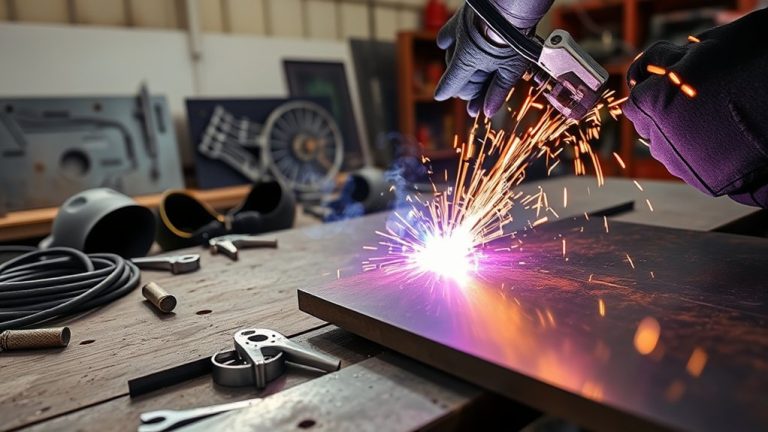
Although the torch looks the same, the metal under it changes everything: you can plasma-cut mild steel, stainless, aluminum, brass, and copper, each demanding its own amperage, travel speed, and standoff to keep the kerf tight and edges clean.
Dial down amperage for thin gauges to prevent warp; raise it for thicker plate to avoid dross. Keep standoff consistent—use a drag shield on steel, hover slightly higher for softer aluminum to reduce blowout.
Test coupons first. Stainless likes faster travel to limit heat tint; aluminum needs aggressive pierce delay and steady motion; brass and copper require crisp arc starts and short dwell to protect edges.
Exploit material textures—leave rust blooms on mild steel or cut through painted scrap for layered patina.
Mix media deliberately. Use metal combinations for contrast: brushed stainless against weathered steel, copper inlays in blackened plate.
Add wood or glass backers to create depth, shadow gaps, and light-play.
Essential Consumables and Maintenance for Clean Cuts
Even a sharp design turns ragged when consumables go dull, so treat the torch head like a wear item you inspect every session.
Pull the shield, check the retaining cup, tip, and electrode under bright light. Look for a widened or oval tip orifice, peppered spatter, and a mushroomed electrode pit—any of these signal consumable replacement.
Replace tips and electrodes as a pair to keep the arc centered and kerf consistent.
For fine detail, load Hypertherm FineCut parts and keep current at or below 40 amps on material 10 mm (3/16 inch) and thinner; you’ll get a narrower kerf and a stiffer, cleaner arc.
Tighten the retaining cup snug, not torqued—hand-firm, then a fraction more—to avoid gas-flow restriction or cracked threads.
Practice moisture control: dry shop air, drain the compressor, add a filter/dryer, and keep spares sealed.
A dry system greatly extends consumable life and preserves edge quality.
Cutting Techniques, Speeds, and Safety Best Practices
Set your torch at a steady 30–40° with a 1/16–1/8 in standoff, then practice dry runs to lock in a smooth, straight travel path.
Watch the kerf and sparks: if they trail straight down, your speed is right; sparks shooting back mean too fast, puddling and wide kerf mean too slow.
Keep the work clamped on a clean surface, know your controls, and match amperage to thickness for safe, controlled cuts without slag or warping.
Optimal Travel Speed
When you dial in ideal travel speed, your plasma cuts stay narrow, clean, and cool, minimizing heat input and warping.
Make small travel speed adjustment moves and watch the cutting speed impact in the kerf: a crisp, straight plume with minimal dross means you’re on target. For 1/8 inch mild steel, start around 40–60 ipm; go faster on thinner sheet, slower on thicker plate.
Use the arc as a tachometer. A steady, focused arc that trails slightly behind the torch tip signals proper speed.
Flicker, popping, or the arc lagging far behind means you’re off—either too fast or too slow. Hold torch height steady at 1/16–1/8 inch to stabilize the jet and reduce slag.
Test on scrap, iterate settings, then commit to your artwork.
Safe Torch Handling
Although the arc does the heavy lifting, your hands make the cut: keep the torch 1/16–1/8 inch off the metal, lock your wrists, and track a smooth line at a steady speed matched to thickness. Build a stable safety stance: feet shoulder-width, elbows tucked, forearms braced. Use a neutral torch grip—index guiding, thumb stabilizing—so the torch rides the work without diving. For bevels, roll to a 30–40° torch angle and keep motion continuous to shed slag. Dry-run the path with the trigger off to memorize motion and cable drag. Don’t stop mid-cut; instead, adjust speed to maintain a narrow, bright kerf and minimal dross. Keep PPE on and organize leads, clamps, and sparks’ path.
| Action | Target |
|---|---|
| Standoff | 1/16–1/8 in |
| Angle | 30–40° |
| Speed | Consistent |
| Grip/Stance | Neutral, stable |
Finishing Touches: Grinding, Patinas, and Sealing
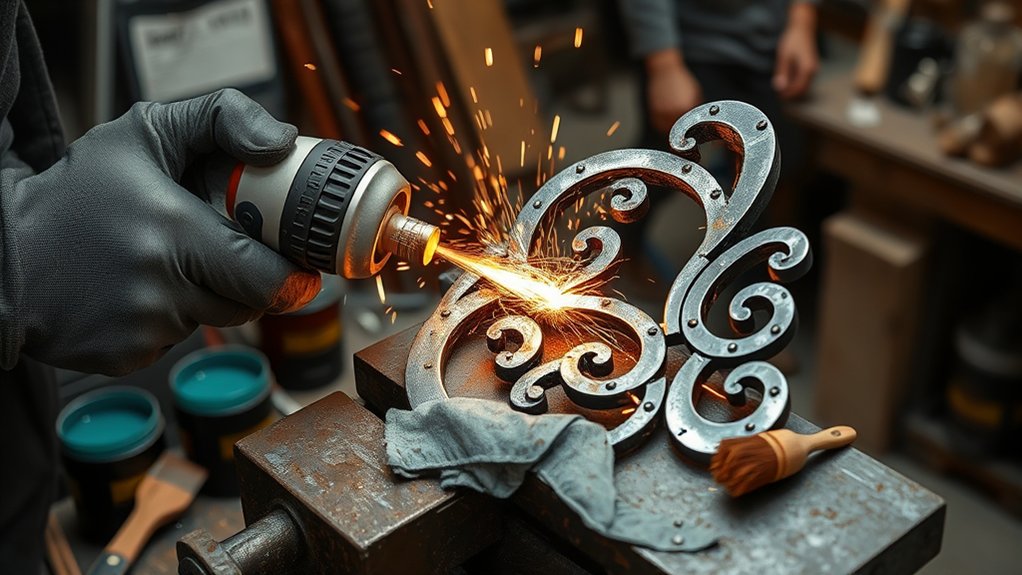
Edges first: grind and sand every cut to knock down slag, round off burrs, and leave a smooth, fingertip-safe profile. Start with a 60–80 grit flap disc, then progress to 120–180 for a tight finish. Chase inside curves with a cartridge roll. Deburr holes and slots so hardware seats flat.
Hit the whole surface with a wire cup or hand brush to lift scale and oxidation—clean metal makes patina application predictable and metal sealing reliable.
For color, warm the piece with a torch until it just flashes straw to blue; apply patinas with acid‑resistant brushes in thin, controlled passes. Quench or reheat to steer hues and create mottling. Rinse, dry thoroughly, and avoid fingerprints.
Seal immediately: lay down two to three light coats of a solvent‑based metal sealer (Rust‑Oleum clear enamel works) for corrosion resistance and patina lock‑in.
Planning wall mount? Torch keyholes in tubing, spaced 16 inches on center to hit studs.
Frequently Asked Questions
How Do I Price and Sell Plasma-Cut Metal Art Pieces?
Start with cost-plus pricing strategies: tally steel, consumables, machine time, design hours, overhead, target margin. Photograph clean welds, patinas, scale. Test prices at art fairs and online selling platforms. Offer custom sizes, limited editions, clear shipping/install specs.
What Software Helps Design Patterns for CNC Plasma Tables?
You’ll use design software for pattern creation: Fusion 360 for parametric parts, Inkscape for SVG silhouettes, Affinity Designer for curves, DraftSight for 2D CAD, SheetCam for CAM, and LightBurn or CorelDRAW for clean vector paths.
How Can I Reduce Noise and Fumes in a Small Studio?
Use a sealed booth, line walls with mineral wool for noise reduction, and isolate machines on rubber feet. Add fume extraction: downdraft table, HEPA + activated carbon purifier, and rigid-duct fan vented outside. Wear ear protection and a respirator.
Are There Community Workshops or Maker Spaces Offering Plasma Access?
Yes. You can find plasma access at maker spaces, FabLabs, and community colleges. Search “plasma CNC open lab.” You’ll leverage community resources, safety training, and workshop benefits: supervised cuts, fume extraction, consumables, fixtures, and shared CAD/CAM workstations.
How Do I Photograph Metal Art for Portfolios and Online Listings?
Use diffused side lighting techniques to reveal texture, add a reflector for highlights, and avoid glare. Choose neutral background choices, shoot perpendicular, lock white balance, bracket exposures, use a tripod, polarizing filter, and include close-up detail shots.
Conclusion
Step to the table, trigger humming, and watch the arc sketch light across steel. You’ve balanced freehand flow with template precision, matched your cutter to thickness, and tuned consumables for a clean kerf. Now dial feed rate, keep your standoff steady, and let sparks ribbon away. Quench, grind the edges satin-smooth, then brush on patina until colors bloom. Seal the surface, lift your work, and feel its weight—crisp contours, living texture, and your signature burned into metal.