
Sheet Metal Gauge Chart for Auto Body Welding
What’s in This Article
Choosing the wrong sheet metal gauge can ruin a clean auto body repair fast. A sheet metal gauge chart helps you match real thickness to the metal you’re welding, but you must verify the material first because gauge numbers change by metal. For auto body work, 18 to 22 gauge is common, with 18 gauge steel at about 0.0478 in, aluminum at 0.0403 in, and stainless steel at about 0.050 in. Use the chart to choose the right MIG wire, gas, and settings so you can reduce weak welds and distortion.
Quick Answer
A sheet metal gauge chart converts gauge numbers into real thickness in inches or millimeters. Always match the chart to the material, since 18 gauge steel, aluminum, and stainless steel do not share the same thickness. For auto body welding, most repairs use 18 to 22 gauge metal, with thinner wire and careful heat control.
Key Takeaways
- Check the metal type before you trust any gauge number.
- Use 18 to 22 gauge steel for many auto body panel repairs.
- Match replacement metal to the original panel thickness whenever possible.
- Use 0.024 or 0.025 inch MIG wire for thin auto body sheet metal.
- Test your settings on scrap metal before welding the vehicle.
What Is a Sheet Metal Gauge Chart?
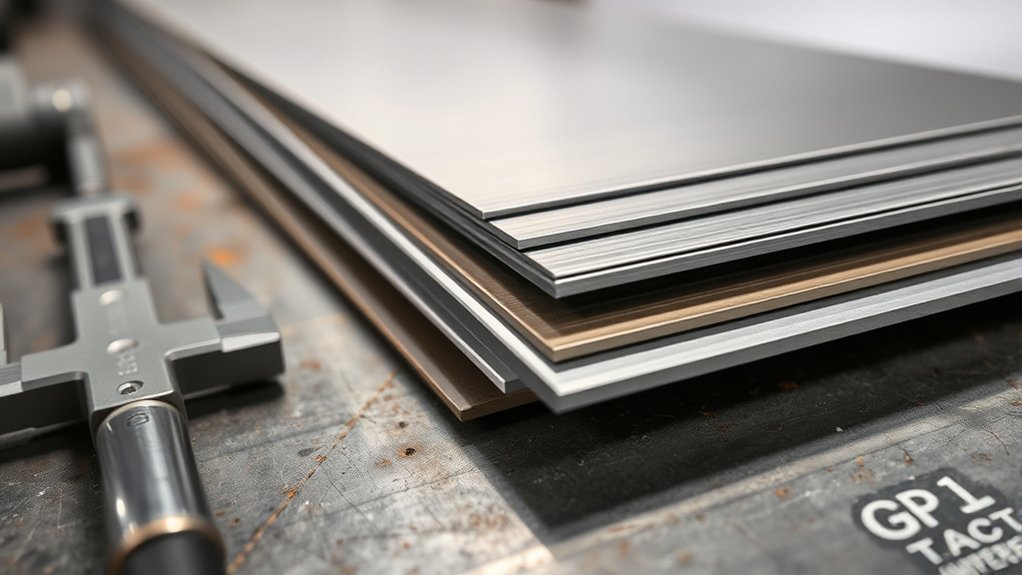
A sheet metal gauge chart gives you a material’s thickness by gauge number, usually in inches or millimeters. You use it to turn a non-linear gauge value into real thickness for design, fabrication, and repair. Smaller gauge numbers usually mean thicker metal, but the change between numbers does not follow a simple pattern.
The same gauge number doesn’t mean the same thickness across every metal. Mild steel, aluminum, and stainless steel each use different values. For example, 18 gauge mild steel measures 0.0478 inches, while 18 gauge aluminum measures 0.0403 inches.
In auto body welding, that accuracy matters because it helps you choose compatible metal and welding methods. It also helps you repair vehicles with better control and less waste. Understanding aluminum’s oxide layer also helps you prepare aluminum for stronger welds.
How to Read Sheet Metal Gauge Charts
To read a sheet metal gauge chart, match the material first. Then find the gauge number and its matching thickness in inches or millimeters. Don’t guess from the gauge number alone, because steel, aluminum, and stainless steel use different thickness values.
| Material | Gauge | Thickness |
|---|---|---|
| Steel | 18 | 0.0478 in |
| Aluminum | 18 | 0.0403 in |
| Stainless steel | 18 | About 0.050 in |
Use the millimeter value when you need standard specs for design, ordering, or repair notes. For example, 18 gauge steel equals 1.214 mm, while 18 gauge aluminum equals 1.024 mm. That small difference can still create costly fit-up errors.
Always state material and thickness together in millimeters when accuracy matters. A clear note such as “18 gauge mild steel, 1.214 mm” gives you more control than “18 gauge” alone. Understanding maximum fillet weld size can also help you size welds with better care.
Best Gauges for Auto Body Panels
For auto body panels, you’ll often choose 18 gauge steel because it gives you a useful balance of strength and weight. You may use thinner metal for small skins or patch areas, but you should still match the original panel whenever you can. A mismatch can affect fit, weld quality, and the final finish.
Aluminum in 18 gauge can reduce weight, while stainless and galvanized 18 gauge add different thickness and corrosion behavior. Match the gauge and material to the repair area, not just the number on the chart. Using protective sleeves can improve hose management and help you keep the welding area safer.
Products Worth Considering

Package Included: you will receive 2 pieces of carbon steel sheets, providing customers with value for their usage; This convenient packaging ensures that customers have enough material to complete their projects

Generous Packaging: each package of ours includes 4 pieces of metal sheets, providing a sufficient quantity to meet your varying needs; Whether for a large project or for multiple smaller tasks, our generous pack ensures you have just what you need, when you need it; Products shipped by sea may have slight rust on the surface due to moisture, which is a normal oxidation phenomenon
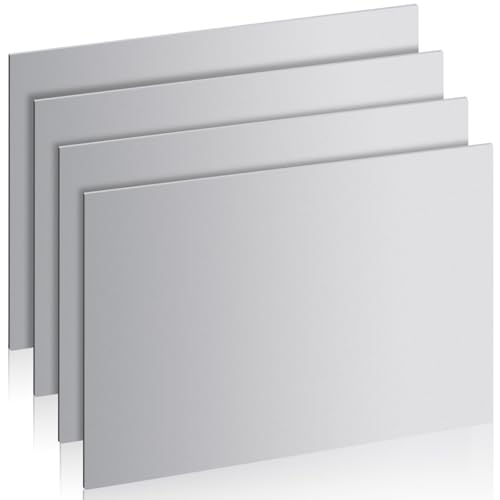
Premium Material: Selected cold-rolled carbon steel with excellent bending strength and tensile performance, easily handling regular loads and precision machining requirements
Common Auto Body Gauges
For sheet metal auto body work, 18 to 22 gauge is a common range. 18 gauge often works as a practical baseline because it gives you strength, formability, and manageable weight. You’ll see sheet metal gauges used across steel, aluminum, stainless, and galvanized panels.
- 18 gauge steel measures about 0.0478 inches.
- 18 gauge aluminum measures about 0.0403 inches.
- 18 gauge stainless steel measures about 0.050 inches.
- 18 gauge galvanized steel measures about 0.0516 inches.
Use the right gauge for the panel you’re repairing or replacing. Mismatched material can hurt fit, welding compatibility, and durability. When you match the gauge to the job, you keep the repair controlled and structurally sound.
Thin Panels, Easier Welding
Thin panels can make auto body welding easier when the repair does not need heavy structure. Many patch repairs use 20, 22, or 24 gauge sheet metal because thinner stock forms more easily. It also reacts faster to heat, so you need steady control.
Use 0.024 or 0.025 inch MIG wire to get solid penetration without burning through the panel. Clamp edges firmly to manage gaps and keep your weld path accurate. Practice on scrap of the same gauge before you touch the vehicle.
Warning: Galvanized metal can release harmful fumes when heated, so remove coatings safely and use proper ventilation.
Matching Gauge To Repair
Matching the replacement gauge to the original panel is one of the most important steps in auto body repair. Even the same gauge number can mean different thicknesses depending on the metal. You need to verify the material before you cut, weld, or fit a panel.
For steel bodywork, 18 gauge is common, at about 0.0478 in for mild steel and 0.0516 in for galvanized steel. For aluminum, the same gauge number is thinner at about 0.0403 in. Many smaller repairs also use 20 gauge steel at about 0.0359 in.
When you match thickness correctly, you preserve strength, alignment, and finish. You also reduce the risk of waves, low spots, and weak welds.
Steel, Aluminum, and Stainless Charts
18 gauge steel measures about 0.0478 in. (1.214 mm), which gives you a useful baseline for auto body work. Aluminum at 18 gauge is thinner at about 0.0403 in. (1.024 mm), so you must account for its lower mass and different heat response. Stainless at 18 gauge runs about 0.050 in. (1.270 mm), so careful prep helps you keep corrosion resistance and get clean welds.
Material type changes heat control, joint prep, and filler choice. Understanding heat absorption issues can also help you adjust your technique across different metals.
Products Worth Considering

18-GAUGE WELDING DISC: Designed to fill the holes left over from shaving body trim, smoothing firewalls, or even that little rust spot in a body panel.

Model: ER70S-6 TIG Welding Rod The ER70S-6 is a gas-shielded, copper-plated carbon steel welding rod (welding wire) designed for low-alloy and carbon steel. Perfect for TIG welding, it ensures strong, durable welds and is a must-have in your welding supplies.

QUANTITY AND SIZE:With 8 of 3x5",8 of 2x4",4 of 3x3" and 4 of 2x2" 24 pieces in total welding practice kit.
Steel Gauge Thickness
Gauge charts matter because 18 gauge doesn’t mean the same thickness across metals. When you check steel gauge thickness, you’ll see 18 gauge steel measures 0.0478 inches, or 1.214 mm. That thickness gives you a useful blend of strength and formability for auto body welding.
Use that baseline to set your expectations before you strike an arc. Stainless at 18 gauge measures about 0.050 inches, and galvanized steel measures about 0.0516 inches. Your heat input, fit-up, and joint prep must match the metal in front of you.
Knowing each metal’s actual thickness helps you choose the right equipment and control distortion. It also helps you work with precision instead of guesswork.
Aluminum Gauge Differences
Aluminum behaves differently than steel. 18 gauge aluminum measures 0.0403 inches (1.024 mm), not 0.0478 inches like 18 gauge steel. 18 gauge stainless steel lands at about 0.050 inches (1.270 mm).
You can’t trust gauge numbers alone because the system isn’t linear across metals. When you check aluminum gauge differences, use the aluminum chart before you cut, fit, or weld. That step keeps panel gaps accurate and helps you protect structural integrity.
Aluminum’s lower density and higher thermal conductivity also change how it behaves under heat. You’ll need the right MIG wire and gas setup for the job. Measure the material, read the chart, and work from facts, not assumptions.
Stainless Weld Prep
Before you strike an arc on stainless, verify the chart. 18 gauge stainless steel measures about 0.050 inches (1.270 mm), not the same as 18 gauge aluminum at 0.0403 inches (1.024 mm). You need a stainless steel chart, not a generic one, so your prep matches the metal.
| Step | Action |
|---|---|
| 1 | Remove oxide and contaminants |
| 2 | Confirm thickness on chart |
| 3 | Set MIG wire to 0.030 in when suitable |
| 4 | Adjust gas for stainless steel |
| 5 | Weld with clean, steady travel |
That prep protects penetration, limits porosity, and helps you build a durable joint. Stainless steel isn’t aluminum, so your settings shouldn’t be the same either.
Choose MIG Wire, Gas, and Settings
Dialing in the right metal inert gas (MIG) setup starts with matching wire size, shielding gas, and feed speed to the metal thickness. For auto body sheet metal, you’ll usually get the cleanest control with 0.024 or 0.025 inch MIG wire. That smaller diameter helps you move heat with care and protect thin panels from distortion.
If you’re welding exhaust parts, you may step up to 0.030 inch wire when the metal and joint allow it. Use a 75% argon and 25% carbon dioxide shielding gas mix for many mild steel auto body welds. Set wire feed speed from your welder’s chart first, then tune it on scrap of the same thickness.
Match MIG wire size, gas, and feed speed to metal thickness for cleaner, more controlled welds.
- Match MIG wire size to thickness first.
- Keep gas flow steady for stable shielding.
- Test settings on scrap before the final weld.
- Use the correct MIG welding settings to improve weld control.
Pro tip: Keep scrap pieces from the same panel so you can test heat and wire speed before the final weld.
Common Sheet Metal Gauge Mistakes
Once you’ve set your MIG wire, gas, and feed speed, the next place welds go wrong is gauge selection. You can’t trust a sheet metal gauge number alone. 18 gauge steel is thicker than 18 gauge aluminum, so the same label won’t behave the same.
If you misread the chart, you may weld material that’s too thin for structure or too thick to fit panels cleanly. Always check the exact metal, including stainless steel and galvanized steel, because each sheet metal gauge chart can differ. Don’t ignore coatings either, because galvanizing can change effective thickness and alter heat response.
You also need to match thickness to the specific auto part. Rocker panels, patch panels, skins, and braces can see different loads. Choose the wrong thickness, and you risk weak penetration, distortion, or failure in high-stress zones.
Mastering welding parameters helps you make better welds. Read the chart, verify the alloy, and weld with control.
Frequently Asked Questions
Can Gauge Charts Differ Between Metal Manufacturers?
Yes, gauge charts can differ between metal manufacturers because tolerances, alloys, and forming methods can shift final thickness. You should verify actual thickness with a caliper instead of assuming the chart value matches every sheet.
How Do Rust and Coatings Affect Gauge Selection?
Rust and coatings can mislead your gauge choice because they change the surface you measure. Clean the area when safe, measure the base sheet, and account for coatings before you select replacement metal.
What Gauge Is Best for Patch Panels?
You’ll usually use 18 or 20 gauge steel for patch panels, depending on the surrounding metal. Match the original panel’s thickness whenever you can so the repair keeps proper strength and fit.
Do Older Vehicles Use Different Sheet Metal Thicknesses?
Yes, older vehicles can use different sheet metal thicknesses across body panels. Measure before cutting or welding, because classic vehicles may use thicker steel than later models.
How Often Should Gauge Charts Be Checked for Updates?
You should check the chart any time you buy from a new supplier or work with a new metal type. For shop work, keep one trusted chart nearby, then confirm critical parts with direct measurement.
Conclusion
A sheet metal gauge chart helps you match material thickness to the right weld process, filler wire, and machine settings. Read the chart by material first, then confirm the thickness before you cut or weld. Keep scrap nearby, test your settings, and adjust heat before you touch the vehicle. With the right numbers and steady prep, you can make cleaner welds and reduce costly panel distortion.




