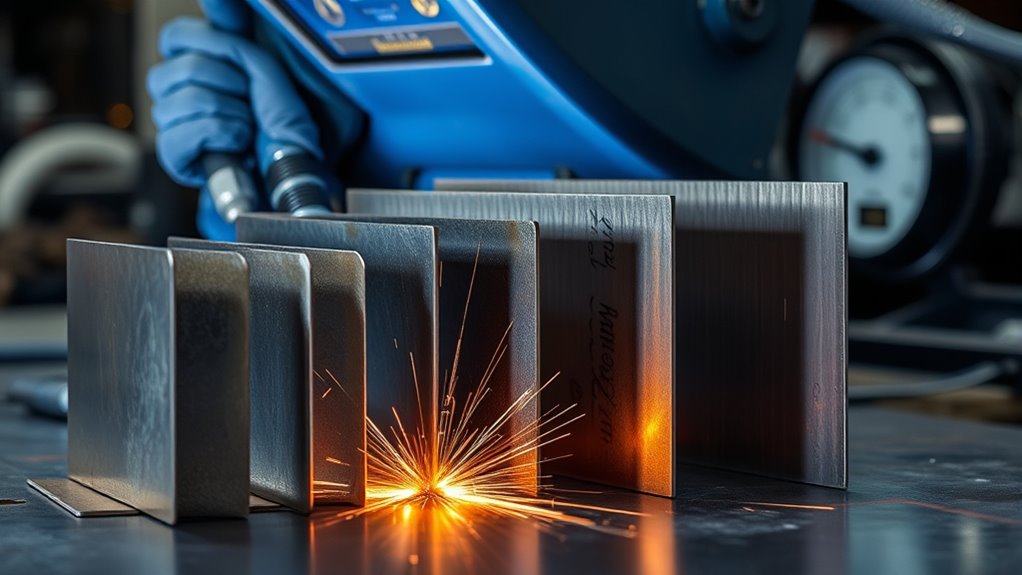
Use amperage to control weld penetration: too little heat leaves weak fusion, while too much widens the bead and can burn through thin sheet metal. A practical baseline is 1 amp per 0.001 inch of steel, so 1/8 inch steel needs about 125 amps. For MIG, TIG, and stick, adjust for joint type, fit-up, and travel speed. Aluminum usually needs 20–25% more heat. Watch bead shape closely, and you’ll spot the right settings fast.
How Amperage Affects Welds
Amperage directly controls weld penetration: when you increase current, you drive deeper fusion into the base metal, which is especially important on thicker material to avoid cold welds and weak bonding.
In MIG welding, you match Amperage to metal thickness so your settings create enough heat for full fusion without excess buildup. Too little current leaves a high bead, poor penetration, and weak weld quality; too much can widen the bead and enlarge the heat-affected zone, risking distortion and loss of strength.
Match amperage to metal thickness for full fusion without excess buildup, weak penetration, or distortion.
You want the puddle to stay stable, fluid, and controlled, because that’s where precision becomes freedom in the shop.
Adjust your settings for the metal you’re joining, since aluminum often needs more current than steel to form a proper puddle. When you tune Amperage correctly, you gain cleaner fusion, fewer defects, and welds that hold under load. Additionally, understanding the recommended amperage ranges for different electrodes and metal thicknesses is crucial for achieving optimal results.
Use the 1 Amp per .001 Rule
A simple way to set your welder is to use the 1 amp per 0.001 inch rule: match roughly 1 amp of current to each thousandth of material thickness for steel. This 1 Amp per .001 inch method gives you a clear amp setting when welding, so you can work with confidence instead of guesswork.
For example, 1/8 inch steel usually calls for about 125 amps, which helps you reach good penetration without excessive heat. If your amperage is too low, you’ll get poor penetration and a weak joint; too high, and you risk burn-through.
For aluminum, raise the setting by 20-25% because it pulls heat away faster and forms the puddle differently. Use this rule reliably up to 1/4 inch thickness of the metal. Additionally, always consider the welding current to ensure you maintain optimal heat levels during the process.
Beyond that, your process and joint design matter more, so you’ll need to adjust with intent, precision, and freedom from habit.
Match Amperage to Metal Thickness
You should match amperage to material thickness, using about 1 amp per 0.001 inch of steel as a baseline. So, 1/8-inch steel needs roughly 125 amps. For aluminum, you’ll typically raise amperage by 20-25% to offset higher heat loss. Thin sections need lower settings to avoid burn-through. You also need to adjust for joint type and fit-up, since bevels, gaps, and weld position can change the amperage required for solid penetration. Additionally, matching amps to thickness enhances weld strength and efficiency.
Products Worth Considering

Richard Finch, Welder's Handbook: A Complete Guide to MIG, TIG, Arc & Oxyacetylene Welding, "Completely Revised and Updated Edition!" paperback
Thickness-to-Amperage Rule
When matching amperage to metal thickness, a practical rule for steel is about 1 amp per 0.001 inch of material. So, 1/8 inch steel typically needs around 125 amps.
Use this thickness-to-amperage rule to set your MIG welder, then fine-tune recommended settings for stable weld penetration without excess spatter.
For aluminum, bump amperage 20-25% higher than steel because the puddle forms faster.
For thin sheet, start low to avoid burn-through; for thicker stock above 1/4 inch, move into higher amperage ranges for solid fusion.
You’re not locked into one number—your goal is controlled heat and clean flow.
- Steel: 1 amp per 0.001 inch
- Aluminum: add 20-25%
- Thin or thick: adjust for burn-through or penetration
Adjusting For Joint Type
Joint type changes the amperage target as much as thickness does, so match your setting to the weld you’re making, not just the metal gauge.
For a butt joint, run higher amperage to drive full penetration through the root; for a lap joint, you can usually lower amperage and still get a sound bead.
On thin sheet metal, start low and move up only if the puddle won’t tie in.
If you weld 1/8 inch steel, about 125 amps is a solid baseline, while 22 gauge may need 40–60 amps.
Aluminum usually needs 20–25% more amperage than steel.
Check fit-up, too: gaps or poor alignment force you to adjust amperage if you want high-quality welds without burn-through or cold lap.
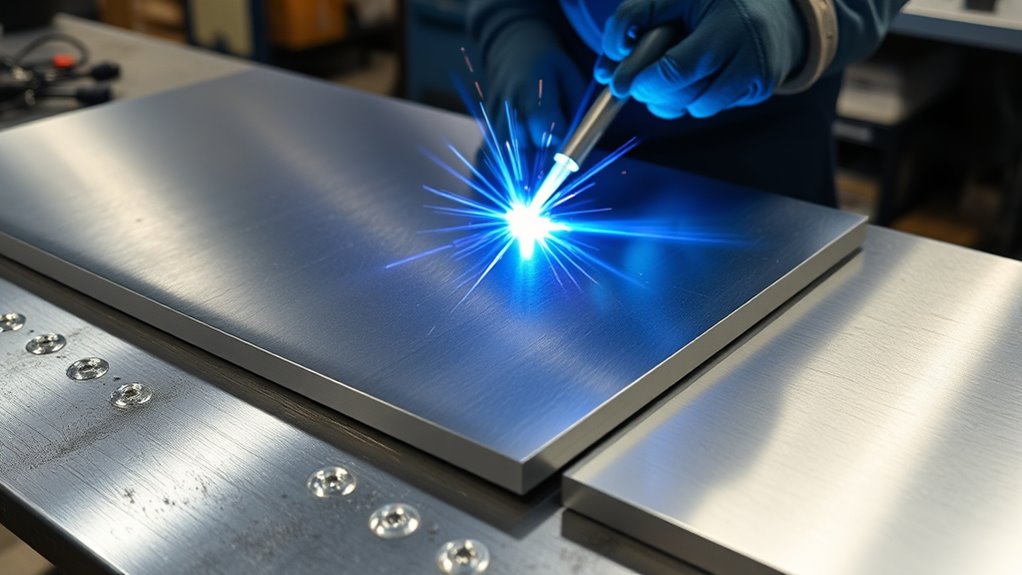
Set Amperage for MIG, TIG, and Stick
Set amperage based on the welding process, material thickness, and electrode size, since each method responds differently to heat input. When you set amperage for MIG, TIG, and stick, match the setting to different thickness and confirm it with an Amperage Chart.
Set amperage by process, thickness, and electrode size, then confirm your settings with an amperage chart.
For MIG, use about 1 amp per 0.001 inch of steel; 1/8 inch steel lands near 125 amps, and wire feed speed must stay in sync.
TIG starts lower: 30–100 amps with 1/16 inch tungsten, then you tune by metal and thickness.
Stick usually needs more current; 1/8 inch steel often runs 70–100 amps, while larger electrodes demand more.
- Use higher amps for 1/4 inch steel, about 140–180 amps.
- Check your machine’s chart before striking an arc.
- Skilled welders adjust fast, but they still verify penetration and bead shape. Understanding proper amperage settings is crucial for achieving strong welds and preventing defects.
Products Worth Considering

🧲 Sticks to Toolboxes & Welders – Heavy-duty magnetic welding chart adheres to metal surfaces like your welding table, toolbox, or wall for instant reference while working.
![ARCCAPTAIN 165A MIG Welder 110V/220V [Large LED Display] 4 in 1 Gasless/Gas MIG/Lift TIG/Stick Welding Machine Multiprocess Welder Machine, IGBT Inverter Welder with Synergy, 2T/4T](https://m.media-amazon.com/images/I/51GW2TUAy1L._SL500_.jpg)
4-IN-1 MIG Welder: The welder machine offers GAS MIG/Flux Core MIG/Lift TIG/ MMA welding modes (Note: WP-17V TIG torch must be purchased separately). It can easily handle welding stainless steel, carbon steel, and even thicker steel materials, meeting diverse welding requirements.

Comprehensive Gauge Information: This chart includes a wide range of measurements for both ferrous and nonferrous materials, including steel, aluminum, copper, and more. It helps you accurately determine the thickness of various metals with ease, providing you with a reliable reference for all your metalworking needs.
Adjust for Aluminum, Joints, and Passes
When you weld aluminum, raise the amperage by about 20–25% over your steel setting so you get proper puddle formation. For thicker joints, especially above 1/8 inch, increase amperage to maintain penetration and fusion, and adjust for the joint type because flanged and T-joints often need more heat than butt joints. On multiple-pass welds, reduce heat input as needed between passes so you don’t overheat the part or distort the joint. Additionally, be mindful of maximum fillet weld size to ensure effective joint integrity and compliance with standards.
Aluminum Amp Increase
Because aluminum pulls heat away faster than steel, you should raise amperage by about 20–25% to get proper puddle formation and penetration.
That aluminum amp increase gives you different amperage than steel: 125 amps on 1/8 inch steel becomes about 150–156 amps on aluminum.
If you stay too low, you’ll see insufficient penetration and a weak bead; if you push too hard, you’ll get excessive spatter and distortion.
Use higher welding speed to keep heat controlled and the arc stable.
To find the right settings, watch the puddle closely; a fluid, consistent pool tells you you’re on target.
If the weld looks cold or erratic, trim your travel and amperage together until fusion feels clean and free.
Joint And Pass Adjustments
Once you’ve dialed in amperage for the base metal, adjust it for the joint and pass count. For aluminum, raise amperage 20-25% over steel so you can build a stable weld pool despite its heat-sinking nature.
In butt joints, keep travel speed steady and start near 1 amp per .001 inch of thickness. Fit-up matters: tight joints need less amperage, while wider gaps demand more to bridge fusion.
On thin metal below 1/8 inch, back off amperage to avoid burn-through and keep control. With thick material, you can use higher amperage, but when you run multiple passes, reduce it slightly each time to limit heat buildup, warping, and loss of freedom to move cleanly across the joint.
Read Weld Beads and Fine-Tune Heat
Watch the bead, and let it tell you how your settings are performing: a good weld bead should lay flat with consistent penetration and minimal spatter, showing that heat input and arc control are balanced. You can use the weld bead as your feedback loop: set amperage near 1 amp per .001 inch of thickness, then refine your settings for proper fusion on your welding machine.
If the bead looks narrow and sits high, raise heat input or slow your travel. If it spreads too wide, reduce heat or move faster. Keep your wire speed matched to amperage so the arc stays stable and the bead width stays uniform.
Watch for these cues:
- Flat, even crown: your heat is close.
- Ropey, narrow bead: you’re moving too fast.
- Wide, washed-out bead: you’re lingering too long.
Check every pass, because consistent bead appearance helps you free your process from guesswork and lock in repeatable results. Remember that maintaining proper wire speed is essential for achieving optimal weld quality and preventing defects.
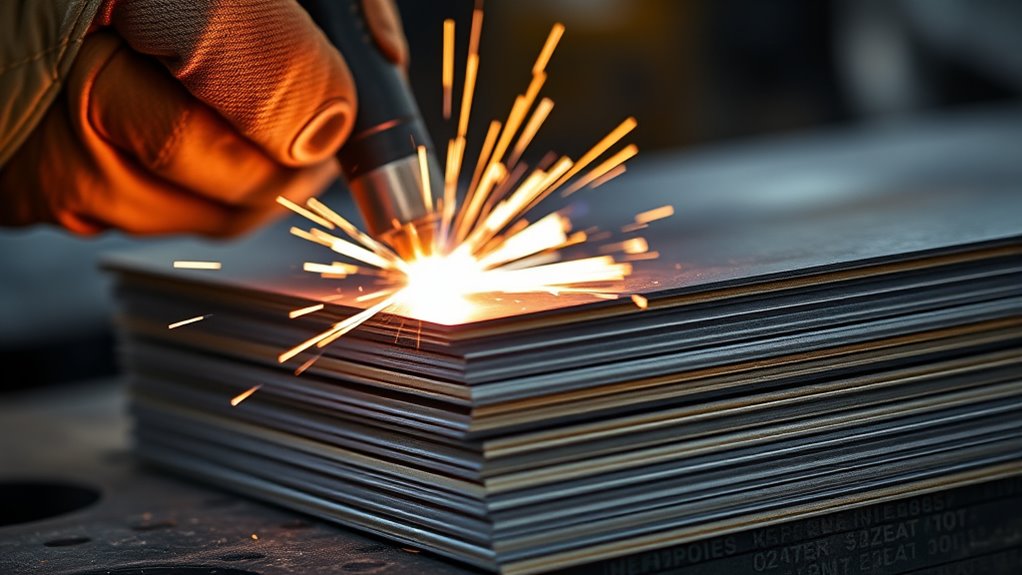
Fix Burn-Through, Spatter, and Weak Fusion
If your bead is telling you the settings are off, the next step is to correct the defects directly: burn-through, spatter, and weak fusion all point to amperage or travel speed that’s out of range.
On thin sheet, drop the amperage and move faster; for 16-gauge steel, start near 30-50 amps to prevent burn-through. If spatter sprays from the puddle, reduce amperage by 10-20% and verify your gas mix, because welding machines can’t fix bad shielding alone.
When fusion looks weak, raise amperage enough to drive penetration; 1/8 inch steel often needs 140-180 amps for solid bonding. Remember to maintain proper stick-out length for optimal arc stability when adjusting settings.
Watch the bead profile: inconsistency means you should adjust both heat and travel speed. Always make test welds on scrap first, then refine settings before you commit to the final joint.
Keep your safety tips tight: protect your eyes, skin, and lungs while you tune.
Frequently Asked Questions
How to Weld Two Different Thicknesses of Metal?
You weld the thicker metal first, then control heat on the thinner side. Prep the joint, choose compatible filler materials, use weaving welding techniques, and tune travel speed for penetration depth and welding safety.
How Many Amps per Thickness of Metal?
1/8-inch steel needs about 125 amps; like my first clean bead, precision frees you. You’ll adjust amperage settings by metal types, welding techniques, heat control, electrode selection, and safety precautions—roughly 1 amp per 0.001 inch.
Why Do Welders Not Live Long?
You face health risks from fumes, UV/IR radiation, noise, and strain; poor welding safety worsens exposure effects. Use proper ventilation, protective gear, and stress management, and you’ll reduce damage and protect your lifespan.
What Is the Golden Rule in Welding?
You’ll use one amp per 0.001 inch of thickness, then adjust for material and joint preparation. With proper electrode selection, welding safety, heat management, post weld treatment, and equipment maintenance, you’ll weld cleaner.
Conclusion
Amperage is the key that unlocks control when you weld sheet metal. When you match heat to thickness, you build a clean bead instead of a warped panel or a burned edge. Use your arc like a fine instrument: adjust, observe, and correct. If the puddle stays steady and the joint ties in, you’re on target. When you read the weld and fine-tune the current, you turn thin metal into a strong, lasting seam.


