
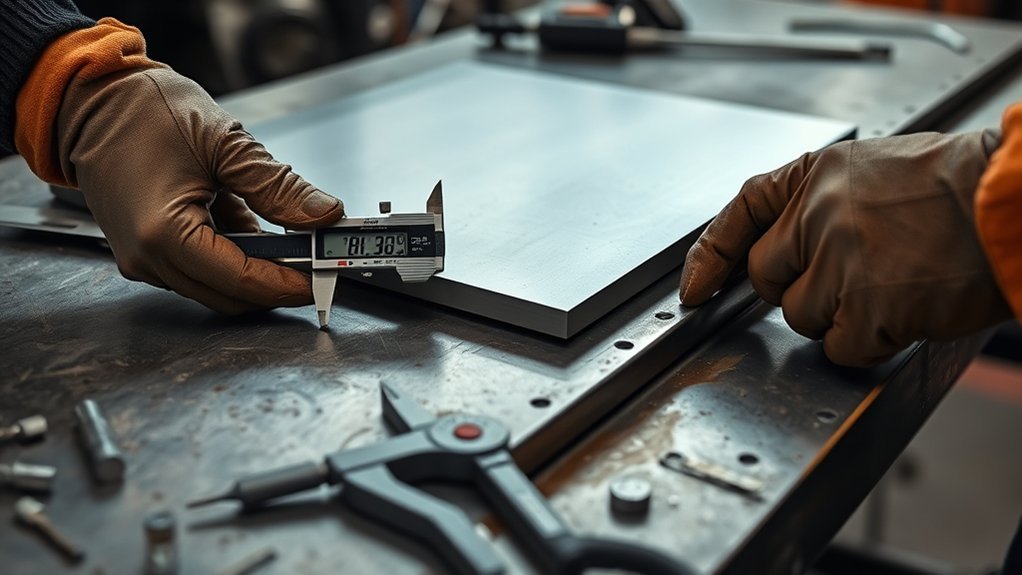
Measure Sheet Metal Thickness Correctly
Wrong sheet metal thickness can ruin fit-up before you strike an arc. Clean metal, a square measuring tool, and the right gauge chart help you avoid weak welds, burn-through, and poor joint fit. This guide shows you how to measure sheet metal thickness for welding, convert the reading, and match it to the right material chart.
Quick Answer
To measure sheet metal thickness for welding, clean the surface first, then use calibrated calipers or a micrometer on a flat area away from edges. Take several readings, record the decimal thickness, and convert inches to millimeters by multiplying by 25.4. Then compare the value with the correct material-specific gauge chart, since gauge numbers vary by alloy.
Key Takeaways
- Clean the sheet first so paint, rust, scale, or dirt does not change your reading.
- Use calipers for most checks and a micrometer when thin metal needs tighter control.
- Measure away from cut edges because shearing and grinding can distort the metal.
- Record the decimal thickness before you convert it to gauge, inches, or millimeters.
- Match the reading to the correct material chart because steel, stainless steel, and aluminum use different values.
How to Measure Sheet Metal Thickness for Welding
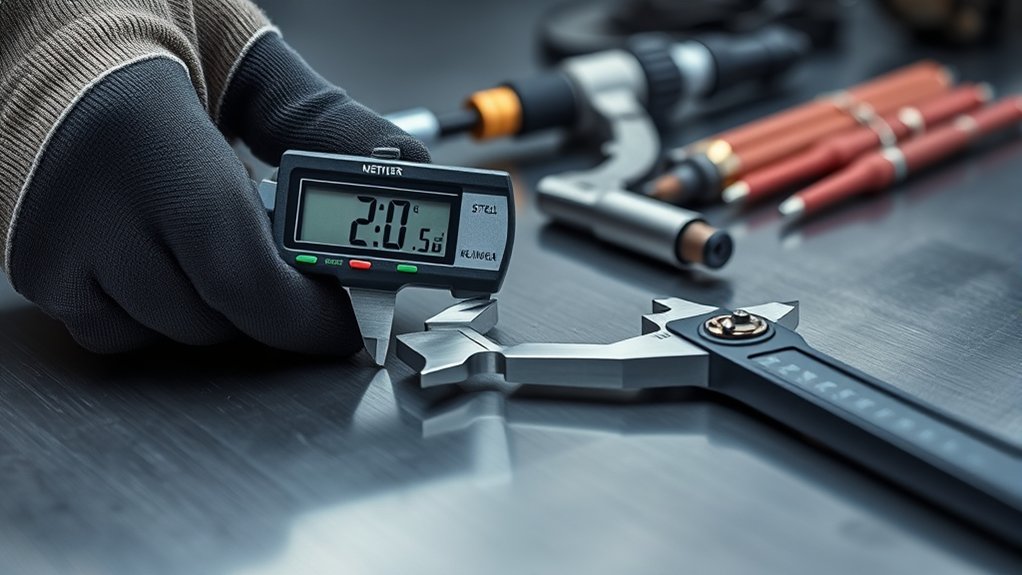
To measure sheet metal thickness correctly, use a caliper or micrometer and read to the thousandth of an inch when weld compatibility matters. Clean away paint, rust, oil, and scale first because surface buildup can change the measurement and weaken your judgment. If exact dimensions govern fit-up, record the actual thickness directly.
If you only need a quick classification, a gauge wheel can help you identify the gauge number for ferrous or nonferrous stock. Then verify that number against a sheet metal gauge chart, since gauge number alone does not guarantee the same actual thickness across alloys. For example, 18 gauge stainless steel equals 0.050 inches, but other metals can differ.
Consistent readings help you choose the right welding setup and maintain weld strength, penetration, and joint integrity. When you measure sheet metal with discipline, you control the process instead of letting hidden variation shape the result. You should also consider the cutting technique used to minimize warping when preparing for welding.
Before You Begin
Plan about 5 to 10 minutes for a small panel, depending on surface condition and how many readings you need. Gather the right tools before you start so you do not rely on a single rushed measurement.
- Clean cloth or degreaser for surface cleaning
- Fine abrasive pad for light rust or scale
- Calibrated caliper for general thickness checks
- Micrometer for thin sheet or tighter measurements
- Material-specific gauge chart for steel, stainless steel, or aluminum
- Notebook or phone note to record decimal readings
Warning: Wear gloves when handling cut sheet metal because sharp edges can slice your hand quickly.
Step-by-Step Measuring Process
- Clean the surface. Remove paint, rust, scale, oil, and dirt from the measuring area so the jaws touch bare metal.
- Choose a flat spot. Measure away from corners, cut edges, holes, bends, welds, and ground areas.
- Zero the tool. Close the caliper or micrometer gently and confirm it reads zero before you measure.
- Hold the jaws square. Place the tool straight across the sheet and close it lightly without crushing the metal.
- Take several readings. Measure at three or more points across the panel to catch local variation.
- Record the decimal value. Write the actual thickness in inches or millimeters before you convert anything.
- Compare the chart. Match the decimal value to the correct gauge chart for your exact metal type.
Pro tip: If your readings vary, use the thinnest reliable reading when burn-through risk matters.
Products Worth Considering

Ultra-Precise Measurements Instantly: Neoteck thickness gauge features a high 0.0005inch (0.01mm) resolution across a wide 0-0.5inch(0-12.7mm) range with a rapid ≤0.5 m/s response time. This ensures pinpoint accuracy and near-instant readings for even the thinnest materials, eliminating guesswork and boosting your quality control efficiency. Backed by our precise calibration standards

High Precision Measurements: The Digital Thickness Gauge offers an impressive measurement range of 0-12.7mm (0.5"), with a resolution of 0.01mm (0.0005") ensuring accurate readings down to 1μm, perfect for setting printing press pressure and even measuring hair thickness.

[HIGH ACCURACY MEASUREMENT] - Delivers 0.00005" (0.001mm) resolution with a measurement range of 0-1" (0-25.4mm). Featuring hardened steel contact plates, this gauge maintains an accuracy of ±0.0002" (±0.005mm) to ensure reliable data for strict quality control standards.
Pick the Right Measuring Tool
A caliper gives you a strong starting point because it measures sheet metal in both metric and imperial units. That makes it easy to compare your reading against gauge charts. You can use it as your main measuring tool for most sheet metal work.
For thin stock, a micrometer gives tighter control and can read to about 0.001 inches. A gauge wheel works for a fast gauge check, but it should not replace a direct measurement when welding accuracy matters. A tape measure only works for rough layout, not reliable thickness checks.
Always remember that maximum weld size depends on the thickness of the thinner plate. That helps you protect joint strength during welding projects.
| Tool | Best use | Precision |
|---|---|---|
| Caliper | General thickness checks | High |
| Micrometer | Thin sheet metal | Very high |
| Gauge wheel | Quick gauge ID | Moderate |
Cross-reference your reading with a gauge chart for the exact metal type. That step helps you choose with clarity instead of guesswork.
Products Worth Considering
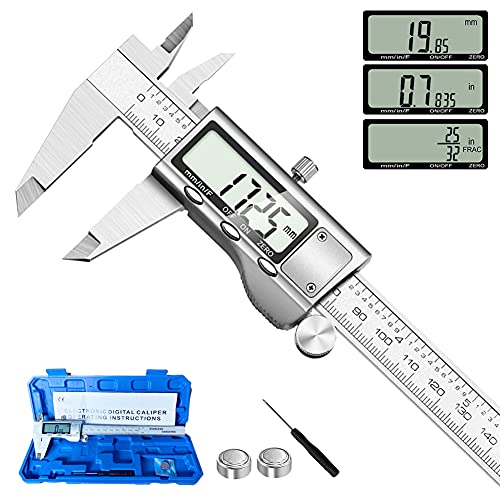
【STAINLESS STEEL MATERIAL】The vernier caliper is made of high-strength stainless steel and is waterproof and dirt-proof. The service life of this stainless steel digital caliper is longer than that of calipers with plastic or carbon fiber parts.

[INCH/MM Conversion]: One button can quickly convert two measuring unit (INCH/MM). Measuring Range:0 - 150mm (6") / Resolution: 0.01mm (0.0005")/Accuracy: ±0.02mm (0.001")

【Accurate Measuring Tools】: Aurdeayi digital caliper Measuring Range: 0 - 6 inch/ 0 - 150 mm; Accuracy: ±0.001 inch/ 0.02 mm and Resolution: 0.0005 inch/ 0.01 mm
Convert Thickness to Inches and Millimeters
To convert gauge to inches, use a material-specific thickness chart, since the same gauge number does not equal the same thickness for every metal. Once you have the inch value, convert it to millimeters by multiplying by 25.4. For example, 16 gauge stainless steel is often listed near 0.0625 inches, which is about 1.59 mm.
Understanding gauge thickness variations helps you avoid wrong settings, poor fit-up, and welding problems.
Gauge to Inches
Sheet metal gauge converts to thickness in inches and millimeters, but the exact value depends on the material. Each metal uses its own gauge chart. You should read sheet metal thickness from a gauge conversion chart before any fabrication process because sheet metal gauge numbers fall as thickness rises.
For example, 16 gauge steel equals 0.0635 inches, while 18 gauge aluminum measures 0.0403 inches. A stainless steel sheet at 18 gauge measures 0.050 inches, so the same gauge number never guarantees identical metal thicknesses. Use calipers or a metal-specific gauge wheel to verify dimensions, especially for welding applications.
Check tolerances too, since production can shift the listed value slightly. When you master these conversions, you control the material instead of letting the chart mislead you.
Millimeter Conversion Formula
Once you match gauge to the correct metal chart, you can convert the measured thickness between millimeters and inches. Use the millimeter conversion formula: multiply millimeters by 0.03937 to get inches. Since 25.4 millimeters equal 1 inch, you can reverse the process by multiplying inches by 25.4.
For example, 5 mm becomes 0.1969 inches. To reverse the process, 0.25 inches equals 6.35 mm. This accurate conversion keeps the thickness of sheet metal aligned with welding requirements and helps preserve fit, strength, and distortion control.
Gauge systems can guide you, but numeric conversion gives you the right thickness for fabrication. Double-check your metal measurement with a reliable calculator or conversion tool so you do not carry an error into the weld.
Material-Specific Thickness Charts
| Material | Thickness |
|---|---|
| 18 ga stainless steel | 0.050 in / 1.270 mm |
| 18 ga aluminum | 0.0403 in / 1.024 mm |
| 10 ga stainless steel | 0.135 in / 3.429 mm |
| 10 ga aluminum | 0.102 in / 2.591 mm |
This gap matters because your weld penetration, heat input, and joint strength change with each alloy. Choose the best material chart so you reduce guesswork and lower structural failure risk. Measure first, then weld with confidence and control.
Match Sheet Metal Gauge to Material
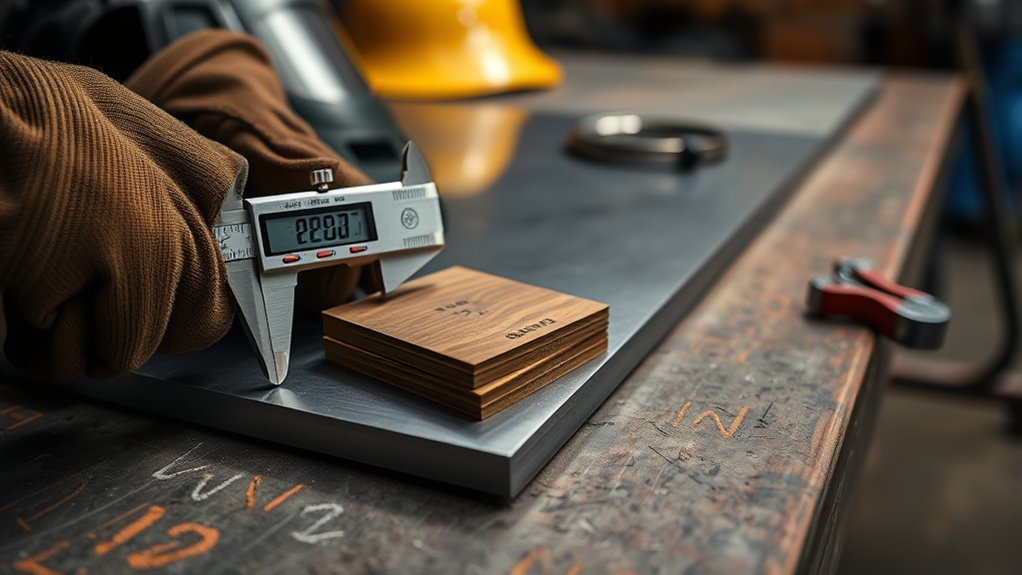
Gauge numbers can confuse you because each material chart uses different decimal values. Before you choose welding settings, confirm the metal type and match the measured thickness to the right chart.
- Check the alloy first.
- Read the material-specific gauge chart.
- Confirm decimal thickness, not assumptions.
- Verify aluminum gauge values separately.
- Reject any wrong gauge before welding.
- Follow proper surface preparation to support better welding quality.
Check Thickness Tolerances Before Welding
Before you weld, verify the sheet thickness against the correct gauge chart so you know the material is within a useful range. Small differences can cause fit-up errors, heat-control problems, and weak joints. You should check thickness tolerances with calipers or a gauge tool, then compare your readings to gauge charts for exact material selection.
For many thin sheet metal checks, small variation can matter, especially near edges or formed areas. Avoid assuming a fixed tolerance unless your supplier, drawing, or material specification gives one. Different material properties matter too because stainless steel, aluminum, and mild steel do not behave the same under heat or load.
Account for the heat-affected zone because welding can change local strength and cause distortion near the joint. When you control tolerance, you protect the joint, reduce rework, and keep your fabrication process consistent. Understanding the material suitability for different welding techniques can also improve your results.
Avoid Common Measuring Mistakes
A calibrated caliper or micrometer should be your baseline because tape measures introduce human error. They will not give you reliable sheet metal thickness readings. Measure near the sheet metal center, not at the edge, where cutting can distort thickness.
Take multiple readings across the panel to reveal manufacturing tolerances and local variation. Then compare each value against the correct gauge chart for the specific alloy. Steel, stainless steel, and aluminum gauge standards do not match.
Record every reading in decimal and gauge formats so you can order, verify, and weld with precision. When you measure, stay methodical: clamp lightly, close the jaws square, and do not force the calibrated caliper. Clean surfaces also help you avoid problems like mill scale interfering with accurate measurements.
- Measure in the center of the sheet.
- Take multiple readings across the panel.
- Check the correct gauge chart for the material.
- Note both decimal thickness and gauge number.
- Avoid cut edges, bends, welds, and distorted areas.
Troubleshooting Bad Thickness Readings
If your readings keep changing, inspect the sheet for paint, scale, burrs, bends, or warped spots. Clean the surface again and move the tool to a flatter area. Then zero the caliper or micrometer before taking another reading.
If the gauge chart does not match your decimal reading, do not force the closest gauge number. Record the actual thickness and use the chart only as a reference. Your welding settings should follow the real measured thickness, not just the gauge label.
Note: A supplier label can help, but your own measurement should guide welding setup when accuracy matters.
Frequently Asked Questions
How do you determine metal thickness for welding?
You determine metal thickness for welding by cleaning the surface, then measuring it with calipers or a micrometer. Take readings in several flat areas and compare the decimal value with the correct material gauge chart.
Which is thicker, 18 gauge or 20 gauge sheet metal?
18 gauge sheet metal is thicker than 20 gauge sheet metal. In most sheet metal gauge systems, lower gauge numbers mean thicker metal.
Which is thicker, 26 gauge or 30 gauge sheet metal?
26 gauge sheet metal is thicker than 30 gauge sheet metal. Still, you should check the correct material chart because exact decimal thickness depends on the metal type.
Which is thicker, 14 gauge or 16 gauge sheet metal?
14 gauge sheet metal is thicker than 16 gauge sheet metal. You can verify the difference with a caliper, micrometer, or material-specific thickness chart.
Can you measure painted sheet metal accurately?
You can measure painted sheet metal for a rough check, but paint can add thickness to the reading. For welding setup, clean a small area and measure the bare metal.
Conclusion
Accurate sheet metal measurement starts with clean metal, a square tool, and the right chart. Use your caliper or micrometer to record the true decimal thickness before you convert it to gauge. Then match that value to the correct material so your welding settings fit the metal in front of you.
Before your next weld, take a few extra readings and write them down. That small habit can save you from burn-through, weak joints, and rework.




