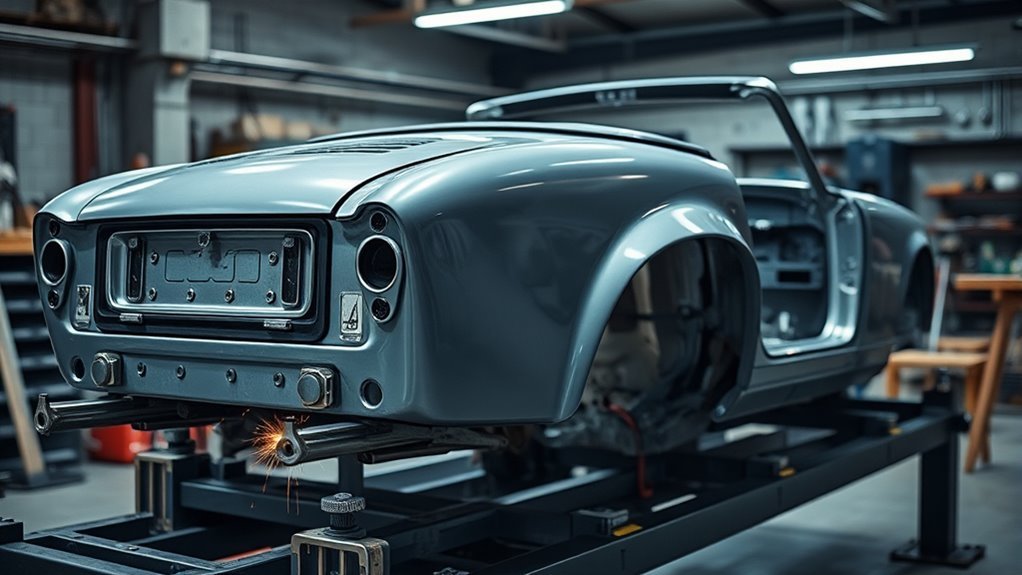
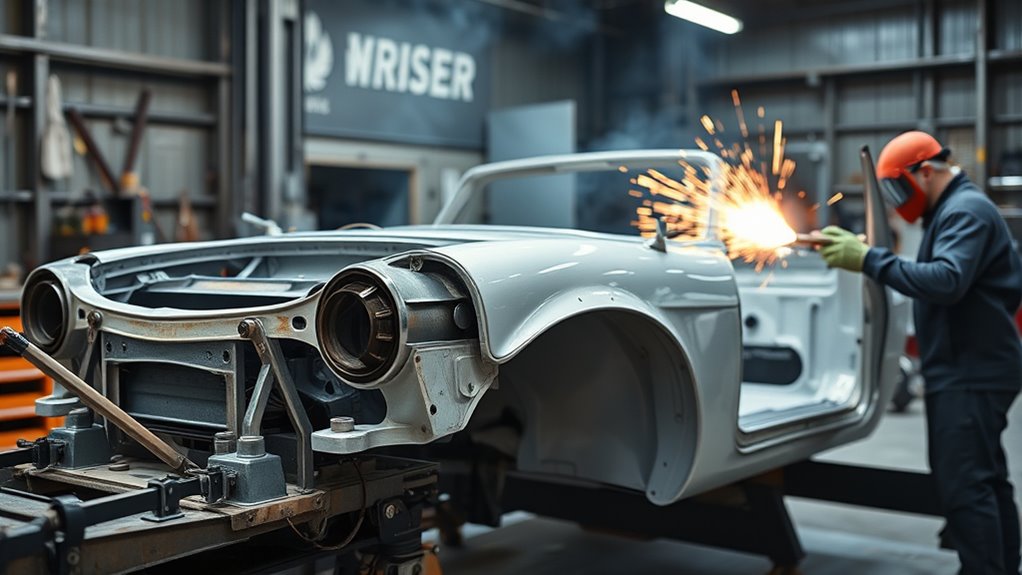
Because a convertible lacks a fixed roof, its body shell must control more twist through the floor, rocker panels, torque boxes, crossmembers, and frame rails. Strong OEM-correct welds matter because those joints help the shell carry torsional load without door sag, windshield stress, cracked seams, or poor alignment. Use spot welds, plug welds, seam welds, and structural adhesives only where the vehicle-specific repair procedure allows them.
Quick Answer
Convertible body welding must restore the factory load path, not simply add more weld. Check the OEM repair manual first, measure the shell before cutting, use the specified weld type and adhesive, control heat, and restore corrosion protection after every structural repair.
Key Takeaways
- Convertibles flex more because the roof no longer helps form a closed structural box.
- The most important repair areas are the rockers, door openings, rear torque boxes, floor crossmembers, frame rails, cowl, and quarter panels.
- Spot welds, plug welds, seam welds, and structural adhesives each have a place, but the OEM procedure decides where they belong.
- Do not add random seam welds to high-strength steel, aluminum, or crash-load parts without a factory-approved repair method.
- A safe repair ends with measurements, door-gap checks, corrosion protection, seam sealing, and a final inspection.
At a Glance
| Time Required | Inspection may take 30 to 60 minutes; structural welding and weld-bonding can take several hours or more depending on damage, cure time, and measuring setup. |
| Difficulty | Advanced. Structural convertible repair is best handled by trained welders or collision technicians with OEM repair information. |
| Tools Needed | OEM repair manual, measuring system or tram gauge, clamps, panel prep tools, approved welder, PPE, fire protection, seam sealer, cavity wax, and approved adhesive where specified. |
| Cost | Varies widely. Small repairs may need only consumables, while professional structural repairs can cost much more because measuring, welding, coatings, and refinish work are involved. |
Warning: Do not weld a convertible body shell by guesswork. Structural welding can affect crash performance, door fit, suspension alignment, and occupant safety. Follow the vehicle-specific OEM repair procedure, use proper PPE, control fire hazards, disconnect and protect electrical systems as directed, and use a qualified repair facility when the repair involves load-path parts.
Why Convertibles Need Stronger Welds
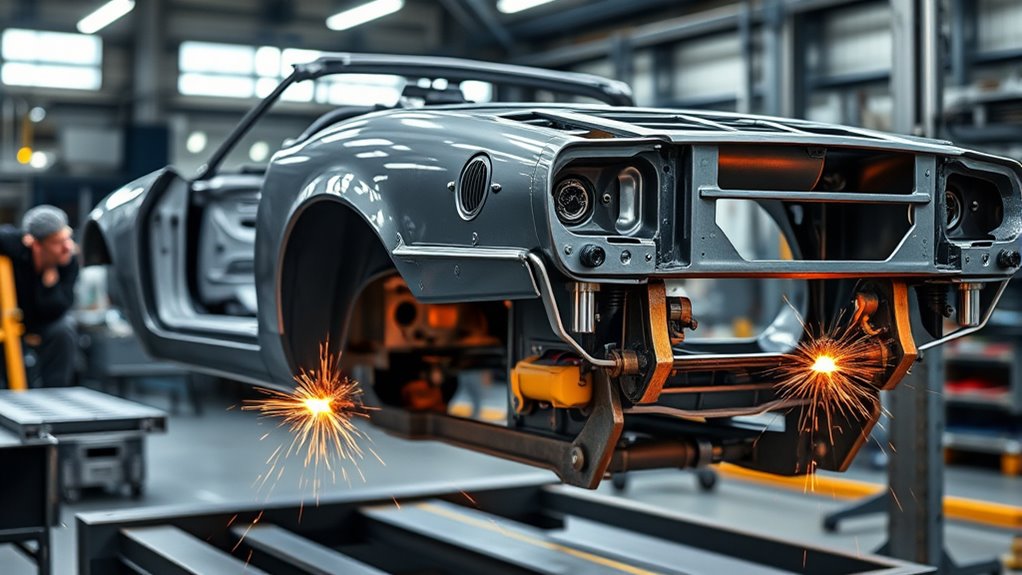
Because a convertible loses the roof’s structural contribution, the lower body has to carry more of the twisting and bending load. In a coupe or sedan, the roof, pillars, floor, and side structure work together like a closed box. In a convertible, that box is open, so the rockers, floor, crossmembers, cowl, and rear structure work harder.
You need stronger, more consistent welds because the body cannot rely on a fixed roof to help resist torsional load. Many factory bodies use hundreds or even thousands of resistance spot welds, depending on the vehicle design, and those welds work together with braces, reinforcements, and adhesives to keep the shell stable.
A convertible repair is not about adding the most weld. It is about restoring the same load path the factory engineered into the body shell.
Factory convertible reinforcements can include thicker rocker sections, floor braces, rear bulkheads, torque-box reinforcement, and additional crossmembers. Every joint in those areas must transfer load without cracking, tearing, or creating new stress risers.
If you use weak, cold, porous, or inconsistent welds near torque boxes, rocker panels, or frame rails, the chassis can flex more than intended. That can lead to sagging doors, cracked seam sealer, windshield stress, uneven panel gaps, poor alignment, and harsh vibration over rough roads.
For mild steel repairs, the right welding rod sizes or wire setup still matters, but convertible body work also depends on fit-up, weld spacing, heat control, and whether the OEM allows that joining method at that exact location.
Where Convertible Body Shells Flex Most
When the roof is gone, the shell usually flexes first where the body has large openings or where loads change direction. The most important areas are the door openings, rocker panels, cowl, floor crossmembers, quarter panels, rear torque boxes, and frame rails.
You will see movement concentrate in these body structures because the load path now travels through narrower lower-body sections. If spot welds are sparse, corroded, poorly replaced, or misaligned, the flex grows faster under cornering, braking, jacking, and uneven pavement.
The rear torque boxes, pinch welds, rocker-to-floor joints, and frame rails deserve close inspection because they carry high stress after roof removal or collision damage. Rust in these areas is more than cosmetic. It can reduce the strength of the joint before the weld even begins.
You can reduce body movement with properly fitted subframe connectors, torque-box repairs, floor reinforcement, and targeted bracing, but those upgrades should not replace OEM repair rules on a road car. Proper fillet weld sizing also matters when brackets or reinforcement plates are approved for the repair.
In restoration work, cracked windshields, sagging doors, uneven gaps, and repeat alignment problems often point to unresolved chassis flex. Treat the frame rails and rockers as primary load channels, verify measurements before welding, and keep the weld quality consistent from one joint to the next.
Spot Welds, Plug Welds, Seam Welds, and Weld-Bonding
Spot welds are common in automotive body construction because they join overlapping sheet metal quickly with controlled heat at specific points. In repair work, a squeeze-type resistance spot welder may be required where both sides of the flange are accessible and the OEM procedure allows it.
When a squeeze-type spot welder cannot reach the joint, the repair manual may allow plug welds. A plug weld fills a drilled or punched hole in the top panel to fuse it to the panel underneath. It is not automatically equal to a factory spot weld, so hole size, spacing, weld penetration, and test welds matter.
| Joining method | Best use | Main caution |
|---|---|---|
| Resistance spot weld | Factory-style flange joining on thin sheet metal | Needs access, clean metal, correct pressure, and test welds |
| Plug weld | Repair locations where OEM allows plug weld substitution | Poor penetration or oversized holes weaken the joint |
| Seam weld | Approved reinforcement seams, brackets, or restoration upgrades | Too much heat can warp panels or damage high-strength steel |
| Weld-bonding | Flanges where OEM specifies adhesive plus welds | Wrong adhesive, dirty metal, or wrong weld timing can cause failure |
Seam welds run continuously or in controlled stitches, so they can spread stress along a longer joint. That can help in approved reinforcement areas, but it can also create heat distortion, burn through coatings, or move stress into the next weak point. Use seam welds where durability and rigidity matter, but only when the material and repair procedure allow them.
If galvanized panels are involved, review the added safety and preparation issues before welding. Fumes, coating removal, weld contamination, and corrosion protection all matter, especially on hidden convertible seams. This is where understanding the welding challenges associated with coated steel can prevent weak welds and unsafe exposure.
Products Worth Considering
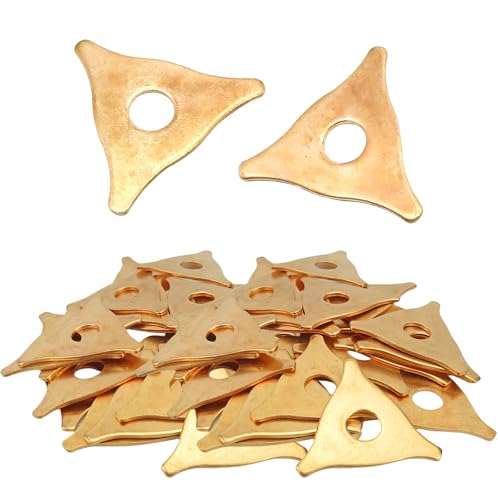
【Useful Function】: These pulling washers are designed for automotive sheet metal repair machines and are mainly used for pulling and repairing operations on dented areas of the car body. Working in conjunction with pulling equipment, they help to quickly correct body deformations and improve repair efficiency.

Highly Durable Design: The shell of stud welder kit is made of high-quality ABS body, has good stability under high temperature conditions, withstand temperature of 93-118℃, and the movement is pure copper electrode. This welder stud kit is wear-resistant, strong and sturdy.

Pro-Grade Dent Removal: 3000W Spot Welder Dent Puller delivers industrial-quality dent removal for steel car and truck body panels. It ensures precise force control during dent pulling, consistently achieving seamless, professional-looking repairs that rival professional garage results—no more uneven surfaces or residual damage.
How Structural Adhesives Add Rigidity
Structural adhesives add rigidity by spreading load across a broad bond line. Instead of asking each isolated weld point to carry all the stress alone, the adhesive helps the flange act more like a continuous joint.
You gain a stiffer frame when structural adhesives are used exactly as the repair procedure specifies. In weld-bonded joints, the adhesive can help with stiffness, sealing, corrosion resistance, and noise control, while the welds provide mechanical attachment and clamp the joint during the repair.
Adhesive is not a shortcut for poor welding. It needs clean metal, proper surface preparation, correct bead size, correct open time, proper clamping, and full cure. Some adhesives are designed to be welded through in specific ways, while others are not. Follow the product data sheet and the OEM repair manual before striking an arc near adhesive.
- Clean and abrade the mating surfaces as directed.
- Apply primer, corrosion coating, or bare-metal prep only where the adhesive maker allows it.
- Lay the bead in the size and location specified by the repair procedure.
- Clamp the panel evenly so the bond line is not starved or too thick.
- Use the specified spot welds, plug welds, rivets, or mechanical fasteners.
- Respect cure time before loading, sanding, or returning the vehicle to service.
Precision cutting and panel fit-up still matter before any adhesive or weld is applied. If a replacement section is trimmed poorly, even good adhesive cannot correct a bad load path. When cutting repair sections, plasma cutting technology can help with rough cuts, but final edges still need clean, controlled prep before welding or bonding.
Products Worth Considering

Two-Part Urethane Adhesive: Used to bond steel and aluminum for automotive applications including quarter panels, roofs, box sides, van sides, utility vehicle sides and door skins

OEM Recommended Auto Adhesive – Professional two-part epoxy designed for bonding auto body panels; trusted by OEMs for non-structural repairs like quarter panels, roofs, and door skins.

High-Strength Structural Adhesive: Two-part epoxy system provides durable, OEM-quality bonds for automotive panels and composite assemblies
Which Repairs Must Follow OEM Rules?
The same rigidity that adhesives and welds can create only holds up if you repair the car the way the OEM intended. Treat body structural repairs as controlled engineering work, not improvisation. Any part that carries crash energy, suspension load, seat-belt load, or convertible body stiffness must follow the vehicle-specific repair information.
Note: “Stronger” does not always mean “more welded.” Extra heat or extra weld length can damage high-strength steel, change crush behavior, or move stress into an unreinforced area.
| Repair type | OEM requirement |
|---|---|
| Sectioning | Cut only at approved locations and use the specified joint design. |
| Clip repair | Perform only if the vehicle-specific OEM position statement allows it. |
| Weld location | Match the repair manual for weld type, count, spacing, and access. |
| Load-path parts | Replace, section, bond, or weld only by the approved procedure. |
| HSS, UHSS, aluminum, or mixed material | Use only approved heat, weld, rivet, and adhesive methods for that material. |
When you section a panel, cut and join at approved repair joints, then verify the Workshop Manual before welding. That process protects crash-load paths and keeps mismatched materials, excess heat, and untested welds out of the structure.
Proper protective clothing is also part of the repair plan. Arc welding can expose you to UV radiation, heat, sparks, fumes, and fire hazards, so use a helmet, gloves, flame-resistant clothing, ventilation, and fire protection that match the job.
Pre-Weld Inspection and Measuring Checklist
Before you cut or weld a convertible body shell, confirm that the structure is straight enough to repair. Welding a twisted shell locks the twist into the car.
- Check door gaps first: uneven gaps, hard closing, or striker misalignment can show body sag.
- Measure diagonals: compare left-to-right dimensions across the engine bay, floor, rear structure, and suspension pickup areas.
- Inspect corrosion: probe rockers, pinch welds, torque boxes, floors, and frame rails before trusting the metal.
- Support the car correctly: use the OEM jacking and support points so the shell does not sag while open.
- Test-fit panels: clamp parts in place and check alignment before final welding or bonding.
- Make test welds: use scrap of the same thickness and coating when possible, then inspect penetration before welding the car.
Pro Tip: On a convertible, leave the doors, braces, or temporary supports in place as directed while replacing rocker, floor, or quarter structure. The opening can move when panels are cut loose.
Safe Convertible Body Welding Process
Use this workflow as a planning guide, then defer to the vehicle-specific repair manual for the final procedure.
- Identify the material. Confirm whether the part is mild steel, high-strength steel, ultra-high-strength steel, aluminum, or a mixed-material joint.
- Pull the OEM procedure. Check sectioning locations, weld type, adhesive use, corrosion protection, and any one-time-use parts.
- Measure before cutting. Record body dimensions, door gaps, suspension pickup references, and diagonal measurements.
- Protect the vehicle. Disconnect and isolate electrical systems as directed, remove flammables, shield glass and trim, and protect nearby modules and wiring.
- Prepare the joint. Remove coatings only where needed, clean the flange, drill or punch plug-weld holes if specified, and dry-fit the panel.
- Apply adhesive if required. Use the approved adhesive, bead size, open time, and clamp method.
- Weld in sequence. Use short, controlled welds and allow cooling time to limit distortion. Do not overweld high-strength parts.
- Inspect the repair. Check penetration, nugget size, plug-weld fill, heat-affected areas, and panel alignment.
- Restore protection. Apply primer, seam sealer, cavity wax, undercoating, and paint systems as directed.
- Verify the car. Recheck measurements, door operation, water sealing, alignment, and diagnostic scans before road use.
Common Mistakes That Weaken Convertible Repairs
- Adding unauthorized seam welds: this can overheat the part and change how crash energy moves through the shell.
- Skipping measurements: a straight-looking convertible can still be twisted through the floor or cowl.
- Welding over contamination: paint, rust, zinc coating, seam sealer, oil, or adhesive in the wrong area can cause porosity and weak fusion.
- Grinding welds flat: removing too much weld metal can reduce joint strength, especially on plug welds and brackets.
- Ignoring corrosion protection: bare weld flanges inside rockers and torque boxes can rust from the inside out.
- Using one method everywhere: spot welds, plug welds, MIG welds, rivets, and adhesives are not interchangeable unless the OEM procedure says they are.
Frequently Asked Questions
What is the best welder for welding a car frame?
For many steel automotive repairs, a MIG welder is common because it works well on brackets, plug welds, and mild steel sections. However, modern structural repair may require a squeeze-type resistance spot welder, MIG brazing, rivet bonding, or TIG depending on the vehicle and material. Follow the OEM repair procedure before choosing the welder.
What precautions should you take when welding on a car?
Inspect fitment, measure the structure, remove or shield flammable materials, protect glass and electronics, use welding PPE, provide ventilation, keep fire protection nearby, and restore corrosion protection after the repair. Disconnect power and handle modules only as the vehicle manufacturer directs.
What is the best material to use for a convertible top?
Vinyl is usually chosen for durability, water resistance, and easier cleaning. Fabric tops often look more premium and can provide better insulation. For either choice, use a UV-resistant, multi-layer top that matches the vehicle frame, seals, and rear-window design.
What kind of welding is used on cars?
Cars commonly use resistance spot welding in factory body construction. Repairs may use squeeze-type spot welding, MIG plug welding, MIG brazing, TIG welding, rivet bonding, or weld-bonding depending on the metal, access, and OEM repair instructions.
Can you seam weld a convertible to make it stiffer?
Sometimes, but only in approved areas. Seam welding can add stiffness, but it can also warp panels, damage high-strength steel, and change how crash loads move through the body. Use seam welds only where the repair manual, racing rule set, or engineered reinforcement plan allows them.
Do structural adhesives replace welds on convertible body repairs?
Usually no. Structural adhesives often work with welds, rivets, or other fasteners as part of a weld-bonded or rivet-bonded joint. Use the adhesive type, surface prep, bead size, clamp time, and fastener pattern specified by the OEM or adhesive maker.
Conclusion
When you repair a convertible, you cannot treat the body shell like an ordinary sedan. The missing fixed roof means the lower structure must control more flex, so weld quality, adhesive use, measuring, and corrosion protection all matter. If you cut corners, the structure can twist under load and create door, glass, alignment, and safety problems. By matching the original design and using the approved repair process, you protect torsional rigidity, crash performance, door fit, and long-term durability.
Sources
- OSHA 1910.252 — Welding, Cutting, and Brazing General Requirements — supports fire prevention, PPE, eye protection, fire-watch, and ventilation guidance.
- OSHA 1910.254 — Arc Welding and Cutting — supports safe arc-welding equipment and electrical safety framing.
- 2024 International Fire Code, Chapter 35 — Welding and Other Hot Work — supports hot-work fire-safety precautions.
- Improved Training Strategies for Physics-Informed Neural Networks using Real Experimental Data in Aluminum Spot Welding — supports resistance spot welding as a major automotive body-in-white joining process.
- Multi-material topology optimization of adhesive backing layers via J-integral and strain energy minimizations — supports the importance of adhesive-layer design and stress-concentration control.