Use two-pass welding on auto body panels when you need full penetration, tighter heat control, and a stronger repair on thicker steel, high-strength steel, or aluminum. You make a root pass first to lock in fusion, then add a fill pass to build strength and smooth the seam. Prep the joint carefully, keep gaps tight, and control heat to avoid warp or burn-through. If you keep going, you’ll see how to set it up and finish it right.
What Is Two-Pass Welding on Auto Body Panels?
Two-pass welding on auto body panels means you make two separate welds at the joint: a root pass first to penetrate the root fully, then a fill pass to build up the joint.
Two-pass welding uses a root pass for penetration and a fill pass to build up the joint.
You use two-pass welding when you need stronger auto body panels and tighter control over the weld joint. The first pass targets full penetration so the metal locks together at the root. The second pass adds material, improves structural integrity, and smooths the profile.
This approach helps you manage heat input, so you cut warping and keep the panel shape true. It also gives you better bead control than forcing one heavy pass.
When you’re repairing damaged sections, that extra control helps you restore strength and finish without wasting time or material. Additionally, proper surface preparation is crucial to achieving the best results and minimizing issues during the welding process.
In practice, you choose this method when the joint demands a cleaner, tougher result and you want to weld with precision, not excess.
When Two-Pass Welding Makes Sense
You should use two-pass welding when panel thickness and joint type call for extra fusion without overheating thin sheet metal. It gives you better heat control, so you can limit warping while still building a stronger bond. This approach works especially well on overlap joints and critical repair areas where one pass alone mightn’t hold. Additionally, proper edge preparation is crucial to ensure effective fusion and minimize defects in the weld.
Panel Thickness Limits
As a practical rule, two-pass welding starts to make sense on auto body panels thicker than 1/8 inch (3.2 mm), where a single pass may not provide enough penetration or joint strength. You’ll get a more strong joint when you match thickness to process.
- Use it on 0.060-0.125 inch panels for better fusion.
- Choose it for high-strength steel and aluminum that need reinforcement.
- Rely on it in automotive applications where weld quality and fit matter.
- Keep heat control disciplined to limit distortion.
For thinner sheet, you can still benefit when you need extra penetration without sacrificing freedom from rework.
Two-pass welding gives you a practical path to durable, precise repairs.
Heat Control Benefits
Beyond thickness limits, heat control is a major reason two-pass welding makes sense on auto body panels.
With two-pass welding, you spread heat input across thin materials, so you reduce warping and distortion while protecting the base metal. Your first pass builds a solid root at the weld joint, and your second pass fills gaps and reinforces strength without driving excessive buildup into one hot zone.
That matters on high-strength steels and aluminum, where material properties can shift fast if you overheat them. By controlling temperature this way, you cut cracking risk and keep the repair stable.
You also improve aesthetic appearance, since the finished bead can stay smoother and blend better with the surrounding panel.
How to Prep Auto Body Panels for Two-Pass Welding
Start by cleaning both panels until they’re free of rust, paint, oil, and other contaminants, since clean metal gives you a stronger weld. Proper cleaning ensures paint adhesion and prevents peeling. Then bevel the mating edges and fit the panels tightly so the first pass gets full penetration and the joint stays aligned. If the steel’s high-carbon, preheat the edges as needed, then tack the panels in place before you weld.
Products Worth Considering

Superior Formula: Custom Coat professional-grade wax and grease remover for auto body; Removes adhesive residue, oil, silicone, paint overspray, and road tar; Exceptional grease-cutting power in a waterborne formula; Leaves zero residue

Powerful Cleaning: Water-based formula contains solvents and detergents designed to cut through surface oils and grime. Use this cleaner prior to sanding or applying automotive paint and primer to ensure a clean surface.
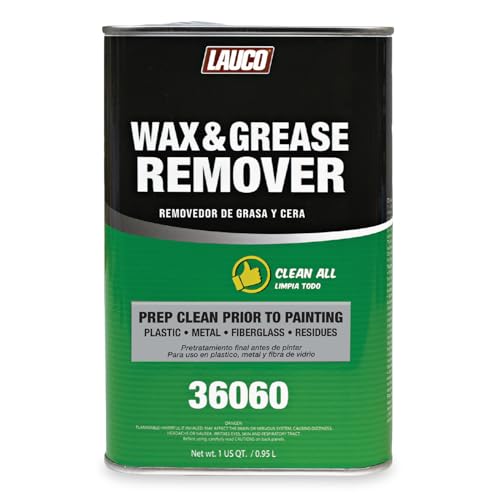
PROFESSIONAL PAINT PREP CLEANER: Industrial-strength solvent degreaser that instantly removes wax, grease, oil, silicone, and contaminants from plastic, metal, fiberglass, and aluminum surfaces before painting.
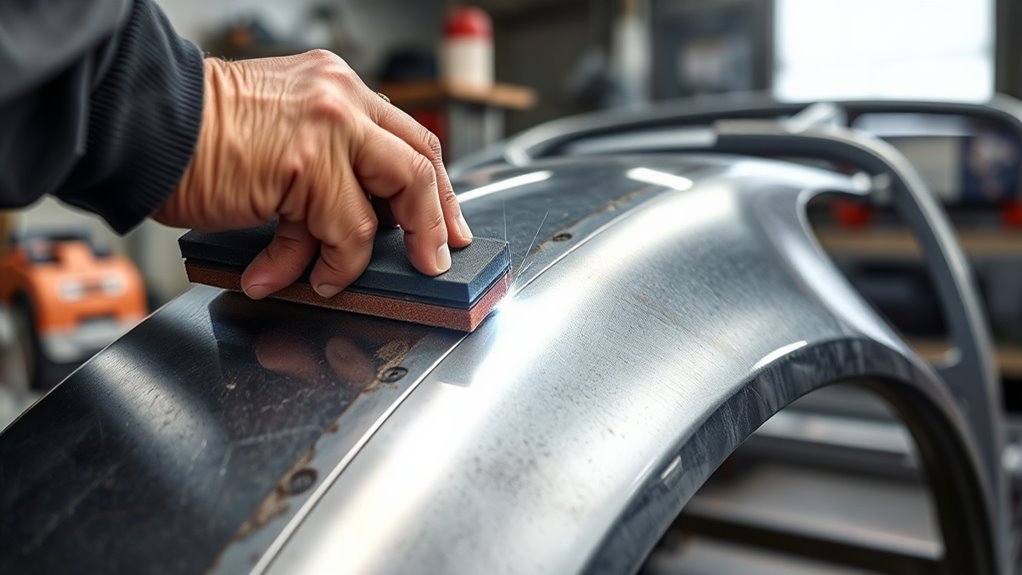
Panel Cleaning Basics
Before you weld, clean the panel thoroughly with a degreaser to remove oil, dirt, and other contaminants that can weaken the weld. Your cleaning routine protects weld quality and gives you control over the joint.
Strip paint, rust, and coatings from the welded surfaces so nothing traps contamination. Use a grinder or flap disc on edges only as needed, then finish with a wire brush to clear debris and expose clean metal.
Inspect every surface; even tiny contaminants can compromise fusion.
- Degrease first.
- Remove coatings and rust.
- Brush away residue.
- Verify the surfaces are bare and dry.
That’s how you prep panels for two-pass welding with precision and freedom from weak, dirty joints.
Beveling And Fit-Up
Once the panel is clean and bare, shape the joint for the weld itself. Your beveling should form a steady V, about 30 to 45 degrees, so the torch reaches the root and welding gets full penetration.
Keep joint preparation tight: remove surface burrs, rust, paint, and oil before you set the pieces. Aim for fit-up with gaps under 1/16 inch; that helps heat distribution stay even and lowers defect risk.
When the edges meet cleanly, the first pass builds fusion instead of chasing voids. Use a tack weld to lock alignment, control warping, and hold the panel free from drift.
With disciplined beveling and fit-up, you create a joint that works with you, not against you.
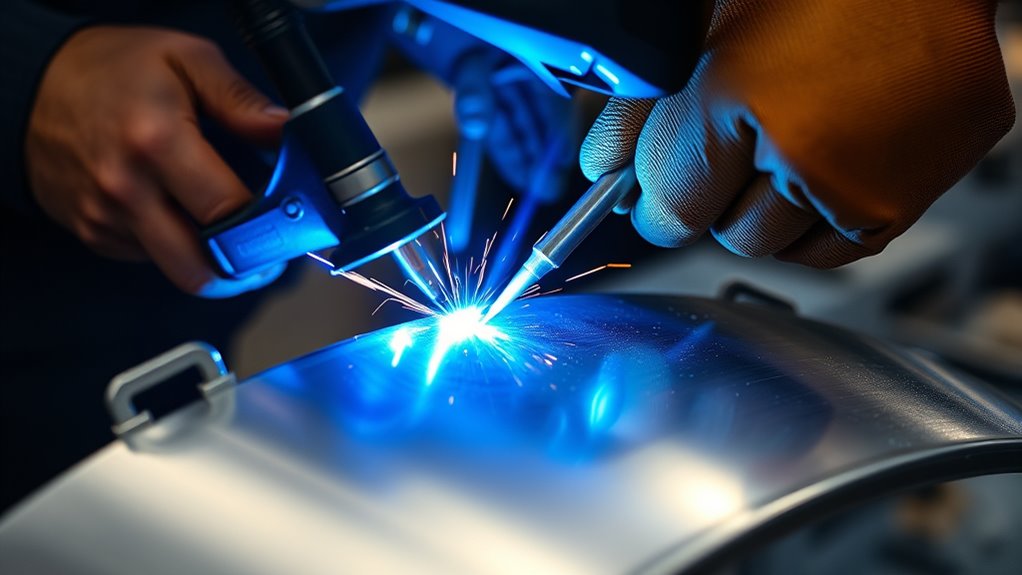
How to Make the Root and Cap Passes
Lay down the root pass first with a narrow bead and enough heat to achieve full penetration, since it forms the structural base of the joint. Hold proper positioning so you drive the weld metal through both edges in your auto body panel without starving the seam.
In two-pass welding, you’re building from strength first, finish second.
- Run the root pass with steady travel and tight control.
- Let it cool enough to limit distortion and lock in shape.
- Do grinding or cleaning to strip slag, oxides, and debris.
- Apply the cap pass with a wider bead and lower heat to cover the joint cleanly.
Your cap pass should fuse to sound metal, add strength, and leave a smooth surface. Keep heat in check so the panel stays flat and free, not pulled into shape you didn’t choose.
When you sequence the passes well, you control the weld instead of letting the weld control you. Remember, proper metal preparation is crucial for achieving high-quality welds.
Products Worth Considering

🔥 Flame-Resistant Safety: Made in USA 100% Cotton flame-resistant. Exactly what you needed, our Handmade welding caps for men and women offer essential protection for welders working in intense heat. Perfect for TIG, MIG, Stick, or Plasma welding

【High Quality Welding Hat】Made from 260 grams of Martin Cloth with a 100% cotton lining for strength and durability, it is nearly 2.5 times thicker than a regular welding beanie. Strong and breathable, it ensures a comfortable fit and stands up to the rigours of welding.
【High Quality Welding Hat】Made from 260 grams of Martin Cloth with a 100% cotton lining for strength and durability, it is nearly 2.5 times thicker than a regular welding beanie. Strong and breathable, it ensures a comfortable fit and stands up to the rigours of welding.
Common Two-Pass Welding Mistakes to Avoid
A few common mistakes can undermine a two-pass weld fast if you’re not careful. As the operator, start with inadequate joint preparation: strip rust, paint, and oil, and bevel the edges so the root pass bites cleanly.
Don’t skip tack welds; they lock panels in position and help prevent warping while you move through each pass.
Keep excessive heat input in check, especially on thin skin, or you’ll invite burn-through and distortion.
Let the first pass breathe before you add the second; improper cooling traps stress and can crack the seam.
Watch weld bead appearance during the multipass weld, because a lumpy or uneven bead often signals poor travel speed or weak fusion.
Don’t rely on body filler to hide a bad seam. If the joint isn’t sound, your repair won’t hold.
Clean setup, controlled heat, and disciplined timing give you a stronger, flatter weld that respects the panel and your labor. Additionally, maintaining proper amperage is essential to prevent issues like excessive spatter or weak fusion during the welding process.
Finish and Inspect the Weld Seam
Inspect the weld seam visually for a uniform profile, tight continuity, and any gaps that could weaken the repair. You should then finish the surface with a grinder or flap disc, removing slag and spatter without thinning the panel. This cleaning step gives you a smoother edge and a paint-ready finish.
- Inspect for undercutting, porosity, or cracking.
- Verify both passes achieved solid penetration and fusion.
- Smooth the weld seam while preserving structural integrity.
- Clean the area thoroughly, then apply primer to block rust.
Check the entire repair under good light and from different angles. If you spot irregularities, correct them before paint or filler. Additionally, ensure that you have selected the right wire type for the material being welded, as this can significantly affect the quality of the weld.
Check the repair under good light and multiple angles, correcting irregularities before paint or filler.
A disciplined inspect-and-finish routine protects the weld seam, keeps the repair strong, and helps you reclaim clean, durable bodywork on your terms.
Frequently Asked Questions
What Is the Best Welding for Body Panels?
You’ll usually want MIG welding for body panels; TIG welding suits precision, while spot welding preserves factory seams. Avoid gas welding, flux cored welding, and aluminum welding unless needed, and always prioritize welding safety with stainless welding.
Can I Use 7018 for Root Pass?
Yes, you can use 7018 for a root pass if you want 7018 electrodes advantages; use solid root pass techniques, respect welding penetration importance, apply heat control methods, prepare joints, remove slag, inspect, and choose filler material selection wisely.
What Is the Difference Between Single Pass and Multipass Welding?
Single pass: one bead, one setup, one heat cycle. Multipass: several beads, several cooling pauses, several inspections. You’ll use arc welding, TIG welding, or MIG welding; your welding techniques, filler materials, joint preparation, penetration depth, and heat distortion control differ.
What Is the Golden Rule in Welding?
The golden rule in welding is you’ve got to achieve clean Joint preparation, choose proper Filler materials, manage Heat management, match Metal selection, control Welding techniques and positions, follow Safety precautions, and finish with Post weld treatment.
Conclusion
Two-pass welding gives you control where a single pass might leave you short. You build a clean root for penetration, then cap it for strength and a smoother finish. Used on thin auto body panels, it balances heat and quality: more work up front, less distortion later. Skip the extra pass when the joint doesn’t need it, but choose it when precision matters. Inspect your seam, correct flaws, and move on with confidence.


