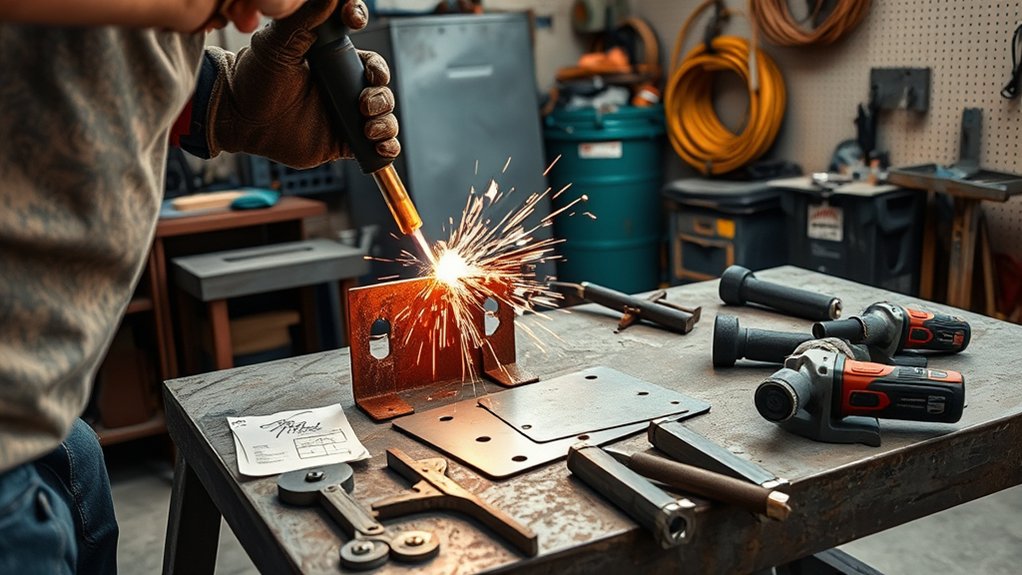
You might cut a rusted trailer hitch plate to size in minutes, then bevel its edges for a clean weld. With a plasma cutter, you’ll slice steel, aluminum, or stainless, follow CAD templates or stencils for precise profiles, and even gouge out bad welds. You’ll plan amperage, consumables, and air quality, clamp your work, and manage dross for clean edges. But before you start, you need to match the tool to the job—and your budget.
Everyday Metal Fabrication and Repairs
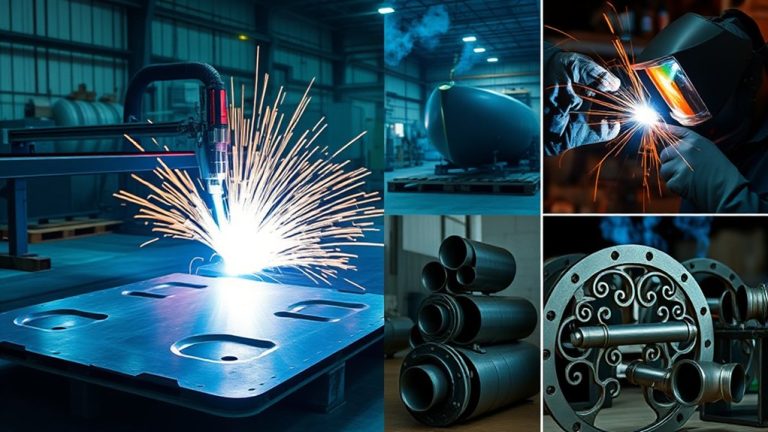
For everyday metal fabrication and repairs, a plasma cutter lets you cut, bevel, and gouge conductive metals like steel and aluminum quickly and cleanly.
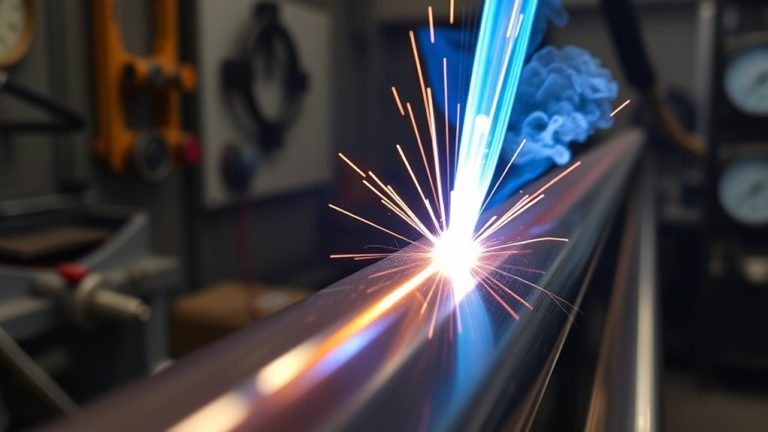
You’ll mark your cut line, clamp the work, connect clean, dry compressed air, and set amperage to match thickness. Initiate the arc, maintain a steady standoff, and move at a constant speed—often over 100 inches per minute—to minimize dross and heat-affected zone.
Skip preheating; the arc reaches about 25,000°C in milliseconds, so you can start immediately and reduce downtime on metal repairs.
Skip preheating—plasma hits 25,000°C instantly, so start cutting and reduce repair downtime.
Use process-driven fabrication techniques: pierce off-edge when possible, lead in and out to protect critical geometry, and verify squareness with test coupons.
For gouging, angle the torch 30–45 degrees and feather the trigger to remove welds precisely.
Prioritize safety: wear ANSI-rated eye protection, flame-resistant gloves, and hearing protection; guarantee ventilation even when using air plasma, and keep flammables away.
With minimal training, you’ll produce repeatable, clean results.
Artistic Creations and Home Decor
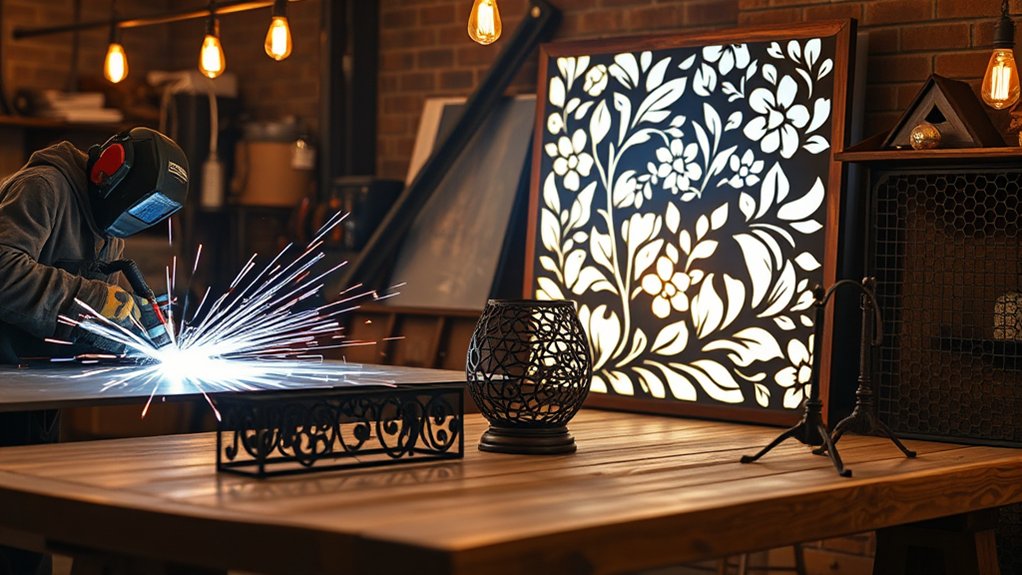
Although plasma cutting is often associated with industrial work, it excels at precision metal art and home decor when you treat it like a controlled process. Start by selecting metal type and thickness—stainless, copper, or aluminum—and match amperage, torch consumables, and travel speed to the material.
Use stencils or CAD-driven templates for repeatable geometry in custom fireplace screens, personalized signs, and decorative accents. Maintain a stable standoff with a drag shield, and make dry, clean cuts with proper grounding. Deburr, then finish with brushing, patina, or clear coat to highlight textures in metal sculptures and wall hangings.
- Measure twice, cut once: verify kerf width, lead-ins, and pierce delays before tracing fine detail.
- Control heat input: sequence cuts to minimize distortion; clamp work and allow cool-down intervals.
- Plan mixed-media joins: pre-drill tabs for wood or glass, isolate dissimilar metals to avoid galvanic corrosion.
Wear eye, hearing, and respiratory protection; secure ventilation and safe cable routing.
Outdoor Projects: Gates, Furniture, and Yard Art
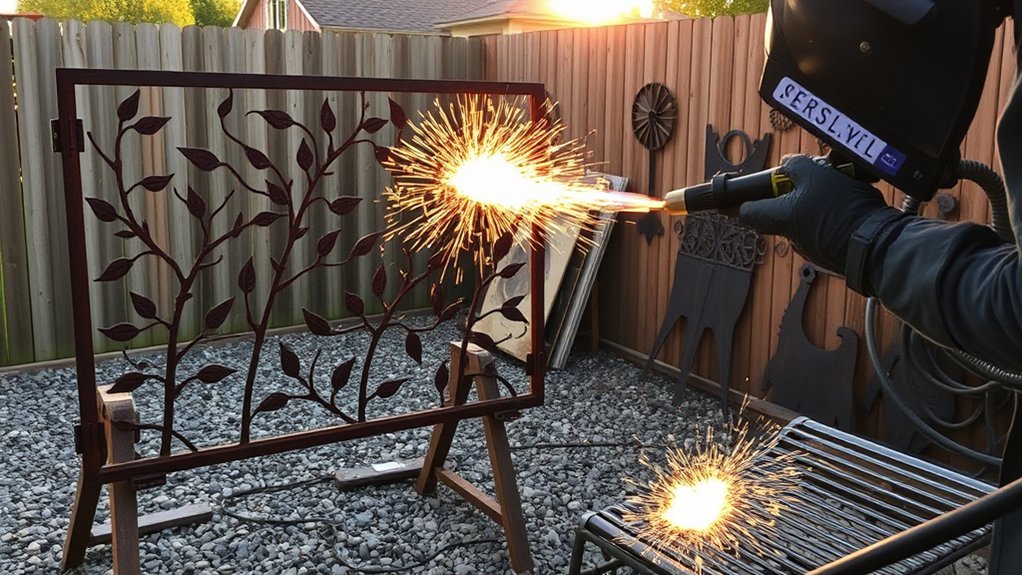
You can take the same controlled techniques from metal art outdoors to build gates, furniture, and yard art that withstand weather and wear.
Start with a weather-resistant alloy—galvanized steel, Corten, or aluminum—and confirm your torch amperage matches thickness. For custom gate designs, square the frame, clamp guides, and dry-run the torch path. Use templates for scrolls and monograms; pierce outside corners last to reduce warping. Deburr, weld tabs, and add drain holes before hot-dip galvanizing or powder coat.
Choose weatherproof alloys, square and guide your frame, dry-run cuts, pierce corners last, then deburr, tab, drain, and finish.
For furniture and fire pits, nest parts in your CAD to minimize waste, then cut vents, ash cleanouts, and expansion slots. Tack in sequence to control distortion. Grind edges smooth where hands will contact.
On yard art, convert antique saws and shovels by tracing paper patterns, cutting low and slow, and retaining heat-treated regions. Add discreet mounting brackets.
Safety: maintain dry work areas, ground the workpiece, wear eye/ear/respiratory protection, and manage sparks and slag.
Automotive and Industrial Applications
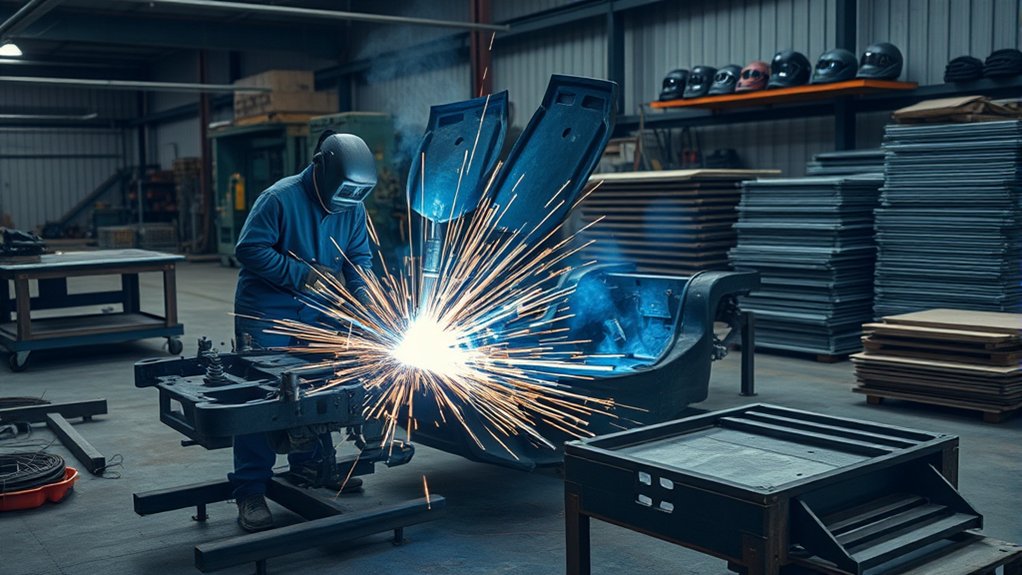
Whether you’re fabricating a custom bracket or cutting heavy structural plate, a plasma cutter delivers fast, accurate results that minimize rework and downtime.
In automotive work, you’ll streamline frame and body-panel repairs, trim exhaust tubing, and produce tight-tolerance mounts that improve fit and function. In industrial settings, you’ll nest complex profiles for beams, railings, and guard plates, cutting mild and stainless steel with repeatable accuracy.
Use disciplined plasma cutting techniques: establish proper standoff, maintain travel speed to control kerf, and select amperage for material thickness.
Fixturing and templates guarantee consistent geometry; deburr and verify with gauges before assembly. Follow strict safety precautions—PPE for arc glare and hot slag, dry work surfaces, proper ventilation for fumes, and verified grounding.
- Validate material ID, thickness, and cut path before piercing.
- Monitor arc quality and consumable wear to avoid bevel and dross.
- Inspect cut edges for HAZ, microcracks, and squareness before welding.
Getting Started: Tools, Materials, and Cost Considerations
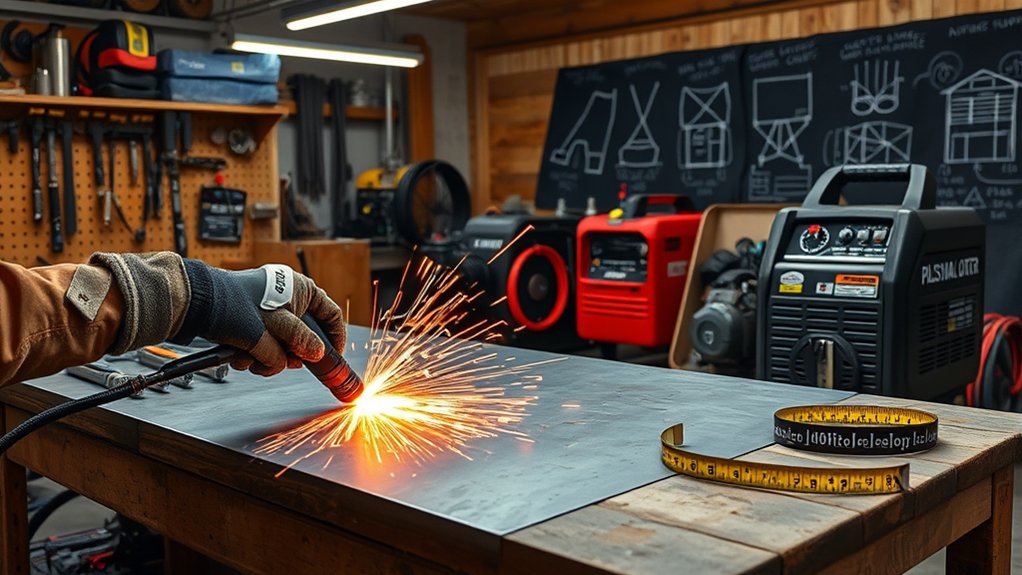
Two essentials define a solid start with plasma cutting: the right kit and a realistic budget.
You’ll need a reliable plasma cutter, a grounded metal table or workbench, and safety gear: cut-resistant gloves, shaded goggles or a welding helmet, flame-resistant clothing, and hearing protection.
Follow strict safety precautions: ventilate the area, clear flammables, secure workpieces, and verify dry, intact leads and grounds before energizing.
Choose materials the machine can handle: mild steel, stainless, aluminum, and brass. Match amperage and consumables to thickness; confirm duty cycle to avoid overheating.
For entry, handheld units start at a few hundred dollars; CNC systems cost considerably more but add precision.
Plan ongoing costs. Budget roughly $15 per hour for power and routine service. Track consumables—tips, electrodes, shields—and replace at wear limits to keep arc quality consistent.
If your process uses specific gases (air, nitrogen), account for filtration, dryers, and cylinder refills. Apply maintenance tips after each session.
Frequently Asked Questions
How Safe Is Plasma Cutting Indoors and What Ventilation Is Required?
It’s conditionally safe if you control fumes and fire. Meet ventilation requirements: use local exhaust with fume extractor, 200–500 CFM at torch, HEPA/activated carbon filtration, maintain negative pressure, monitor CO, clear combustibles, use fire watch, PPE, and grounded equipment for indoor safety.
Can a Plasma Cutter Engrave or Bevel Metal Edges, Not Just Cut?
Yes. You can shallow-etch and bevel with controlled plasma passes. Use precise amperage, tight standoff, slow travel, and fine-cut consumables. For engraving techniques, reduce current; for beveling methods, angle the torch. Maintain ventilation, fume extraction, PPE, and dry air.
What Power Supply and Breaker Size Do Home Users Typically Need?
You’ll typically need 120V/20A for 30–40A cutters; 240V/30–50A for 50–60A units. Verify power requirements, follow manufacturer breaker specifications, use dedicated circuits, correct wire gauge, and GFCI where required. Prioritize ventilation, grounding, and duty-cycle limits.
How Noisy Is Plasma Cutting and What Hearing Protection Is Recommended?
Plasma cutting hits noise levels around 90–120 dB; arcs can spike above 100 dB 30% of the time. You’ll wear hearing protection: NRR 25–33 dB earmuffs, optionally double up with foam plugs, maintain seals, and monitor exposure duration.
How Does Plasma Cutting Compare to Laser or Oxy-Fuel for Precision?
Plasma cutting offers moderate precision; lasers deliver finest edges, oxy-fuel lags. You’ll gain faster cutting speed than oxy-fuel, slower than high-power lasers. Choose plasma for mid material thickness, lasers for thin precision, oxy-fuel for thick steel. Verify tolerances, guarantee PPE.
Conclusion
You’ve seen how a plasma cutter releases precise fabrication, art, and repairs with speed and control. Prioritize safety: wear a welding helmet with shade 8–9, leather gloves, FR clothing, and guarantee dry, grounded work surfaces with proper ventilation. Plan your workflow: mark, clamp, test arc, cut, then deburr. An interesting stat: CNC plasma systems can cut at 100–300 inches per minute on thin steel, dramatically boosting throughput. Start small, track consumable wear, and build skill methodically.