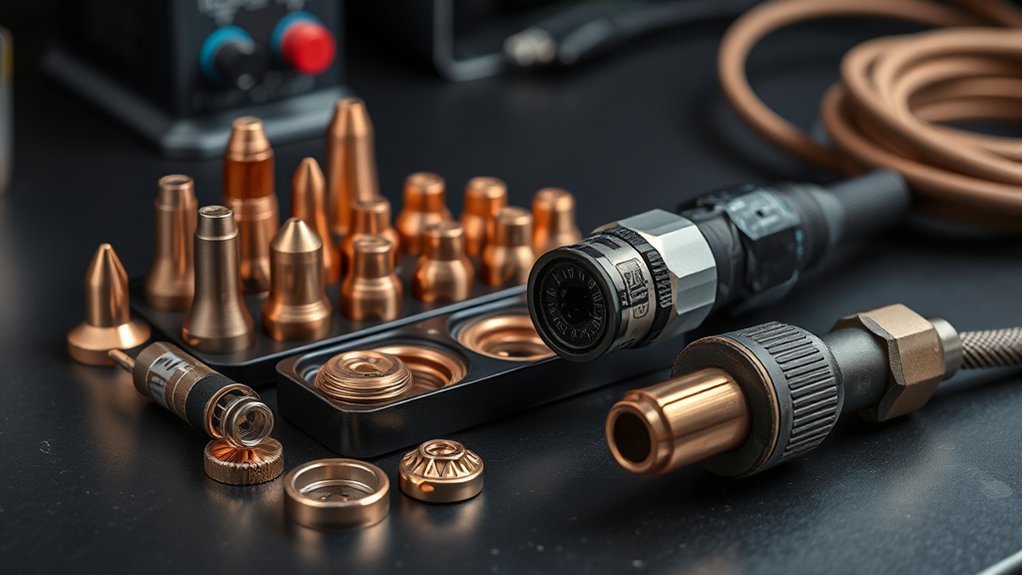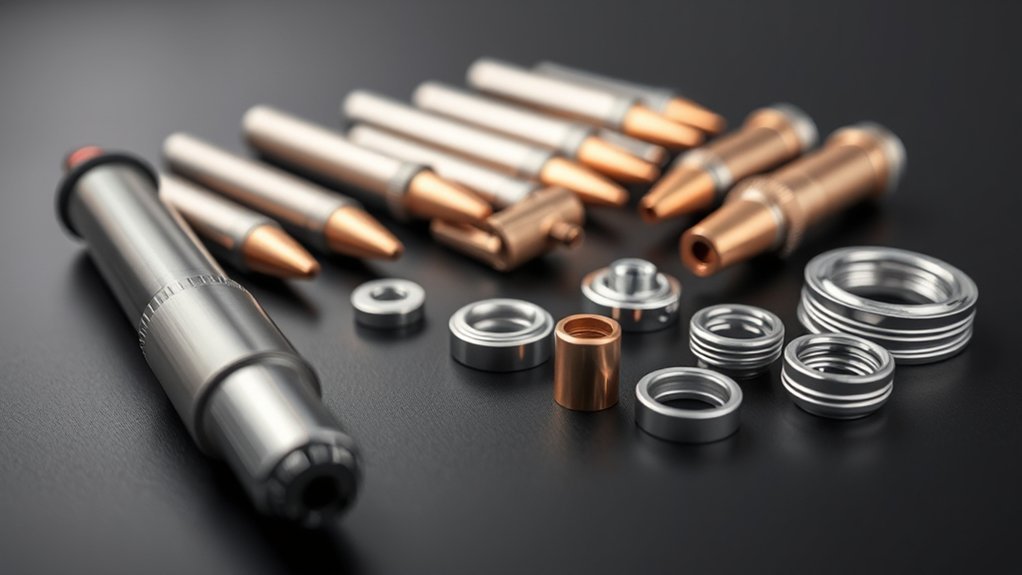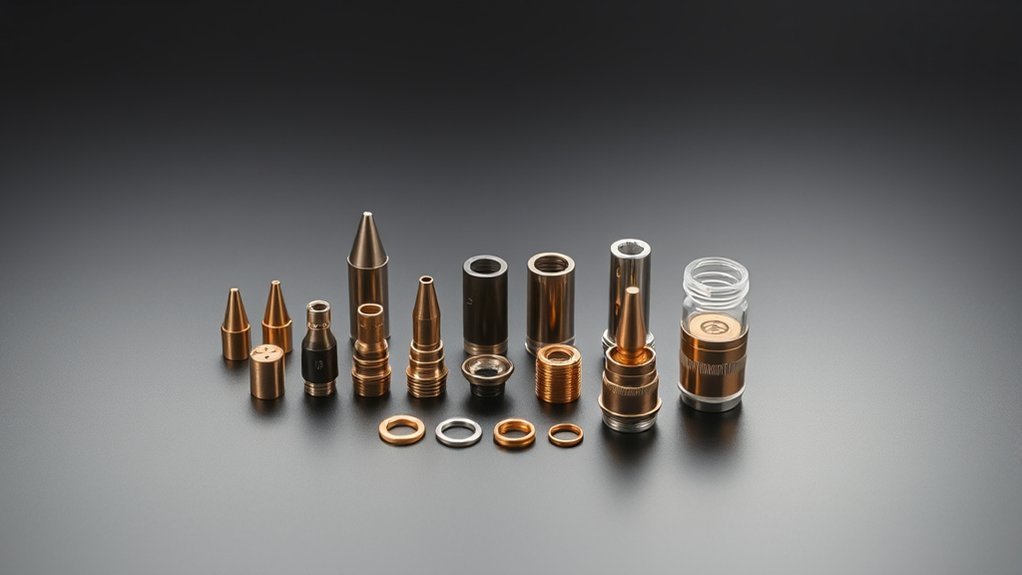
Plasma cutter consumables may look alike, but appearance is not proof of compatibility. A nozzle, electrode, swirl ring, retaining cap, or shield must match the torch family, process, amperage, and gas or cooling design. The safest approach is to identify the exact torch—not just the power supply—then confirm every part number in the manufacturer’s chart before installation.
Quick Answer
Plasma cutter consumables are not universally interchangeable. Use parts listed for the exact torch model, revision, process, and amperage. Some parts work across approved models or amp ranges, but only when the manufacturer’s chart says so. A look-alike part can fit yet disrupt gas flow, cooling, arc starting, or torch operation.
Key Takeaways
- Match consumables to the torch model and revision, not only the plasma cutter’s brand or maximum output.
- Confirm the cutting process and amperage because drag cutting, mechanized cutting, precision cutting, and gouging may use different parts.
- Do not mix individual parts unless an OEM or qualified supplier publishes a clear cross-reference for the complete stack.
- Replace worn parts by the limits in your torch manual; there is no universal service-life clock or electrode-pit limit.
- Disconnect power and gas before removing torch parts, and use filtered air that meets the machine’s stated requirements.
At a Glance
| Time Required | About 5–10 minutes to identify and cross-check a consumable set |
| Difficulty | Easy, provided the torch label and manual are available |
| Tools Needed | Torch model label, operator manual, parts chart, clean cloth, and a flashlight; a pit gauge is optional when the manual calls for one |
| Cost | No cost to verify compatibility; replacement-part prices vary by torch and process |
Warning: Turn the plasma system off, unplug it or open the line disconnect as directed by the manual, and disconnect the gas supply before inspecting or changing torch parts. Let hot parts cool, and never bypass a torch-cap or other safety interlock.
What Are Plasma Cutter Consumables?
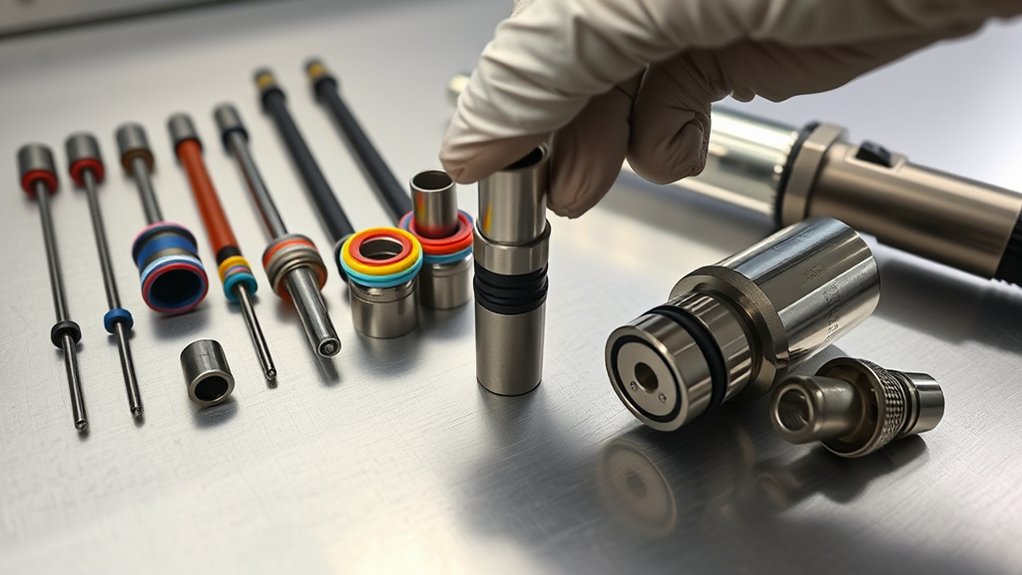
Plasma cutter consumables are the parts at the front of the torch that wear during starting, cutting, piercing, and gouging. They carry current, control gas flow, shape the arc, protect nearby parts, and hold the assembly in position.
Most conventional torches use an electrode, nozzle, swirl ring, retaining cap, and shield or deflector. Some newer systems combine several pieces into a single cartridge. Liquid-cooled industrial torches may also use a water tube and additional retaining or shield components.
| Part | Main job | Common wear signs |
|---|---|---|
| Electrode | Provides the electrical contact point for the plasma arc | Deep, wide, off-center, or rough pitting |
| Nozzle or tip | Shapes, directs, and constricts the arc | Out-of-round hole, nicks, erosion, or copper damage |
| Swirl ring | Meters and spins the gas so the arc stays centered | Cracks, blocked passages, burns, or damaged seals |
| Retaining cap | Holds and aligns the consumable stack and directs gas or coolant | Cracked threads, arcing, heat damage, or air leaks |
| Shield or deflector | Protects the nozzle and sets or supports the intended standoff | Spatter buildup, cracks, an enlarged hole, or impact damage |
A consumable is compatible only when its part number, torch family, process, amperage, and gas or cooling path all agree.
Consumable life cannot be reduced to a fixed number of hours. It changes with arc starts, arc-on time, pierce technique, material thickness, air quality, standoff, travel speed, and the cutting current. Track actual wear on your own machine instead of replacing parts by a generic clock.
How the Plasma Cutter and Torch Control Compatibility
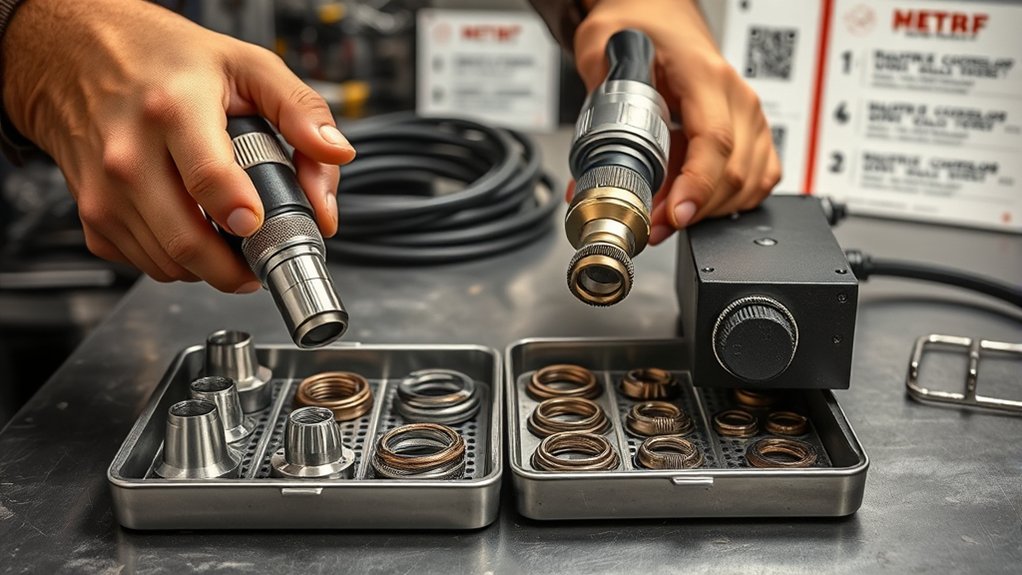
The power supply creates and controls the cutting current, but the torch determines the shape, fit, gas passages, cooling path, and order of the consumables. Two machines from the same brand may use different torches. One torch family may also have separate parts for hand cutting, mechanized cutting, precision work, and gouging.
Use the exact torch model and revision as your starting point. Manufacturer catalogs, such as Hypertherm’s Powermax torch and consumable catalog, list parts by system, torch type, process, and amperage. This is more reliable than matching by appearance or an online listing title.
Six Factors That Must Match
- Torch family and revision: The make, model, connector, and revision must be supported.
- Process: Cutting, gouging, marking, drag cutting, mechanized cutting, and fine-detail processes may use different stacks.
- Amperage: The nozzle or cartridge must cover the current you plan to use. Some electrodes and swirl rings span several amp settings, while nozzles are often more specific.
- Start method: High-frequency/high-voltage and blowback-start torches use different internal designs. Both can create a pilot arc, so “pilot arc” alone does not identify the start method.
- Gas and cooling: Air, nitrogen, oxygen, mixed-gas, and liquid-cooled systems use parts designed for their flow and heat loads.
- Interface and stack order: Threads, bayonets, keys, O-rings, seat depths, and retaining-cap designs must align without force.
Note: “Pilot arc” and “blowback start” are not interchangeable terms. A pilot arc is the arc that starts inside the torch; blowback and high-frequency/high-voltage are different methods used to establish it.
Types of Consumables and Their Functions
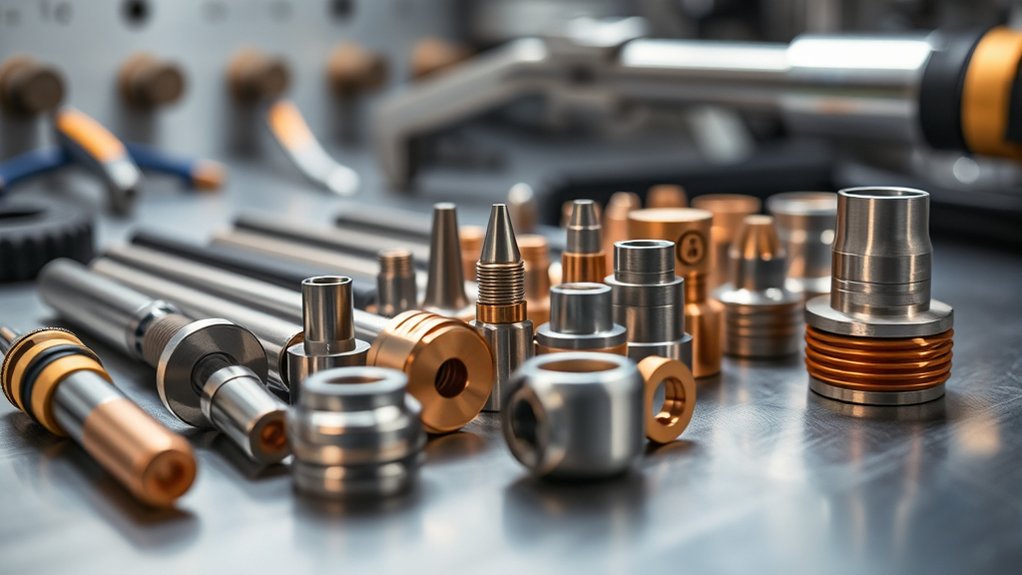
The same basic parts appear in many plasma torches, but their dimensions and jobs can change by process. A 45-amp drag-cutting shield may not be the correct shield for mechanized cutting. A gouging nozzle may fit the same torch but produce a wider, less-constricted arc by design.
- Standard cutting consumables are built for general severing and edge-start cuts.
- Drag-cutting consumables let the shield contact the work on systems designed for that method.
- Mechanized consumables are selected with a cut chart, fixed standoff, pierce height, and torch-height control settings.
- Fine-cut or precision consumables use a smaller, more focused process for thin material and detail work.
- Gouging consumables spread the arc to remove metal without cutting through the plate.
- Cartridge consumables combine multiple pieces into one indexed assembly and are not a direct substitute for a conventional stack unless an approved torch or adapter supports them.
Do not assume that every part in a stack has the same amp range. A manufacturer may use one electrode across several nozzles, or it may require a dedicated electrode, nozzle, shield, and swirl ring for one process. Confirm the complete combination.
Interchangeability: What Can and Cannot Be Swapped
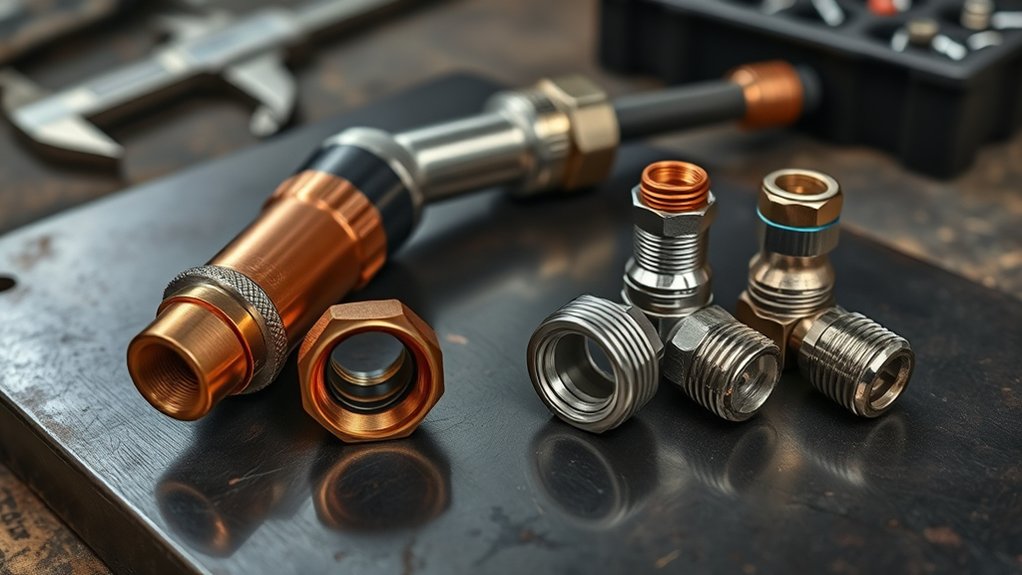
Some plasma consumables are shared across approved torches or amperage ranges, so “never interchangeable” is too broad. The useful rule is simpler: a swap is acceptable only when the torch manufacturer or a qualified replacement supplier documents it for that exact use.
| Swap type | Risk level | What to verify |
|---|---|---|
| Same OEM part number for the same torch and process | Low | Part number, revision, amperage, and stack order |
| Part shared across models or amp ranges in an official chart | Low when documented | The exact models, process, and companion parts named in the chart |
| Aftermarket “direct-fit” part with a published cross-reference | Conditional | Supplier identity, exact cross-reference, materials, quality control, return policy, and warranty terms |
| Look-alike part from another torch family | High | Do not use without written compatibility data |
| Parts from different start, gas, cooling, or retaining-cap systems | Not interchangeable | Use only the complete approved stack |
Products Worth Considering

Fit for: IPT45 IPT53 IPT60 Plasma cutter torch head and Bestarc BTC500XP, BTC650XP, BTC800XP, CUT55XP, CUT60XP, Also fit other Model CUT-65DS PRO CUT-60DS PRO, CUT-55DS PRO

Crafted from high-quality durable materials, copper components offer excellent electrical conductivity and heat resistance, stable for high-frequency, high-intensity cutting. .045"/1.1 aperture ideal for 50-60A current.

Fit for : AG-60 AG-60P SG-55 WSD-60 Plasma cutter torch head
OEM vs. Aftermarket Consumables
OEM consumables are made or approved for the manufacturer’s documented torch stack. That gives you the clearest path to correct fit, cut charts, support, and predictable troubleshooting. It does not mean every OEM part will outlast every aftermarket part.
Reputable aftermarket suppliers can make compatible replacement parts, but quality varies. Choose a supplier that names the exact OEM cross-reference, torch model, process, and amp range. Avoid listings that claim “universal” fit or group unrelated torch families together.
In the United States, using an aftermarket part does not automatically cancel all warranty coverage. The Federal Trade Commission’s warranty guidance says a manufacturer generally cannot require a specific branded part to preserve warranty coverage unless it provides that part free or has an FTC waiver. However, a warranty may still exclude damage caused by an incompatible part, misuse, or an unauthorized modification. Read the actual warranty for your machine and jurisdiction.
Pro Tip: When trying a new supplier, buy a small quantity first. Compare starting behavior, cut edge, dross, nozzle shape, electrode wear, and number of starts on scrap before using the parts in production.
How to Identify Compatible Parts by Model and Amperage
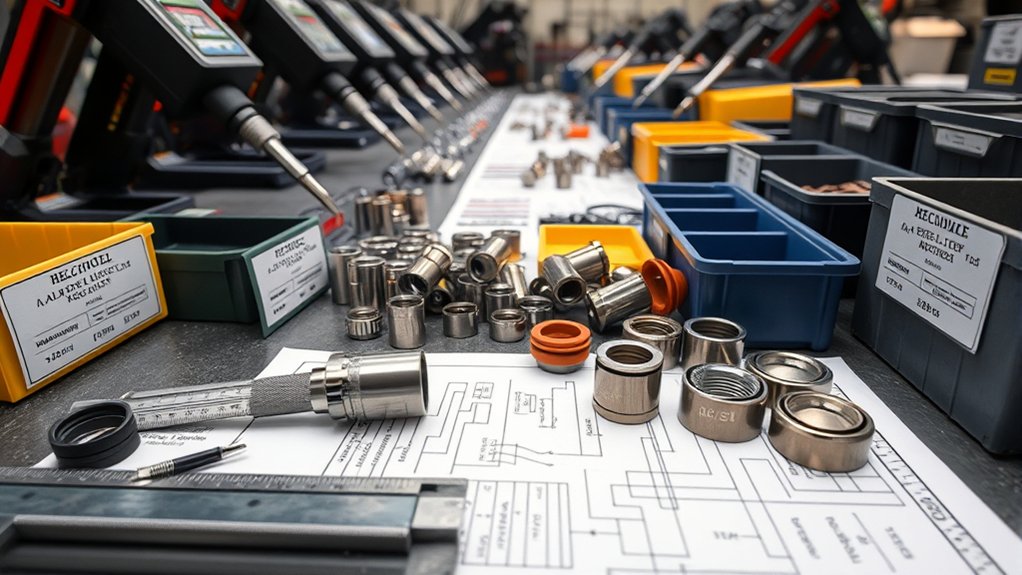
Use this order every time you buy or install consumables. It prevents the common mistake of matching only the machine brand or advertised amp rating.
Products Worth Considering

Package Include: 5 Shield Cups, 20 Nozzles .045", 5 Wire Spacer Guides, and 20 Electrodes.

Package Include: 10 Shield Cups, 50 Nozzles, 20 Swirl Baffle, and 30 Electrodes.

PACKAGE INCLUDED: 5 Pcs Cup-15 Pcs Electrodes-10 Pcs Ring-30 Pcs Tip(Standard)
1. Match the Exact Torch Model
Find the torch model on the handle, torch body, lead tag, connector label, manual, or illustrated parts list. Record the full model and revision. A replacement torch or retrofit torch may use different consumables from the torch that originally shipped with the power supply.
Do not force a part that binds, sits proud, changes the stack height, or makes the retaining cap difficult to install. A physical fit is only a first check; it does not prove that the gas passages and electrical contacts are correct.
2. Match the Process and Amperage
Choose the process first—standard cutting, drag cutting, mechanized cutting, fine-detail cutting, marking, or gouging—then choose the amp range. The nozzle or cartridge is often the most amp-specific part, but the chart may also call for a different electrode, swirl ring, shield, or retaining cap.
Set the machine only within the range listed for that consumable. Do not assume that a higher-amp nozzle is a safe substitute at a lower setting. A larger orifice can change arc density, kerf width, cut speed, and cut-chart values even when the part can be assembled.
3. Check the Start Method and Torch Interface
Plasma systems commonly use either high-frequency/high-voltage starting or a blowback-style start. Blowback uses gas pressure and electrode movement to establish the starting arc. High-frequency systems use high-voltage energy across the torch gap. Their electrodes, internal movement, insulation, and starting circuits are not interchangeable.
Also verify the retaining method. Threaded caps, bayonet caps, keyed parts, cartridges, and conventional multi-piece stacks are not cross-compatible unless the manufacturer lists an adapter or retrofit.
4. Confirm Gas, Cooling, and Seals
Check the required gas, inlet pressure, filtration, and cooling system in the manual. A liquid-cooled industrial torch depends on coolant passages and seals that an air-cooled part may not provide. For air plasma, filter out dirt, water, and oil because contaminants can damage the torch and consumables.
Inspect O-rings for cuts, flattening, swelling, or hardness. Use only the lubricant and amount specified by the torch maker. Too much lubricant can collect debris or block small gas passages.
5. Cross-Check the Complete Consumable Stack
- Write down the power-supply model, torch model, and torch revision.
- Select the process and intended cutting current.
- Open the manufacturer’s parts chart or operator manual.
- Record every required part number in installation order.
- Confirm that the kit contains the correct shield, cap, nozzle, electrode, swirl ring, and any adapter or water tube.
- Compare the package labels with the chart before opening or installing the parts.
Signs You Need to Replace Consumables
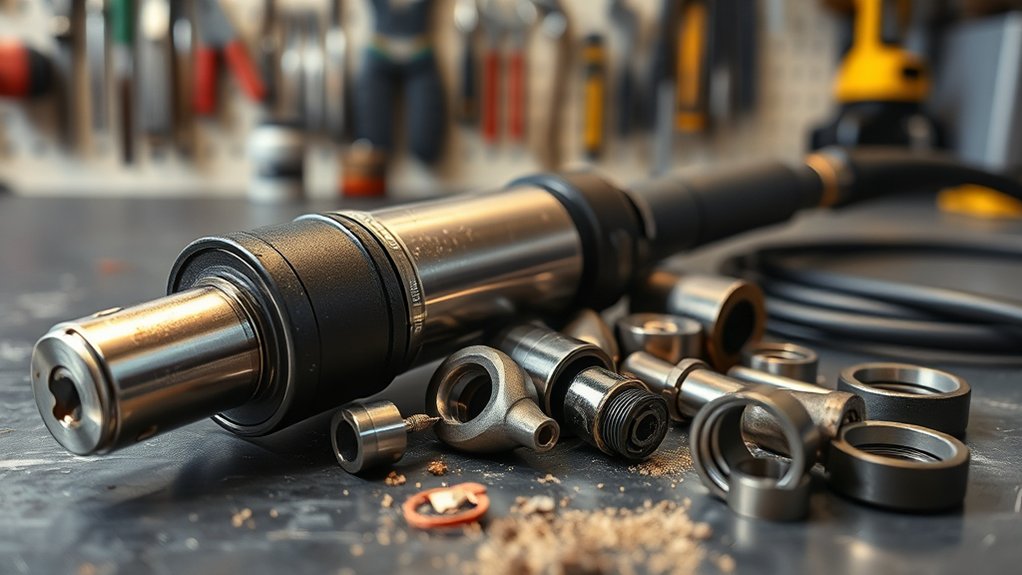
Inspect consumables before cut quality collapses. A wider kerf, extra bevel, heavy dross, hard starting, arc wandering, or shorter nozzle life can point to worn parts, but those symptoms can also come from bad air, poor work-lead contact, incorrect speed, or wrong standoff. Look at the parts and the process together.
Enlarged or Damaged Nozzle Orifice
Replace a nozzle when the center hole is no longer round, the edge is nicked, copper is missing, or the hole exceeds the wear limit in the manual. Do not clean the orifice with a drill bit, wire, or sharp tool. That can change its shape and ruin arc focus.
- Cut clues: Wider kerf, uneven bevel, more dross, wandering arc, or lower travel speed.
- Part clues: Oval hole, notches, heavy erosion, double-arc marks, or molten spatter fused to the opening.
- Action: Replace the nozzle and inspect the electrode, shield, gas supply, standoff, and amp setting for the cause.
Deep, Wide, or Uneven Electrode Pitting
There is no universal 1/16-inch replacement limit. Use the value for your system. For example, Hypertherm’s current XPR emitter-wear guidance gives general replacement points of 1.0 mm (0.04 inch) below 130 A, 1.25 mm (0.05 inch) from 130 A to below 220 A, and 1.5 mm (0.06 inch) at 220 A and above. Those values apply to the named XPR guidance, not every torch.
Replace the electrode sooner if the pit is off-center, rough, wider than the emitter, or paired with poor cut quality. On systems where the manual directs it, replace the nozzle with the electrode because a failing electrode can damage the nozzle.
| Part | Replace or service when | Also check |
|---|---|---|
| Electrode | Pit reaches the manual’s limit or becomes off-center, wide, or rough | Nozzle, air quality, starts, and current |
| Nozzle | Orifice is oval, nicked, enlarged, or eroded | Electrode, standoff, piercing, and amp range |
| Shield or deflector | Hole is damaged, cracks appear, or spatter cannot be removed safely | Torch height and piercing technique |
| Swirl ring | Cracked, burned, warped, or blocked | Gas cleanliness and O-rings |
| Retaining cap and O-rings | Threads, seals, or cap body are damaged; gas or coolant leaks appear | Correct assembly and lubricant amount |
Best Practices for Installing and Maintaining Consumables
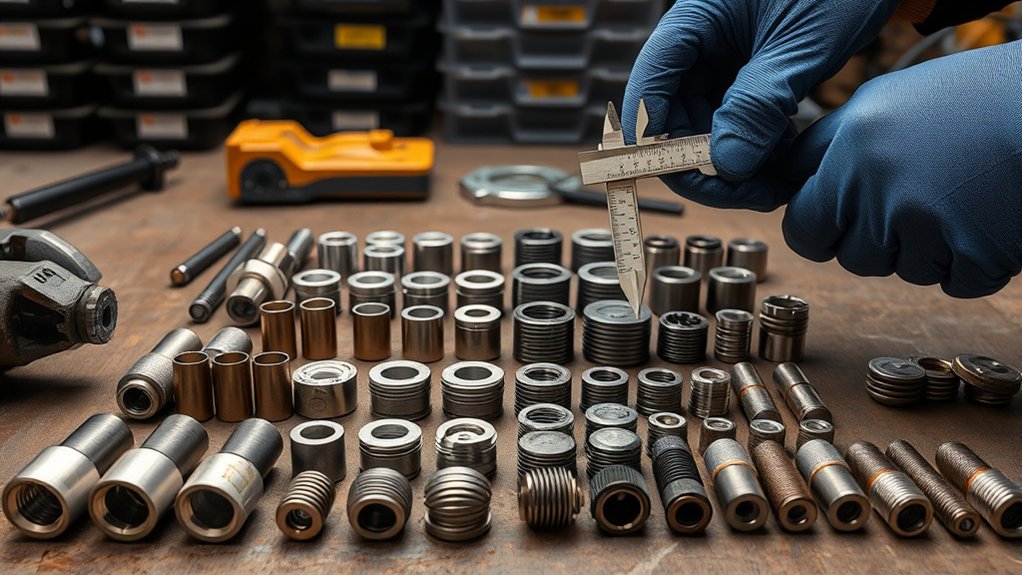
Clean assembly and correct part order matter as much as part selection. Follow the manual for your torch because some conventional stacks are finger-tight, while industrial torches may require a supplied torque tool.
- Make the system safe: Turn off and isolate power, disconnect gas, and let the torch cool.
- Work clean: Wash and dry your hands. Place parts on a clean, dry, oil-free surface.
- Inspect before assembly: Check seats, threads, bores, O-rings, and gas holes for damage or debris.
- Install the listed stack: Use the exact order shown in the manual. Do not combine leftover pieces from unrelated kits.
- Tighten correctly: Finger-tighten a retaining cup when the manual says to. Use the specified torque tool where required. Never use pliers to force a cap.
- Restore services and test: Reconnect gas and power, check for faults or leaks, then make a short test cut on scrap.
Miller recommends replacing the tip and electrode together for best cut quality on its systems and warns against overtightening the retaining cup. Follow your own manufacturer’s direction because replacement practice and torque can vary by torch. See Miller’s plasma cutting consumable tips.
Keep the Air Supply Clean
Moisture, oil, rust, and dirt can shorten consumable life and cause poor starting. Drain the compressor and filter bowl, maintain the separator or dryer, and use the pressure and flow range in the manual. ISO 8573-1:2010 classifies compressed-air contaminants and purity classes, but your plasma manufacturer’s stated air requirement remains the practical specification for the machine.
Track Wear and Cut Conditions
Record the date, part numbers, material, amperage, pressure, number of starts, arc-on time, and reason for replacement. A simple log helps you spot air problems, poor piercing habits, wrong cut heights, and counterfeit or low-quality parts before they become expensive.
Troubleshooting Problems After Installing Consumables
| Symptom | Likely checks | Next action |
|---|---|---|
| Torch-cap fault or no start | Missing part, wrong stack order, loose or incompatible retaining cap, damaged switch or interlock | De-energize the machine and compare the complete stack with the manual |
| Hard start or sputtering pilot arc | Wrong electrode/nozzle, incorrect start technology, excessive or low gas pressure, wet or oily air | Install the specified parts and correct the gas supply |
| Rapid nozzle damage or double-arcing marks | Wrong amperage, mismatched shield/nozzle, piercing too close, damaged swirl ring, dirty assembly | Replace damaged parts and correct the setup before cutting again |
| Heavy dross, bevel, or wide kerf | Worn nozzle, wrong process parts, travel speed, standoff, pressure, work-lead contact, or material thickness | Return to the cut chart and change one variable at a time |
| Gas or coolant leak | Cut O-ring, wrong cap, damaged seat, excessive lubricant, loose or cross-threaded part | Stop using the torch until the leak and damaged parts are corrected |
CNC Torch-Height Control Compatibility
On a CNC table, consumable changes can alter the required pierce height, cut height, arc voltage, pierce delay, kerf compensation, and travel speed. A part that fits the torch may still be wrong for the loaded cut chart. Use the chart for the exact plasma system, torch, material, thickness, process, and amperage. Do not copy voltage values from a different nozzle, shield, or torch family.
Where to Get Reliable Compatibility Information and Support
Use sources in this order:
- Operator or service manual: Find the torch diagram, installation order, wear limits, pressure range, and safety steps.
- Manufacturer parts chart: Confirm every part number by torch, process, and amperage.
- Manufacturer technical support: Provide the power-supply model, torch model, serial or revision number, process, and intended amperage. Ask for written confirmation when a combination is unclear.
- Authorized distributor: Have the counter staff verify the full stack against the OEM chart, not only the package description.
- Qualified aftermarket supplier: Require a specific OEM cross-reference and traceable product information.
- Forums and user groups: Use them for field experience, not as the final authority on fit, warranty, or safety.
For workplace safety, follow your manual and applicable rules. OSHA’s welding and arc-cutting requirements address eye and face protection and other workplace controls. The American Welding Society also publishes welding and cutting standards and safety resources.
Frequently Asked Questions
Do aftermarket consumables void a plasma cutter warranty?
Not automatically in the United States. FTC guidance says a manufacturer generally cannot require a branded part to keep warranty coverage unless it supplies the part free or receives a waiver. However, damage caused by an incompatible part, misuse, or an unauthorized modification may be excluded. Read the written warranty and local law.
Can mixed-brand consumables meet OSHA and CE requirements?
There is no simple component-by-component approval. OSHA sets workplace safety requirements; it does not certify a mixed consumable stack. In the EU, CE marking is the manufacturer’s declaration for the complete covered product. A third-party modification can affect the original conformity assessment, so use documented compatible parts and consult the manufacturer when compliance matters.
How does humidity affect plasma consumable life?
Humidity can add moisture to compressed air, especially when the compressor and lines are warm or poorly drained. Water, oil, and dirt can hurt starting and speed wear. Maintain the compressor, separator, filters, and dryer, then meet the pressure and air-quality requirement in the plasma cutter manual.
What travel-speed changes suggest the wrong consumable?
A large change from the manufacturer’s cut chart is a warning, not proof by itself. The cause may be a worn or wrong nozzle, incorrect amperage, bad air pressure, poor work-lead contact, wrong standoff, or material outside the rated range. Return to the correct cut chart and inspect the parts.
Are there compatibility risks with CNC torch-height control?
Yes. A different nozzle, shield, process, or torch can require different pierce height, cut height, arc voltage, delay, and speed. Wrong values can cause nozzle contact, failed transfer, poor edges, or fast wear. Load the cut chart for the exact consumable set.
Can I use a different-amperage nozzle in the same torch?
Only when the manufacturer lists that nozzle for the torch and you set the machine within its approved range. You may also need a matching shield, electrode, or swirl ring. Never choose a nozzle by thread fit alone.
Can a cartridge replace a conventional five-piece consumable stack?
Only if the manufacturer offers a compatible cartridge torch, adapter, or retrofit for that plasma system. A cartridge is an engineered assembly; it should not be taken apart or fitted to an unsupported torch.
Conclusion
Plasma cutter consumables are interchangeable only within combinations that have been designed and documented to work together. Match the exact torch and revision first, then the process, amperage, start method, gas or cooling system, and complete part-number stack. Inspect wear by the limits in your manual, keep the air clean, and stop when a part must be forced or the torch develops a fault. That approach protects cut quality, reduces wasted consumables, and makes troubleshooting much faster.
Sources
- Hypertherm Powermax torches and consumables catalog — model-, torch-, process-, and amperage-specific part selection
- Hypertherm XPR electrode emitter-wear guidance — electrode inspection and model-specific pit-depth examples
- Miller Electric plasma cutting tips — consumable wear, moisture, paired replacement, and retaining-cup tightening
- OSHA 29 CFR 1910.252 — workplace requirements for welding and arc cutting, including eye and face protection
- Federal Trade Commission warranty guidance — branded-part and warranty limitations in the United States
- European Union CE marking guidance — manufacturer responsibility and the effect of product modifications on conformity