
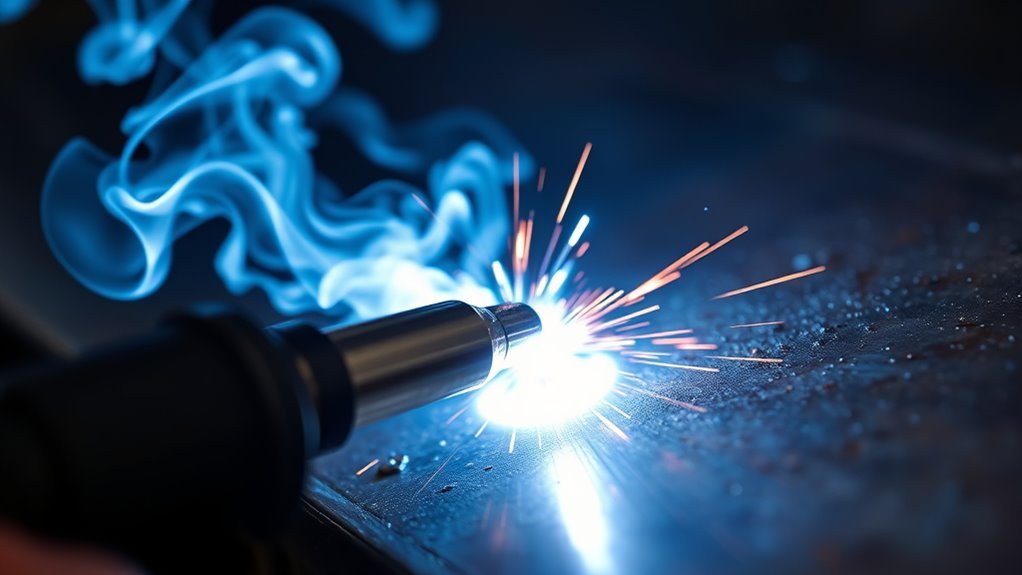
A TIG torch is the hand-held part of a gas tungsten arc welding system. It carries welding current to a tungsten electrode, directs shielding gas around the arc, and gives you precise control over the weld pool. With the correct torch, tungsten, gas, settings, and technique, TIG welding can produce clean welds on steel, stainless steel, aluminum, and many specialty alloys.
Quick Answer
A TIG torch carries welding current to a nonconsumable tungsten electrode and directs shielding gas around the arc and molten weld pool. The power source controls the current, while a foot pedal, fingertip remote, or configured torch control may adjust heat. Filler metal is added separately only when the joint requires it.
Key Takeaways
- The TIG torch is one part of the complete GTAW system; the power source supplies and controls the welding current.
- The tungsten electrode carries the arc but is not intended to become filler metal.
- Argon is the normal all-around shielding gas, but cup size, drafts, and gas-lens design affect the required flow.
- Air-cooled torches are simple and portable, while water-cooled torches suit higher amperage and longer duty cycles.
- Clean metal, a properly prepared tungsten, a short arc, and steady shielding are essential for consistent welds.
- Always follow the exact power-source, torch, cooler, gas-cylinder, and welding-procedure instructions for your equipment.
At a Glance
| Time Required | About 10–20 minutes for a basic bench setup; welding practice time is not included |
| Difficulty | Beginner to intermediate; TIG requires steady two-hand control and often foot or fingertip coordination |
| Tools Needed | TIG power source, compatible torch, work clamp, argon cylinder, regulator or flowmeter, tungsten, dedicated grinder, PPE, and a cooler for a water-cooled torch |
| Cost | Varies widely by power source, torch rating, cooling system, gas-cylinder arrangement, and consumables |
What Is a TIG Torch and How Does It Work?
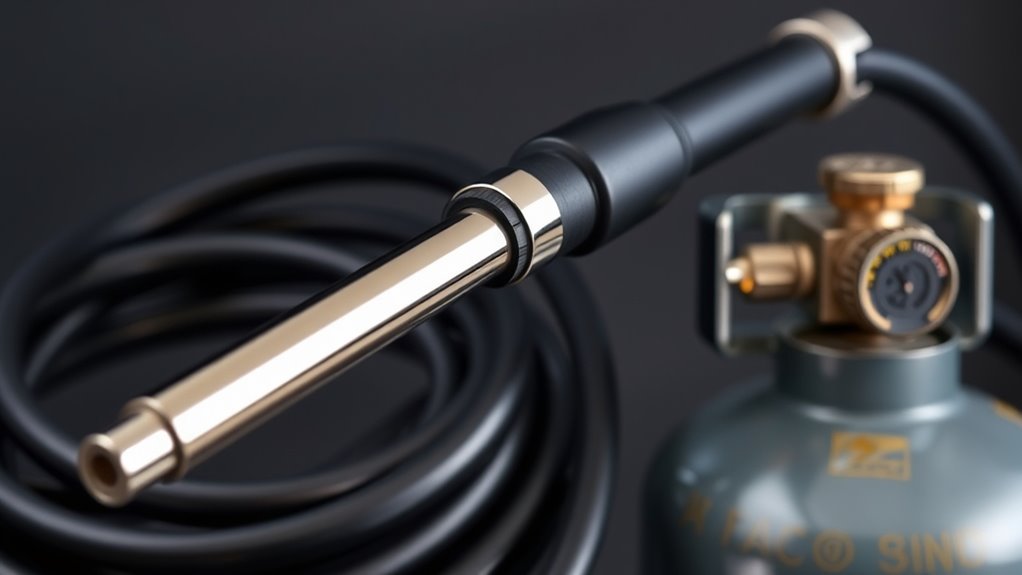
TIG stands for tungsten inert gas. The formal process name is gas tungsten arc welding, or GTAW. The torch holds the electrode, carries current from the power source, and delivers shielding gas to the weld area.
The welding current travels through the torch cable and tungsten electrode. An electric arc crosses the small gap between the tungsten and the workpiece, producing enough heat to melt the base metal. The current then returns to the power source through the work lead and clamp.
Shielding gas flows through the torch and exits around the electrode. It protects the hot tungsten and weld pool from oxygen, nitrogen, and moisture in the surrounding air. A filler rod may be added by hand, but some joints can be welded autogenously without added filler metal.
The tungsten is called a nonconsumable electrode because it is not intended to supply filler metal. It still wears over time and can contaminate the weld if it touches the molten pool, overheats, or is used with the wrong polarity. Miller’s TIG process overview explains the torch, electrode, cup, collet, and current-control functions in more detail.
Tungsten has a melting point of about 6,192°F (3,422°C), but a TIG electrode can still erode, split, or contaminate the weld when the setup is incorrect.
The melting-point value is listed by the Los Alamos National Laboratory periodic table. The high melting point allows the electrode to carry a concentrated arc without acting as the normal filler material.
Main Parts of a TIG Torch
| Part | What It Does |
| Tungsten electrode | Carries the welding current and forms the arc. The alloy, diameter, and tip shape must suit the machine, material, and amperage. |
| Collet | Clamps the tungsten when the back cap is tightened. Its bore must match the electrode diameter. |
| Collet body | Supports the collet and directs gas through holes into the cup. |
| Gas lens | Uses fine screens to straighten the gas flow. It can improve coverage and permit greater tungsten extension in difficult joints. |
| Cup or nozzle | Surrounds the tungsten and shapes the shielding-gas column. Larger cups cover a wider area but require suitable access and flow. |
| Insulator | Seals and electrically separates the front-end parts. A damaged or missing insulator can cause gas leaks or poor shielding. |
| Back cap | Tightens the collet around the tungsten. Short caps improve access, while longer caps accept full-length electrodes. |
| Torch head and body | Hold the front-end parts and provide a hand grip. Heads may be rigid, flexible, or fitted with a manual gas valve. |
| Cable and hoses | Carry welding current and shielding gas. Water-cooled models also have coolant supply and return hoses. |
| Switch or remote | May start and stop the arc. A compatible variable remote can also adjust amperage, but a basic trigger may provide on/off control only. |
Correct filler rod selection is also important when the joint requires added metal. Match the filler alloy to the base metal, service conditions, and approved procedure rather than choosing by appearance alone.
Air-Cooled vs. Water-Cooled TIG Torches
An air-cooled, sometimes called gas-cooled, TIG torch is simple and portable because it does not need a separate coolant pump. It works well when the amperage and duty cycle stay within the torch rating. The handle and cable can become uncomfortable when you run long beads or work near the upper limit.
A water-cooled torch circulates approved coolant through supply and return hoses. It can use a compact head while handling higher current for longer periods. Water cooling is commonly preferred for high-duty-cycle work above about 200 amps, but the exact limit depends on the torch’s AC or DC rating.
Miller describes water-cooled torches as suitable for higher-amperage, high-duty-cycle work. Never run a water-cooled torch without the required cooler, coolant, flow, and return connections.
Note: Torch series, connectors, collets, cups, and gas lenses are not universally interchangeable. Match every front-end part and cable adapter to the exact torch and power source.
How Does a TIG Torch Generate and Control the Arc?
The power source creates the voltage needed to establish an arc between the tungsten and workpiece. Once the arc is established, the machine regulates welding current. The torch positions the electrode and gas shield, but it does not generate power by itself.
Arc length matters because it affects voltage, heat spread, penetration, and shielding. A long arc becomes broad and less stable. A short, steady arc concentrates heat and normally gives better puddle control.
TIG Arc-Start Methods
The available start method depends on the power source:
- High-frequency start: A high-voltage signal ionizes the gap so the arc can begin without touching the workpiece. This helps keep the tungsten clean.
- Lift-arc start: The tungsten lightly contacts the work, and the machine limits current until you lift it to establish the arc. Use the motion described in the owner’s manual.
- Scratch start: The tungsten is moved across the work in a motion similar to striking a match. It is used with some basic setups but has a greater risk of tungsten and workpiece contamination.
High-frequency and lift starts normally reduce contamination compared with scratch starting. Do not use a starting method unless the power source and torch arrangement support it.
Polarity, Amperage, and Remote Controls
Many carbon-steel and stainless-steel TIG procedures use direct-current electrode negative, or DCEN. Aluminum and magnesium are commonly welded with alternating current because AC can provide oxide-cleaning action. Always use the polarity required by the machine manual, filler manufacturer, welding procedure specification, or applicable code.
Set the maximum amperage at the power source. A foot pedal or compatible fingertip remote can then vary current up to that limit. A basic torch trigger may only start and stop the arc, gas sequence, and programmed upslope or downslope.
Modern machines may also provide pulse frequency, AC frequency, and AC balance. AC balance changes the relationship between oxide cleaning and penetration, but control labels and scales vary. Review the manual before changing it. A broader comparison of TIG and plasma current control can help clarify how the two processes differ.
Controlling Heat Input
Heat control matters when welding thin metal, small joints, or visible seams. Too much heat can enlarge the heat-affected zone, distort the part, melt an edge, or overheat the torch. Too little heat can leave a cold puddle and inadequate fusion.
- Set a practical maximum amperage before starting.
- Use a short arc instead of increasing heat to compensate for poor positioning.
- Reduce current as the workpiece becomes hotter.
- Pause or reposition when the torch approaches its duty-cycle limit.
- Use pulse or a heat sink only when the procedure and joint benefit from them.
Pro Tip: Brace your torch hand on a clean, stable surface whenever possible. A short arc is easier to maintain when your wrist and forearm are supported and the workbench does not move.
Why Does Shielding Gas Matter in TIG Welding?
Shielding gas protects the molten weld pool and hot tungsten from atmospheric contamination. Poor coverage can cause porosity, oxidation, discoloration, an unstable arc, damaged tungsten, and costly rework.
Pure argon is the normal all-around TIG gas because it starts easily and produces a stable arc on many common metals. Helium transfers more heat and can help with thicker or highly conductive material, but it is harder to ionize and may produce less consistent starts. Argon-helium mixtures combine some of these characteristics.
Miller’s TIG shielding-gas guide gives a broad typical range of about 10–35 cubic feet per hour. A standard indoor setup often starts near 15–20 CFH, but the correct setting depends on the cup, gas lens, gas type, tungsten extension, joint, torch angle, and air movement.
Gas Flow, Cup Size, and Gas Lenses
More gas is not always better. Excessive flow can become turbulent and draw surrounding air into the shielding column. Flow that is too low may not cover the pool or hot electrode.
A standard collet body introduces gas through several side holes. A gas lens uses fine screens to create a straighter, more even flow. This can improve coverage and allow more electrode stickout for tight joints, but the selected cup and flow still need to be tested for the job.
Use enough pre-flow to purge air from the torch before the arc starts. After the arc stops, hold the cup over the end of the weld until post-flow ends. This protects the solidifying crater and cools the tungsten under shielding gas.
Pro Tip: When a draft disturbs the gas shield, block the draft or reposition the work before turning up the flow. Excessive flow may increase turbulence rather than solve the problem.
How Do You Set Up a TIG Torch?
The exact order varies by machine, so read the power-source, torch, cooler, and regulator manuals first. The following sequence covers a common bench setup.
- Confirm compatibility. Check the torch connector, amperage rating, AC and DC rating, duty cycle, cable length, remote connection, and cooling requirement.
- Inspect the equipment. Look for cracked cups, damaged insulators, loose fittings, burnt cables, gas leaks, coolant leaks, or a contaminated torch head.
- Select the front-end parts. Match the collet, collet body or gas lens, cup, and tungsten diameter to the torch and expected current.
- Prepare the tungsten. Use a dedicated tungsten grinder or clean wheel. Grind along the electrode’s length rather than around it. Choose the electrode alloy and point shape recommended for the machine and material.
- Assemble the torch. Install and tighten the collet body or gas lens before tightening the back cap. Fit the correct cup and insulator.
- Set the stickout. A common starting point is about 1/8–1/4 inch. With a standard collet body, do not extend the tungsten farther than the cup’s inside diameter unless the manufacturer or procedure permits it.
- Connect the system. Attach the torch, gas hose, remote, and work lead. Connect both coolant lines and confirm circulation when using a water-cooled torch.
- Secure the gas cylinder. Keep it upright and restrained with an approved chain or strap. Install the correct regulator or flowmeter and check the fittings.
- Select polarity and controls. Choose AC, DCEN, amperage, pulse, start mode, pre-flow, and post-flow according to the material and machine instructions.
- Clean the joint. Remove oil, moisture, paint, oxide, plating, and other contamination by a method suitable for the material. Clean the filler rod as required.
- Check gas flow. Open the cylinder correctly, trigger the gas sequence, and set the flow while gas is moving through the torch.
- Test on matching scrap. Confirm the arc start, puddle response, gas coverage, remote operation, and torch temperature before welding the finished part.
A steady table also improves control. Repairing or adding vibration damping to a welding bench can make it easier to maintain a short arc and feed filler consistently.
Warning: Disconnect input power before servicing torch connections or opening equipment. Never operate a water-cooled torch without verified coolant flow, and never use oxygen or compressed air in place of the specified inert shielding gas.
Products Worth Considering

Set includes:25 Alumina ceramic cups, 20 collets, 8 gas lens collet bodies, 2 gasket , 3 torch head back caps.

Flex head, easy to bend.

37pcs tig welding torch stubby gas lens kit accessories for:PTA DB SR WP 9 20 25 Tig Welding Torch
How Do You Hold and Use a TIG Torch?
Position the torch so you can see the electrode tip, joint, and leading edge of the puddle. For many manual welds, the torch is held about 70–80 degrees from the work surface and tilted slightly in the direction of travel. Joint access may require a different angle.
Keep the tungsten roughly 1/16–1/8 inch above the work for many common hand-welding situations. The exact arc length depends on electrode diameter, joint design, current, and procedure. Do not touch the tungsten to the base metal or filler rod.
Adding Filler Metal
Keep the filler rod inside the shielding-gas envelope. Add it to the leading edge of the molten pool rather than striking the tungsten. Withdraw the rod slightly between additions without pulling its hot end into open air.
Filler is not required for every weld. Thin, close-fitting joints may be fused without it when the design and approved procedure permit an autogenous weld.
Ending the Weld
Reduce current gradually when the equipment allows it. Add enough filler to avoid a deep crater, then stop the arc. Hold the torch over the weld end until post-flow finishes so the crater and tungsten remain protected while cooling.
Common TIG Torch Problems and Fixes
| Problem | What to Check |
| Tungsten touched the pool | Stop welding. Let the electrode cool, remove the contaminated section, and regrind it with a dedicated clean wheel. |
| Tungsten melts, splits, or balls excessively | Check polarity, AC balance, electrode diameter, current, gas coverage, and whether the tungsten alloy suits the power source. |
| Porosity or gray, black, or sugary weld surface | Check the cylinder, flowmeter, leaks, cup, insulator, drafts, torch angle, pre-flow, post-flow, base-metal cleanliness, and filler cleanliness. Excessive flow can also cause turbulence. |
| Arc wanders or feels unstable | Shorten the arc, reprepare the tungsten, tighten the front-end parts, improve the work-clamp connection, and confirm the selected polarity and gas. |
| Torch becomes too hot to hold | Stop and let it cool. Check the torch rating and duty cycle. On a water-cooled unit, inspect coolant level, flow, hose routing, and cooler operation. |
| No gas flow | Check the cylinder valve, regulator, hose, torch valve, machine solenoid, trigger sequence, and blocked or incorrectly assembled consumables. |
| No arc or unreliable start | Check input power, work-clamp contact, torch connection, remote connection, start mode, tungsten condition, arc gap, and high-frequency settings where applicable. |
Miller’s TIG welding basics and troubleshooting guide provides additional guidance on polarity, tungsten preparation, stickout, torch angle, and contamination.
Products Worth Considering

MATERIAL: Made of high quality plastic and copper material, the welding back caps are of high resistant and pressure resistant.

WP-26FV SR-26FV TIG Welding Torch Head body

Complete 123-Piece Set:All necessary TIG torch accessories and consumables for WP-17, WP-18, and WP-26 torches.
Common Applications of a TIG Torch
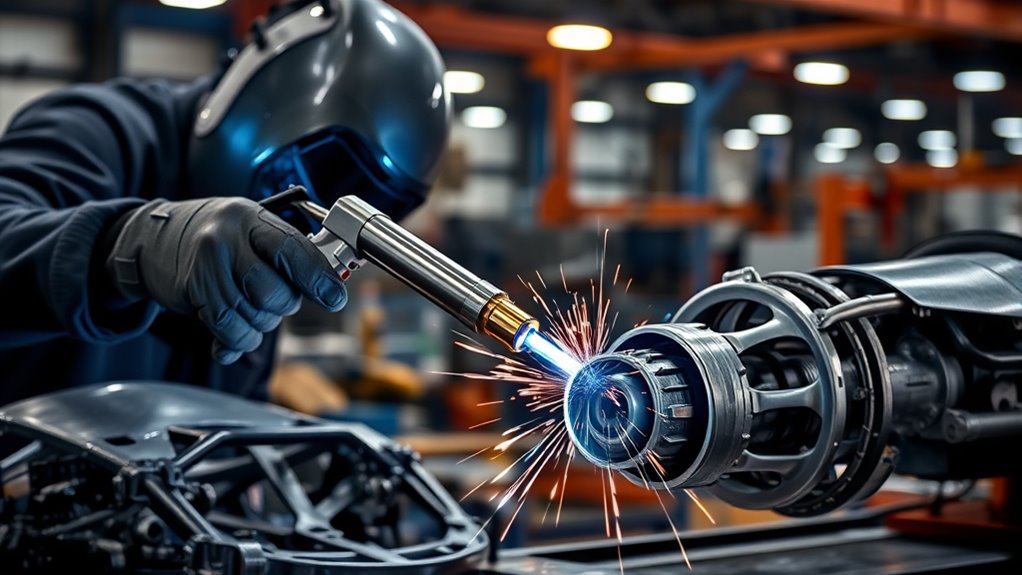
A TIG torch works well when a job needs close heat control, a clean surface, access to thin material, or careful filler placement. The process is slower than many production welding methods, so shops normally use it where precision or material requirements justify the added time.
Aerospace Industry Applications
Aerospace and aviation work may use GTAW on qualified joints in stainless steel, aluminum, nickel alloys, titanium, and thin tubing. These jobs require approved procedures, traceable filler metal, controlled cleaning, suitable shielding, and qualified personnel.
Manual, orbital, or automated TIG equipment can be used for tubing, brackets, ducts, tanks, and precision assemblies. Fixtures and mechanized controls improve repeatability when the same joint must be produced many times.
Automotive Fabrication and Repair
TIG welding is common in custom and specialty automotive work rather than most high-volume body assembly. Typical uses include stainless exhausts, aluminum intake and intercooler piping, thin tubing, tanks, brackets, restoration panels, prototypes, motorsport components, and appearance-sensitive joints.
Material identification still matters. Aluminum castings, coated sheet, high-strength structural steel, and safety-critical chassis parts may require approved repair procedures or may not be suitable for an informal repair. For comparison with another process, see how to weld stainless steel with a stick welder.
Artistic Metal Fabrication
Artists and fabricators use TIG torches for sculpture, furniture, architectural details, decorative stainless steel, and small precision work. The process gives the operator direct control over puddle size, filler placement, and bead appearance.
Clean fit-up and careful heat-input management on stainless steel are especially important when the finished weld remains visible.
TIG Torch Maintenance and Storage
- Inspect the cup for cracks, embedded metal, and heat damage.
- Check the insulator, O-rings, collet, collet body, and gas lens for damage or contamination.
- Replace collets that no longer grip the electrode evenly.
- Keep torch fittings tight, but do not overtighten ceramic or threaded parts.
- Inspect cables and hoses for burns, cuts, flattening, leaks, and loose connections.
- Use only the cooler and coolant specified for a water-cooled system.
- Keep spare tungsten clean, dry, identified by alloy, and separate from dirty shop materials.
- Use a grinding wheel dedicated to tungsten to reduce cross-contamination.
- Coil the torch lead loosely and store the torch where the cup and flexible head cannot be crushed.
Note: Repeated tungsten contamination often indicates a technique, polarity, shielding, or equipment problem. Continually regrinding the electrode without finding the cause wastes tungsten and does not correct the weld defect.
Safety Tips When Using a TIG Torch
TIG welding produces intense arc radiation, hot metal, electrical hazards, fumes, and inert-gas hazards. A visually clean process is not hazard-free. Review the safety sections of every equipment manual and follow workplace rules, applicable codes, and the welding procedure.
- Wear safety glasses under a welding helmet with a lens shade suitable for the amperage and task.
- Cover exposed skin with flame-resistant clothing, welding gloves, and closed leather footwear.
- Use welding curtains or screens to protect nearby people from arc radiation.
- Inspect the torch, work lead, power cable, connectors, and insulation before each session.
- Keep gloves, clothing, the floor, and equipment dry to reduce electrical-shock risk.
- Provide effective local exhaust or ventilation for the metal, coating, filler, and work area.
- Keep chlorinated cleaners and their vapors away from welding arcs and hot work.
- Identify paint, plating, oil, galvanizing, and other coatings before heating them.
- Secure gas cylinders upright, protect the valve, and use the correct regulator.
- Do not allow argon to collect in a confined space, pit, tank, or other low area.
- Remove combustibles and inspect the opposite side of walls, floors, and panels for hidden fire hazards.
- Never weld a sealed container or a container that held a flammable, toxic, or unknown substance unless it has been made safe under an approved procedure.
- Mark or isolate hot metal so another person does not pick it up.
- Use suitable personal protective equipment for hot metal and arc work.
The OSHA welding-hazards resource identifies metal fumes, ultraviolet radiation, burns, eye damage, and electrical shock among the main hazards. General shop ventilation and PPE practices also apply, but the exact controls must match the TIG material and work environment.
Warning: Never weld near flammable material, inside an untested confined space, on an unknown container, or on coated metal until the hazards have been identified and controlled. Stop immediately if you smell unusual fumes, lose ventilation, find damaged insulation, or suspect a gas or coolant leak.
Frequently Asked Questions
What are the downsides of TIG welding?
TIG welding is slower and more coordination-intensive than many MIG or stick applications. The joint and filler must be clean, shielding is sensitive to drafts, and the operator may need to control the torch, filler rod, and amperage at the same time. Equipment and water cooling can also add cost and complexity.
Can you use a TIG torch without shielding gas?
You may be able to strike an arc, but you will not produce a proper gas tungsten arc weld without suitable shielding. Air will contaminate the tungsten and molten pool, leading to oxidation, porosity, instability, and weak or unusable weld metal.
What are three basic rules in TIG welding?
Keep the base metal and filler clean, keep the tungsten correctly prepared and uncontaminated, and maintain a short stable arc with reliable shielding. These three habits prevent many problems involving porosity, poor fusion, wandering arcs, and rough weld beads.
What is the hardest metal to TIG weld?
There is no single hardest metal because difficulty changes with the alloy, thickness, joint, equipment, and procedure. Titanium is especially demanding because it reacts readily with air while hot and needs exceptional cleanliness and shielding. Magnesium, cast aluminum, some nickel alloys, and crack-sensitive steels can also be difficult.
How close should the tungsten be to the workpiece?
For many manual welds, an arc length of roughly 1/16–1/8 inch is a useful starting point. Keep it short without touching the work. The required distance changes with electrode size, amperage, joint access, and the approved welding procedure.
Is a TIG torch the same as a TIG welder?
No. The torch holds the tungsten, delivers current to the electrode, and directs shielding gas. The TIG welder or power source supplies and controls the electrical output. A complete system also needs a work lead, shielding-gas equipment, and often a remote control.
What shielding gas should you use with a TIG torch?
Pure argon is the normal all-around choice because it provides easy starting and stable shielding on many metals. Helium or an argon-helium blend may be selected when more heat is useful. Use the gas specified by the procedure, material, and equipment manufacturer.
What should you do if the tungsten touches the weld?
Stop the arc and allow the electrode to cool. Remove the contaminated portion and grind a clean tip using a dedicated wheel. Continuing with contaminated tungsten can make the arc wander and may deposit tungsten in the weld.
Conclusion
A TIG torch gives you direct control over the electrode position, shielding-gas coverage, arc length, and access to the weld. The quality of the result depends on more than the torch alone: the power source, work connection, tungsten, filler, gas system, settings, joint preparation, and operator technique must work together.
Before each weld, inspect the torch, confirm its rating and cooling, prepare the tungsten, clean the joint, verify polarity, test gas flow, and make a short trial weld on matching scrap. These checks prevent many arc, shielding, contamination, and overheating problems.
Practice with clean material and a stable hand position. As your control improves, a TIG torch can produce strong, neat welds for repair, precision fabrication, automotive work, aerospace applications, and artistic metal projects.
Sources
- Miller — How a TIG Welder Works and When to TIG Weld — TIG process, torch parts, controls, gas, polarity, and setup.
- Miller — Guide to TIG Welding Basics — connections, tungsten preparation, stickout, torch angle, and troubleshooting.
- Miller — Best Practices for Proper Shielding Gas in TIG Welding — argon, helium, flow ranges, gas lenses, pre-flow, and post-flow.
- Miller — Water-Cooled TIG Torches — higher-amperage and high-duty-cycle torch selection.
- OSHA — Welding, Cutting, and Brazing Hazards and Solutions — fumes, radiation, burns, eye injury, electrical shock, and PPE.
- Los Alamos National Laboratory — Tungsten — tungsten properties and melting point.




