
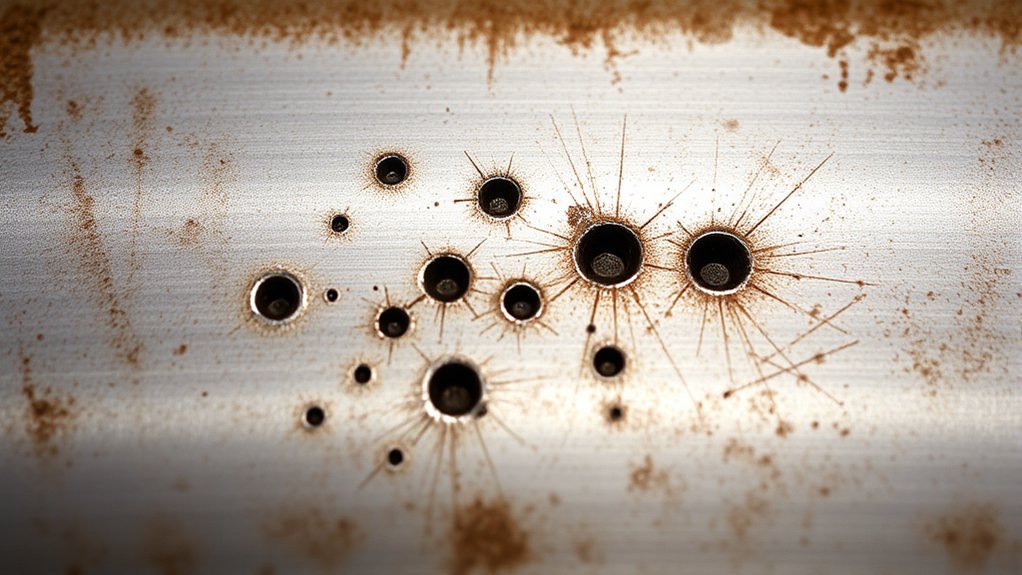
Your MIG weld is usually porous because gas is getting trapped in the weld metal before it solidifies. The most common causes are poor shielding gas coverage, dirty base metal, moisture, too much stickout, a clogged nozzle, a loose gas connection, or an unstable arc. The fix is to isolate the cause, clean the joint, confirm gas coverage, adjust your gun setup, and run a test bead before welding the final part.
Quick Answer
MIG weld porosity comes from trapped gas. Start by checking shielding gas flow, leaks, nozzle blockage, drafts, stickout, and surface contamination. Clean the metal to bright material, keep the nozzle close enough for coverage, block wind, and use the correct gas and wire for the metal you are welding.
Key Takeaways
- Porosity is usually a gas coverage, contamination, moisture, or arc stability problem.
- Do not assume more gas flow always helps. Too much flow can create turbulence and pull air into the weld zone.
- Clean paint, oil, rust, mill scale, zinc coating, and moisture before welding whenever the job allows it.
- Check the nozzle, diffuser, gas hose, regulator, and gun liner before changing every machine setting.
- For structural or safety-critical welds, grind out porous weld metal and reweld only after the cause is fixed.
At a Glance
| Time Required | 10 to 30 minutes for basic troubleshooting; longer if the weld must be ground out and redone. |
| Difficulty | Beginner to intermediate. |
| Tools Needed | Wire brush, grinder or flap disc, clean rag, approved cleaner, flowmeter or regulator gauge, nozzle pliers, spare contact tip, and leak-check solution. |
| Cost | Usually $0 to $25 if you only need cleaning supplies, a contact tip, or nozzle maintenance. |
What Causes Porosity in MIG Welding?
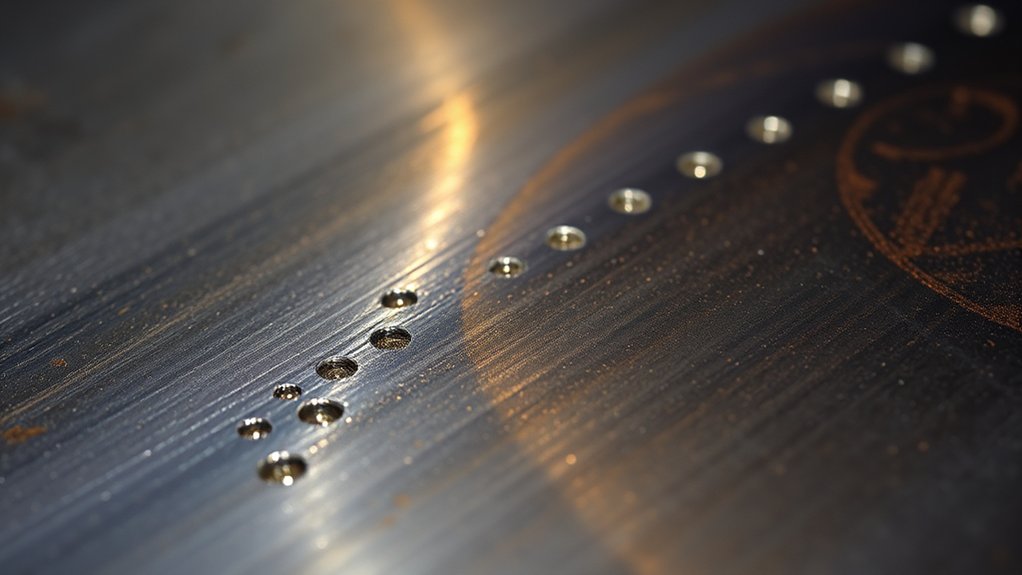
Porosity in MIG welding is caused by gas bubbles that get trapped in the weld bead. In gas metal arc welding, the shielding gas protects the molten weld pool from oxygen, nitrogen, and moisture in the air. If that coverage breaks down, the weld can form pinholes, wormholes, or hidden internal voids.
The most common causes are:
- Poor shielding gas coverage: Low gas flow, leaks, a clogged nozzle, wrong nozzle distance, or drafts can let air reach the weld pool.
- Dirty base metal: Rust, paint, oil, grease, mill scale, zinc, and moisture can release gas when heated.
- Wrong technique: Long stickout, poor travel angle, erratic travel speed, or a long unstable arc can reduce coverage and trap gas.
- Equipment problems: A damaged hose, loose fitting, bad O-ring, dirty liner, plugged diffuser, or empty cylinder can starve the weld of gas.
- Wrong consumables: Damp wire, rusty wire, incorrect shielding gas, or a wire type that does not match the base metal can create defects.
Clean base metal is one of the easiest ways to reduce porosity. Before welding, remove loose rust, oil, paint, and moisture from the joint area. If you need a deeper refresher on related MIG defects, see this guide to MIG welding problems and solutions.
Warning: Welding can produce hazardous fumes and gases. Use proper PPE, remove coatings when possible, and ventilate the work area without blowing air across the arc. Never weld near chlorinated solvent vapors, because gas-shielded welding arcs can create dangerous decomposition products.
How to Diagnose MIG Weld Porosity
Before changing every setting on the machine, look at when and where the pores appear. The pattern often points to the cause.
| Porosity Pattern | Likely Cause | First Fix to Try |
|---|---|---|
| Pinholes across the whole bead | Poor gas coverage, contamination, or too much stickout | Check gas flow, clean the joint, and shorten stickout. |
| Porosity only at the start | No pre-flow, dirty start point, or nozzle too far away | Start on clean metal and pause briefly before travel. |
| Porosity near the crater | Pulling away too fast or losing shielding at the end | Fill the crater and hold the nozzle over the puddle for a moment. |
| Pores appear after grinding | Internal porosity below the surface | Grind out the bad weld and fix the root cause before rewelding. |
| Porosity on galvanized or painted metal | Coating vapor, zinc fumes, paint, primer, or trapped contaminants | Remove coating from the weld area and use strong fume controls. |
How Contamination Affects Weld Quality
Contamination from rust, grease, paint, oil, cutting fluid, mill scale, zinc, or moisture can weaken your weld. When contaminants heat up, they can vaporize and release gas into the puddle. If the weld freezes before that gas escapes, pores remain inside the bead.
Sources of Contamination
Watch for these common contamination sources before you strike an arc:
- Oil and grease: These can vaporize under heat and create voids in the weld bead.
- Moisture: Condensation on cold metal can turn to steam and cause pinholes.
- Paint, primer, and mill scale: These coatings can decompose and contaminate the puddle.
- Zinc from galvanizing: Zinc coating can create fumes, debris, and porosity if it is not handled correctly.
- Dirty filler wire: Rusty, oily, or damp wire can carry contamination straight into the weld.
For best results, grind or brush the weld zone to clean metal, then wipe away residue with a safe cleaner. Let the part dry fully before welding. Do not weld on metal that is wet with solvent. The Canadian Centre for Occupational Health and Safety recommends removing coatings before welding and using proper ventilation and respiratory protection when needed in its welding fumes and gases guidance.
Impact on Weld Strength
Porosity reduces the solid cross-section of the weld. That means the joint may have less strength than it appears to have from the outside. Small cosmetic pinholes on a noncritical practice bead are one thing. Porosity in a trailer, suspension bracket, pressure part, frame repair, roll cage, or load-bearing weld is different. In those cases, do not cover the defect with another pass and hope it disappears.
Note: If the weld is structural, safety-related, or code-related, follow the approved welding procedure and inspection requirements. When in doubt, stop and ask a qualified welding inspector or experienced welder before the part goes into service.
Gas Flow’s Role in Preventing Porosity
Shielding gas must cover the weld puddle without creating turbulence. Too little gas allows air into the weld. Too much gas can swirl and pull air into the shielding stream. The right setting depends on your machine, nozzle size, gas mix, transfer mode, joint design, current, and whether air is moving around the weld.
Products Worth Considering

Compatible with CGA-580 tanks: Easily attach this Gas Pressure Regulator/Flowmeter to your Argon, Helium, and CO2 tanks with its CGA-580 inlet connector

WIDE APPLICATION: It easily connects to Argon, Helium, and Argon/CO₂ mixed gas tanks via the CGA-580 inlet nut. No additional adapters are required. Featuring superior airtight and leak-proof performance, it achieves stable and sealed gas supply with minimal gas loss. This regulator is ideal for MIG/TIG welding, chemical processing, general industrial use, and electronics industry applications.

Brand New BETOOLL Argon / CO2 regulator and flow meter.
Proper Gas Flow Rates
For many indoor short-circuit MIG welds on mild steel, a starting point around 20 to 30 CFH often works. Larger nozzles, higher current, spray transfer, or minor air movement may need more. Small nozzles or calm indoor work may need less. Always compare your setting with the welder manual, gas supplier guidance, or the welding procedure for the job.
Use this process instead of guessing:
- Open the cylinder slowly and confirm there is enough gas in the bottle.
- Set the regulator or flowmeter while gas is flowing, not while the gun is idle.
- Listen and feel for gas at the nozzle before welding.
- Spray approved leak-check solution on fittings if you suspect a leak.
- Run a test bead on clean scrap from the same material.
- Increase or decrease flow in small steps until the bead is clean and stable.
Shielding Gas Coverage Importance
Good gas coverage depends on more than the regulator number. Keep the nozzle close enough to blanket the puddle, but not so close that it drags or fills with spatter. Keep the gun angle steady. Avoid a long stickout because it can move the arc and puddle outside the best gas coverage zone.
Moving air is a common cause of sudden porosity. A fan, open garage door, outdoor breeze, or exhaust hood pointed across the arc can push shielding gas away. Use screens or temporary barriers to block drafts. Place fume extraction so it pulls fumes away from your breathing zone without stripping gas from the puddle.
Monitoring Gas Supply Integrity
Check the whole gas path when porosity appears without an obvious cause:
- Gas cylinder: Confirm it is not empty and that you are using the correct gas for the wire and base metal.
- Regulator or flowmeter: Set flow with the trigger pulled or purge active.
- Hoses and fittings: Look for cuts, loose connections, cracked hoses, and damaged clamps.
- Gun connection: Make sure the gun seats fully into the feeder and the O-rings are not cut.
- Nozzle and diffuser: Remove spatter that blocks gas outlets.
- Solenoid: Confirm gas starts and stops when the trigger is pressed and released.
Pro Tip: If porosity appears suddenly after the welder was working fine, check for an empty cylinder, a loose gun connection, a bumped flowmeter, or spatter packed inside the nozzle before changing voltage and wire speed.
Techniques to Prevent Porosity for Proper Weld Fusion
Good technique keeps the puddle protected long enough for gas to escape and the weld to solidify cleanly. Focus on a steady arc, clean metal, and consistent gun position.
| Technique | Purpose | Result |
|---|---|---|
| Clean to bright metal | Removes rust, oil, paint, zinc, and moisture | Less gas released into the puddle |
| Set gas flow correctly | Protects the puddle from air | Cleaner bead with fewer pinholes |
| Keep stickout consistent | Keeps the arc in the gas coverage zone | More stable arc and better fusion |
| Use steady travel speed | Controls heat and puddle size | Less trapped gas and fewer cold laps |
| Clean the nozzle often | Keeps gas outlets open | Better shielding gas coverage |
For solid-wire MIG on mild steel, many welders use a short stickout near 3/8 to 1/2 inch, depending on the wire size and setup. Keep the nozzle close enough for coverage and use a travel angle that does not outrun the gas shield. If you use flux-core wire, follow the wire manufacturer’s stickout and polarity guidance because the setup may be different. For more beginner technique help, review these flux-core welding tips for beginners.
Step-by-Step Fix for a Porous MIG Weld
- Stop welding and inspect the bead. Do not keep welding over heavy porosity. You may trap more defects under the next pass.
- Check the gas first. Confirm the cylinder is open, the gas is correct, and the flowmeter is set while gas is flowing.
- Look for leaks. Check the regulator, hose, feeder connection, gun connection, and fittings with approved leak-check solution.
- Clean the nozzle and diffuser. Remove spatter that blocks gas flow. Replace a damaged nozzle or contact tip.
- Clean the workpiece. Grind or brush the joint to clean metal, then wipe it dry.
- Block drafts. Close doors, move fans, or use welding screens to protect the shielding gas.
- Adjust technique. Shorten stickout, steady your travel speed, and keep the nozzle angle consistent.
- Run a test bead. Use scrap from the same material. If the test bead is clean, return to the part.
- Remove bad weld metal. For anything structural, grind out porous metal before rewelding.
Porosity is a symptom, not the root problem. Fix the gas, metal prep, technique, or equipment fault before you weld over it.
How Environmental Conditions Can Affect Your Weld
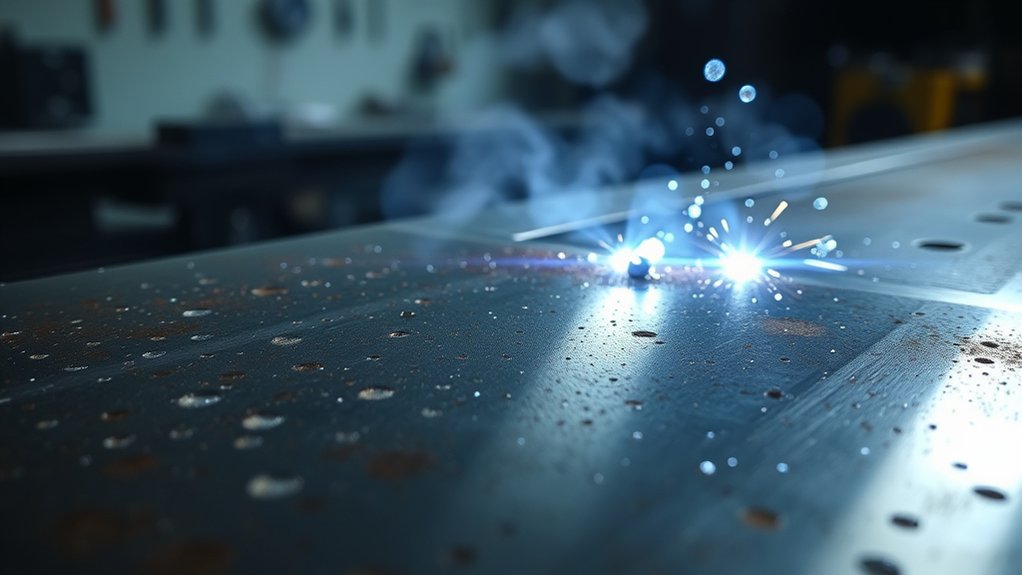
Your work area can make a clean setup turn porous. MIG welding with solid wire depends on a shielding gas cloud, so the weld area needs to be protected from drafts and moisture.
- Drafts and wind: Fans, open doors, and outdoor air can push shielding gas away from the puddle.
- Condensation: Cold steel brought into a warm shop can sweat. Dry it before welding.
- Dirty air movement: Grinding dust, paint dust, and shop debris can settle on the joint before welding.
- Poor fume control: You still need ventilation, but do not aim airflow across the weld puddle.
OSHA’s welding, cutting, and brazing topic page explains that welding hazards include fumes, gases, and safety controls. For general industry work, OSHA 1910.252 also addresses ventilation requirements for welding and cutting. Use ventilation to protect your breathing zone while keeping shielding gas stable at the weld.
Essential Equipment Maintenance to Avoid Porosity
Small equipment problems can cause big weld defects. Check these parts when porosity appears:
- Nozzle: Spatter buildup blocks gas coverage. Clean it often and replace it if it is distorted.
- Contact tip: A worn tip can cause an unstable arc. Replace it if the wire feels sloppy or burns back.
- Diffuser: Blocked diffuser holes can create uneven gas flow.
- Gun liner: Dirt in the liner can cause erratic feeding and arc instability.
- Drive rolls: Wrong tension can make the wire feed surge or slip.
- Gas hose: Cracks, kinks, and loose clamps can reduce flow or pull in air.
- Gun O-rings: Damaged O-rings at the feeder connection can leak shielding gas before it reaches the nozzle.
- Filler wire storage: Store wire dry and clean so rust and moisture do not enter the weld.
A clean and organized workspace also helps you avoid contamination. Keep grinding dust, oily rags, paint debris, and open solvent containers away from the welding area. For related shop safety practices, see this guide on how to use an angle grinder safely.
Products Worth Considering

Gel eliminates erratic operation with a film that will not clog orifices and threads on MIG nozzles and contact tips

1.Package Includes : 20×.030" (Ø0.8mm)welding tips, 2×flux core gasless nozzle, 2×gas diffusers, ,totaling 24 components to meet more of your needs.

COMPATIBILITY: Designed for Lincoln Magnum 100L (K530 series) and Tweco Mini/#1 welding torches. This kit is also a direct fit for YESWELDER FLUX-135PRO Old Version/MIG-140DS PRO/YWM-160/MIG-165DS PRO/MIG-185DS PRO/MIG-205DS PRO/MIG-250PRO/MCT-520.
Material-Specific Causes of MIG Porosity
Mild Steel
Mild steel is forgiving, but rust, mill scale, oil, and paint can still cause porosity. Clean the joint, use the correct wire and gas mix, and check your machine chart before adjusting voltage or wire speed.
Galvanized Steel
Galvanized steel has a zinc coating that can create fumes and weld contamination. Remove the coating from the weld area when allowed, use strong fume control, and follow the safety rules for the job. Welding galvanized steel needs extra care because zinc fumes can be harmful. For more detail, see this guide to MIG welding galvanized steel.
Aluminum
Aluminum can form oxide quickly and may show porosity if the base metal, wire, or shielding gas is contaminated. Use the correct wire, clean the oxide layer with a dedicated stainless brush, keep the wire dry, and use the gas recommended for aluminum welding.
Painted or Oily Metal
Paint, primer, undercoating, grease, and cutting oil should be removed from the weld zone. If you only clean the top surface but leave contamination inside a lap joint, the trapped material can still gas out during welding.
Best Practices for Clean and Quality Welding
Use this quick checklist before you weld:
- Clean the joint: Remove rust, paint, oil, zinc, and moisture from the weld area.
- Choose the right gas and wire: Match the shielding gas and filler wire to the base metal.
- Set gas flow while gas is moving: Adjust the flowmeter while purging or pulling the trigger.
- Protect the gas shield: Block wind and avoid fans blowing across the arc.
- Control stickout: Keep the wire extension steady and within the range recommended for your process.
- Maintain the gun: Clean the nozzle, diffuser, and contact tip before they cause defects.
- Watch the puddle: Keep a steady travel speed and avoid a long, erratic arc.
- Use safe ventilation: Pull fumes away from your breathing zone without disrupting shielding gas.
Note: For code work, pressure parts, vehicle structure, lifting equipment, trailers, or roll cages, visual appearance is not enough. Follow the approved welding procedure and inspection standard for the job.
When to Grind Out a Porous Weld
You should grind out the weld if porosity is heavy, clustered, visible after grinding, or located in a structural joint. Do not simply weld over deep porosity. A cover pass may hide the defect without restoring strength.
For a noncritical practice bead, you can use the defect as a learning sample. For a real part, remove the porous section, clean the joint again, fix the gas or technique problem, and reweld. If the part carries load or affects safety, have it inspected by a qualified person.
Frequently Asked Questions
How do you fix porosity in MIG welding?
Fix MIG porosity by checking shielding gas flow, blocking drafts, cleaning the base metal, reducing excessive stickout, cleaning the nozzle, and confirming there are no gas leaks. If the weld is structural, grind out the porous metal and reweld after the cause is fixed.
Can too much shielding gas cause porosity?
Yes. Too much shielding gas can create turbulence at the nozzle and pull air into the weld zone. If porosity gets worse after you increase flow, return to a moderate setting and check for drafts, nozzle distance, and gas leaks.
Why do I get porosity at the start of a MIG weld?
Start porosity often comes from starting on dirty metal, moving before the gas shield settles, holding the nozzle too far away, or starting in a draft. Clean the start area, keep the nozzle close, and pause briefly before traveling.
Why do pores show up after I grind the weld?
Pores that appear after grinding usually mean the porosity extends below the surface. Do not cover it with another pass on a critical part. Grind out the bad weld metal, fix the gas or contamination issue, and reweld.
Does dirty metal cause MIG weld porosity?
Yes. Oil, grease, paint, rust, moisture, mill scale, and zinc coating can release gas into the puddle. Clean the joint to bright metal when possible, wipe away residue, and let the part dry before welding.
Conclusion
If your MIG weld is porous, do not guess at one setting and keep welding. Treat porosity as a clue. Check gas coverage, clean the base metal, block drafts, inspect the gun, and steady your stickout and travel speed. Once you find the cause, run a test bead on clean scrap before returning to the part. For critical welds, remove porous metal and reweld only after the problem is corrected.
Sources
- Miller Electric: MIG Welding Basics for Mild Steel — supports basic MIG setup, technique, and shielding gas concepts.
- OSHA: Welding, Cutting, and Brazing — supports general welding hazard and safety guidance.
- OSHA 1910.252: General Requirements for Welding, Cutting, and Brazing — supports ventilation, fire prevention, and cleaning-compound safety guidance.
- CCOHS: Welding Fumes and Gases — supports fume control, coating removal, ventilation, and respiratory protection guidance.




