
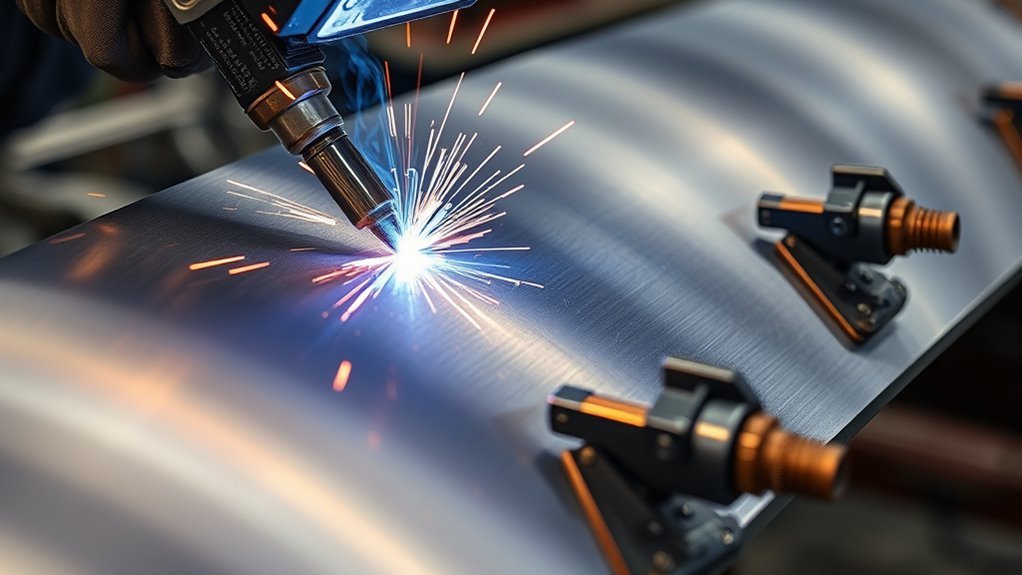
Backstep welding helps reduce panel distortion by breaking one long weld into short, controlled segments. Instead of running the bead in one continuous direction, you start each segment ahead of the previous weld and run it backward into the last tie-in. That sequence spreads heat, limits shrinkage pull, and gives thin sheet metal a better chance of staying flat.
Quick Answer
Backstep welding reduces distortion by placing short weld beads in a backward sequence so heat and shrinkage are spread across the joint instead of concentrated in one long pass. It works best on thin sheet metal, stainless steel, aluminum, frames, brackets, and panels where heat control matters.
Key Takeaways
- Backstep welding uses short beads that run backward into the previous weld to control heat and shrinkage.
- It is most useful on thin metal, long seams, flat panels, square frames, stainless steel, and aluminum.
- Good fit-up, tack welds, clamps, and cooling pauses matter as much as the weld sequence.
- Use the lowest practical heat input that still gives full fusion and safe penetration.
- Backstepping helps reduce distortion, but it does not replace proper PPE, ventilation, fire prevention, and a qualified weld procedure.
At a Glance
| Time Required | 10 to 30 minutes for a small seam; longer for large panels or frames |
| Difficulty | Intermediate; easier with clean fit-up, steady travel speed, and good tack welds |
| Tools Needed | MIG, TIG, stick, or flux-core welder; clamps; tack welds; wire brush or grinder; PPE; square or straightedge; heat-resistant work surface |
| Cost | Usually no extra cost beyond normal welding consumables, clamps, and safety gear |
What Is Backstep Welding?
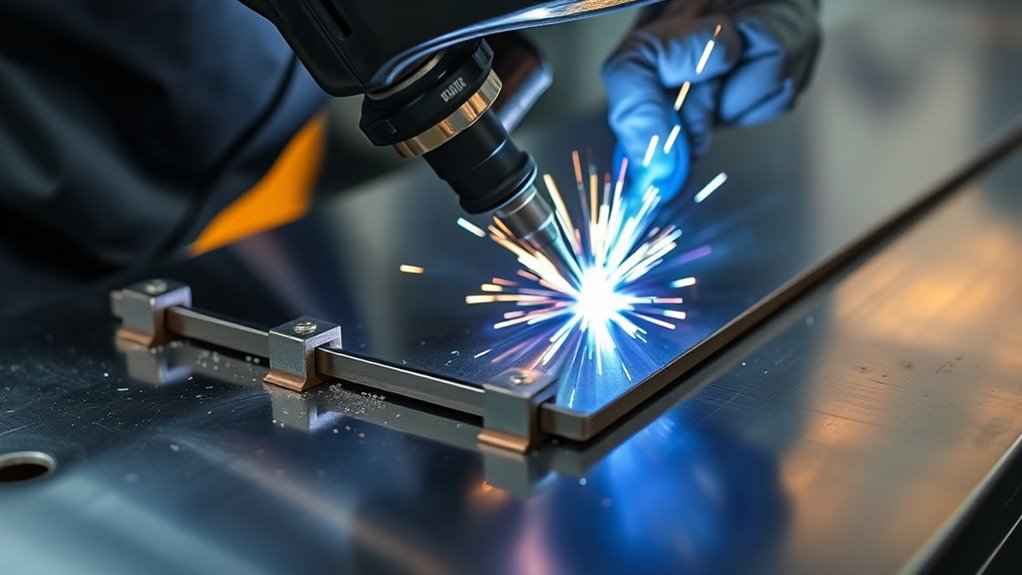
Backstep welding is a weld sequencing method where each short bead is deposited in the opposite direction of the overall joint progress. You may move along the seam from left to right, but each individual weld segment runs from right to left into the previous tie-in.
For example, instead of welding a 12-inch seam in one pass, you might weld a 1-inch segment backward, move forward 2 inches, weld another 1-inch segment backward, and continue until the seam is complete. The welds overlap or tie in just enough to form a sound joint without dumping too much heat into one area.
Short, planned welds give the metal time to cool in smaller zones, which helps reduce shrinkage pull and keeps thin panels flatter.
The method works with MIG, TIG, stick, and flux-core welding, but it is especially helpful on thin sheet metal, stainless steel, aluminum, body panels, light brackets, and square frames. You still need correct fit-up, correct fillet weld sizing, and enough penetration for the joint design.
Why Backstep Welding Reduces Distortion
Weld distortion happens because metal expands when it gets hot and contracts as it cools. A long continuous weld heats a long strip of metal in one direction, so the cooling weld bead can pull the panel, frame, or seam out of alignment.
Backstep welding reduces that pull in three ways:
- It breaks up heat buildup. Each bead is short, so one area is not overheated for as long.
- It spreads shrinkage forces. The backward sequence helps shrinkage pull act in smaller, more balanced sections.
- It improves tie-ins. Each new segment can blend into the previous stop, which helps reduce weak craters when done correctly.
Heat input is one of the main controls in welding. The Welding Institute explains that arc welding heat input compares how much energy reaches the workpiece per unit length, based on arc energy and process efficiency. You control it in the shop by managing voltage, amperage, travel speed, bead size, and time between welds. See TWI’s explanation of heat input and arc energy for the technical background.
On thin sheet, stainless steel, and aluminum, small changes in heat can show up fast as buckling, oil-canning, edge lift, or joint pull. Backstepping gives you a repeatable way to slow the heat cycle while still building the weld.
Note: Backstep welding reduces distortion risk, but it does not guarantee a flat part. Poor fit-up, excessive amperage, long arcs, wide weave beads, weak tacks, and over-clamping can still warp the work.
Safety First Before You Backstep Weld
Backstep welding is a heat-control method, not a shortcut around welding safety. Before you start, protect yourself from fumes, UV radiation, fire, burns, shock, and flying sparks. OSHA identifies welding hazards that include metal fumes, ultraviolet radiation, burns, eye damage, electrical shock, cuts, and other injuries.
Warning: Wear a welding helmet with the correct shade, safety glasses, gloves, flame-resistant clothing, and hearing protection when needed. Keep flammables away, use ventilation or fume extraction, and do not weld coated, painted, galvanized, or solvent-contaminated metal until you understand the fume hazards.
Use a clean, stable work area. If you grind or prep the joint before welding, control sparks and fire risk with safe grinding habits, a clear floor, and a nearby extinguisher. This is especially important when working near vehicles, insulation, oily parts, or interior trim. For related fire prevention, see this angle grinder sparks fire risk prevention guide.
Welding outdoors does not automatically mean the fumes are safe. OSHA notes that outdoor or open workspaces do not guarantee adequate ventilation, so position yourself to keep fumes out of your breathing zone and use local exhaust when needed.
Set Up the Joint for Backstepping
Good backstep welding starts before you strike an arc. The cleaner and straighter the joint is, the less force the weld has to fight as it cools.
Products Worth Considering

LIGHT-DUTY SIZE & SPECS : This 4PCS Bar Clamps set is a must-have clamping kit featuring a 12" max jaw opening, 3.15" throat depth, and 450LBS holding capacity. Built for demanding shop work, each f clamp provides stable pressure used for woodworking assemblies, welding setups, and daily garage projects

Value Pack: The package includes 24 packs of butt welding clamps, enough quantity to meet your daily needs and replacements. Each butt welding clamps is individually wrapped in a small bag, convenient to carry and use.

Clamp for holding items in place; ideal for pocket hole joinery, woodworking, welding, and other projects or repairs
Joint Fit-Up Checks
Check the joint gap, edge alignment, and contact before you weld. Uneven gaps make some sections need more filler metal, which raises heat input and increases distortion risk. Clean both sides of the weld area with a wire brush, grinder, or approved solvent, then remove oil, paint, rust, zinc coating, and mill scale where needed.
Use these checks before the first tack:
- Gap: Keep it consistent across the seam so each segment needs similar heat.
- Alignment: Make sure edges are flush unless the joint design calls for offset.
- Support: Back thin panels with copper, aluminum, or a heat sink only when it fits the process and material.
- Cleanliness: Remove contaminants that can cause porosity, poor fusion, or toxic fumes.
- Access: Position the work so you can keep the same torch angle and travel speed through every segment.
Tack Weld and Clamp the Part
Use small, strong tack welds to hold the joint before the backstep sequence begins. Place tacks at the ends, at key alignment points, and along the seam as needed. On thin panels, many small tacks usually work better than a few large, hot tacks.
Clamp the work so it stays aligned, but do not clamp so aggressively that you trap heavy stress in the part. If the joint naturally pulls one way, you may pre-set the part slightly in the opposite direction, but do this carefully. Too much pre-bend can create a new alignment problem after the weld cools.
Mark the Backstep Start Points
Mark short segments along the joint before welding. For thin sheet, start with short beads, often around 1/2 inch to 1 inch. For thicker material, the segment can be longer, but avoid turning the backstep method into a long continuous pass.
The general pattern is simple:
- Start a short distance ahead of the previous weld.
- Weld backward toward the previous bead or joint end.
- Stop, fill the crater, and let the area cool briefly.
- Move forward to the next start point and repeat.
How to Run a Backstep Weld
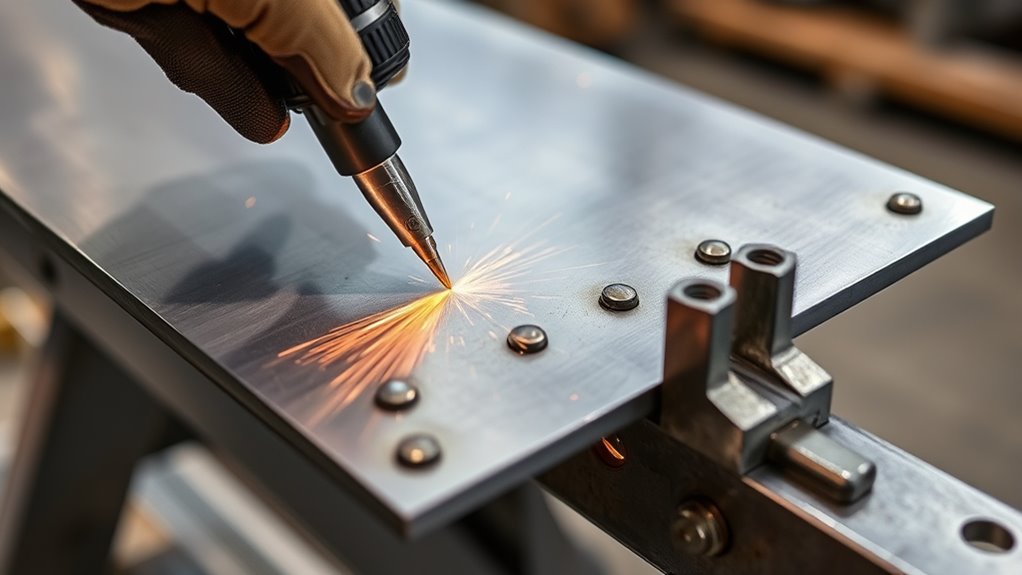
To run a backstep weld, think of the joint progress and bead direction as two different things. Your overall progress moves forward along the seam, but each bead is welded backward into the previous segment.
Products Worth Considering

Include: flat and round holder with soapstone chalk, 5pcs flat and 5pcs round soapstone replacement.

What you will get: You will receive 2 pieces soapstone markers and 12 pieces refills for the soapstone pens, sufficient quantity for everyday use or sharing with colleagues.

Ample quantity: you will receive 4 pieces of soap stone and holders in round and square shape, 2 for each, and 12 pieces of soap stone refills in round and square, 6 pieces for each, a total of 16 pieces, sufficient quantity and various shapes satisfy your daily life needs, allowing you to handle work easily
Step-by-Step Backstep Sequence
- Prepare and tack the joint. Clean the weld zone, align the edges, tack the part, and confirm it sits flat or square.
- Set the machine conservatively. Use enough amperage for fusion, but avoid settings that create an oversized bead or burn-through. For thin material, controlled heat input is critical. This amperage settings guide can help with general heat-control thinking, though welding settings must match your process and material.
- Start the first bead slightly in from the edge. Weld backward toward the end of the joint or toward the previous tack.
- Fill the crater before stopping. Pause briefly, taper off if your machine allows it, or use a small circular motion to fill the stop crater.
- Move forward past the first start point. Start the next bead ahead of the previous bead, then weld backward into it.
- Repeat in short sections. Keep bead length, torch angle, travel speed, and tie-in overlap consistent.
- Let the joint cool in stages. Do not rush the sequence if the panel is getting too hot to touch near the weld zone.
- Inspect as you go. Check for warping, poor tie-ins, craters, undercut, porosity, and lack of fusion before the problem repeats down the seam.
Pro Tip: Mark your bead starts with soapstone or a paint marker before welding. It keeps the sequence consistent and helps you avoid accidentally turning the job into a continuous pass.
Backstep vs Skip, Stitch, and Intermittent Welding
Backstep welding is often confused with other distortion-control methods. They can overlap, but they are not exactly the same.
| Method | How it works | Best use |
|---|---|---|
| Backstep welding | Each short bead runs backward into the previous bead while the overall seam progresses forward. | Thin seams, panels, frames, and long joints that pull out of line. |
| Skip welding | You weld spaced sections in a planned order, then return to fill skipped areas. | Long seams where heat needs to be spread across the part. |
| Stitch welding | Short welds are placed with gaps between them, often without making a continuous seam. | Non-sealed joints, light brackets, and sheet metal where full-length welds are not required. |
| Intermittent welding | A design calls for welds at intervals instead of one continuous weld. | Parts where the drawing, code, or joint design allows spaced welds. |
You can combine these methods. For example, you may skip around a long seam, then use a backstep direction for each short section.
When to Use Backstep Welding on Thin Metal
You should consider backstep welding when the part is thin, wide, long, or easy to pull out of shape. It is especially helpful when a straight pass would put too much heat into one edge of the joint.
Thin Sheet Applications
Thin sheet welding demands tight thermal control. Backstep welding helps because each segment is short and deliberate. It is useful for:
- Automotive patch panels and body repair
- Small brackets and tabs
- Thin stainless sheet
- Aluminum sheet and light fabrication
- Frames that must stay square
- Long lap, butt, or edge seams where heat pull is obvious
For very thin metal, keep the weld small, use cooling pauses, and avoid wide weave patterns. If you are using flux-core on thin stock, the same heat-control rule applies: smaller beads and careful travel speed reduce burn-through risk. See these tips on welding thin metal with flux-core.
Distortion-Prone Seam Runs
Use backstepping when a seam is likely to curl, buckle, or pull out of tolerance. Long straight seams are common trouble spots because shrinkage accumulates along the weld line. Short backstep beads slow that accumulation.
The method is also useful when you must preserve a visible panel surface. On body panels, heat marks and warping can create extra grinding, filler work, and straightening. Backstepping does not eliminate finishing work, but it can reduce how much correction the panel needs.
Process-Specific Backstep Tips
The same sequence can work with several welding processes, but each process needs slightly different control.
MIG Welding
MIG welding works well for backstepping because starts and stops are quick. Keep the stickout consistent, use short beads, and avoid stacking too much filler at each tie-in. If the bead piles up, reduce travel delay or adjust wire feed and voltage.
TIG Welding
TIG gives you excellent puddle control, which is useful on stainless steel and thin aluminum. Use a foot pedal or amperage control when available so you can taper out at the end of each segment. For more heat-control context on stainless work, see this guide on minimal heat input when welding stainless steel.
Flux-Core Welding
Flux-core can run hotter than expected on thin material, so backstep segments should be short. Clean slag between segments if the process leaves slag, and do not tie into slag-covered stops. These flux-core welding techniques can help you avoid common beginner mistakes.
Prevent Craters and Tie-In Cracks
Backstep welding can help prevent craters and tie-in cracks, but only if you finish each segment correctly. A crater forms when the weld pool is not filled before the arc stops. On some materials and joint conditions, that crater can become a weak point.
To reduce crater problems:
- Do not snap out of the weld suddenly. Pause briefly at the end so the crater fills.
- Tie into clean metal. Remove slag, soot, oxide, or spatter that blocks fusion.
- Overlap slightly. Blend the new bead into the previous bead without creating a high lump.
- Watch the puddle edge. Make sure both sides of the joint melt into the bead.
- Inspect before moving on. Fix a bad stop immediately instead of repeating it along the whole seam.
In a fillet weld, this sequence helps reduce start-and-stop defects while keeping the bead size controlled. Do not use backstepping as an excuse to undersize a structural weld. Follow the drawing, code, or qualified procedure when the weld is load-bearing.
Common Mistakes With Backstep Welding
| Mistake | What happens | Fix |
|---|---|---|
| Beads are too long | Heat builds like a normal continuous weld. | Shorten the segments and pause longer between passes. |
| Poor tack welds | The joint shifts before the sequence can help. | Add small, even tacks and check alignment after tacking. |
| Too much amperage | Burn-through, undercut, and panel buckling increase. | Lower heat, increase travel control, or use shorter welds. |
| No cooling time | The entire seam stays hot and pulls hard as it cools. | Move around the part or let the joint cool between segments. |
| Dirty tie-ins | Porosity, lack of fusion, or slag inclusion can appear. | Clean starts and stops before tying in, especially with flux-core or stick. |
Troubleshooting Backstep Weld Distortion
If the part still moves, do not keep welding and hope it straightens itself. Stop and check the cause.
| Problem | Likely cause | Correction |
|---|---|---|
| Panel oil-cans or buckles | Too much heat in a wide, thin area | Shorten beads, skip around more, and let the panel cool. |
| Frame pulls out of square | Unbalanced weld order or weak clamping | Alternate sides, tack diagonally, and check square after each group of welds. |
| Tie-ins look cold | Travel speed too fast or start point too far away | Start closer, pause slightly at the tie-in, and confirm fusion. |
| Craters crack | Arc stops before crater is filled | Fill the crater, taper amperage if possible, and avoid abrupt stops. |
| Burn-through | Heat too high for material thickness | Use lower heat, faster travel, shorter beads, backing support, or a different process. |
When Not to Use Backstep Welding
Backstep welding is useful, but it is not always the right choice. Do not use it blindly on every joint.
Avoid or rethink the method when:
- The welding procedure specification requires a different sequence.
- The joint needs a continuous single pass for code, production, or inspection reasons.
- The material requires strict preheat, interpass temperature, or post-weld heat treatment.
- The start-stop pattern would create more defects than a controlled continuous weld.
- You cannot access the joint well enough to tie in cleanly.
- The part is safety-critical and you are not qualified for that weld.
For structural, pressure, lifting, roll cage, suspension, or critical repair work, follow the drawing, code, and qualified procedure. Backstepping can be part of a professional weld plan, but it should not replace engineering requirements.
Backstep Welding Tips for Better Control
Use these practical habits to get cleaner results:
- Keep each bead short. Short welds reduce peak heat and give you more chances to correct movement.
- Use consistent overlap. Tie into the previous bead enough for fusion, but do not create a large hump.
- Balance the welds. On frames and assemblies, alternate sides so shrinkage does not all pull one way.
- Watch the heat color and panel feel. If the area around the weld keeps getting hotter, slow down and let it cool.
- Grind only when needed. Excessive grinding adds heat and can thin the base metal.
- Check alignment often. A straightedge, square, or simple gap check can catch movement early.
- Match the joint design. Backstepping does not fix a weak joint, poor bevel, wrong filler, or bad fit-up.
This method also works well with intermittent welds when the joint design allows them. The goal is not to make the smallest weld possible; the goal is to make the right weld with controlled heat and stable alignment.
Frequently Asked Questions
Why does step back welding reduce distortion?
Step back welding reduces distortion because it divides heat and shrinkage into shorter sections. Each bead runs backward into the previous weld, so the panel is not heated in one long continuous direction. This helps reduce pulling, buckling, and edge lift.
What is the purpose of a welding back step technique?
The purpose of backstep welding is to control heat input, reduce shrinkage stress, improve tie-ins, and keep the workpiece closer to its intended shape. It is most useful when distortion matters as much as weld strength.
What techniques can minimize distortion?
You can minimize distortion with good joint fit-up, balanced tack welds, proper clamping, short beads, skip welding, backstep welding, lower heat input, faster travel when appropriate, cooling pauses, and balanced weld placement around the neutral axis.
When welding a square frame, how will you prevent it from distortion?
To prevent a square frame from distorting, tack all corners first, check diagonal measurements, clamp it flat, and weld in a balanced sequence. Use short backstep welds on opposite sides instead of completing one corner or one side before the others.
Is backstep welding the same as skip welding?
No. Backstep welding describes the direction of each short bead. Skip welding describes where you place welds along the joint, leaving spaces and returning later. You can use both methods together on long seams.
Can you use backstep welding on aluminum?
Yes, you can use backstep welding on aluminum, but you need clean base metal, correct filler, proper shielding gas, and careful heat control. Aluminum moves heat quickly, so poor technique can still cause warping, poor fusion, or burn-through.
Conclusion
Backstep welding is a practical way to reduce panel distortion when heat control matters. By using short welds that run backward into the previous bead, you spread heat, reduce shrinkage pull, and give the metal time to stabilize. The best results come from clean fit-up, strong tack welds, smart clamping, short segments, and careful crater filling. Use it on thin metal, long seams, and frames that need to stay straight, but always match the method to the joint design and safety requirements.
Sources
- TWI: What is the difference between heat input and arc energy? — supports the heat input and arc energy explanation.
- OSHA: Welding, Cutting, and Brazing Overview — supports general welding standards and hazard-resource context.
- OSHA: Welding, Cutting, and Brazing Hazards and Solutions — supports PPE, UV, burn, shock, and fume hazard guidance.
- OSHA Fact Sheet: Controlling Hazardous Fume and Gases during Welding — supports ventilation, fume exposure, coatings, and confined-space cautions.
- Wang, van Keulen, and Wu: Fabrication Sequence Optimization for Minimizing Distortion — supports the broader principle that planned heat/deposition sequence affects distortion.




