How to Insulate a Garage Door
What’s in This Article
A cold, drafty garage door can make your garage harder to use and less comfortable. It can also let heat move through thin metal panels faster than you may expect.
This guide shows you how garage door insulation works, what tools you need, how to fit panels, and which mistakes to avoid. You’ll also learn why seals, panel weight, and clean cuts matter as much as the insulation itself.
Quick Answer
You can insulate a garage door by measuring each door panel, cutting insulation to fit, placing it inside the panel frame, and sealing small gaps around the door. Choose insulation with a suitable R-value, but don’t ignore door seals, panel weight, and opener performance.
Key Takeaways
- Choose garage door insulation with an R-value that fits your climate, door type, and budget.
- Measure every panel before cutting because garage door sections may not all match.
- Seal gaps around the door frame because air leaks can weaken the benefit of insulation.
- Check door balance after installation because added weight can affect opener performance.
- Use clean cuts and secure placement so panels do not shift when the door moves.
Understanding Insulation and R-Values
When you choose garage door insulation, start with the R-value. The R-value measures how well insulation resists heat flow. A higher R-value usually means better heat resistance.
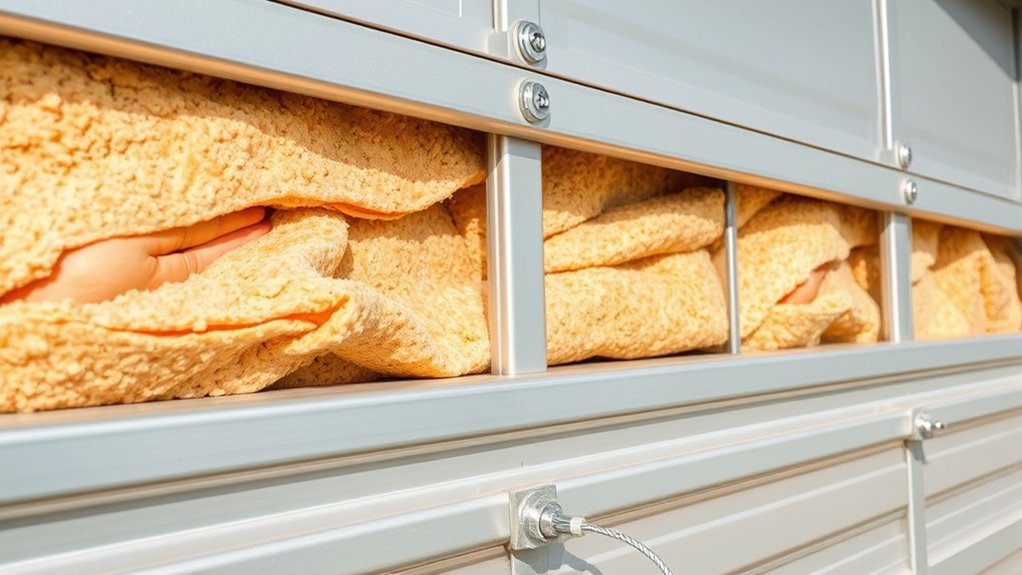
Uninsulated metal garage doors can transfer heat quickly. Adding insulation can help slow that heat movement and make the garage feel more stable in hot or cold weather.
Some rigid foam boards offer an R5 rating, while some garage door insulation kits offer higher values, such as R8. Higher R-values can improve thermal performance, but they may also cost more or add more weight.
Double-walled garage doors can also improve insulation because trapped air helps slow heat movement. Door seals still matter, though. Gaps around the bottom, sides, and top of the door can reduce the benefit of even good insulation.
Before you buy insulation, inspect the door seals. Replace cracked, loose, or missing seals first so your insulation can work as intended.
Products Worth Considering

Reach Barrier(Tm) Reflective Insulation And Bubble Barrier Technology Blocks Up To 95-Percent Of Radiant Heat Which Will Help Save Energy And Money

This Kit Includes: 4 rolls of 2ft x 18ft White/Foil Foam Core Insulation, Heavy Duty Double Sided Tape, Razor, Squeegee, Easy Instructions

ONE CAR GARAGE DOOR!!! Creates an air pocket to obtain an R8 value insulation!!! 8ft and 9ft 4 Panels Doors (6MM THICK)
Before You Begin
Estimated total time: Most DIY garage door insulation projects take about 2 to 4 hours, depending on door size, material, and cutting needs.
Check your garage door balance before you start. Insulation adds weight, and that extra weight can affect springs, hinges, rollers, and the opener.
Warning: Do not adjust garage door springs yourself unless you have proper training, because springs can cause serious injury.
Open and close the door a few times before installation. Listen for grinding, shaking, or uneven movement. Fix door issues before adding insulation.
Tools and Materials Needed for Installation
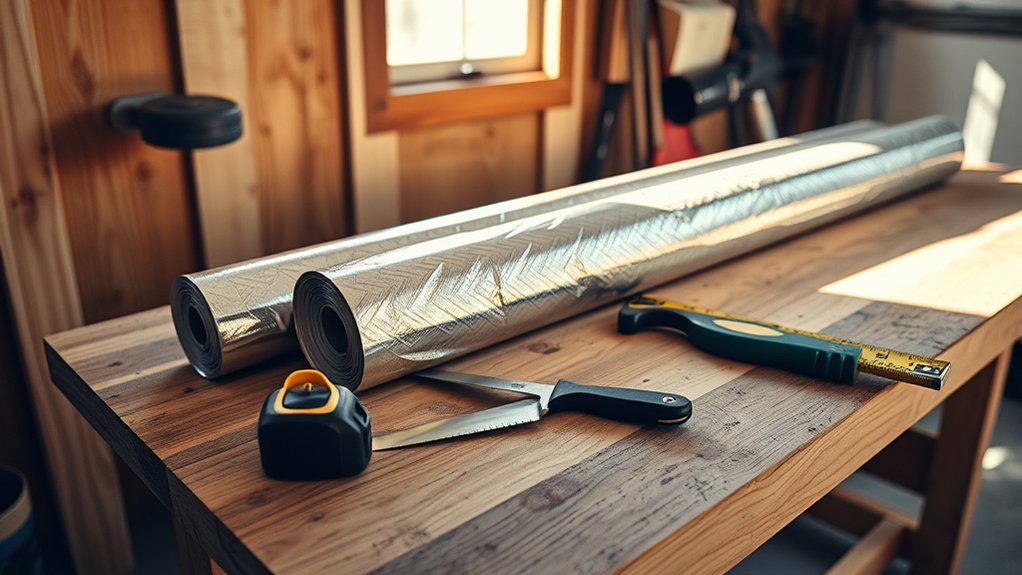
To install an Owens Corning Garage Door Insulation Kit or rigid foam board, gather your tools before you start. You’ll need a tape measure, utility knife, straight edge, marker, gloves, and safety glasses.
If you use rigid foam board instead of a kit, measure the door first and buy enough panels for full coverage. Some standard double garage doors may need about 9 sheets, but your door size can change that number.
To seal small gaps around the door frame and jambs, you may need 2 to 3 cans of Great Stuff foam or a similar spray foam sealant. Use spray foam with care, because it expands after application.
Products Worth Considering
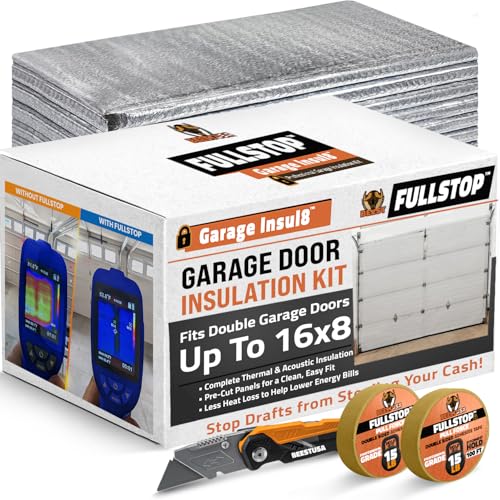
WARMER WINTERS AND COOLER SUMMERS: Stop heat loss through your garage door and improve year-round comfort with closed-cell foam garage insulation panels. The garage feels approximately 10-15°F better, providing immediate temperature relief while helping to reduce energy bills.

COVERAGE: This kit is designed to insulate one single-car garage door. For a two-car garage, you will need two kits. For a three-car garage, you will need three kits.

WARMER WINTERS AND COOLER SUMMERS: Stop heat loss through your garage door and improve year-round comfort with closed-cell foam garage insulation panels. The garage feels approximately 10-15°F better, providing immediate temperature relief while helping to reduce energy bills.
Essential Household Tools
Gather common household tools before you start the project. You’ll need a tape measure, utility knife, straight edge, and marker for accurate layout and cutting.
Use a sharp utility knife because dull blades can tear insulation and leave rough edges. Keep your tools in one place so you don’t lose time during installation.
When cutting foam board, make several light passes instead of one deep cut. A table saw or circular saw can speed up long straight cuts if you know how to use it safely.
You’ll also need 2 to 3 cans of Great Stuff foam or a similar product for small gaps around the frame. Avoid overfilling gaps, because expanding foam can spread past the target area.
Insulation Material Options
Choose insulation based on your door type, climate, budget, and comfort goal. The Owens Corning Garage Door Insulation Kit uses fiberglass insulation panels with a vinyl facing and an R8 value.
Rigid foam panels can also work well for garage doors. They cut cleanly, resist sagging, and fit inside many metal panel frames.
- Foam panels: Use enough sheets to cover each door section. Measure first so you don’t buy too much or too little.
- Spray foam sealant: Use it to seal small gaps around the frame, jamb, or wall joint.
- Precision cutting tools: Use a sharp utility knife, straight edge, or lightweight circular saw for clean cuts.
Prices for insulation kits, foam boards, and spray foam can change. Check current local pricing before you set your budget.
Step-by-Step Installation Process
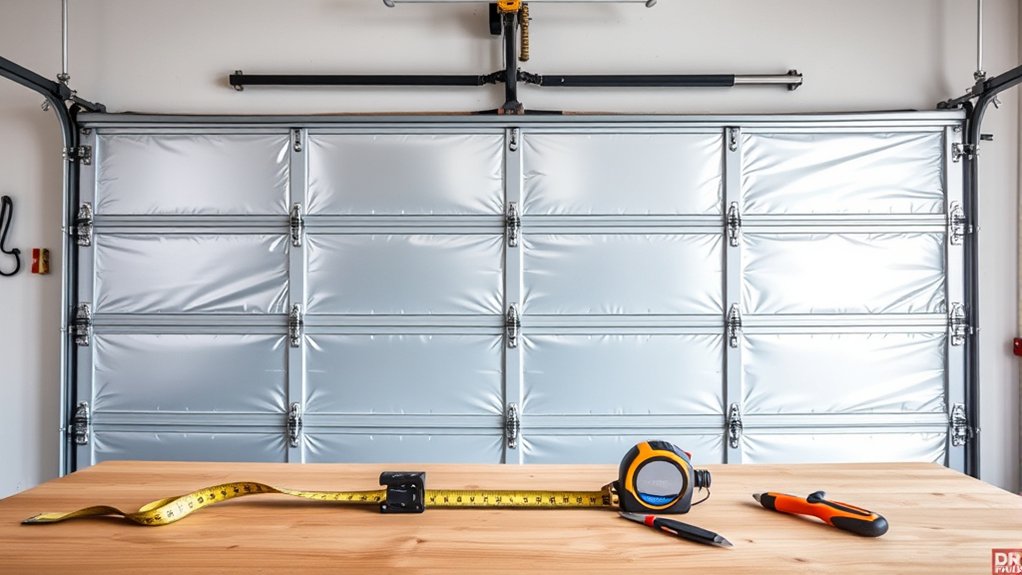
Before you cut anything, measure every garage door panel. Panel sizes can vary, even on the same door.
Use clean cuts and test-fit each piece before you secure it. The insulation should sit snugly without blocking hinges, rollers, brackets, or tracks.
Essential Tools Needed
Use the right tools to make the installation cleaner and faster. A tape measure, utility knife, straight edge, and marker handle most layout work.
For thicker or larger pieces, a box cutter utility knife or lightweight Ryobi circular saw can help you cut with better control. Wear eye protection when you cut foam or fiberglass insulation.
- Measure each panel: Record the height and width of every garage door section.
- Mark the insulation: Transfer each measurement to the foam or insulation panel.
- Cut the panel: Use a sharp blade or saw to create a clean, straight edge.
- Test the fit: Place the panel inside the door frame and check for tight spots.
- Seal small gaps: Apply spray foam only where it will not block door movement.
Good tool selection reduces waste and helps you avoid rework. Take your time with measurements because cutting errors can cost more than the tools.
Panel Cutting Tips
Start with precise marks and a straight edge. Make multiple passes with a sharp utility knife so the cut stays clean.
For larger panels, a lightweight circular saw can create fast, straight cuts. Support the panel well so it does not bend or crack while you cut.
Cut all matching panels at the same time if their measurements match. This keeps the pieces uniform and reduces wasted material.
You may need to cut notches around hinges, brackets, or door hardware. Keep each notch tight, but don’t force insulation against moving parts.
Foam Positioning Techniques
Position each foam panel so it fits snugly inside the door frame. A snug fit helps prevent gaps and keeps the panel from shifting.
- Cut precise notches: Use a sharp utility knife to fit foam around hinges, brackets, and other hardware.
- Seal gaps around the frame: Apply spray foam to small gaps between framing and the wall where it will not block movement.
- Check bracket clearance: Make sure brackets and hinges can move freely after insulation goes in.
- Test door movement: Open and close the door slowly to confirm smooth operation.
Pro tip: Label each insulation piece by panel number so you can reinstall it easily if you remove it during fitting.
These steps help you create a cleaner finish and improve thermal performance. They also reduce the risk of loose panels rubbing against moving parts.
Common Pitfalls and How to Avoid Them
Garage door insulation can fail when you ignore door movement, seals, and panel weight. Learn the door parts before you remove or bend anything.
Do not adjust spring tension without help from a trained garage door technician. Added insulation weight can change door balance, and spring systems can be dangerous.
Cutting notches in foam panels can make installation easier and reduce mistakes. Check that brackets stay square and aligned so insulation fits without pressure.
Test door seals for gaps after installation. Good sealing helps reduce drafts and improves the value of your insulation work.
Here’s a quick guide:
| Pitfall | Solution | Benefit |
|---|---|---|
| Unfamiliar with door mechanics | Study parts before starting | Prevent movement issues |
| Improper tension adjustment | Call a trained technician | Keep the door safer to use |
| Misaligned brackets | Adjust fit with care | Secure the insulation better |
| Gaps in door seals | Test and seal gaps | Improve insulation performance |
Cost Analysis and Budget Considerations

Plan your garage door insulation budget before you buy materials. Your final cost depends on door size, insulation type, local prices, and the tools you already own.
An insulation kit may cost more upfront, but it can save time because the parts match the project. Rigid foam board can cost less in some cases, but you may spend more time measuring and cutting.
Use these budget factors to guide your choice:
- Material selection: Choose an R-value that fits your climate and budget.
- Sealing needs: Buy enough spray foam or sealant to close small gaps around the frame.
- Cutting accuracy: Measure twice and cut once to avoid wasted panels.
- Door balance: Budget for professional help if the added weight affects the door.
Do not choose the thickest insulation only because it has a higher R-value. The best option must fit the door safely and allow smooth movement.
Evaluating the Benefits of Insulated Garage Doors

Insulated garage doors can make your garage more comfortable and useful. They help slow heat transfer through the door and may reduce drafts when you also seal gaps.
Products with higher R-values, such as an R8 garage door insulation kit, can improve thermal performance compared with bare metal doors. The real result depends on your door condition, seals, climate, and garage layout.
Insulation can also reduce some garage door noise by adding mass and dampening vibration. It may not make the door silent, but it can make operation feel less harsh.
Here’s a quick overview:
| Feature | Benefit | Impact |
|---|---|---|
| Higher R-value | Better heat resistance | More stable garage temperature |
| Added panel mass | Less vibration | Quieter door movement |
| DIY installation | Lower labor cost | Better budget control |
| Cleanable vinyl surface | Simple upkeep | Easier maintenance |
Installation can be simple when the door panels have clear frames and easy access. Maintenance stays simple if you keep the vinyl or foam surface clean and check the seals each season.
Frequently Asked Questions
How Does Insulation Impact Garage Door Noise Reduction?
Insulation can reduce some garage door noise by adding mass and limiting vibration. It works best when the door, tracks, rollers, and opener already run smoothly.
Can Insulation Affect Garage Door Opener Performance?
Yes, insulation can affect opener performance because it adds weight to the door. Check door balance after installation, and call a garage door technician if the opener strains or the door feels heavy.
What Are the Environmental Benefits of Garage Door Insulation?
Garage door insulation can reduce heat transfer and help your garage stay more stable. If your garage connects to your home, this may support better energy use when seals and other gaps also stay tight.
Is Professional Installation Necessary for Garage Door Insulation?
You don’t always need professional installation for a basic insulation kit or foam board project. Hire a professional if the door needs spring adjustment, balance repair, or hardware work.
How Do Weather Conditions Affect Insulation Effectiveness?
Hot, cold, wind, and humidity can affect how well garage door insulation performs. Good seals help because drafts can reduce comfort even when the panels have insulation.
Should You Insulate the Garage Door If the Garage Is Not Heated?
Garage door insulation can still help an unheated garage by slowing heat movement and reducing drafts. The benefit may feel smaller if the walls, ceiling, and seals have little or no insulation.
Conclusion
Garage door insulation works best when you combine the right R-value, clean panel cuts, and tight door seals.
Start by measuring each panel, choosing a material that fits your door, and checking the door balance after installation. Seal small gaps so drafts do not weaken your work.
With careful planning, you can make your garage more comfortable, quieter, and easier to use through more of the year.