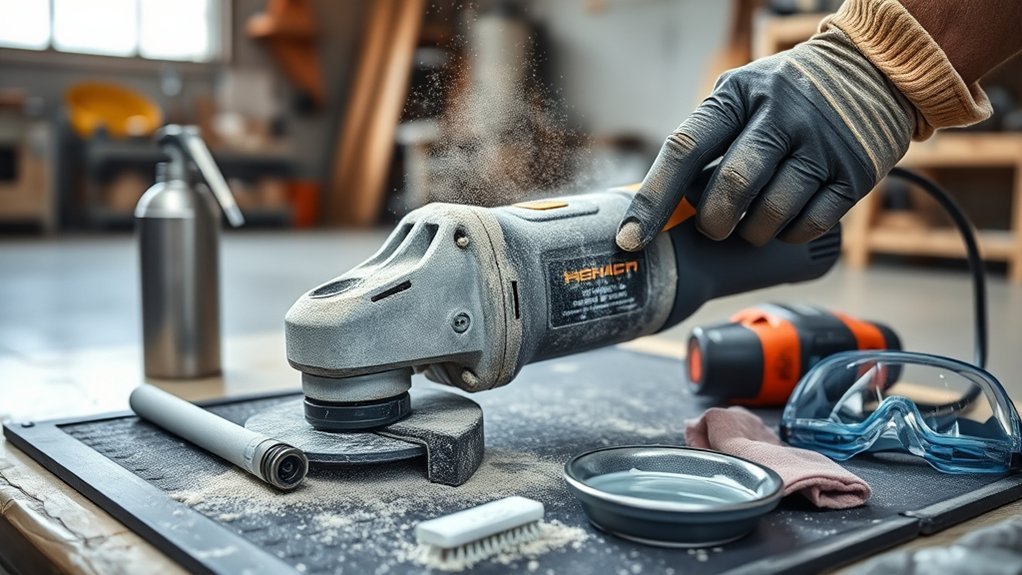
Concrete dust can pack into your angle grinder’s vents, dust shroud, seals, and vacuum hose after one grinding session. Clean it before you store it so abrasive dust does not harden, block airflow, reduce dust collection, or shorten the life of the tool. Keep water away from the grinder body, switch, cord, battery contacts, and motor vents. Rinse only removable parts that are safe to wash, such as a detached dust shroud.
Quick Answer
Unplug the grinder or remove the battery, put on eye and respiratory protection, and clean it with a HEPA-filtered vacuum, soft brush, and damp cloth. Remove and rinse only the detachable dust shroud, clear the vacuum hose, inspect grommets and seals, then let every part dry before reassembly.
Key Takeaways
- Use a HEPA-filtered vacuum or wet cleanup method first so fine silica dust is not pushed back into the air.
- Do not rinse the grinder body. Wash only removable, water-safe parts such as the detached dust shroud.
- Check the dust shroud, rubber grommets, seals, filter, and vacuum hose because leaks and clogs reduce dust collection.
- Let all cleaned parts dry fully before you reassemble the grinder or plug it back in.
At a Glance
| Time Required | 15 to 30 minutes for routine cleaning, longer if the shroud or hose is clogged |
| Difficulty | Easy, with moderate care around dust and electrical parts |
| Tools Needed | Safety goggles, gloves, NIOSH-approved respirator when dust exposure may be high, HEPA-filtered vacuum, soft nylon brush, damp microfiber cloth, foam pad or foam plate, clean water for detached shroud only |
| Cost | Usually $0 to $20 for cloths, brushes, and replacement vacuum bags or filters |
Warning: Do not dry sweep concrete dust or blow it around with compressed air. Respirable crystalline silica can be released when grinding concrete, mortar, stone, or masonry. Use HEPA-filtered vacuuming, wet cleanup, or another dust-control method that keeps particles out of your breathing zone.
Why Cleaning Your Angle Grinder Is Essential After Concrete Dust Exposure
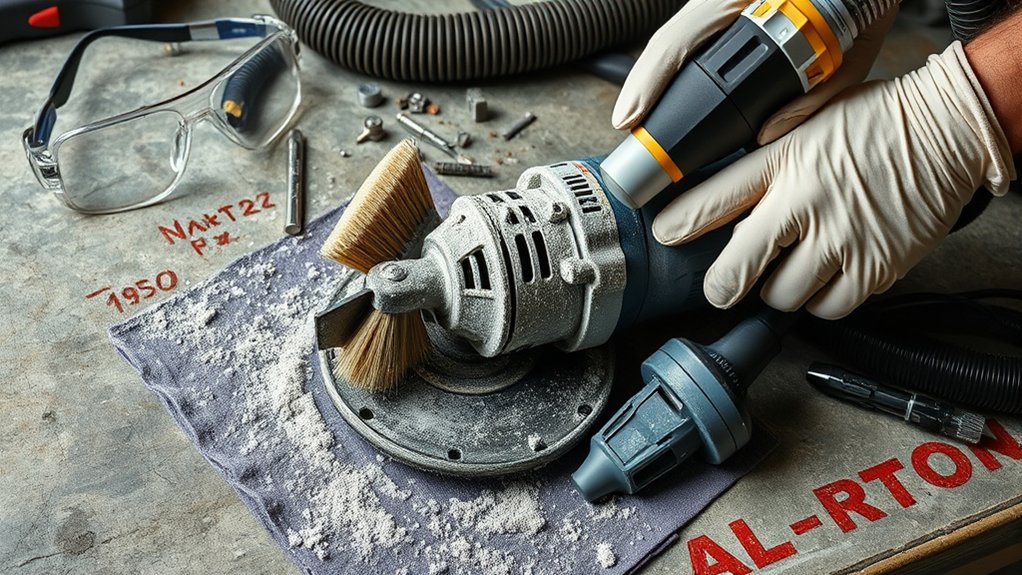
Cleaning your angle grinder after exposure to concrete dust protects both the tool and your lungs. Concrete, mortar, stone, and masonry can contain crystalline silica. When these materials are ground or cut, fine dust can become airborne and reach deep into the lungs. For current silica safety guidance, see the CDC/NIOSH silica worker-health page and OSHA’s construction silica resources.
That same dust is also hard on the grinder. It can clog vents, pack around the dust shroud, reduce suction, wear rubber grommets, and make the tool run hotter than normal. A few minutes of cleaning after each dusty job helps maintain airflow, keeps the shroud sealing better, and makes the grinder safer to use on the next project.
Ensure Safety Before Cleaning Your Angle Grinder
Before you touch the grinder, unplug it or remove the battery. Let the wheel, guard, gear case, and motor housing cool completely. If the wheel is loaded with dust or slurry, remove it according to the tool manual before cleaning around the guard and spindle area.
- Wear safety goggles or a face shield so loose grit does not hit your eyes.
- Wear gloves to protect your hands from sharp wheel edges and rough concrete residue.
- Use a NIOSH-approved respirator when dust exposure may be high or required by your workplace safety plan.
- Work outdoors or in a well-ventilated area where dust can be controlled.
- Keep water away from the grinder body, switch, cord, plug, charger, and battery contacts.
A HEPA filter is designed to capture at least 99.97% of 0.3-micron airborne particles that pass through the filter. For cleanup, use a true HEPA-filtered vacuum or a dust extractor rated for fine concrete dust, not a standard shop vacuum with a basic filter.
Remove Loose Dust With a HEPA Vacuum and Soft Brush
Start with the safest cleanup method: capture dust before you disturb it. Hold the HEPA vacuum nozzle near the grinder vents, guard, shroud edge, side handle mount, and motor housing. Do not push the nozzle into the vents. Let the suction pull loose dust away.
Next, use a soft nylon brush to loosen dust from seams, screw heads, the guard, and the outside of the dust shroud. Brush gently while keeping the vacuum nozzle close to the work area. This helps remove dust without sending a cloud into the air.
For stubborn residue on the outside housing, use a lightly damp microfiber cloth. The cloth should be damp, not dripping. Wipe the housing, guard, and handle, then dry the surface with a clean cloth.
Pro Tip: Clean from top to bottom. Start at the vents and handle area, then move to the guard, shroud, and hose connection. This keeps dust from falling back onto areas you already cleaned.
Products Worth Considering

This vacuum accessory will fit all major canister vacuums, upright vacuums and central vacuum brands with 1.25 Inch connections Comes equipped with a full, natural fill and...
Clean the Dust Shroud and Surroundings
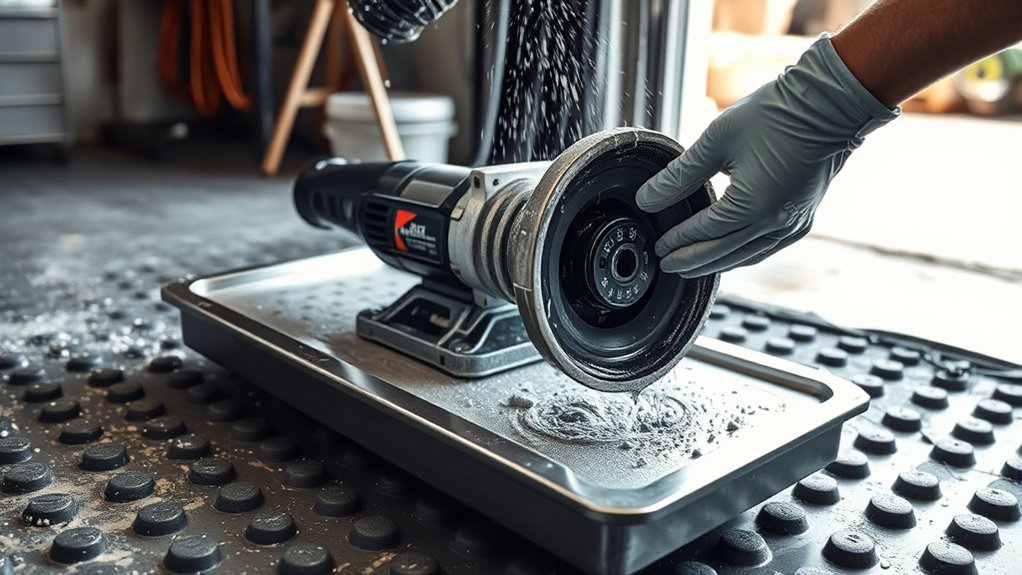
The dust shroud collects some of the worst concrete buildup, especially around the rim, brush skirt, rubber seal, and vacuum port. If your shroud is removable and the manufacturer allows wet cleaning, detach it before rinsing. Never rinse the entire grinder.
Products Worth Considering
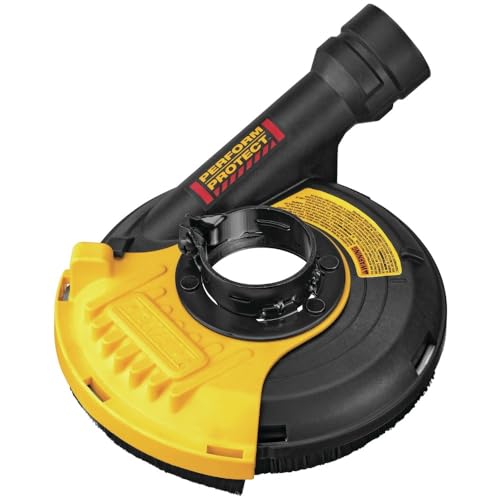
Designed to contain grinding dust

Angle grinder dust extraction suitable for the front cover of most 48-51mm angle grinders. Can be installed on most 5"/4.5" angle grinders.The thickness of Diamond Grinding Disc should not more than 25mm or less than 15mm.

High Compatibility:Suitable for Angle Grinder under main brand 4-1/2''/5",adapt to 48-51mm Angle grinder front cap and easy to install.Allows collection of harmful dust suface grinding application.
Rinse Only the Detached Shroud Under Running Water
Hold the detached dust shroud under a gentle stream of running water. Rinse the inside and outside surfaces, then work around the rings, brush skirt, and vacuum port. Do not use sharp metal picks that can cut rubber or scratch sealing surfaces.
If the shroud has electrical parts, sensors, or non-removable attachments, do not rinse it. Use a damp cloth and HEPA vacuum instead.
Remove Concrete Slurry Residue Before It Dries
Concrete slurry can dry into a hard crust and release dust later. Clean it while it is still damp. Use a foam pad, soft brush, or damp cloth to scrub the shroud edges, port, and seal area. If slurry has dried, wet it lightly and give it time to soften before brushing.
- Keep the slurry damp while you clean it.
- Collect wet debris with a wet vacuum equipped with proper filtration when possible.
- Dispose of slurry and used cloths according to your job-site rules.
- Do not leave dried concrete dust on benches, floors, or tool cases.
Inspect for Damage Before Reassembly
After the shroud is clean, inspect it for cracks, warped edges, loose fasteners, worn brush skirts, and damaged vacuum ports. A cracked or poorly sealed shroud lets dust escape before it reaches the vacuum. Replace damaged parts before the next concrete job.
Inspect Rubber Grommets for Damage and Maintenance Needs
Rubber grommets and seals help the dust shroud fit tightly to the grinder and vacuum connection. Concrete dust and slurry can dry them out, make them stiff, or prevent a clean seal. A poor seal lowers suction and increases dust escape.
Regular Inspection Schedule
Inspect grommets, seals, and shroud edges after every heavy concrete grinding session. During daily job-site use, check them at the end of each shift. For occasional home use, check them before storing the grinder and again before the next concrete job.
Signs of Wear
Look for cracks, splits, flattening, missing pieces, dry rot, hardened slurry, or a loose fit around the shroud and hose port. Also check whether the shroud sits flat against the working surface. If it rocks, gaps, or leaks dust, the seal may be worn or the shroud may be warped.
Replacement Procedures
Replace damaged grommets and seals with parts that match your grinder and shroud model. Do not force an oversized hose or tape over a torn seal as a long-term fix. A mismatched repair can reduce airflow and may come loose during grinding.
- Record replacement dates if the grinder is used on job sites.
- Keep spare grommets, brush skirts, and vacuum bags with your concrete grinding kit.
- Follow the grinder and shroud manufacturer’s instructions for part numbers and installation.
Check Your Vacuum Hose for Blockages
A clogged hose makes the shroud less effective. Remove the hose from the shroud and vacuum, then inspect both ends. Look for packed concrete dust, pebbles, torn hose ribs, tight bends, and crushed sections.
Use a flexible cleaning brush to loosen debris inside the hose while keeping the hose opening near a HEPA vacuum inlet. You can also tap the outside of the hose gently to break loose dry buildup. Avoid uncontrolled compressed air because it can blow silica dust into the air. OSHA’s handheld grinder silica fact sheet recommends keeping the vacuum hose free of debris, kinks, and tight bends and maintaining the vacuum filter and collection bag.
If the hose has cracks, splits, soft spots, or crushed ribs, replace it. A leaking hose reduces dust collection even if the vacuum motor still sounds strong.
Note: For construction work covered by OSHA silica rules, respirable crystalline silica exposure may require a written exposure control plan, approved work practices, and respiratory protection. Follow your employer’s plan and local rules.
Use a Foam Plate to Remove Residue Effectively
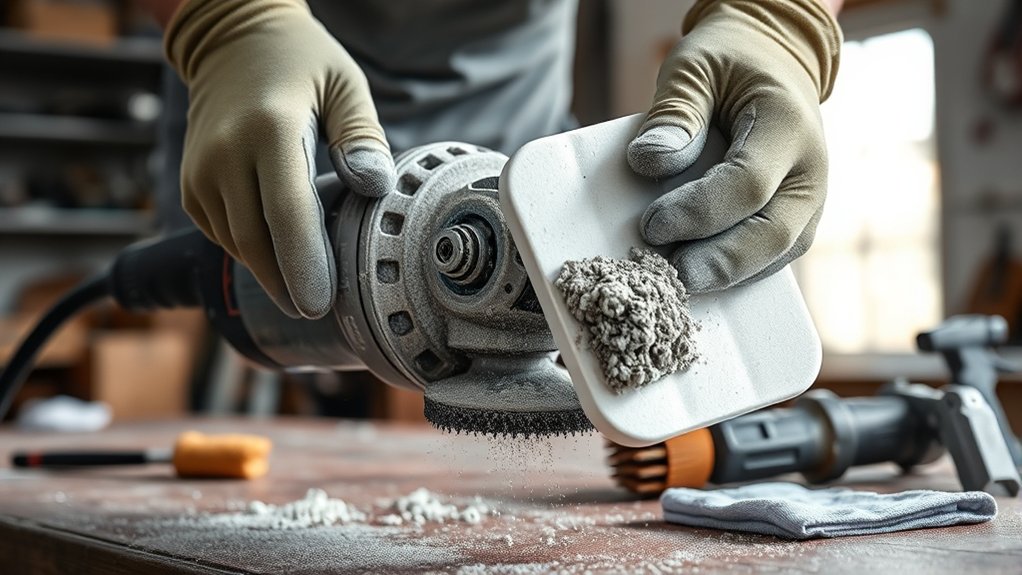
A soft foam plate or foam pad is useful for stubborn residue on the shroud, guard, and non-electrical outer surfaces. Dampen the foam slightly, then wipe the dusty area with light pressure. The goal is to lift residue, not flood the tool.
- Use the foam pad on the detached shroud, guard exterior, handle, and outer housing.
- Keep liquid away from vents, switches, plugs, battery contacts, and the motor.
- Rinse or replace the foam pad often so hardened grit does not scratch plastic or rubber.
- Dry each cleaned part with a clean cloth after wiping.
Dry, Reassemble, and Test the Grinder
Let the detached shroud, hose ends, grommets, and cleaned accessories dry fully before reassembly. Moisture trapped near metal parts can encourage corrosion, and moisture near electrical parts can create a shock risk.
Once everything is dry, reinstall the shroud, guard, wheel, side handle, and vacuum hose according to the manual. Make sure the guard locks in place and the wheel spins freely by hand before powering the tool. Run the grinder briefly without load and listen for scraping, vibration, or unusual noise.
Stop and inspect again if you notice any of these warning signs:
- The grinder runs hotter than normal.
- Dust escapes heavily around the shroud.
- The vacuum hose collapses, whistles, or clogs quickly.
- The wheel rubs the guard or shroud.
- The switch feels gritty, sticky, or slow to return.
Frequently Asked Questions
How do you clean up concrete dust after grinding?
Use a HEPA-filtered vacuum or wet cleanup method. Do not dry sweep concrete dust. Wipe settled dust with a damp cloth, clean slurry before it dries, and dispose of dust or slurry according to your job-site rules.
How do you clean dust from an angle grinder?
Unplug it or remove the battery, let it cool, then use a HEPA-filtered vacuum, soft brush, and damp cloth. Clean vents gently, wipe the housing, rinse only the detached dust shroud if it is water-safe, and let all parts dry before reassembly.
How do you clean a concrete grinder?
Disconnect power, remove loose dust with a HEPA vacuum, clean the dust shroud, inspect seals and grommets, clear the vacuum hose, wipe outer surfaces with a damp cloth, and dry everything before use. Larger concrete grinders may also need filter cleaning, bag changes, and manufacturer-specific maintenance.
Can you use compressed air to clean concrete dust from a grinder?
Avoid uncontrolled compressed air. It can push fine silica dust into the air and into the grinder. Use a HEPA-filtered vacuum, wet wiping, or controlled brushing instead. If compressed air is used in a workplace, it should be part of an approved dust-capture method.
Can you rinse an angle grinder with water?
Do not rinse the grinder body, motor, switch, cord, plug, battery, or charger. You may rinse a detached dust shroud only if it has no electrical parts and the manufacturer allows wet cleaning. Dry the shroud fully before reassembly.
How do you detox from concrete dust exposure?
There is no proven DIY detox for respirable silica exposure. Leave the dusty area, remove dusty clothing, shower, and avoid bringing dust into your vehicle or home. If you had heavy exposure, repeated exposure, cough, wheezing, chest tightness, or shortness of breath, contact a licensed health professional.
Conclusion
Cleaning your angle grinder after concrete dust exposure is simple, but the order matters. Disconnect power first, control dust with a HEPA-filtered vacuum or wet method, clean the removable shroud, inspect grommets and hoses, then dry and test the tool before storing it. That routine protects the grinder, improves dust collection, and helps reduce silica dust exposure on the next job.
Sources
- OSHA Handheld Grinders for Tasks Other Than Mortar Removal Fact Sheet — backs up grinder shroud, vacuum, slurry cleanup, hose, and compressed-air guidance.
- OSHA 29 CFR 1926.1153 Respirable Crystalline Silica — backs up silica exposure limits, housekeeping rules, and HEPA definition.
- CDC/NIOSH Silica and Worker Health — backs up silica health risks and materials that can release respirable silica dust.
- EPA: What Is a HEPA Filter? — backs up the HEPA filtration definition.
- NIOSH: Preventing Silicosis and Deaths in Construction Workers — backs up construction silica hazard prevention.