To control heat input on thin auto body panels, keep your welder set between 50-60 amps to prevent blow-through. Use 0.025-inch wire for precision and a 75/25 argon and carbon dioxide gas mix for stability. Employ short pulse welding techniques and tack weld at 20mm intervals for even heat distribution. Always inspect welds for distortion and guarantee edges have proper penetration. There are additional techniques and tools that can further enhance your welding results.
Understanding the Impact of Heat on Thin Panels
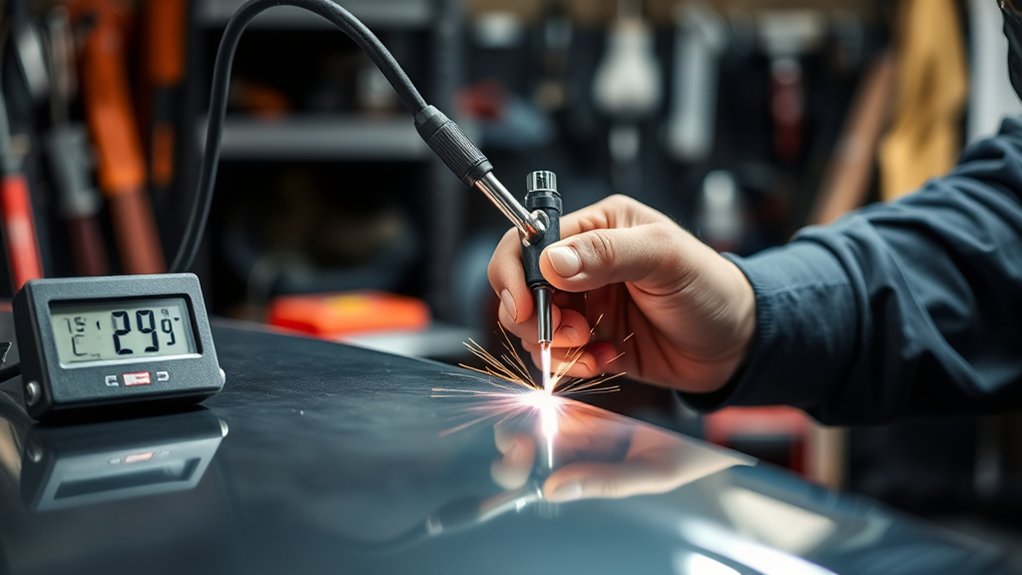
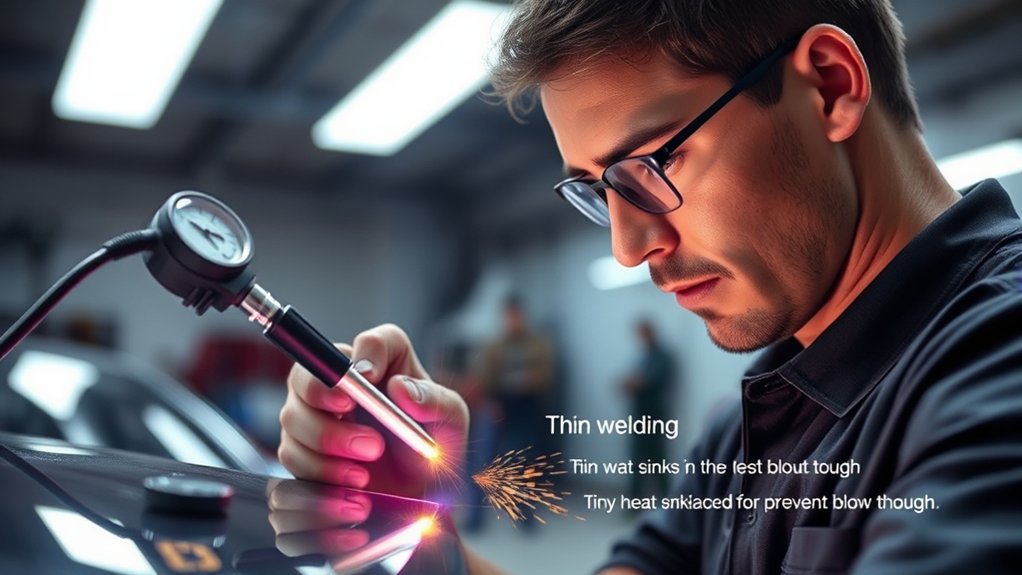
When you weld thin auto body panels, understanding how heat affects them is essential to preventing distortion and warping. High heat input can cause panels, especially those thinner than 1mm, to warp or even suffer blow-through. To mitigate this, consider using short pulse welding techniques. These allow for brief cooling periods between pulses, minimizing risks like cold joints and pinholes. Additionally, tack welding at intervals of about 20mm helps distribute heat more evenly across the panel, reducing the likelihood of distortion. Implementing cooling methods, such as wet cloths or brass blocks, can further protect the integrity of thin materials during the welding process. By controlling heat input and employing these techniques, you can achieve cleaner, more accurate welds while maintaining the quality of your auto body panels. Always prioritize precision to liberate your skills and produce exceptional results in your welding projects. Moreover, ensuring that the metal is clean before welding is crucial for achieving strong and durable welds.
Choosing the Right Welder Settings for Thin Materials
To achieve ideal results when welding thin auto body panels, selecting the right welder settings is essential. Start with a minimum power setting of 50-60 amps; this helps prevent blow-through while providing enough heat for fusion. Use a 0.025-inch wire to maintain precise control and minimize the amount of heat applied, vital for preserving the integrity of thin materials.
For shielding gas, opt for a 75/25 mix of argon and carbon dioxide to enhance arc stability and protect the weld pool from contamination. Adjust your welder settings based on the material thickness; refer to the welder’s manual for specific charts that guide maximum performance, especially for gauges like 18 gauge steel. Additionally, ensure that your settings align with recommended amperage ranges for optimal results on thin materials.
Incorporate short pulse welding techniques, allowing brief cooling intervals of 1 second or less between pulses to further reduce heat accumulation and distortion, ensuring a clean, strong weld.
Products Worth Considering

Do Your Best Work ... Color all your clients impressed with the precision and arc control of the ER70S-6 solid MIG welder wire. You'll love the low splatter whether you're performing single or multi-pass welds. Great for T-joints, butt welds & lap welds.

High strength wire which produces excellent results even on rusty or dirty steel

SMOOTH, EASY TO RUN: This ER70S-6 MIG wire runs clean and steady, helping you keep a smooth arc without constantly adjusting your machine. It handles mild steel with light rust or mill scale without giving you trouble
Techniques for Heat Control During Welding
To control heat during welding, use short pulse techniques with brief intervals to minimize heat buildup. Maintain low amp settings and tackle welds in manageable sections to prevent warping. Implement effective cooling methods, like wet cloths or brass blocks, to quickly dissipate heat and preserve the panel’s integrity. Additionally, employing stitch welding can help distribute heat more evenly across the panel, reducing the risk of burn-through.
Techniques for Minimizing Heat
Controlling heat input during welding is essential for preserving the integrity of auto body panels, especially when working with thin materials. Use short pulse welding techniques, allowing cooling times of 1 second or less between pulses to minimize heat. Tack weld at intervals of about 20mm to better distribute heat and reduce distortion risks. Implement vertical down welding to limit heat input and filler metal usage, ensuring a cleaner weld. Adjust your TIG welding settings for thinner materials by using lower amp and wire speed settings, which helps achieve less heat and prevents blow-through. These strategies will help maintain the shape and structural integrity of auto body panels throughout the welding process.
Effective Cooling Methods
Maintaining the integrity of auto body panels requires effective cooling methods during the welding process. Start by using wet cloths or brass blocks on the panel to absorb excessive heat, which helps reduce distortion. Implement short pulse welding techniques, allowing brief cooling intervals of one second or less to further minimize heat accumulation. Tack weld at intervals of about 20mm to control heat input and facilitate cooling breaks, preserving the panel’s shape. Opt for MIG welding with lower amperage settings to prevent blow-through while ensuring adequate penetration. Finally, incorporate air cooling by directing airflow over the welded area immediately after welding to enhance heat dissipation and minimize warping, ensuring your auto body panels remain structurally sound.
Essential Techniques for Welding Thin Auto Body Panels
Welding thin auto body panels requires careful attention to heat input to prevent damage and distortion. Use a MIG welder set to a lower power setting, ideally the minimum for 0.8mm thickness, to control heat effectively. Tack weld at 20mm intervals, allowing cooling breaks between short welds; this minimizes distortion while maintaining better heat control. Implement short pulse welding techniques, with no more than one second of cooling time between each pulse, to reduce the risk of cold joints and pinholes.
Ensure a consistent gap between pieces using tools like a razor blade for proper fit-up. This helps prevent warping during the cooling process. Additionally, employ cooling methods like wet cloths or brass blocks during welding to further manage heat and maintain the integrity of the panels. By following these techniques, you’ll achieve a quality weld without compromising the thin metal’s structural integrity.
It’s also important to manage heat input effectively, as excessive heat can lead to warping and compromised weld quality.
How to Spot and Avoid Blow-Through?
How can you effectively spot and avoid blow-through while working on thin auto body panels? Start by using thinner wire (0.6mm) and adjusting your amp settings. Excessive molten metal can lead to drop-off in these materials. For instance, when you weld thin steel, like 1mm, keep your power setting at a maximum of 2mm to prevent holes.
Employ short pulse welding techniques to allow cooling time between pulses, reducing the risk of cold joints and pinholes. Regularly inspect the weld area for visual signs of blow-through, including holes or excessive burn-through, which indicate incorrect settings. Remember, continuous torch movement is unsuitable for steel less than 1mm thick; instead, practice controlled movement to maintain weld integrity. By following these guidelines, you can successfully weld thin without succumbing to blow-through. Additionally, ensure proper heat input control to avoid burn-through, which is crucial for achieving clean welds on thin materials.
Inspecting and Finishing Welds
When inspecting your welds on thin auto body panels, focus on visual inspection techniques to check for consistency and gaps. A guide coat can help you identify low spots during the final surface preparation, ensuring an even finish. Make sure to address any weak joints or incomplete welds before moving on to painting or additional finishing processes. Additionally, ensure that proper surface preparation is conducted to enhance weld strength and quality.
Visual Inspection Techniques
Visual inspection of welds on auto body panels is essential for ensuring quality and structural integrity. Start by checking for inconsistencies like burn-through, undercutting, or excessive spatter, which indicate poor heat control. Use a guide coat, such as black spray paint, to reveal low spots during sanding, ensuring a smooth finish. Look for distortion or warping around the weld area, as these issues often stem from excessive heat input. Evaluate the uniformity of the weld bead appearance; irregularities can signal problems with heat management or technique. Finally, inspect the edges for proper penetration, since insufficient penetration can lead to weak joints, jeopardizing the overall strength of the panel. Prioritize these techniques for a robust repair.
Final Surface Preparation
Final surface preparation is essential for achieving a flawless finish on auto body panels. After welding, inspect the welds for any distortion or shrinkage. Use a guide coat, like black spray paint, to identify low spots during sanding for a smoother surface. If you notice any lows, apply the hammer and dolly method to stretch those areas back into shape, ensuring your panel remains good solid. For finishing the welds, utilize a 3-inch 60-grit Roloc disc on a pneumatic angle grinder to create a consistent surface before moving to final sanding. Ultimately, perform a thorough inspection to confirm all areas are smooth and defect-free, effectively preparing the panel for painting.
Recommended Tools for Thin Metal Welding
For successful welding of thin auto body panels, having the right tools is essential. A MIG welder using a 0.025-inch wire is your best choice; it reduces amp usage and minimizes burn-through risk. For ideal results, mix argon and carbon dioxide shielding gas at a 75/25 ratio. This enhances arc stability and weld quality on thin metals. If you’re TIG welding, grind your tungsten to a 45-degree angle for a more concentrated arc, allowing better control over heat input.
Consider using pulse welding techniques. This method enables shorter heat application times, reducing distortion risks. When setting up, keep your welding leads draped rather than tightly wound; this prevents sharp bends that could damage the metal liner, ensuring consistent performance and reduced heat build-up. By controlling wire speed and utilizing continuous weld techniques, you’ll achieve cleaner, stronger seams in your thin panels. Additionally, maintaining optimal shielding gas flow will further protect the weld pool from contamination and improve overall weld quality.
Products Worth Considering

ER70S-6 MIG WIRE: It's the most common wire of the copper-coated mild steel GMAW (MIG) wires for single or multiple pass welding.

Lincoln ED030584 .035", NR-211, LB Spool, Inner Shield Flux-Core Welding Wire

✅ MIG Welding Wire, L-56, .025, Spool
Frequently Asked Questions
How Do You Reduce Heat When Welding Thin Metal?
To reduce heat when welding thin metal, use short pulse welding techniques and lower power settings. Employ thinner wire for better heat management, tack weld at intervals, and apply alternative cooling methods to prevent distortion.
Why Do Welders Not Live Long?
Welders often don’t live long due to relentless health risks and occupational hazards. Without proper ventilation and welding safety gear, they face respiratory issues, skin damage, and chronic injuries that drastically shorten their lifespan.
What Does God Say About Welding?
God values craftsmanship, urging you to embrace divine guidance in welding. As you work, remember welding ethics—dedicate yourself to skill, integrity, and stewardship, reflecting the divine gift of creating through your craft.
What Is the Rule of 33 in TIG Welding?
The Rule of 33 in TIG welding dictates you move the torch at 3 inches per minute for every 1/32 inch of material thickness. This guarantees effective heat management, minimizing distortion and enhancing weld strength.
Conclusion
In welding thin auto body panels, controlling heat is essential to avoid warping and blow-through. Did you know that over 30% of weld failures in automotive repairs can be traced back to improper heat management? By mastering your welder settings and employing effective techniques, you can achieve strong, clean welds. Remember, the right tools and practices not only enhance your skills but also guarantee a durable finish, keeping your projects looking professional and lasting longer.


