No pipe expander? With a bit of shop ingenuity you can still get a snug, weldable slip fit. Below are three safe, tried-and-true methods you can do with common gear, plus welding tips and safety must-knows.
To expand an exhaust without an expander, heat the last 1–1.5 inches to dull-to-cherry red and drive in a smooth steel mandrel; or use a tapered driver and light hammer taps; or form the end over a slightly larger steel tube. Work in small steps and test-fit often.
Key takeaways
- Thin-wall exhaust (16–18 ga) can be expanded with heat + steel mandrel or a tapered driver—go slow and check fit.
- Use CFH for shielding gas: MIG 75/25 ~15–25 CFH; TIG argon ~10–20 CFH (indoors, low draft).
- Heat target: dull to cherry red ≈ 1200–1500°F (650–815°C); forming in small steps prevents splits and ovaling.
- Avoid brittle forms (e.g., glass). Use polished metal forms only.
Why expanding exhaust pipes matters
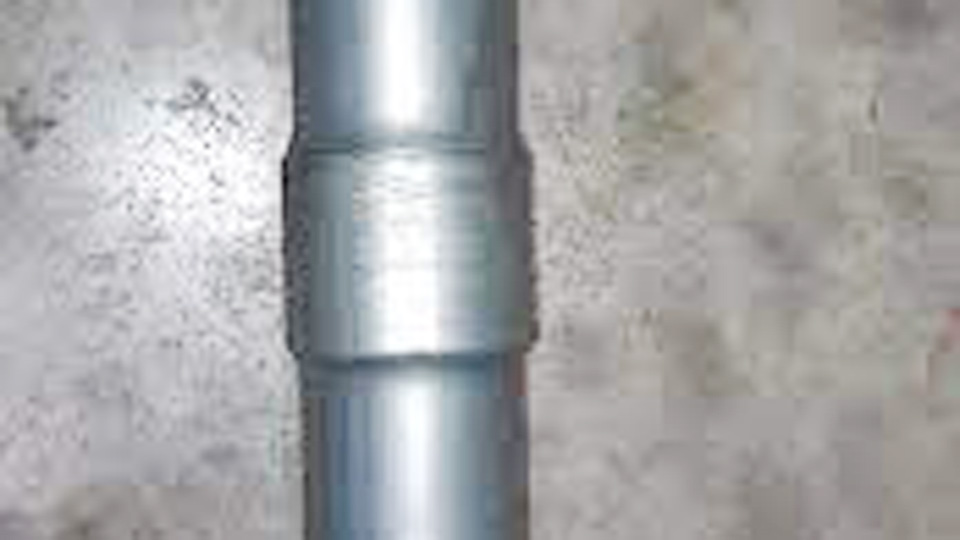
A snug slip fit makes welding easier and prevents leaks, rattles, and carbon-monoxide intrusion. Expanding only the last 1–1.5 in (25–38 mm) lets one tube sleeve over the other so you can tack and weld without wide gaps.
Understanding pipe expansion
With a dedicated expander, metal stretches uniformly. Without one, rely on heat, leverage, and smooth tapers to increase the diameter just enough—usually 1/16–1/8 in (1.5–3 mm)—for a slip fit while keeping roundness.
Safety first
Wear gloves, long sleeves, and safety glasses. Keep a fire extinguisher nearby. Work in a well-ventilated area or use local fume extraction—welding fumes are hazardous. Clamp parts securely and keep fuel lines and rag piles away from sparks. See our welding safety guide.
Method 1: Heat + socket or steel cone
How it works: Heat softens the end so a smooth, slightly oversize mandrel can expand it. Best for mild steel or thin stainless (16–18 ga).
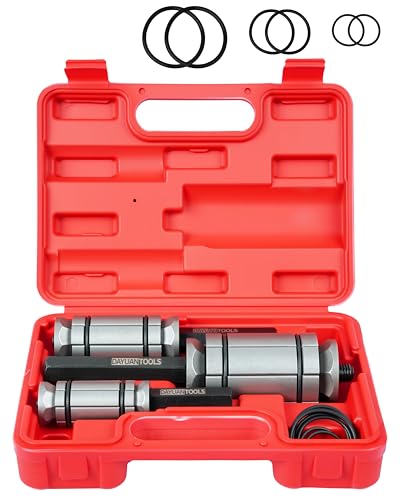
Products Worth Considering
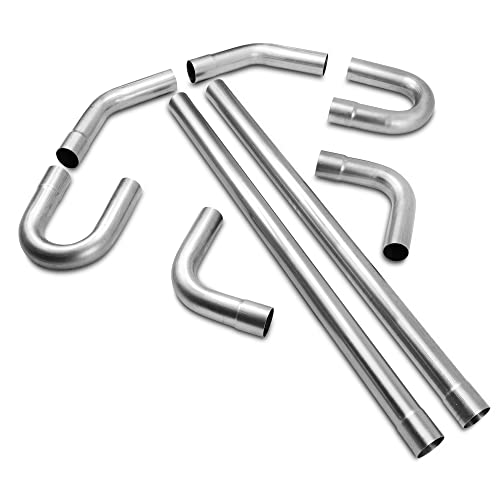
This Universal Custom Exhaust Kit Made of High Quality Mild Steel with Computerized Mandrel-Bends for Strength and Durability, 16-Gauge Piping Walls

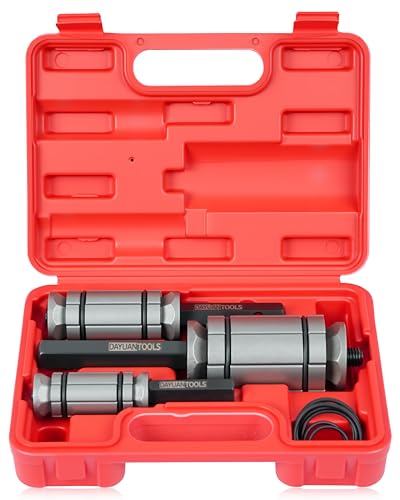
1 Small Expander (1-1/8 inch to 1-3/4 inch), 1 Medium Expander (1-1/2 inch to 2-1/2 inch), 1 Large Expander (2-1/8 inch to 3-1/2 inch).

Exhaust Pipe Stretcher Kit: This automotive muffler pipe spreading tool kit is designed for enlarging mild steel exhaust pipes, ensuring flawless exhaust seals with narrower diameter tubing. The process of expanding your tailpipe not only enhances exhaust volume but also elevates vehicle RPM, delivering added power to your engine. Our exhaust hanger tool effortlessly widens pipes for your convenience.
Step-by-step
- Prep: Cut square and deburr inside and out. Thin splits usually start at burrs.
- Secure: Clamp the tube in a vise with soft jaws.
- Heat: Bring the last 25–30 mm to a dull/cherry red (≈1200–1500°F / 650–815°C). Move the flame to avoid hot spots.
- Expand: Drive in a deep-well socket or steel cone a little larger than the I.D. Work in small increments; rotate as you tap.
- Cool: Let it air-cool. Quenching can harden or embrittle some steels and may distort.
- Dress: Re-round lightly and remove high spots with a file or flap wheel.
Tips
- Torch: Neutral flame on oxy-fuel; with propane/MAPP, keep the flame moving.
- Mandrel: Use polished steel. Avoid splined sockets that mark the bore.
- Control: Check fit every few taps to avoid over-expansion.
Method 2: Hammer + tapered driver (no torch)
How it works: A smooth, tapered driver—drift, large bolt shank, or proper expanding punch—stretches the lip mechanically. Go slow to avoid denting.
Products Worth Considering
Wide Application: 3 different sizes exhaust pipe expanders make it almost suitable for all kinds of pipes, ensures a perfect fit with pipes without leaks
Precise Design: Used to extend a length of pipe in equal proportions so that the pipe diameter is the same rather than tapered

Pipe Expansion Solution: This exhaust pipe expander kit by Orion Motor Tech offers an easy way to expand your exhaust pipes, ensuring tight connections for optimal exhaust flow. It's perfect for home DIYers and professional auto shops alike
Steps
- Prep and secure as above.
- Start: Insert the taper 10–15 mm and tap around the circumference, rotating the driver.
- Progress: Advance in stages until the mate begins to slip on.
- Finish: True the roundness with a light planishing pass and deburr.
Tips
- Use lighter, consistent strikes; heavy blows oval the tube.
- A drop of oil on the driver reduces galling.
- For stainless, metal drivers are best; wood can leave residue and crush.
Method 3: Form over a larger steel tube
How it works: Force the workpiece over a slightly larger scrap tube fixed in a vise. The larger tube acts as a form.
Steps
- Choose a form 1–3 mm larger than your I.D.
- Warm the lip with a heat gun (optional) and push/tap the workpiece onto the form.
- Work in and back off, repeating until the mating pipe fits.
Important: Use only metal forms. Do not use glass bottles—they can shatter and cause severe injury.
Welding the expanded joint
Process pointers
- MIG (mild steel): ER70S-6 wire (0.023–0.030 in) with 75/25 Ar/CO₂. Typical indoor flow ~15–25 CFH. Voltage often 17–19 V on 16 ga; set wire feed per your machine chart and verify on scrap.
- TIG (stainless): 100% argon at ~10–20 CFH. Use ER308L for 304 stainless. Start around 50–90 A for thin wall and use pedal control.
- Stick (field repair): 3/32 in E6011 or E6013 at ~70–100 A; short, cool passes.
Joint prep
- Clean: Remove oil/rust to shiny metal. Contamination causes porosity.
- Fit-up: Aim for a snug slip fit; for TIG keep the gap near zero.
- Tacks: Place 3–4 tacks and confirm alignment before welding.
Technique
- Stitch-weld 1/2-in (12 mm) segments spaced around the tube to limit distortion.
- Allow natural cooling; forced air or water can crack thin tube.
- Check for pinholes with a brief soapy-water test after installation (engine off).
New to process selection? Compare methods in MIG vs TIG and see stainless setup in Miller TIG settings for stainless.
Pros and cons of tool-free methods
| Method | Pros | Cons |
|---|---|---|
| Heat + socket | Fast; good control with practice | Needs heat source; risk of thinning if overheated |
| Hammer + taper | No torch; uses common tools | Slower; risk of ovaling/dents |
| Steel tube form | Very resourceful; stable form | Less precise; needs a good size match |
Material notes
- Mild steel: Expands easily but corrodes—paint or coat after welding.
- Aluminized steel: Coating burns at the weld; expect localized corrosion—seal or coat.
- Stainless (304): Tougher and retains heat; form gently and keep heat input low. Match filler: ER70S-6 for mild steel, ER308L for 304 stainless. Use ER309L only for dissimilar joints.
Common mistakes & fixes
- Over-expansion: Mate feels loose. Fix: Planish with a band clamp while tack-welding, or use a band clamp instead of a weld.
- Out-of-round: Shape is off after hammering. Fix: True with a round bar or adjustable round-over pliers before welding.
- Cracking at the lip: Often from burrs or rushing. Fix: Re-trim square, deburr, and re-expand with smaller steps.
FAQs
- Can I expand an exhaust with no tools at all?
- You need at least a solid taper (driver/socket) and a hammer. Purely “hands-only” expansion risks damage.
- What’s the easiest method for beginners?
- The hammer + tapered driver method. Practice on scrap to learn how much force you need.
- Will these methods work on stainless?
- Yes, but form slowly. Heat helps. For welding, use ER308L filler on 304 stainless and keep heat input modest.
- How do I know I’ve expanded enough?
- Test the fit often. The mating tube should slide on snugly with minimal play; stop as soon as it does.
Related articles