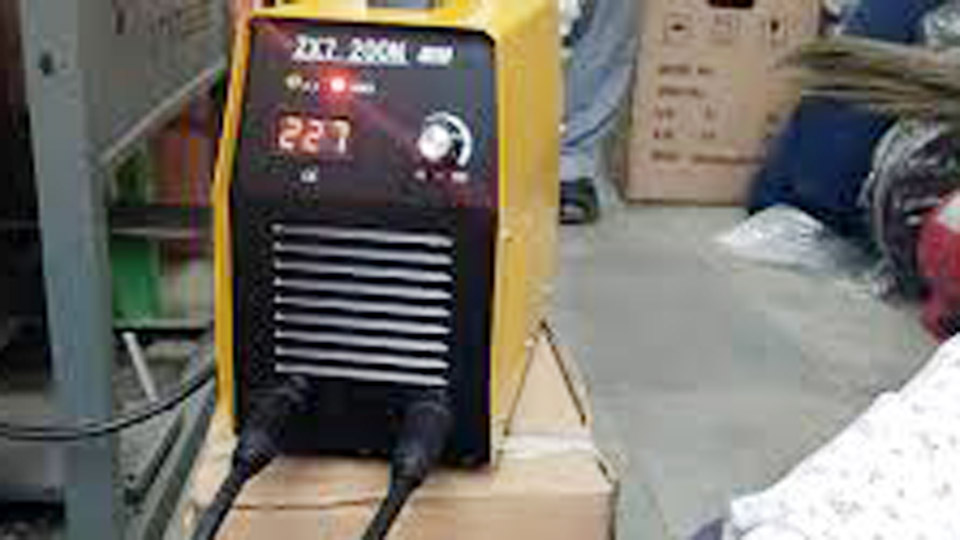
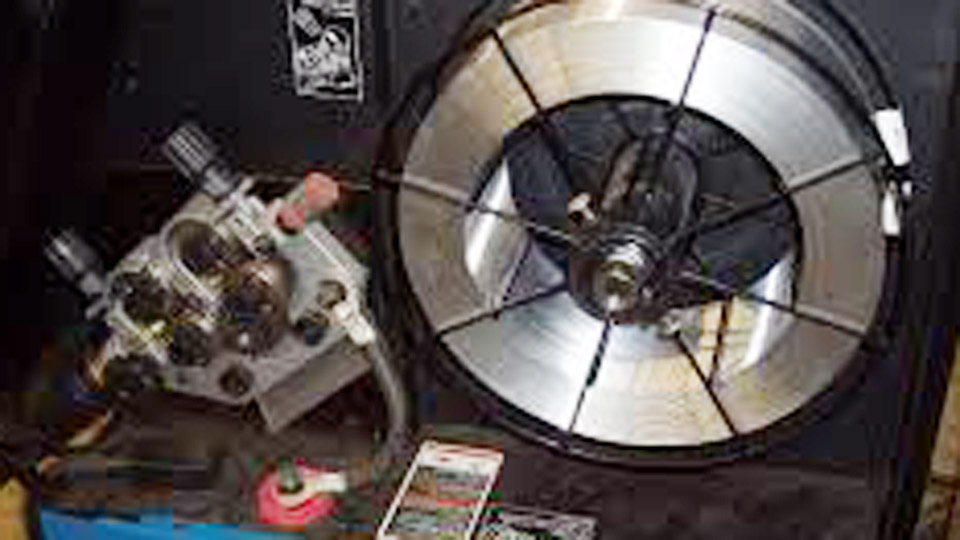
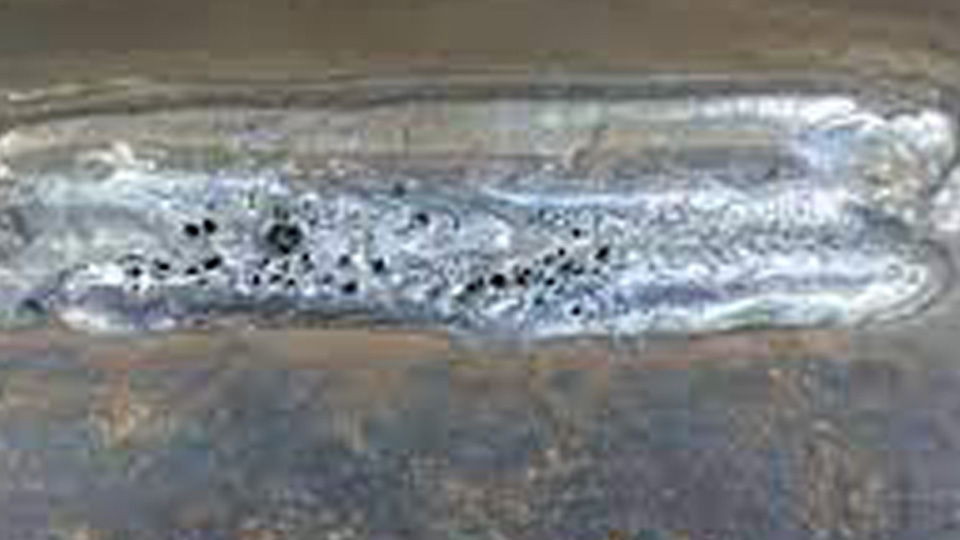
Flux core spatter can turn a short weld into a long cleanup job. A small amount is normal, but heavy spatter, loud popping, wire stubbing, or an erratic arc usually points to a setup, feeding, or technique problem.
You can reduce spatter by cleaning the metal, verifying the wire’s polarity, balancing voltage with wire feed speed, holding a steady drag angle, and keeping the gun and feeder in good condition. The goal is not a perfectly spatter-free weld; it is a stable arc, sound bead, and much less grinding afterward.
Quick Answer
To reduce flux core welding spatter, clean the joint and work-clamp area, confirm polarity on the wire label, and start with the manufacturer’s settings. Use a steady drag technique, keep the recommended stickout, make small voltage or wire-speed changes, and test each change on matching scrap.
Key Takeaways
- The wire manufacturer’s data sheet controls polarity, gas, stickout, and parameter ranges.
- Clean metal and a clean work-clamp connection help stabilize the welding circuit.
- For common self-shielded wire, use a drag technique and avoid an extreme travel angle.
- Tune voltage and wire feed speed together, changing only one setting at a time.
- Clean drive rolls, the correct contact tip, sound cables, and dry wire prevent erratic feeding.
- Anti-spatter products can shorten cleanup, but they cannot correct poor settings or contamination.
At a Glance
| Time Required | About 20–30 minutes for inspection, cleaning, and test beads |
| Difficulty | Beginner to intermediate |
| Tools Needed | Welder, matching wire, scrap steel, wire brush or grinder, pliers, contact tips, PPE, and fire extinguisher |
| Cost | Usually $0–$30 if you already own the welder and PPE; more if the liner, cable, or wire must be replaced |
What’s in This Article
- Why Spatter Happens in Flux Core Welding
- Before You Begin
- Optimize Your Welder Settings
- Prep Your Workpiece Like a Pro
- Master Your Welding Technique
- Choose the Right Wire and Gas
- Maintain Your Equipment
- Anti-Spatter Solutions: Worth It?
- Gasless vs Dual-Shield Flux Core
- Step-by-Step Guide to Minimize Spatter
- Flux Core Spatter Troubleshooting Chart
- Safety Considerations
- Frequently Asked Questions
- Sources
Image by minoo-cn
Why Spatter Happens in Flux Core Welding
Spatter forms when droplets of molten electrode metal leave the arc and land outside the weld pool. Flux-cored arc welding also produces slag, which is different from spatter: slag forms a coating over the bead and must be chipped and brushed away after the weld cools.
Self-shielded and gas-shielded flux-cored wires can both produce excess spatter when the electrical settings, polarity, wire feeding, shielding, or gun technique are wrong. Dirty metal and a poor work-clamp connection can make the arc less stable as well.
Common Causes of Spatter
- Incorrect voltage-to-wire-speed balance: The wire may stub into the puddle, pop, or run with an overly long arc.
- Wrong polarity: Many common self-shielded T-8 and T-11 wires use DC electrode negative, while many gas-shielded wires use DC electrode positive. The wire label always takes priority.
- Dirty workpiece or clamp area: Rust, paint, oil, heavy mill scale, and a poor electrical connection can disrupt the arc.
- Incorrect stickout: Too much contact-tip-to-work distance can overheat the wire and make the arc harder to control; too little may not suit the wire’s operating range.
- Extreme gun angle: A steep drag angle can increase spatter and reduce arc stability.
- Irregular wire feeding: A worn tip, damaged liner, rusty wire, incorrect drive roll, or excessive roll tension can make the wire surge.
- Shielding problems: Gas-shielded flux core can suffer when gas flow is incorrect, the nozzle is blocked, a hose leaks, or wind strips gas from the puddle.
Note: Some spatter is normal with flux core welding. Judge the weld after removing slag. A stable arc, proper bead shape, good toe fusion, and sound penetration matter more than cosmetic cleanliness alone.
Before You Begin
Set aside about 20 to 30 minutes to inspect the welder, prepare the joint, and run test beads on scrap that matches the project’s material, thickness, joint type, and position. This setup often saves much more time than grinding away spatter later.
What You’ll Need
- Flux core welder that supports the chosen wire diameter and polarity
- Quality flux-cored wire matched to the base metal and job requirements
- Matching scrap metal for test beads
- Wire brush, scraper, grinder, or flap disc
- Pre-weld cleaner approved for the material, if needed
- Correct contact tips, drive rolls, and basic gun consumables
- Welding helmet, safety glasses, gloves, flame-resistant clothing, and leather footwear
- Local exhaust or suitable ventilation, plus a fire extinguisher
Warning: Do not weld near fuel, oily rags, paint cans, sawdust, flammable vapors, or combustible dust. Remove or shield fire hazards, keep suitable extinguishing equipment ready, and check the opposite side of walls, floors, or panels where sparks and heat may travel.
Run a 60-Second Preflight Check
- Read the wire label or data sheet for polarity, gas, stickout, and parameter range.
- Confirm the gun lead and work lead are connected to the correct terminals.
- Inspect the power cord, gun cable, work lead, and clamp for damage or loose connections.
- Check that the contact tip matches the wire diameter and is not enlarged or burned.
- Make sure the wire is clean, dry, and feeding smoothly.
- Remove nearby combustibles and position ventilation so fumes move away from your breathing zone.
Optimize Your Welder Settings
Settings cause many spatter problems, but there is no universal voltage or wire-speed number. Material thickness, wire diameter, joint design, position, electrode classification, shielding gas, and machine output all matter. Begin with the chart inside the welder or the wire manufacturer’s data sheet, then fine-tune on scrap.
Verify Polarity Before Changing Anything Else
Polarity is a setup item, not a tuning adjustment. Common E71T-11 and E71T-8 self-shielded wires normally run on DC electrode negative (DCEN). Many gas-shielded flux-cored wires run on DC electrode positive (DCEP), but exceptions exist. Confirm the exact wire before striking an arc.
| Wire Type | Common Starting Polarity | Final Authority |
| Self-shielded E71T-11 or E71T-8 | Usually DCEN | Wire label and data sheet |
| Gas-shielded flux core | Often DCEP | Wire label and data sheet |
Balance Voltage and Wire Feed Speed
Voltage controls arc length, while wire feed speed strongly affects welding current. They must be balanced. On flux-cored or metal-cored wire, voltage that is too low can create excess spatter. Wire feed that is too high for the selected voltage can make the wire drive into the puddle and push the gun back.
- Set the machine to the chart value for the wire size and material thickness.
- Make a short bead on matching scrap.
- If the wire stubs and the arc pops, raise voltage slightly or reduce wire speed within the approved range.
- If the arc becomes long, harsh, or prone to burnback, reduce voltage slightly or add wire speed within the approved range.
- Change only one control at a time and record the setting that improves the arc.
Use the Stickout Spec for Your Wire
Stickout is the unmelted wire extending from the contact tip to the arc. About 3/4 inch is a common flux-core starting point. Hobart lists roughly 1/2 to 3/4 inch for common T-11 wire, while some T-8 wires require about 1 to 1-1/4 inches. Do not force every flux-cored wire to the same stickout.
Pro Tip: Mark the recommended stickout on a scrap piece of wire or a small gauge. Check it before each test bead until holding the correct distance becomes automatic.
Prep Your Workpiece Like a Pro
Flux core is more tolerant of surface contamination than solid-wire MIG, but “more tolerant” does not mean “no preparation needed.” Cleaning improves arc stability and makes bead defects easier to see.
- Expose clean metal at the joint. Remove oil, moisture, paint, loose rust, dirt, and heavy scale from the weld path.
- Clean the clamp location. Attach the work clamp to bright metal as close to the weld as practical.
- Check fit-up. Uneven gaps force sudden travel-speed and gun-angle changes that can make the arc less consistent.
- Tack the joint. Tacks keep the gap from opening as the metal heats.
- Remove slag between passes. Chip and brush each pass before adding another bead.
Use cleaning products only as directed by their manufacturer, allow the surface to dry, and keep flammable cleaners away from hot work. Do not weld unknown plated, painted, or coated metal until the coating and required exposure controls have been identified.
Master Your Welding Technique
Once setup and feeding are correct, technique becomes the next control. Hold the gun with both hands when possible, support the cable so it does not pull the gun, and watch the leading edge of the puddle rather than staring at the arc.
Drag the Gun at a Moderate Angle
Flux-cored welding normally uses a drag, or pull, technique because the process produces slag. A 5- to 15-degree travel angle is a dependable general starting range. Angles beyond about 20 to 25 degrees can increase spatter, reduce penetration, and make the arc less stable.
Hold the Correct Work Angle
- Butt joint: Aim near 90 degrees to the joint, then add the small drag angle.
- T-joint: Start near 45 degrees between the two pieces.
- Lap joint: Bias the gun toward the lower or thicker member as needed for fusion.
Keep Travel Speed Steady
Moving too slowly can create an oversized, overheated puddle and excessive buildup. Moving too quickly can leave a narrow bead with poor tie-in. Maintain a puddle size that fits the joint and keep the arc near the leading edge of the pool.
Use stringer beads for most small joints. A slight weave may help fill a wider joint, but large, uneven weaving changes arc length and can trap slag. Pause briefly at the toes only when the joint and position require it.
The cleanest flux core bead comes from repeatable setup: correct polarity, smooth wire feeding, steady stickout, and a controlled drag angle.
Choose the Right Wire and Gas
Match the Wire to the Job
E71T-11 is a common general-purpose self-shielded wire for mild steel and is available in sizes used by many compact welders. That does not make every E71T-11 wire suitable for every structural, load-bearing, impact-critical, or code-governed weld. For critical work, follow the approved welding procedure, applicable code, engineer’s requirements, and filler-metal data sheet.
Use a wire diameter the welder can feed at the needed output. Keep the spool in its original packaging or a dry enclosed area when not in use. Rusty or moisture-damaged wire should be replaced rather than run through the liner.
Set Up Shielding Gas Correctly for Dual Shield
Gas-shielded flux-cored wire requires an external shielding gas. Depending on the wire, the approved gas may be 100% carbon dioxide or an argon/carbon-dioxide blend. Gas choice affects arc behavior and spatter, so do not substitute a mix that is not listed for the wire.
- Set flow according to the wire and equipment instructions rather than guessing.
- Check the cylinder, regulator, hose, gun, and fittings for leaks or damage.
- Clean spatter from the nozzle so gas can cover the puddle.
- Block strong drafts, but do not create an enclosed, poorly ventilated welding space.
Maintain Your Equipment
Erratic wire delivery often looks like a settings problem. Inspect the complete feed path before chasing the knobs.
- Drive rolls: Use the roll type and groove size specified for the tubular wire. Knurled rolls are commonly used for self-shielded wire.
- Drive-roll tension: Use only enough tension to feed without slipping. Excess pressure can deform soft tubular wire.
- Spool hub: Set enough brake tension to prevent overrun without making the feeder strain.
- Liner: Replace a kinked, dirty, incorrectly sized, or worn liner.
- Contact tip: Match it to the wire diameter and replace it if the bore is worn, burned, or causing poor electrical transfer.
- Nozzle or tip guard: Remove spatter buildup without damaging the insulator or gas passages.
- Cables and clamp: Tighten loose connections and replace damaged leads.
- Wire storage: Keep wire dry and protected from rust, grinding dust, and shop moisture.
Anti-Spatter Solutions: Worth It?
Anti-spatter spray, gel, or nozzle dip can keep droplets from bonding as firmly to nearby metal and gun parts. That can shorten cleanup and extend the time between nozzle cleanings. It does not reduce the amount of spatter created at the arc.
Apply only a thin layer and follow the product label and safety data sheet. Keep the product out of the weld joint, away from drive rolls and wire, and clear of any surface that will be painted or coated unless the manufacturer confirms compatibility. Never spray an aerosol into a live arc or onto hot metal.
Note: Fix the cause first. Use anti-spatter only after polarity, parameters, feeding, metal preparation, and technique are under control.
Products Worth Considering

𝗛𝗘𝗔𝗩𝗬 𝗗𝗨𝗧𝗬 𝗦𝗢𝗟𝗩𝗘𝗡𝗧 𝗕𝗔𝗦𝗘𝗗 𝗔𝗡𝗧𝗜-𝗦𝗣𝗔𝗧𝗧𝗘𝗥: Akfix A90 Anti Spatter Spray provides robust protection against welding spatter, ensuring your workspace remains clean and efficient.

Gel eliminates erratic operation with a film that will not clog orifices and threads on MIG nozzles and contact tips

Category: Welding -- Welding Chemicals
Gasless vs Dual-Shield Flux Core
“Gasless” flux core is a common name for self-shielded FCAW. It does create shielding gases and slag from ingredients inside the wire; it simply does not need a separate gas cylinder. Dual-shield, or gas-shielded FCAW, uses flux inside the wire plus an external gas supply.
| Factor | Self-Shielded FCAW | Gas-Shielded FCAW |
| External gas | Not required | Required |
| Outdoor use | More tolerant of wind | Shielding can be disturbed by drafts |
| Polarity | Often DCEN for common T-8/T-11 wires | Often DCEP |
| Spatter control | Depends heavily on wire, polarity, stickout, and technique | Also depends on gas type, gas coverage, and drafts |
Products Worth Considering

E71T-GS FLUX CORE WIRE: This self-shielding, AWS E71T-GS flux-cored wire excels due to its advanced core design, delivering exceptional arc stabilization and high feedability for effortless welding. The core also incorporates powerful deoxidizing agents, ensuring clean, reliable welds even when welding through light rust or mill scale.

Welding Easy and Quick: AWS E71T-GS 030” Flux Core welding wire (The actual Net Weight of Wire is 2LB), no need for shielding gas, install it then you can welding all positions, single and multi pass welding. Great for T-joints, butt welds & lap welds.

Effortless and Efficient Welding: Hassle-free experience with our AWS E71T-GS 0.030" Flux Core welding wire (Net Weight: 10lbs). No shielding gas needed, install and weld in any position. Perfect for strong T-joints, butt welds, and lap welds.
Step-by-Step Guide to Minimize Spatter
- Identify the wire. Record its classification, diameter, brand, required polarity, gas, and recommended stickout.
- Prepare the area. Remove combustibles, arrange ventilation, and put on full PPE.
- Clean the joint and clamp point. Expose sound metal and attach the work clamp securely.
- Inspect the feed system. Check the spool, drive rolls, tension, liner, tip, nozzle, cable, and clamp.
- Set polarity and gas. Follow the wire data sheet exactly.
- Enter the starting parameters. Use the welder chart or wire data sheet for the material thickness and wire diameter.
- Set stickout and gun angle. Use the wire’s stickout range and start with a moderate drag angle.
- Run a test bead. Use scrap with the same thickness and position as the project.
- Tune one variable at a time. Correct obvious stubbing, long arc, feeding, or gas problems in small steps.
- Clean and inspect. Remove slag, look for proper fusion and bead shape, then record the successful settings.
Flux Core Spatter Troubleshooting Chart
| What You Notice | Likely Causes | First Checks |
| Wire stubs into the puddle and pushes the gun back | Voltage too low for wire speed; wire speed too high; excessive stickout variation | Confirm chart settings, raise voltage slightly or lower wire speed, and steady the gun distance |
| Arc is long, harsh, or burns back toward the tip | Voltage too high for wire speed; wire feed restriction; worn tip | Lower voltage slightly, confirm feed path, and inspect the contact tip |
| Spatter suddenly increases after the welder previously ran well | Worn tip, dirty liner, rusty wire, loose clamp, damaged cable, blocked nozzle, or gas leak | Inspect consumables, feeding, connections, wire condition, and gas path before changing settings |
| Arc is erratic from the first bead | Wrong polarity, poor clamp contact, incorrect tip or drive roll, or bad starting parameters | Verify the wire label, terminal connections, clamp point, consumables, and chart settings |
| Gas-shielded weld has spatter plus porosity | Wrong gas, low coverage, wind, leaks, blocked nozzle, or contaminated metal | Confirm approved gas and flow, stop drafts, inspect for leaks, clean the nozzle, and clean the joint |
Safety Considerations
Flux core welding creates ultraviolet and infrared radiation, hot metal, sparks, electrical hazards, noise, fumes, and gases. Wear safety glasses under a properly shaded welding helmet, flame-resistant clothing, dry welding gloves, and leather footwear. Add hearing and respiratory protection when the hazard assessment or product instructions require it.
- Ventilation: Use general ventilation or local exhaust that pulls fumes away from your breathing zone. Never use oxygen for ventilation.
- Fire prevention: Remove or protect combustibles and keep suitable fire-extinguishing equipment ready. Inspect nearby and hidden spaces after welding.
- Coated metals: Zinc, lead, cadmium, chromium-bearing coatings, and unknown paints can require specific ventilation, respiratory protection, or removal procedures.
- Confined spaces: Do not enter a tank, vessel, or other confined space for welding without a compliant ventilation, monitoring, attendant, and rescue plan.
- Electrical safety: Keep gloves and clothing dry, avoid damaged cables, turn off and unplug equipment before servicing the feed system, and follow the welder manual.
- Bystanders: Use welding curtains or screens and keep other people away from the arc, sparks, and fumes.
Warning: Never weld on a container, tank, drum, wheel, or closed part that contains—or may have contained—flammable, pressurized, or hazardous material unless it has been made safe under an approved procedure. Hobby cleanup methods are not a substitute for a hot-work or confined-space program.
Frequently Asked Questions
Is some spatter normal with flux core welding?
Yes. Flux core welding commonly produces some spatter and always produces slag. Heavy, uneven spatter is a reason to check polarity, voltage, wire speed, stickout, feeding, metal cleanliness, and gun angle.
What polarity reduces spatter with self-shielded flux core wire?
Many common E71T-11 and E71T-8 self-shielded wires use DC electrode negative. Other classifications may differ, so use the polarity printed on the spool, package, or data sheet.
Should I increase voltage to reduce flux core spatter?
Only when the symptoms and approved parameter range support it. Low voltage can cause excess spatter with flux-cored wire, but voltage that is too high can create a long, harsh arc. Make small changes on scrap and keep wire feed speed balanced.
Why does my flux core wire pop and push the gun back?
The wire is often feeding faster than the arc can melt it. Check for low voltage, excessive wire speed, an unstable stickout, wrong polarity, or a poor work-clamp connection. Start from the wire chart before fine-tuning.
Does anti-spatter spray fix excessive spatter?
No. It helps prevent droplets from sticking and makes cleanup easier. It does not correct wrong polarity, poor feeding, contaminated metal, bad gas coverage, or mismatched voltage and wire speed.
Sources
- Miller Electric — Flux-Cored Welding: The Basics for Mild Steel — setup, cleaning, drive rolls, stickout, drag angle, and starting parameters
- Miller Electric — Tips for Troubleshooting Common MIG Weld Defects — spatter causes, low voltage, polarity, contact tips, and gas coverage
- Hobart Brothers — Self-Shielded Flux Core Wire — T-8/T-11 polarity, stickout, wire selection, and storage
- Hobart Brothers — Welding with Gas-Shielded Flux-Cored Wires — shielding-gas choices and the need to follow wire data sheets
- OSHA 29 CFR 1926.352 — Fire Prevention — combustible control, fire extinguishers, and hot-work precautions
- OSHA 29 CFR 1926.353 — Ventilation and Protection — ventilation, confined spaces, and coated-metal hazards