To set up your welding table for auto body work, choose a well-ventilated, stable location with at least 3 feet of clearance. Use a durable 1/4 inch steel plate for the top and a robust frame for support. Confirm the table’s height is about 36 inches for ergonomic efficiency. Incorporate features like adjustable leveling feet, storage shelves, and T-slots for clamping. Maintain a clean workspace to enhance safety and efficiency. More tips on optimizing your setup await.
How to Choose the Best Location for Your Welding Table
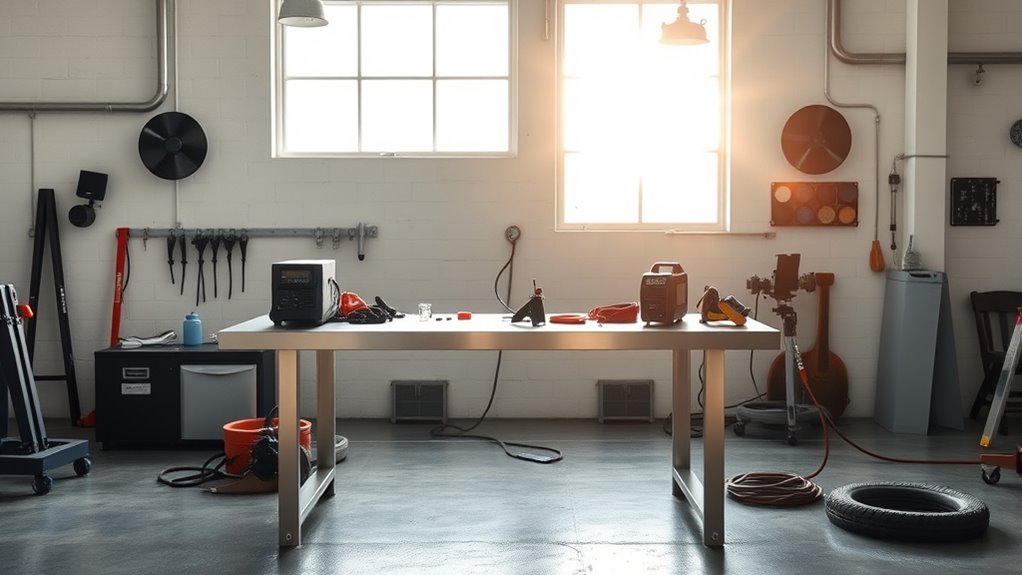
Choosing the right location for your welding table is critical to both safety and efficiency. First, prioritize adequate ventilation; place your table near an open window or exhaust fan to prevent harmful fume buildup.
Next, make certain the surface beneath the welding table is stable and level, which is essential for precision during auto body work. Position the table close to power outlets to reduce the need for long electrical cords, enhancing safety and convenience.
Ensure a stable, level surface for your welding table and keep it near power outlets for enhanced safety and convenience.
Allow at least 3 feet of clearance around the table for easy movement and access to tools, minimizing workplace hazards.
Finally, consider the proximity to other equipment like grinders and spray booths. This strategic placement not only streamlines your workflow but also fosters an organized workspace, empowering you to work more effectively and safely. Additionally, ensure that proper grounding of plasma cutting machines is maintained to further enhance safety in your workspace.
A thoughtfully chosen location transforms your welding table into a functional work surface that supports your creative endeavors.
Choose the Right Materials for Your Welding Table
Selecting the right materials for your welding table is essential for achieving durability and stability. For the tabletop, opt for a sturdy plate at least 1/4 inch thick, with 1/2 inch being ideal for heavy-duty tasks. The top frame should consist of heavy-duty materials like 3x2x1/4 C-channel or 2×3-inch box tubing to support the weight of vehicles and equipment.
Here’s a quick overview of materials:
| Material Type | Purpose |
|---|---|
| 1/4 inch steel plate | Prevents warping/denting |
| 3x2x1/4 C-channel | Provides structural support |
| Scrap metal | Cost-effective frame |
| Cross braces | Enhances strength |
| Finished weight ~250 lbs | Guarantees stability |
Incorporate a lip or edge for clamping, allowing secure attachment of auto body components during welding. This setup will enhance your workspace efficiency. Additionally, ensure proper wire selection to achieve optimal welding results.
Products Worth Considering
[Heavy-Duty A36 Steel Plates] – Includes 2 precision-cut plates, each measuring 6" x 6" x 1/4", made from durable Weldable A36 carbon steel for reliable strength and weldability in any project.

Premium Material: Crafted from premium hot-rolled steel with high strength and excellent durability, Weldable metal sheet easily handles heavy-duty tasks and provides stable, reliable support for industrial-grade and structural engineering applications

Material: low carbon steel, Finish: Plain
Find the Right Height and Size for Your Table
To maximize comfort and efficiency, your welding table should ideally stand around 36 inches high, allowing for a 90-degree elbow position.
For best workspace, consider dimensions of 4 feet by 6 feet, providing ample room for larger auto body panels.
Make sure the table’s top plate is at least 3/8 inch thick to prevent warping, while adjustable leveling feet can help stabilize it on uneven surfaces. Additionally, an adjustable height feature can enhance versatility, catering to different user preferences and tasks.
Recommended Table Heights
Finding the right height and size for your welding table is essential for efficient and comfortable work. Aim for a table height of about 36 inches, allowing your elbows to rest at a 90-degree angle, which minimizes back strain.
A properly sized table not only provides ample space but also fits well in your workspace. Consider these key factors:
- Table Height: 36 inches is ideal for ergonomic efficiency.
- Table Size: A 4×6 feet surface accommodates larger auto body panels while remaining manageable.
- Adjustable Feet: Use leveling feet to guarantee stability on uneven surfaces.
Optimal Table Dimensions
When setting up a welding table, ideal dimensions play an essential role in enhancing your workspace efficiency. Aim for a height of around 36 inches, which helps prevent back strain during long sessions.
Your table dimensions should ideally measure 4×6 feet, providing ample space for maneuvering large auto body panels while ensuring stability. A minimum thickness of 3/8 inch for the top plate is vital to avoid warping and denting under heavy-duty tasks.
Additionally, a width of at least 3 feet allows for effective tool and material organization. Consider incorporating adjustable leveling feet to customize the height for your comfort, further improving your ergonomic setup for extended work periods.
Assemble Your Welding Table Step-by-Step
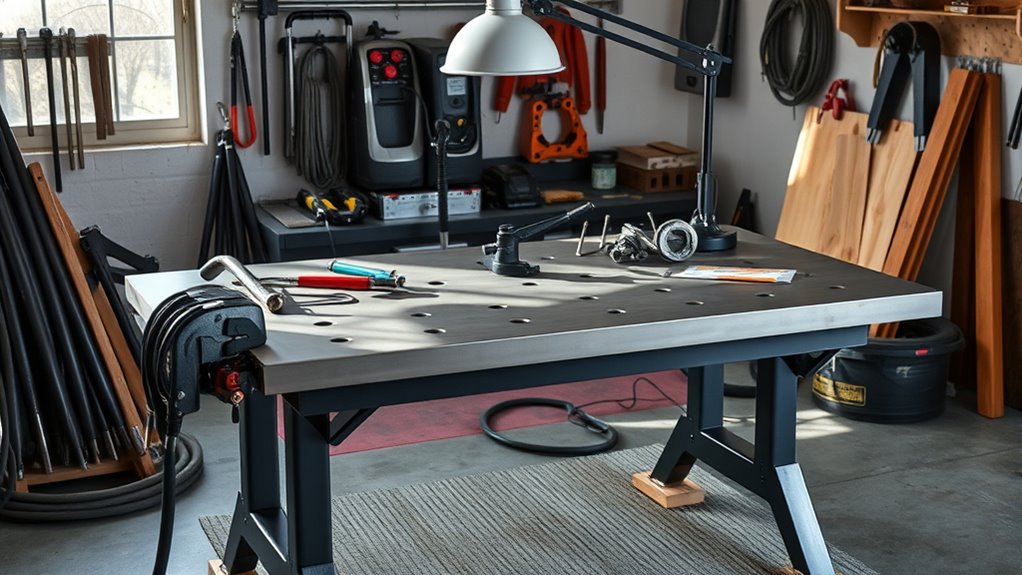
As you prepare to assemble your welding table, start by cutting your frame materials to size using heavy-duty 3x2x1/4 C-channel. Make sure all corners are notched and welded securely for stability.
Next, construct the tabletop with a minimum thickness of 3/8 inch plate to prevent denting and warping.
Follow these steps for peak assembly:
- Install Cross Braces: Incorporate cross braces into the frame to enhance structural integrity and prevent wobbling during precise auto body repairs.
- Attach Casters: Add heavy-duty 4-inch casters, making sure at least two are locking for mobility and stability during welding tasks.
- Include Functional Features: Finally, integrate a shelf for tool storage and T-slots for clamping, making your table efficient for various welding projects and accommodating your bench vise. This design mirrors the spacious 36×18 surface area of the VEVOR welding table, ensuring plenty of room for your projects.
With these steps, you’ll have a sturdy, functional welding table ready for action.
Must-Have Features for Your Welding Table Setup
When setting up your welding table, focus on essential table dimensions and ideal material thickness. A sturdy, heavy-duty surface is vital to prevent warping and guarantee stability during your work. Additionally, the dimensions should accommodate your specific tasks while promoting ergonomic efficiency. Consider a table with seven height adjustments to enhance user comfort during long projects.
Products Worth Considering

Strong Weight Capacity: Crafted with a sturdy carbon steel frame, the welding table supports up to 800 lbs load-bearing. High-strength frame delivers superior weight capacity, wear and rust prevention, providing stable support for your welding projects.

BUILT TO LAST: Durable steel construction, powder coated frame and 14 gauge galvanised metal top ensures work bench welding resists wear, corrosion and rust for years to come.
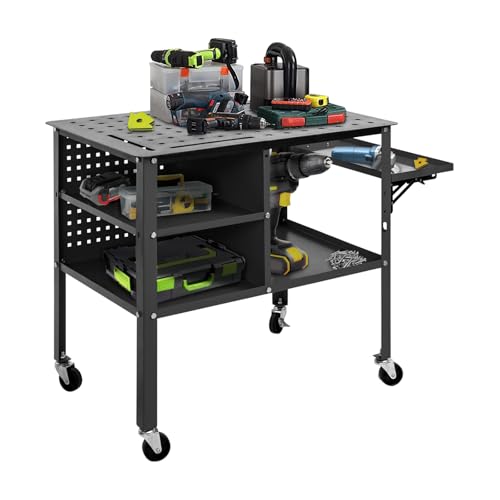
【Spacious and Versatile Table Top】: Our welding table features an expanded countertop measuring 36-inch x 24-inch, offering ample space for a wide range of welding and cutting projects. The 5/8-inch holes paired with 4 tool slots allow you to securely hold various types of equipment, ensuring everything stays organized and within reach. This design also helps in efficiently cleaning up desktop debris, maintaining a clutter-free workspace.
Essential Table Dimensions
A well-designed welding table is essential for achieving high-quality results in auto body work. To maximize your efficiency and comfort, consider these essential table dimensions:
- Length: A minimum of 5 feet guarantees you can easily accommodate various vehicle parts.
- Width: A comfortable width of 3 feet allows for sufficient workspace without crowding.
- Height: Aim for around 36 inches to facilitate ergonomic working conditions, providing comfortable access whether you’re standing or sitting.
Additionally, incorporating adjustable leveling feet can enhance stability on uneven garage floors.
T-slots on the surface improve clamping efficiency.
These features collectively promote precision and safety, making your welding tasks smoother and more effective.
Optimal Material Thickness
Choosing the right material thickness for your welding table is essential for achieving durability and maintaining precision in your auto body work. For ideal material thickness, aim for a minimum of 3/8 inch, with 1/2 inch being perfect for heavy-use applications.
A thicker top plate enhances stability, providing a solid surface for clamping and securing metal pieces during welding tasks. Using a 1/4 inch plate can lead to denting and warping, compromising the precision needed for auto body repairs.
Additionally, a larger surface area allows you to accommodate various components effectively. Make sure your table design includes features like a lip on the edges for clamping, enhancing both functionality and safety during your projects.
Follow These Safety Best Practices for Welding
To guarantee your safety while welding, wearing appropriate personal protective equipment (PPE) is essential.
Adhering to safety best practices not only protects you but also guarantees a safer workspace. Here are three key safety measures you should implement:
- Wear PPE: Always use a welding helmet with the correct shade lens, gloves, and fire-resistant clothing to shield against sparks and heat.
- Maintain a Clean Area: Keep your welding space free of flammable materials like oily rags or wood shavings to avoid accidental fires during your auto body work.
- Confirm Proper Ventilation: Minimize exposure to harmful fumes and gases by confirming adequate ventilation in your workspace, as toxic fumes can significantly impact your health.
Consider using exhaust fans or fume extractors if necessary.
Organize and Maintain Your Welding Table Setup
After ensuring your workspace is safe, organizing and maintaining your welding table setup is essential for efficiency and precision in your work.
Keep your table clear of clutter by using designated shelves underneath and storage bins for tools and materials. This organization not only saves time but also enhances your workflow during auto body projects.
A clutter-free workspace with designated storage boosts efficiency and streamlines your auto body projects.
Utilize C-clamps to secure metal pieces firmly to the table, preventing movement for accurate welding.
Install electrical outlets nearby to power tools and lights, minimizing cable clutter and hazards. Regularly inspect and clean the table’s surface to eliminate debris, dust, or flammable materials, ensuring a safe environment.
Incorporate T-slots or magnetic clamps for easy positioning and alignment of auto body parts. This facilitates more accurate welds and assembly, allowing you to work efficiently and effectively.
Additionally, ensure that your workspace is equipped with protective clothing to safeguard against potential hazards while welding.
Keeping your workspace organized empowers you to focus on your craft.
Frequently Asked Questions
What Type of Welding Machine Is Best for Auto Body Work?
For auto body work, a MIG welder’s ideal for thin metal, while a TIG welder excels with precision and thicker materials. Pay attention to gas selection, ensuring you optimize your weld quality and strength.
How Do I Prevent Rust on My Welding Table?
To keep your welding table rust-free, regularly clean it and apply a rust prevention coating. Use a little oil for table maintenance and guarantee proper ventilation to minimize moisture. Stay sharp and protect your workspace!
Can I Use a Wooden Table for Welding?
You can’t safely use a wooden table for welding; it poses fire hazards and structural risks. Instead, consider metal welding table alternatives that offer durability, stability, and better safety for your projects. Stay safe while you create!
What Tools Should I Have on Hand for Welding?
Think of your workspace as a fortress. For welding safety, gather a sturdy metal table, clamps, a welding helmet, gloves, a fire extinguisher, and proper ventilation. These tools empower you to create safely and effectively.
How Often Should I Clean My Welding Table?
You should clean your welding table after every use to maintain peak performance. Regular cleaning frequency prevents contaminants from affecting your work. Follow these maintenance tips: wipe down surfaces and remove debris promptly for best results.
Conclusion
So, you’ve set up your welding table, and now you’re ready to create automotive masterpieces—or at least not accidentally turn your garage into a bonfire. With the right location, materials, and safety practices, you’re equipped to tackle any project. Just remember, the only thing you want melting is the metal, not your eyebrows. Keep it organized, and you’ll not only impress your friends with your skills but also with your ability to avoid chaos. Happy welding!


