How to Weld Door Skins Without Warping
Door skins can warp fast when heat builds in one small area. A clean fit, short tack welds, and steady cooling give you the best chance of keeping the panel straight. This guide shows you how to fit, tack, weld, clean, and check a door skin with less distortion.
Quick Answer
To weld door skins without warping, start with a tight panel fit and clean metal. Use short tack welds, spread the welds around the panel, and let each area cool before you add more heat. Check alignment often, fix gaps early, and grind the welds gently so you don’t thin the metal.
Key Takeaways
- Fit the door skin tightly before welding so the panel does not pull out of shape.
- Use small tack welds instead of one long weld bead to control heat.
- Move around the panel while welding so one area does not get too hot.
- Fix high spots, low spots, and gaps as soon as you notice them.
- Grind slowly after welding so you smooth the seam without thinning the metal.
Estimated total time: 2 to 5 hours, depending on panel size, fit, and repair work.
What You’ll Need Before Welding Door Skins
Before you start, gather your tools and check the door shell. Good prep saves time and reduces the chance of warping.
- MIG welder or suitable sheet metal welder
- Clean welding wire and correct shielding setup for your process
- Clamps, magnets, or panel-holding tools
- Marker, scribe, tape measure, and datum lines
- Angle grinder, snips, and sanding tools
- Welding helmet, gloves, eye protection, and long sleeves
Warning: Remove paint, coatings, and sealers from the weld area, and use proper ventilation before welding.
Products Worth Considering

6-IN-1 WELDER & CUTTER: Outfit your entire shop for the price of one machine. MCT-520 multiprocess machine features 6 working modes: Gas MIG/Flux Core MIG/CUT/HF TIG/MMA/Spool Gun Aluminum Welding (Spool gun sold separately). This versatile welder covers all your project demands—from home DIY and garage projects to outdoor maintenance, farm equipment, and on-site fabrications.

Meets ANSI Z87.1 safety standards
Why Proper Panel Fit Is Crucial for Successful Welding
When you weld door skins, a proper panel fit directly affects weld quality. A tight fit reduces gaps, limits weld shrinkage, and helps prevent misalignment that can lead to warping.
Use datum lines and scribe marks to measure and align the panel. Repair large dents before welding because dents can create stress points that pull the panel out of shape.
Check that the body line on the car matches the bottom of the door. This step helps both the look and the fit of the repair. Trim the panel carefully so you avoid excessive gaps that can weaken the weld and increase distortion. Proper joint preparation also helps you make a stronger and more consistent weld.
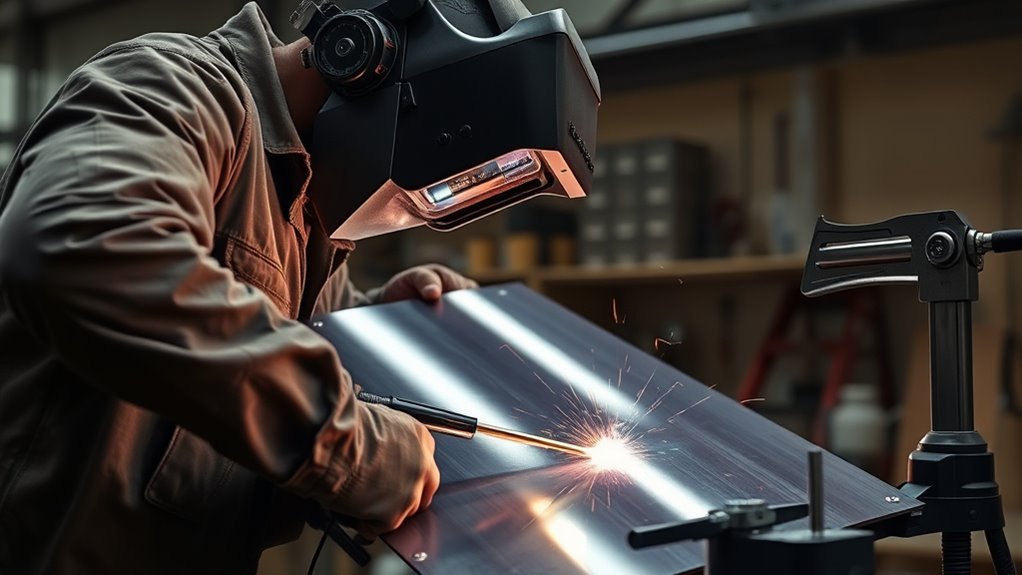
Essential Welding Techniques for Door Skins
A strong door skin weld starts with clean metal, tight fitment, and controlled heat. Start by clamping the door skin in place so the edges sit flat and even.
Use tack welds to hold the panels before you add more welds. Tack welds help the panel stay aligned while you work around the seam.
Weld in small increments of about 5/8 inch (16 mm). This helps you control heat and lowers the risk of distortion. Check alignment after each short pass, and let the metal cool before you continue. Proper metal preparation helps you get a cleaner weld.
| Technique | Purpose |
|---|---|
| Tack Welds | Hold panels in alignment |
| Incremental Welding | Control heat and reduce distortion |
| Alignment Checks | Keep shrinkage even across the panel |
Products Worth Considering

Value Pack: The package includes 24 packs of butt welding clamps, enough quantity to meet your daily needs and replacements. Each butt welding clamps is individually wrapped in a small bag, convenient to carry and use.

Trusted Quality: Backed by over a decade of professional expertise in automotive repair tools, our products are chosen by numerous technicians and DIY enthusiasts.

16-Pack Welding Clamps Set: Includes 16 butt welding clamps designed for precise edge-to-edge welding, ideal for body repair, floor patching, door skins, and sheet metal alignment.
Step-by-Step Process to Weld Door Skins Without Warping
- Clean the metal. Remove paint, rust, oil, and coatings from the weld area so the weld can bond well.
- Fit the door skin. Align the panel with datum lines, body lines, and scribe marks before you clamp it.
- Clamp the panel tightly. Hold the panel in place so gaps stay small and even.
- Add tack welds. Place tack welds around the panel instead of welding one long section at once.
- Weld in short sections. Work in small increments of about 5/8 inch (16 mm), and move to different areas as you weld.
- Let the metal cool. Pause between welds so heat does not build up in one spot.
- Check the panel often. Look for high spots, gaps, and misalignment before they become harder to fix.
- Grind the welds carefully. Smooth the welds with light pressure so you do not thin the sheet metal.
Pro tip: Practice on scrap sheet metal first so you can tune your welder settings before touching the door skin.
How to Control Heat and Prevent Distortion While Welding
To control heat while welding, keep steady pressure and alignment throughout the job. Avoid long weld beads because they can put too much heat into thin sheet metal.
Start with tack welds at intervals to secure the panels. This lets you adjust the fit before you add more welds.
Work in small increments of about 5/8 inch (16 mm) to limit localized heat buildup. Move around the panel instead of welding one area from start to finish.
Watch your welder settings closely so you get enough penetration without overheating the metal. If you see high spots or gaps, fix them right away because they can create stress points. Also, understand the risk of metal fume fever when you weld coated or galvanized metal.
Final Adjustments and Cleanup After Welding
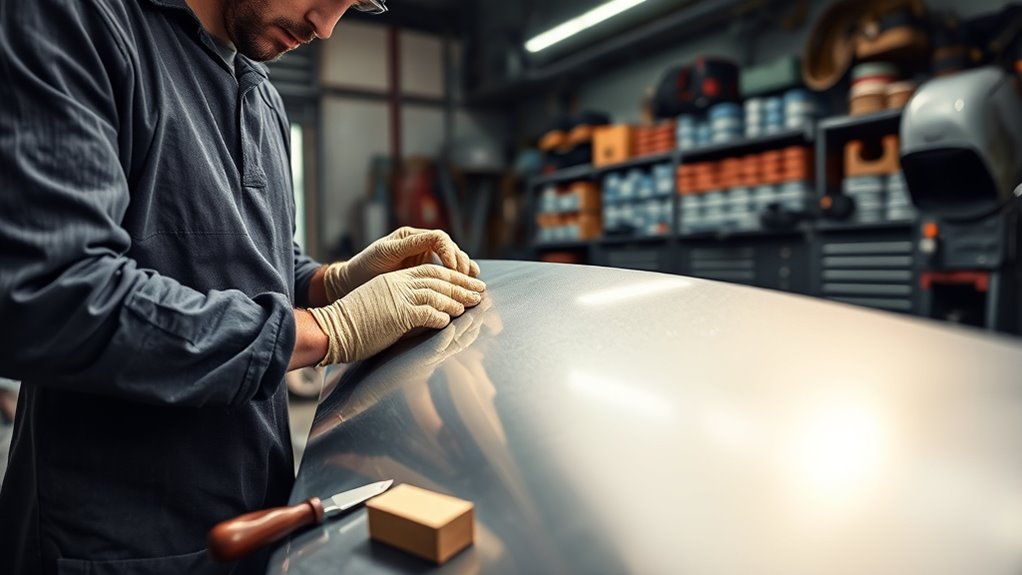
Finish your welding project with careful adjustments and a clean seam. These final steps help the door skin look smooth and professional.
- Use an angle grinder for rough cleanup and snips for precise trimming.
- Remove burrs and buildup from the edges so the final fit stays clean.
- Check panel alignment often before you finish the seam.
- Inspect the welds and smooth any rough areas with light grinder pressure.
- Check your cutting wheels before cutting or trimming so your tools work safely.
Watch for sharp edges when you handle trimmed panels. Wear gloves and eye protection during cleanup.
Troubleshooting Common Welding Problems
Even with careful setup, welding problems can still happen. Most issues come from poor fit, too much heat, or rushed cleanup.
Loose panels and weak tack welds can lead to distortion, so check fit before you add more heat.
If gaps open during welding, stop and reclamp the panel. Add tack welds only after the edges sit flat again.
If the panel starts to warp, pause and let the metal cool. Then check for high spots and adjust them before you continue.
If welds sit too high, grind them slowly. Heavy grinding can thin the door skin and create more repair work.
If your welds look inconsistent, test your settings on scrap metal. You can also practice on scrap metal to improve your control before welding the real panel.
Common Mistakes to Avoid When Welding Door Skins
Many door skin problems start before the first weld. Poor trimming, dirty metal, and loose fitment can make the panel move once heat enters the seam.
- Don’t weld over paint, rust, oil, or seam sealer.
- Don’t run one long weld bead on thin sheet metal.
- Don’t skip tack welds when the panel has long open seams.
- Don’t grind hard in one spot for too long.
- Don’t ignore a small gap because it can grow as the panel heats.
Frequently Asked Questions
How do you weld body panels without warping?
Weld body panels without warping by controlling heat and keeping the panel tight. Use tack welds, weld in short sections, and move around the panel so one area does not get too hot.
How do you fix a warped panel from welding?
Start by finding the high and low spots. You can tap high spots down with a body hammer and use careful heat control on low areas, but work slowly so you do not make the warp worse.
What causes door skins to warp during welding?
Door skins warp when heat builds up and pulls the thin metal as it cools. Large gaps, long weld beads, poor tack welds, and too much grinding can make the problem worse.
What is the golden rule when welding thin sheet metal?
The golden rule is to control heat. Use short welds, let the metal cool, and keep checking alignment as you work.
Can you weld a door skin with flux core?
You can weld thin panels with flux core if your setup allows low heat control, but it takes practice. Test on scrap metal first because thin door skins can burn through or warp quickly.
Conclusion
A straight door skin depends on tight fitment, short welds, and careful heat control. Keep the panel clamped, move around the seam, and let the metal cool between welds.
Your next step is to test your welder settings on scrap sheet metal before welding the actual door. With practice and patience, you can build a cleaner seam and reduce the risk of warping.


