How to Weld Patch Panels Onto a Car Body
What’s in This Article
- Why Patch Panels Matter in Auto Repair
- What You’ll Need to Weld Patch Panels
- How to Prepare and Cut Damaged Metal
- How to Attach Patch Panels Securely
- How to Tack Weld and Stitch Weld Patch Panels
- How to Grind and Smooth Welds
- How to Fix Common Patch Panel Welding Issues
- How to Prevent Rust After Welding Patch Panels
- Frequently Asked Questions
- Conclusion
Small rust holes can turn into large body damage if you wait too long. Patch panels let you replace weak metal and rebuild the panel with a stronger, cleaner repair. In this guide, you’ll learn how to cut, fit, tack weld, stitch weld, grind, seal, and protect patch panels on a car body.
Quick Answer
To weld patch panels onto a car body, cut out all weak or rusted metal first. Fit the patch tightly, coat the hidden edges with weld-through primer, then tack weld and stitch weld in short bursts to control heat. Grind the welds smooth, seal the seams, and protect the repair with primer, seam sealer, and paint.
Key Takeaways
- Cut out every weak, rusted, or thin section before you fit the new patch panel.
- Use tack welds and short stitch welds to reduce heat buildup and panel warping.
- Keep the patch panel gap small so the weld can bridge the joint without burn-through.
- Grind slowly and cool the metal often to avoid thinning or distorting the panel.
- Seal the backside and edges of the repair to reduce future rust risk.
Estimated time: Plan for 3 to 8 hours for one small patch, depending on rust damage, fitment, grinding, and finishing work.
Why Patch Panels Matter in Auto Repair
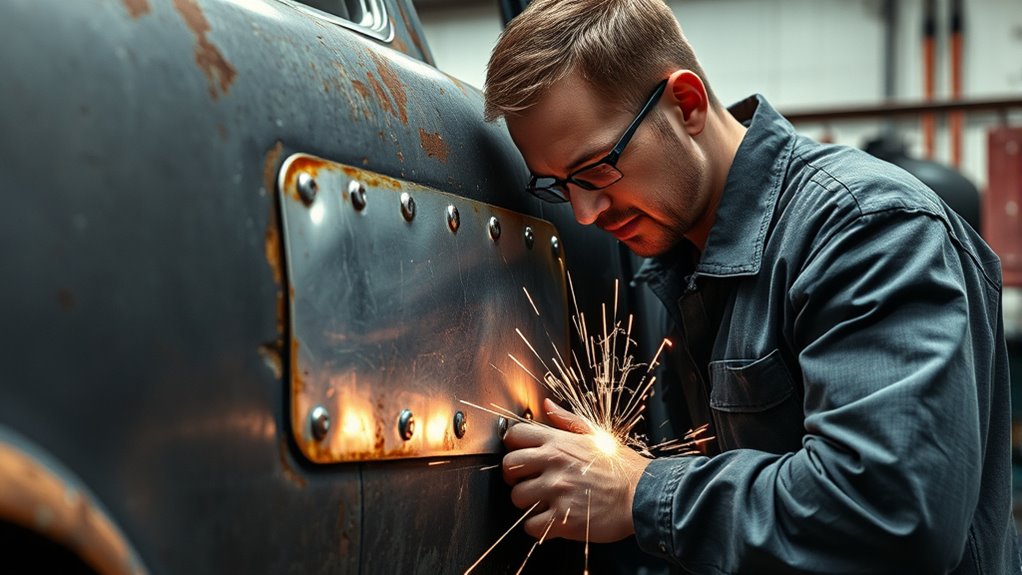
Patch panels play an essential role in auto repair, especially when you restore vintage vehicles or repair rusted body sections. These repair panels replace rusted or damaged sheet metal without forcing you to replace a full body panel.
Pre-made patch panels often fit better than handmade pieces when they match your vehicle model. A better fit helps you keep the panel shape, body lines, and gaps closer to the original design.
Patch panels can shorten repair time because they reduce metal shaping and help you replace only the damaged area.
Proper installation matters. When you weld the panel correctly, seal the seams, and protect the backside, the repair can resist moisture entry and future rust more effectively.
For visible or structural areas, consider professional help if you lack the tools or experience. Good heat control during welding helps prevent distortion and protects the strength of the patch panel.
What You’ll Need to Weld Patch Panels
Before you weld patch panels, gather the right welding tools, cutting tools, safety gear, and finishing materials. Good preparation helps you make cleaner cuts, control heat, and protect the repair from rust.
Make sure the metal surface is clean before you weld. Proper metal preparation can improve weld quality and reduce contamination.
Products Worth Considering

Clamps Sheet Metal Together to Create Spot Welds With Your MIG Welder

Includes 2 pre-cut steel sheets that detach into 24 parts—weld them to build 2 hollow cubes and 2 dice.

Flash Me I'm a Welder design, Great gift for the welder you know. If you do welding for a job, and do welds on steel buildings, repair machines, or fabricate stuff out of sheet metal get this awesome welding gift idea.
Essential Welding Tools
- MIG welder, such as a Millermatic® 211 PRO, for thin automotive sheet metal
- TIG welder for clean welds when you have the skill and fitment needed
- Offset aviation snips for controlled trimming
- Thin cut-off wheel for removing rusted metal
- Clamps and welding magnets for secure alignment
- Hammer and dolly set for shaping low spots after welding
- Disc grinder and sanding discs for smoothing welds
Quality Patch Panel Materials
Choose patch panels that match your vehicle body shape and metal thickness as closely as possible. Many automotive patch repairs use 18-gauge steel, but you should match the original panel when you can.
Use offset aviation snips or a thin cut-off wheel in a pneumatic die grinder to remove old metal with control. Clean cuts help the patch sit flat and reduce the gap you need to weld.
Use a MIG welder that can run low enough for thin sheet metal. The goal is enough penetration without burning through the panel.
Use clamps and magnets to hold the patch panel in place during fitting and tack welding. Apply weld-through primer to hidden mating edges before welding to help protect areas you cannot reach later.
Safety Gear Requirements
Welding patch panels creates sparks, hot metal, fumes, bright arc light, and sharp edges. Wear safety gear before you cut, grind, or weld.
- Welding helmet: Use the correct shade to protect your eyes from arc light and sparks.
- Flame-resistant gloves: Protect your hands from heat, spatter, and sharp sheet metal.
- Welding jacket: Wear a flame-resistant jacket or apron to protect your arms and body.
- Steel-toed boots: Protect your feet from falling tools, panels, and hot metal.
- Respirator: Use one when fumes, paint residue, rust dust, or poor ventilation creates a breathing risk.
- Fire extinguisher: Keep one close before you weld near carpet, insulation, seam sealer, or undercoating.
Warning: Remove or shield flammable trim, carpet, insulation, fuel lines, and wiring before you weld on a car body.
How to Prepare and Cut Damaged Metal
Start by checking the extent of the damage before you cut. Rust can spread behind paint, seam sealer, undercoating, and trim. Use the proper tools to cut away damaged metal and keep clean edges for the patch panel.
Be mindful of heat absorption issues during cutting and welding. Too much heat can weaken or distort the nearby metal.
Assess Damage Extent
Before you start the welding process, inspect the full repair area. Look for rust bubbles, thin metal, pinholes, cracked filler, and hidden corrosion behind the panel.
- Use a thin cut-off wheel to remove damaged metal with control.
- Keep the cut area even so the new patch fits more easily.
- Use the removed section as a rough template for trimming the patch panel.
- Check the surrounding metal for strength before you start welding.
This careful check helps you avoid welding a new patch to weak metal. Strong surrounding metal gives your repair a better chance of lasting.
Select Proper Tools
Select the right tools before you cut or mark the panel. The right equipment helps you make a clean, precise repair with less grinding later.
Start with a thin cut-off wheel in a pneumatic die grinder to remove old rusty metal. After cutting, use the removed section as a template and mark the patch panel with a scriber.
| Tool | Purpose |
|---|---|
| Die Grinder | Cut and shape damaged metal |
| Cut-off Wheel | Remove rust and prepare the edge |
| Scriber | Mark the patch panel for trimming |
Measure and Mark
Measure and mark the damaged area carefully before you cut. A clean layout helps the patch sit flush and reduces the need for body filler.
Follow these important steps:
- Use the cut-out section of the old panel as a template.
- Check that the new patch panel overlaps or fits the joint correctly.
- Use a thin cut-off wheel for clean metal removal.
- Keep the edge even to make alignment easier.
Before you weld, double-check the fit of the patch panel. Adjust the trim line as needed to prevent large gaps.
A tight fit helps you use fewer heavy welds. It also helps you create a smoother finish after grinding.
How to Attach Patch Panels Securely
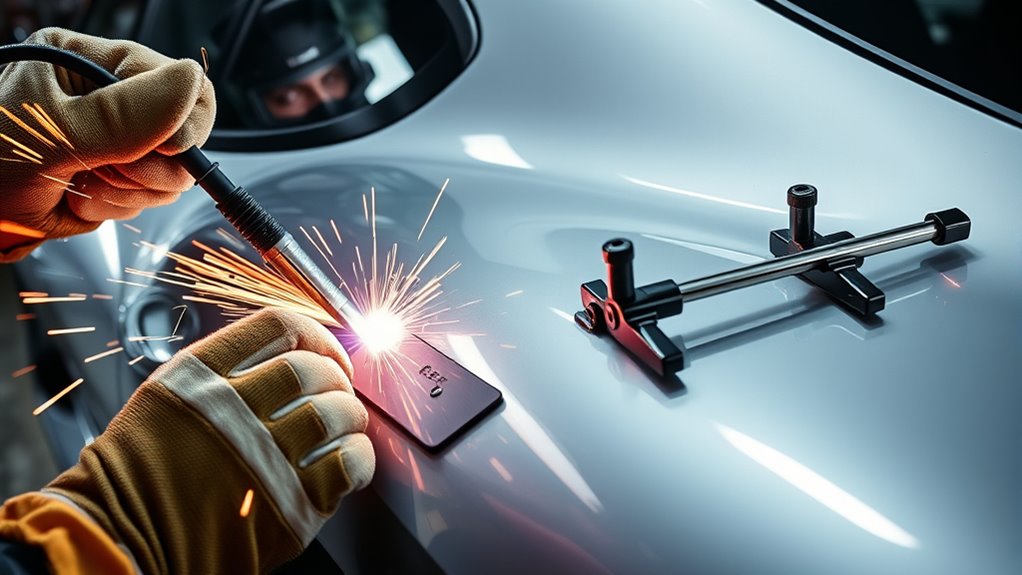
Attach the patch panel slowly and check alignment often. Thin automotive sheet metal can warp fast if you rush the welds.
- Cut away all damaged metal until you reach solid steel.
- Trim the patch panel so it fits the opening with a small, even gap.
- Clean the weld area down to bare metal on both sides where possible.
- Apply weld-through primer to hidden mating edges and let it dry as directed.
- Clamp the patch panel in place and confirm the body lines match.
- Tack the panel every inch to hold the shape and allow small adjustments.
- Stitch the welds in short bursts while moving around the panel to control heat.
- Cool the metal between welds so the panel stays flat.
- Grind the welds slowly until they sit flush with the nearby metal.
- Seal the seams and backside to reduce future rust risk.
Use tack welding with about 1-inch spacing to hold the patch in place before you finish the seam. After the panel lines up, use stitch welding in short bursts to reduce heat distortion.
Keep a steady wire stickout for better weld control. The correct stickout depends on your machine, wire, and setup, so test on scrap metal first.
Keep in mind that maximum fillet weld size depends on the thickness of the thinner plate.
Use tack welds first, then stitch weld in short bursts so the panel stays aligned and flat.
After welding, grind down the extra weld material to create a smooth surface. Use hammer and dolly techniques to raise low spots before you use filler.
Finally, seal all welded seams to help block moisture. A weld-through primer before welding can help protect hidden edges, but it does not replace primer, seam sealer, and paint after the repair.
Products Worth Considering

Premium Material: Selected cold-rolled carbon steel with excellent bending strength and tensile performance, easily handling regular loads and precision machining requirements

AUTO SHEET METAL KIT: Suitable for repairing metal components or panels on cars, trucks, and other automotive vehicles. The aluminized finish gives the steel vastly improved anti corrosion and rust properties, extending the lifetime of your sheet metalworking repairs. Excellent properties make this 20 gauge aluminized sheet metal ideal for welding, forming, and once in place for painting.

【Widely Application】Air Hole Punch suitable for automotive body repair, also for sheet metal, iron plate, plastic, machinery, etc.
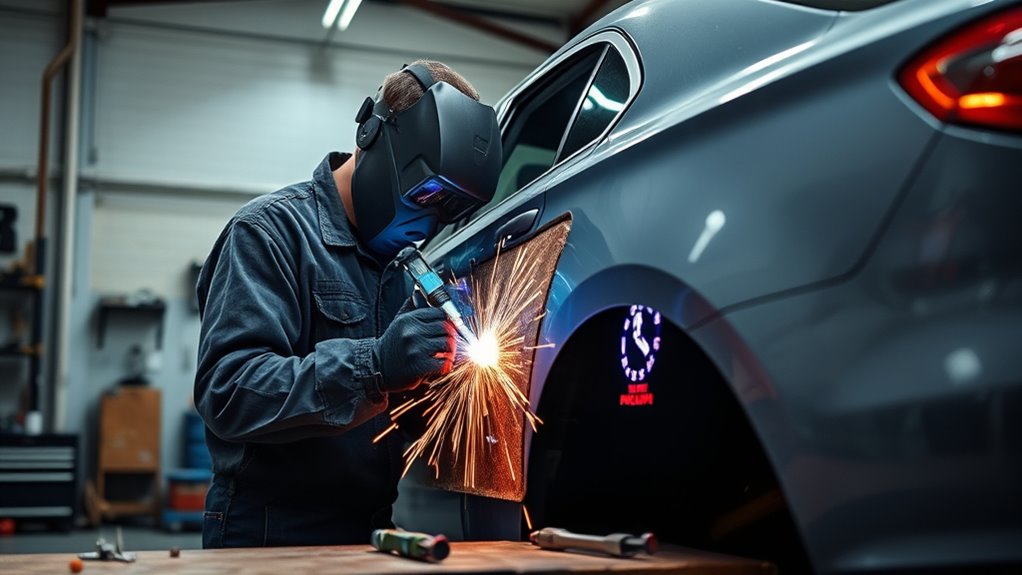
How to Tack Weld and Stitch Weld Patch Panels
Once you’ve accurately fit the patch panel, secure it with tack welding. Place welder magnets or clamps at key points to hold the patch in position.
Use tack welds with about 1-inch spacing to hold the panel shape. Check the body line, door gap, and panel curve after each few tacks.
Next, switch to stitch welding. Make short welds and move around the panel instead of welding one long bead.
Let the metal cool between welds. This helps prevent warping on thin sheet metal and keeps the repair area easier to finish.
Using a copper backing plate can help support the weld pool and reduce burn-through when access allows.
- Use welder magnets or clamps for precise positioning.
- Use stitch welding to control heat buildup.
- Allow cooling periods to reduce distortion.
- Grind down excess material after the weld cools.
Pro tip: Practice your settings on scrap metal with the same thickness before you weld the car panel.
How to Grind and Smooth Welds
After securing the patch panel with tack and stitch welding, grind and smooth the welds for a clean finish. Use a disc grinder carefully so you don’t overheat or thin the panel.
Raise low spots with hammer and dolly techniques before you add filler. Wear proper personal protective equipment while grinding, sanding, and shaping the metal.
Here’s a quick overview of the process:
| Step | Tool Used | Purpose |
|---|---|---|
| Grinding | Disc Grinder | Remove excess weld material |
| Smoothing | Hammer & Dolly | Raise low spots |
| Sanding | 50-grit, then 120-grit | Remove rough marks and refine the surface |
Start sanding with a 50-grit disc, then move to 120-grit for finer smoothing. Keep the weld beads flush with the nearby metal so the repair blends into the body panel.
Use plastic body filler only for small remaining surface flaws. Do not use filler to hide weak welds, rust, or poor panel fitment.
How to Fix Common Patch Panel Welding Issues
Common welding problems can show up fast when you work with thin body panels. Fix them early so the repair stays strong and easier to finish.
Symptoms to Watch For
- Small holes or burn-through along the patch edge
- Panel warping after several welds
- Large gaps between the patch and the original metal
- Welds that sit too high or look uneven
- Rust or moisture traps behind the repair area
Likely Causes and Solutions
- Prevent burn-through: Lower heat, adjust wire speed, and test your settings on scrap metal first.
- Manage gaps: Keep panel gaps small and even so the weld does not need to bridge too much space.
- Control distortion: Use short stitch welds and move around the panel instead of welding in one area.
- Cool the panel: Let the weld area cool between bursts to help stabilize the metal.
- Check alignment: Recheck the panel position often and adjust with clamps, magnets, and light hammer work.
Monitor your duty cycle so your welder does not overheat. Too much heat can reduce weld quality and make the panel harder to finish.
This careful approach helps you avoid problems that trap moisture or weaken your patch panels. A cleaner repair can last longer when you seal and paint it well.
How to Prevent Rust After Welding Patch Panels
To prevent rust in welded patch panels, protect the repair during installation and finishing. Rust prevention works best when you seal both the front and backside of the repair.
Use flanging only when it fits the repair plan and does not create a moisture trap. A butt weld can reduce overlap, but it requires better fitment and more careful heat control.
Before welding, apply weld-through primer on hidden mating surfaces. After welding, clean the repair and apply primer, seam sealer, and paint as needed.
Weld-through primer can help protect hidden edges, but seam sealer and paint still protect the finished repair.
Grind and smooth the weld seams so moisture cannot sit in sharp crevices. Use seam sealer on the backside of lap joints and around patch edges where water could enter.
Inspect welded patches regularly for early signs of rust, paint bubbles, cracked sealer, or trapped moisture. Fixing small issues early can extend the life of the repair.
If you use low-hydrogen rods for other welding tasks, store them correctly to reduce moisture absorption. For most thin car body patch panels, a MIG setup remains the more common choice.
When to Get Professional Help
Some patch panel repairs need more than basic welding skill. Get professional help if the rust reaches frame parts, suspension mounts, seat belt mounts, rocker structure, or crash areas.
You should also seek help if the panel affects door alignment, quarter-panel shape, or structural strength. A poor repair in these areas can create safety and fitment problems later.
Frequently Asked Questions
How Long Does the Welding Process Typically Take?
A small patch panel repair may take 3 to 8 hours from cutting to basic finishing. Larger rust areas, poor panel fitment, and extra grinding can add more time.
Can I Use Different Metals for Patch Panels?
You can use different metals, but matching the original panel is usually better. Different metals can create welding, corrosion, and fitment problems if you do not prepare them correctly.
What Safety Gear Is Essential for Welding?
You need a welding helmet, flame-resistant gloves, a welding jacket, sturdy boots, eye protection, and hearing protection. Use a respirator and strong ventilation when paint, rust, coating, or fumes create a breathing risk.
How Do I Ensure Proper Welding Technique?
Clean the metal, fit the patch tightly, and test your welder settings on scrap metal first. Use tack welds, short stitch welds, and cooling breaks to control heat.
What Types of Paint Are Best for Welded Areas?
Use automotive primer that suits bare metal and the paint system you plan to apply. Many repairs use epoxy primer, seam sealer, and a durable top coat after proper surface cleaning.
Should I Butt Weld or Lap Weld a Patch Panel?
A butt weld can give a cleaner repair with less overlap, but it needs a tighter fit and better heat control. A lap weld can feel easier, but you must seal it well because overlap can trap moisture.
Conclusion
Welding patch panels works best when you cut back to solid metal, fit the patch carefully, and control heat with tack and stitch welds. Take your time with alignment before you weld because small gaps and uneven edges make finishing harder.
After welding, grind slowly, seal the seams, and protect the repair with the right coating system. With practice and careful prep, you can make a cleaner repair that looks better and lasts longer.


