How to Weld Rocker Panels
Rocker panel welding can look simple, but poor alignment can make your door bind, rattle, or leave uneven body gaps. You need a careful fit, short welds, clean metal, and repeated door checks before you finish the job. This guide shows you how to remove the damaged rocker panel, fit the replacement, tack weld it, and secure it with less risk of warping or poor door fit.
Quick Answer
To weld rocker panels, remove the damaged metal, clean the edges, test-fit the new panel, and clamp it in place. Check the door gap before you tack weld. Then use short, controlled welds along the seams, letting the metal cool between welds to reduce warping.
Key Takeaways
- Clean metal and tight fit-up help you make stronger rocker panel welds.
- Check door operation before, during, and after tack welding.
- Use short welds and controlled heat to reduce panel warping.
- Wear eye, hand, face, and breathing protection when cutting or welding.
- Fix alignment problems before final welding, not after the panel is locked in place.
Before You Begin, Check the Repair Area
Inspect the rocker panel, pinch weld, floor edge, inner rocker, and nearby body panels before you cut. Surface rust may only affect the outer panel, but deeper rust can reach the inner structure.
Open and close the door several times before you start. Note the current gap around the door, because this gives you a baseline for later checks.
Plan on 5 to 15 hours for a typical rocker panel repair. Heavy rust, hidden damage, poor part fit, or frame alignment issues can add more time.
Warning: Welding and grinding can create sparks, fumes, hot metal, and fire risk, so protect yourself and keep flammable items away.
What You’ll Need for Rocker Panel Replacement
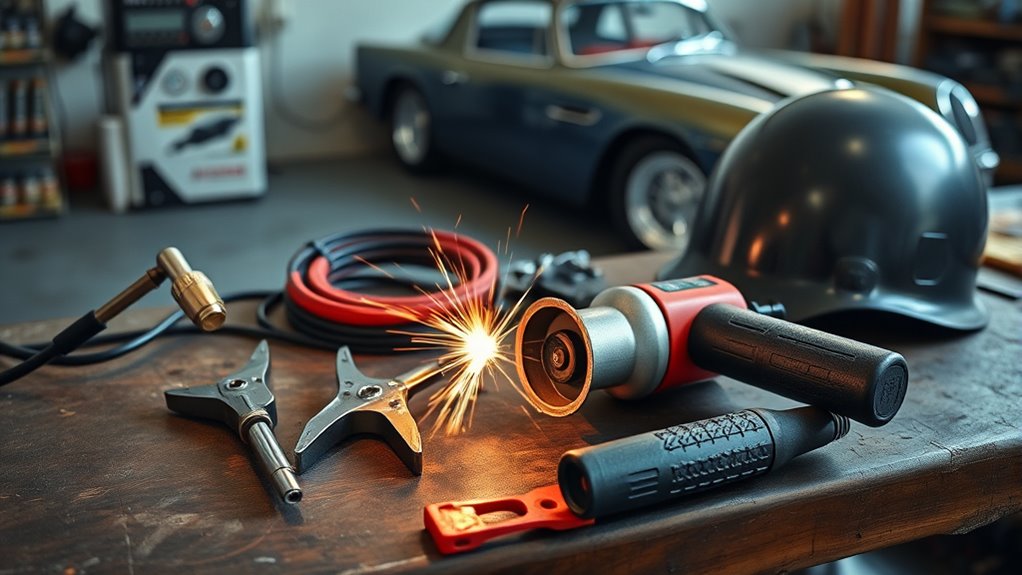
Gather your tools before you remove the damaged panel. A clean setup helps you work faster and reduces alignment mistakes.
- MIG welder suitable for automotive sheet metal
- Welding helmet, gloves, jacket, and eye protection
- Respirator or proper ventilation for fumes and dust
- Angle grinder with correct discs and grinder-rated accessories
- Clamps, vice grips, and panel holding tools
- Port-a-power, if the body section needs gentle alignment
- Marker, measuring tape, and straight edge
- Replacement rocker panel matched to your vehicle
- Wire brush, file, or sanding disc for edge cleanup
- Weld-through primer, seam sealer, and corrosion protection, if your repair plan requires them
The BESTMIG 135A MIG welder is one option for light automotive work, and its advanced safety features may help protect you during welding. Choose a welder that gives you stable heat control on thin vehicle sheet metal.
Products Worth Considering

Multipurpose Fit: Repairs at least 98% of the plastics on the market. Suitable for repairing: bumper, dashboard, lamp holder, plastic ring, radiator, spoiler, handles, headlights, plastic wings, car and motorcycle plastic device, etc

UL CERTIFIED - Our Plastic Welder, the factory, and the process have been tested, approved, and Certified by Underwriters Laboratories (UL). Safety is our number one priority

Powerful package combination: 110V-120V(100W) plastic welding gun with 110V-120V soldering iron, you don't need to order other tools for plastic repair work
Steps to Weld Rocker Panels
- Inspect the damage. Check the outer rocker, inner rocker, door gap, and nearby floor edge.
- Remove the damaged panel. Cut carefully with a grinder, and avoid cutting good metal.
- Clean the repair edges. Remove rust, paint, sealer, and burrs from the weld area.
- Test-fit the new panel. Clamp the panel in place and check the door before welding.
- Tack weld the panel. Place small tack welds across the seam to hold alignment.
- Recheck the door. Open and close it several times before adding more welds.
- Finish the welds slowly. Use short welds and let the panel cool between passes.
- Seal and protect the repair. Finish the surface and protect the metal from future rust.
Products Worth Considering

Highly Durable Design: The shell of stud welder kit is made of high-quality ABS body, has good stability under high temperature conditions, withstand temperature of 93-118℃, and the movement is pure copper electrode. This welder stud kit is wear-resistant, strong and sturdy.

Made from heavy duty automotive steel for long lasting rust protection

Fitment: The rust repair kit is compatible with 1967-1972 Chevrolet C10 & GMC Truck. Please confirm that your vehicle model is compatible with our kit before purchasing
Safely Remove the Damaged Rocker Panel
Start by marking your cut line around the damaged rocker panel. Keep your cut controlled, and leave enough sound metal for the replacement panel to fit securely.
Use a grinder to cut away the damaged metal, but work slowly around nearby panels. Remember to use both hands on the grinder for better control and stability.
Use vice grips to hold loose panel sections while you cut. If the vehicle’s frame or rocker area has shifted, use a port-a-power gently to realign the section before fitting the new panel.
After removal, clean the edges of the remaining metal. Remove paint, rust, seam sealer, and sharp burrs so the new rocker panel can sit flat.
Here’s a quick reference table for your process:
| Step | Tool/Material | Safety Precaution |
|---|---|---|
| Cut Damaged Panel | Grinder | Use eye protection and gloves |
| Hold Panel Securely | Vice Grips | Maintain a firm grip |
| Align Frame | Port-a-Power | Work gently to avoid damage |
| Clean Edges | Grinder or File | Wear protective gear |
Securely Fit and Align the New Rocker Panel
Position the new rocker panel against the vehicle body. Check that it covers the repair area and lines up with the door opening, fender edge, and quarter panel.
Use clamps and vice grips to hold the panel in place. Keep the panel tight, but avoid forcing it so hard that you bend the replacement part.
Test the door before you weld. The door should open and close smoothly, and the body gaps should look even from front to rear.
If the panel sits too high, too low, or too far out, adjust it before tack welding. A port-a-power can help align a shifted section, but use light pressure and check the fit often.
Good alignment also helps reduce rework later. This careful approach supports a durable repair while helping you avoid metal fume fever and other welding hazards when you use proper protection.
Pro tip: Take a few photos of the door gap before cutting so you can compare alignment during the repair.
Verify Door Functionality After Fitting
Check door function before you commit to final welds. Start with the latch and striker area, and make sure nothing blocks the door from closing.
Close the door fully and check the gap between the door and body. Remember to consider the maximum fillet weld size when you plan weld size and joint strength.
| Step | Action Required | Notes |
|---|---|---|
| 1. Latch Inspection | Check door latch engagement | Verify no obstructions exist |
| 2. Closure Test | Close the door completely | Look for gaps |
| 3. Adjustments | Modify rocker panel positioning | Verify smooth closure |
| 4. Operation Check | Test door multiple times | Confirm consistent functionality |
| 5. Document Issues | Record any misalignments | Address immediately |
If the door doesn’t close smoothly, adjust the rocker panel before final welding. Fixing alignment after full welding takes far more time.
Perform Tack Welding and Secure the New Panel
Position the new rocker panel securely with vice grips and clamps. Make sure it stays in place before you start tack welding.
Place tack welds at several points along the seam, usually every few inches. These small welds hold the panel while you keep checking the fit.
Test the door after the first tack welds so you can correct alignment before the repair becomes harder to adjust.
Wear protective gear and keep fresh air moving through the work area. Also use grinder-rated accessories when preparing metal surfaces to avoid serious hazards.
After you verify the fit, remove the clamps only where needed and continue welding along the seams. Use short welds, move around the panel, and let the metal cool between welds.
Keep checking the panel fit as you work. Heat can move thin sheet metal, so frequent checks help you protect the door gap and final appearance.
Final Adjustments for Your Rocker Panel Replacement
After tack welding, verify the door alignment again. The door should open, close, and latch without extra force.
Reinforce the rocker panel with secure welds along the edges. Control heat so you reduce the chance of distortion or brittle weld areas.
Make a final fit check against nearby body panels before finishing the job. Proper heat absorption issues and heat control matter during any weld repair.
Verify Door Alignment
Proper door alignment matters during rocker panel replacement. After tack welding the new panel, test the door latch and confirm smooth operation.
Make small adjustments to the rocker panel and door alignment before final welding. Use clamps to hold the panel while you test the door closure often.
| Step | Action | Notes |
|---|---|---|
| 1. Check Latch | Test door latch functionality | Smooth operation required |
| 2. Adjust Alignment | Make incremental adjustments | Aim for proper fit |
| 3. Use Clamps | Hold rocker panel in place | Maintain alignment during welding |
| 4. Final Check | Verify alignment and function | Make sure everything is secure |
Ensure Secure Welds
Once you confirm the door alignment, focus on securing the welds. Remove clamps only when the panel can hold its position.
Check for gaps that could weaken the weld. Tight fit-up helps the weld penetrate better and reduces the chance of burn-through.
Use effective welding techniques and enough heat control for a strong bond. Avoid long continuous welds on thin sheet metal because they can warp the panel.
Monitor alignment as you weld. If the panel starts to move, stop and correct the fit before you continue.
Final Fit Assessment
Before you finish the rocker panel installation, complete a careful fit assessment. Check the door latch, lower door gap, and nearby panel edges.
Remove the clamps used during tack welding and inspect the panel’s stability. If the panel shifts or shows gaps, reposition it before adding final welds.
Once the panel fits well, reinforce it with welds in the needed areas. Finish by confirming the rocker panel lines up with adjacent panels and supports both strength and appearance.
Common Mistakes to Avoid
Many rocker panel welding problems start before the first weld. Poor prep, rushed alignment, and too much heat can weaken the repair.
- Skipping door checks before final welding
- Welding over paint, rust, or seam sealer
- Using long welds that overheat thin sheet metal
- Forcing a panel into place instead of correcting the fit
- Leaving bare metal unsealed after the repair
Slow, clean work gives you a better result. It also helps you avoid grinding out welds and starting over.
How to Finish and Protect the Repair
After welding, grind only what you need to smooth the repair. Avoid removing too much weld material, because that can weaken the joint.
Clean the area and apply the finish products your repair plan requires. Seam sealer, primer, paint, and cavity protection help reduce future rust risk.
Check the door one last time after finishing. A final latch and gap check confirms that the repair still fits after grinding and cleanup.
Frequently Asked Questions
Do Rocker Panels Need to Be Welded?
Most steel rocker panel replacements need welding for a secure repair. Some cover panels may use adhesive or fasteners, but structural rocker repairs usually need proper welding and corrosion protection.
What Is the Golden Rule in Welding?
The golden rule in welding is to make the joint fit well before you weld. Clean metal, correct alignment, and steady heat control help you create a stronger weld.
How Long Does It Take to Weld Rocker Panels?
Welding rocker panels can take about 5 to 15 hours, depending on rust, damage, and part fit. Extra body damage, hidden rust, or poor alignment can make the job longer.
Which Metal Is Hardest to Weld?
Chromoly steel can be difficult to weld because it needs careful heat control and joint prep. For rocker panels, thin automotive sheet metal creates a different challenge because it can burn through or warp.
Can You Weld Rocker Panels With a Flux-Core Welder?
You can weld some rocker panels with flux-core wire, but thin sheet metal can be harder to control. A MIG setup with shielding gas often gives you cleaner results on automotive body panels.
Safety Disclaimer: This article is for informational purposes only and does not replace professional automotive repair or welding advice. If the rocker panel affects vehicle structure, crash safety, or inspection rules in your area, consult a qualified body repair technician.
Conclusion
A strong rocker panel repair depends on clean metal, careful alignment, and controlled heat. Check the door often, tack weld first, and correct fit problems before final welding.
After the panel sits correctly, finish the welds slowly and protect the repaired area from future rust. With patient work and proper safety gear, you can restore both the look and strength of the rocker panel area.


