Welding an outside corner joint looks simple, but the exposed edge makes heat control, fit-up, and shielding gas coverage more critical than on many inside fillet welds. For most thin sheet projects, TIG gives you the cleanest control. Start with clean metal, tight tacks, a short arc, steady travel speed, and enough shielding gas to protect the puddle without creating turbulence.
Quick Answer
To weld an outside corner joint, clean both edges, align the pieces at 90 degrees, tack the joint, and TIG weld with a short arc while aiming the heat into both edges evenly. For thin stainless or mild steel, a 1.6 mm tungsten, 1.0 mm filler rod, and about 40-60 amps is a common starting range.
Key Takeaways
- Outside corner welds need excellent shielding because the puddle is exposed on two sides.
- Use TIG for the most control on thin sheet, stainless, aluminum, and visible corner seams.
- Treat 50 amps as a thin-material starting point, not a universal setting.
- Keep a short arc, a steady torch angle, and enough filler to prevent a thin, weak bead.
- For structural brackets, a fillet weld or redesigned joint may be stronger than a cosmetic outside corner seam.
At a Glance
| Time Required | 15-30 minutes for a small practice joint, longer for setup, cleaning, and larger parts |
| Difficulty | Intermediate, because the open edge is easy to overheat or underfill |
| Tools Needed | TIG welder, argon cylinder, regulator/flowmeter, torch cup or gas lens, tungsten, filler rod, clamps, wire brush, acetone, PPE, and fire extinguisher |
| Cost | Low if you already own TIG equipment; expect consumable costs for argon, tungsten, filler rod, and cleaning supplies |
Warning: Welding can cause fire, electric shock, eye injury, burns, and hazardous fumes. Wear a welding helmet with the proper shade, gloves, flame-resistant clothing, and safety glasses. Keep combustibles away from the work area, use ventilation or fume extraction, and never weld galvanized, painted, oily, or unknown metal without proper cleaning and respiratory protection.
Understanding Outside Corner Joints in Welding
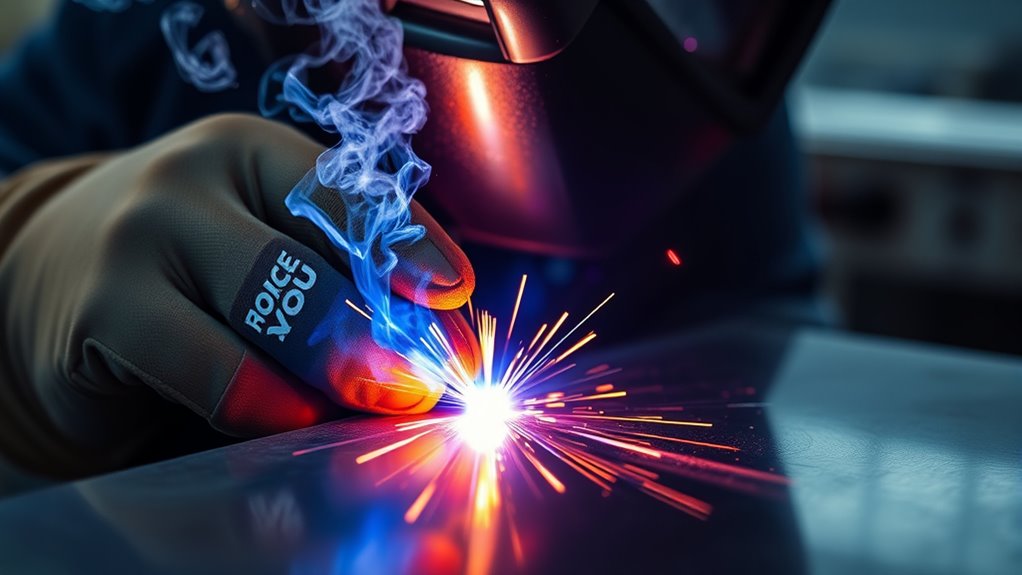
An outside corner joint forms where two pieces meet at an external corner, often at 90 degrees. You see this joint on boxes, tanks, trays, sheet-metal corners, brackets, and cosmetic seams where the outside edge needs to look clean.
The challenge is that the weld puddle sits on an exposed edge instead of inside a protected groove. That means the puddle can oxidize faster, the edge can melt away, and the finished bead can end up thinner than the parent material if you rush or starve the joint of filler.
A good outside corner weld comes from three basics: clean metal, even heat into both edges, and shielding gas that stays over the puddle until the bead cools.
A corner weld is not the same as a butt joint. A butt joint joins two pieces in the same plane, while a corner joint joins pieces at an angle. If the part will carry serious load, consider whether a T-joint or inside fillet weld gives better strength and easier inspection. For thin boxes and visible sheet-metal corners, an outside corner weld can still be the right choice.
Preheating is not required for most thin mild steel or austenitic stainless steel outside corner welds. It becomes more important with cast iron, high-carbon steel, thick sections, or crack-sensitive alloys. If you are working with cast iron or another difficult material, review preheat temperature recommendations before welding.
Key Welding Parameters for Strong Outside Corner Welds
For TIG welding, your settings should match the material, thickness, position, and joint fit. The original 1.6 mm tungsten, 1.0 mm filler rod, and about 50 amps can work well on thin practice coupons, but it should be treated as a starting point, not a fixed rule.
Note: For steel and stainless TIG, use DCEN polarity. For aluminum TIG, you usually need AC, a clean oxide-free edge, and settings matched to the machine and material thickness.
| Material / Setup | Good Starting Point | What to Watch |
| Thin mild steel, about 1-1.6 mm | 1.6 mm tungsten, 1.0-1.6 mm filler, about 35-60 amps | Burn-through, undercut, or a bead that sits too high |
| Thin stainless steel, about 1-1.6 mm | 1.6 mm tungsten, matching stainless filler, about 30-55 amps, argon shielding | Heat tint, sugaring, distortion, and loss of corrosion resistance |
| Thicker steel, about 2-3 mm | 1.6-2.4 mm tungsten, larger filler, higher amperage as needed | Lack of fusion if travel speed is too fast or amperage is too low |
| Aluminum outside corner | AC TIG, clean oxide-free edges, filler matched to the alloy | Fast heat buildup, edge collapse, and oxide contamination |
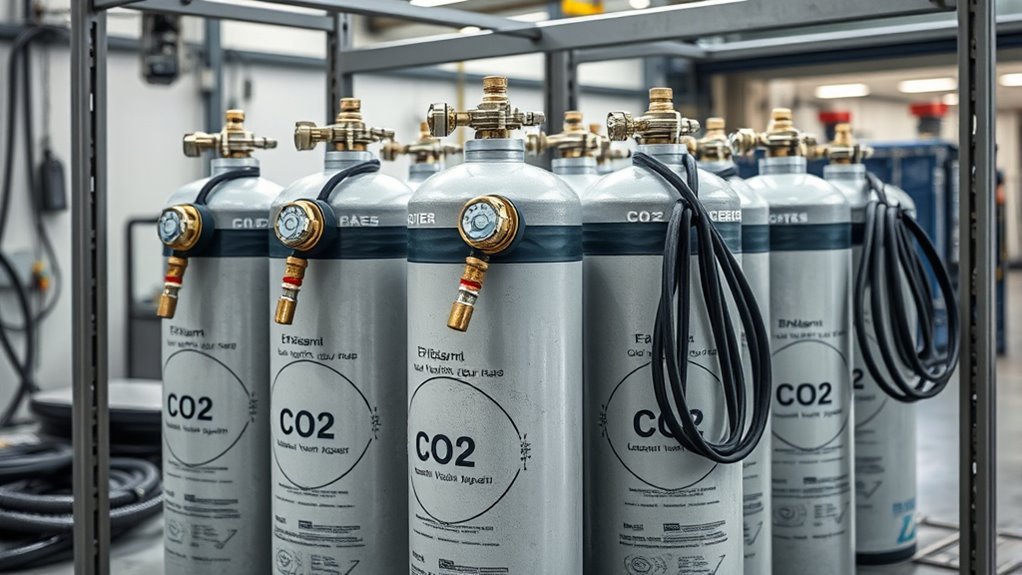
Shielding gas matters because TIG depends on an inert gas shield to protect the tungsten, arc, filler, and weld pool. A flow around 7-10 L/min is a common starting range for a small TIG cup indoors, and increasing to about 9 L/min may help an exposed outside corner. Do not simply turn the gas up as high as possible. Too much flow can create turbulence and pull air into the shield.
Use a larger cup or gas lens when the corner is very exposed, when the tungsten stick-out is longer, or when the bead shows gray, sooty, or sugared oxidation. Keep the filler rod inside the gas shield as you dip it so the hot rod end does not oxidize before it reaches the puddle.
If you are welding stainless and the backside of the joint is open or visible, use a shielding gas purge or backing tape when quality matters. Back purging protects the root side from oxygen and helps prevent sugaring. If you cut the pieces with plasma first, grind or file away heavy oxide and dross; clean edge prep matters more than the cutting method. For cutting-related context, see this guide to nitrogen plasma cutting.
Prepare Your Workspace and Materials for Welding
Before you strike an arc, make the job safe and make the joint easy to weld. Outside corner welds leave little room for sloppy prep, so spend extra time on fit-up.
- Clear fire hazards: Move paper, rags, sawdust, fuel, solvents, and other combustibles away from the welding area. Keep a fire extinguisher nearby.
- Set ventilation: Use natural ventilation, local exhaust, or fume extraction so fumes do not collect around your breathing zone.
- Wear PPE: Use a welding helmet, safety glasses, gloves, closed shoes, and flame-resistant clothing. For TIG around 50 amps, OSHA lists shade 8 as a minimum protective shade for gas tungsten arc welding in the 50-150 amp range.
- Clean the metal: Remove paint, oil, rust, mill scale, zinc coating, and cutting dross. Wipe with acetone or a suitable cleaner after grinding.
- Fit the corner: Hold both pieces at the intended angle, usually 90 degrees. Use magnets, clamps, or a fixture that will not pull the joint out of square.
- Set the gap: For very thin material, a near-tight fit often works best. For slightly thicker steel, a tiny controlled gap can help penetration, but too much gap causes burn-through.
- Tack first: Add small tacks at both ends and along longer seams. Let the tacks cool before welding the full bead to reduce distortion.
Pro Tip: Clamp a small copper or aluminum heat sink behind thin sheet when possible. It can help control burn-through and keep the outside corner straighter.
For TIG, stabilize your torch hand on a block of wood, a welding rest, or the bench edge. A steady hand helps you hold a short arc and prevents the tungsten from wandering into the puddle. For stick welding, amperage depends on electrode type and diameter, so use the correct electrode range instead of copying TIG settings. You can compare electrode ranges in this stick welding amperage chart.
Products Worth Considering
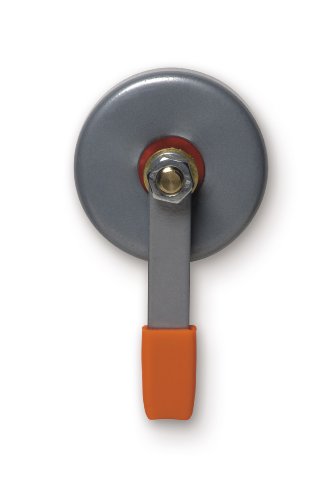
Allows you to ground your work piece with ease.
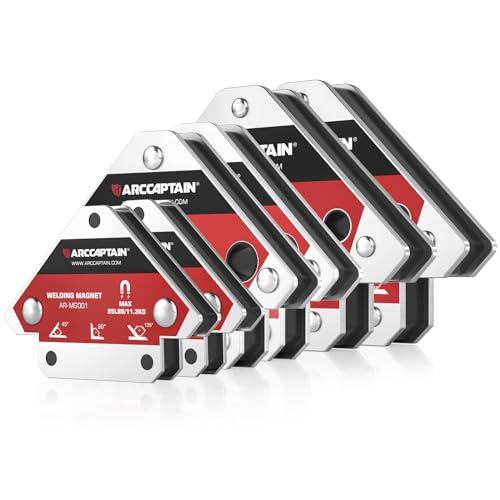
【MULTI-ANGLE WELDING MAGNETS】 45°, 90° and 135° three angles arrow design that provide quick and secure set up for common welding tasks. Magnets are rotated to the required angle and support the two or three workpieces during the welding operation.

90 lb Max Pull Force: Strong rare earth magnets deliver up to 90 lb of pull force, rated on the longest side of the magnet with 3/8 in. thick steel, to hold workpieces firmly for tack welding.
Techniques for Welding Outside Corner Joints
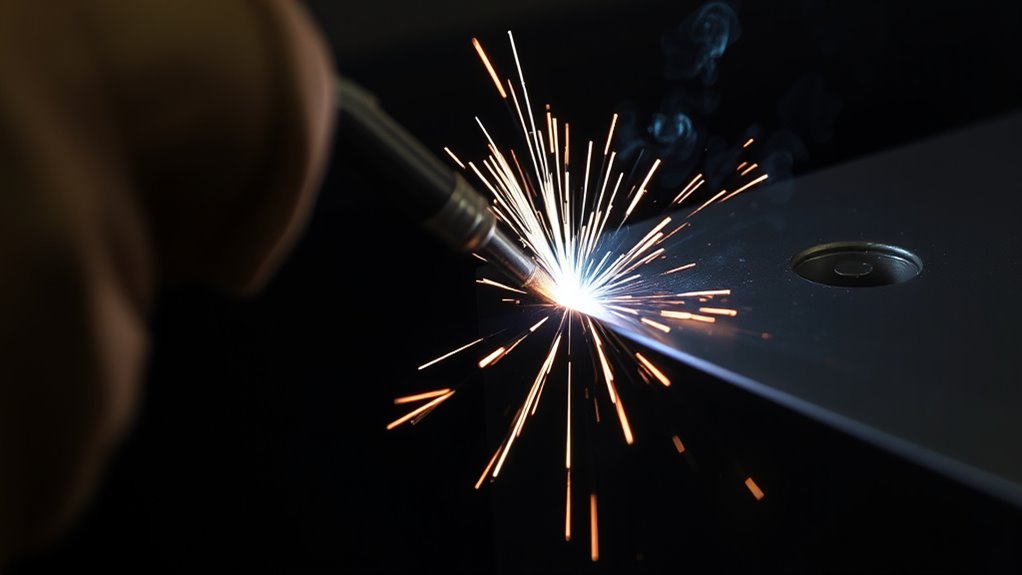
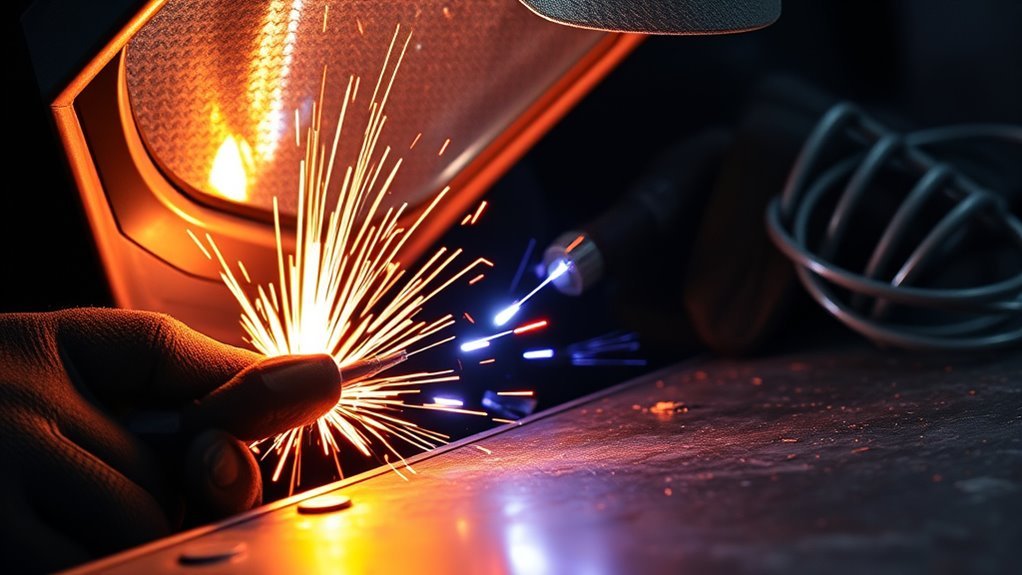
For a TIG outside corner weld, aim the tungsten at the point where both edges meet. Keep the arc short, usually around 1-2 mm if you can do it without touching the tungsten. A long arc spreads heat, weakens shielding, and makes the bead harder to control.
- Set the torch angle: Hold the torch about 10-15 degrees from vertical in the direction of travel. Keep the cup close enough to cover the puddle.
- Start on a tack: Begin on a tack weld when possible. This reduces edge burn-off at the start of the seam.
- Form a small puddle: Let both edges melt evenly before adding filler. If only one side melts, adjust torch angle or fit-up.
- Add filler lightly: Dip small amounts of filler into the front edge of the puddle. Do not jab the tungsten or overfill the corner.
- Move steadily: Travel fast enough to avoid overheating the edge, but slow enough to tie into both sides.
- Control the end crater: Ease off the amperage or pause with filler at the end so the crater does not crack.
- Keep shielding after stopping: Hold the torch over the bead during post-flow so the hot weld cools under argon.
For vertical TIG, reduce heat input slightly and keep the puddle small. A tungsten stick-out around 3-5 mm is easier to shield with a standard cup. Use only enough oscillation to wet both edges. A wide weave on thin outside corners can overheat the joint and create undercut.
For MIG welding, outside corners need different settings than TIG. Use the correct wire, voltage, wire feed speed, and gas flow for your material. Keep the gun angle centered so the wire splits the corner evenly. If your MIG weld shows spatter, ropey bead shape, or lack of fusion, check this MIG welding wire speed and voltage chart and adjust from there.
For stick welding, outside corners are harder on thin material because the electrode adds more heat and slag. Stick is better suited to thicker steel, repairs, and structural work where appearance is less important. If the part is galvanized, remove the zinc coating safely before welding and follow proper fume controls. Review these precautions for welding galvanized steel before working on zinc-coated material.
Products Worth Considering

Complete TIG Torch Kit - 71pcs Tig Welding Torch accessories (consumables) kit. This set includes all the essential TIG torch accessories and consumables, so you can get started on your welding projects right away.

Complete 123-Piece Set:All necessary TIG torch accessories and consumables for WP-17, WP-18, and WP-26 torches.

Wide Application: 49PCS TIG Torch Accessories kit (consumables), compatible with WP-17, WP-18, WP-26 TIG welding torch, for pipeline welding and general arc welding applications, can weld carbon steel and some low alloy steel
How to Check the Finished Weld
After welding, let the joint cool naturally unless the material requires a specific procedure. Do not quench stainless or alloy steel unless a welding procedure tells you to do so.
- Good bead shape: The bead should be even, tied into both edges, and not sitting cold on top of the joint.
- No undercut: The edges beside the bead should not have grooves melted into them.
- No porosity: Pinholes usually mean contamination, poor gas coverage, wind, long arc length, or dirty filler.
- No burn-through: Holes or collapsed edges mean too much heat, too wide a gap, or travel speed that is too slow.
- Clean stainless color: Light straw or faint color is easier to clean than dark gray, black, or sugary oxidation.
- Straight corner: If the joint pulled out of square, use more tacks, shorter weld segments, or stronger fixturing next time.
On stainless steel, clean the bead with a stainless-only brush or approved post-weld cleaning method. Do not use a carbon steel brush on stainless, because it can embed iron and encourage rust spots later.
Troubleshooting Common Welding Issues
When an outside corner weld goes wrong, the bead usually shows the cause. Use the weld appearance to decide what to adjust first.
| Problem | Likely Cause | Fix |
| Gray, black, or sugary weld | Poor shielding, wind, dirty metal, or no back purge on stainless | Use a larger cup or gas lens, block drafts, clean better, and back purge stainless when needed |
| Pinholes or porosity | Oil, paint, rust, moisture, long arc, or turbulent gas flow | Reclean the joint, shorten arc length, check gas leaks, and avoid excessive flow |
| Burn-through | Too much amperage, large gap, slow travel, or thin edge | Lower amperage, tighten fit-up, move faster, use pulse, or add a backing heat sink |
| Lack of fusion | Too little heat, travel too fast, poor torch angle, or dirty edge | Increase heat slightly, slow down, aim into both edges, and remove oxide or mill scale |
| Undercut beside the bead | Too much heat, not enough filler, or arc held too long on one edge | Add filler sooner, keep the puddle smaller, and center the heat between both edges |
| Warped corner | Too much continuous heat or weak fixturing | Use more tacks, weld in short sections, alternate sides, and let the part cool between passes |
Do not chase every problem by increasing amperage. On outside corners, many defects come from fit-up, cleaning, torch distance, filler timing, or shielding gas coverage rather than from lack of power.
Frequently Asked Questions
Where do you start a weld when welding a corner?
Start on a tack weld near one end of the corner. On thin material, avoid starting directly on a loose, sharp edge because it can melt away before the puddle forms. On vertical welds, the start direction depends on material thickness, process, and desired penetration.
How do you weld corner joints?
Clean both edges, clamp the pieces at the correct angle, add small tacks, and weld with heat aimed evenly into both sides. For TIG, keep a short arc, add filler at the front of the puddle, and keep the hot filler rod inside the gas shield.
What is an outside corner weld?
An outside corner weld joins two pieces along an external corner, often where two sheets meet at 90 degrees. The bead is placed on the outside edge, so shielding, filler control, and heat input are important because the puddle is more exposed than it is inside a groove or fillet.
What type of weld is the 1F outside corner joint?
The term 1F refers to a flat fillet weld position, not a special outside-corner-only weld. If the corner joint is positioned so the weld is made in the flat position and the weld is a fillet weld, it may be described as 1F. Always follow the drawing, weld symbol, or welding procedure for the job.
Is TIG or MIG better for an outside corner joint?
TIG is usually better for thin sheet, stainless, aluminum, and visible outside corner seams because it gives more control over heat and filler. MIG is faster on mild steel and production work, but it needs correct voltage, wire speed, torch angle, and gas coverage to avoid spatter and lack of fusion.
Why does my outside corner weld keep burning through?
Burn-through usually means the amperage is too high, the travel speed is too slow, the fit-up gap is too wide, or the edge is too thin. Lower the heat, tighten the joint, use smaller filler, try pulse if available, and tack the joint more often to control distortion.
Conclusion
Mastering outside corner joints comes down to control. Clean the edges, clamp the parts square, tack carefully, and use welding settings that match the material instead of relying on one fixed amperage. With TIG, a short arc, steady filler timing, and strong shielding gas coverage will help you avoid oxidation, burn-through, and weak edges. Practice on scrap from the same material before welding the final part, and treat every finished bead as feedback for your next adjustment.
Sources
- OSHA 1910.252, Welding, Cutting, and Brazing General Requirements — supports fire prevention, ventilation, hot-work, and eye protection guidance.
- OSHA 1910.133, Eye and Face Protection — supports welding filter shade and eye protection guidance.
- Miller, Selection and Preparation Guide for Tungsten Electrodes — supports tungsten selection and preparation guidance.
- Miller, Guidelines for Gas Tungsten Arc Welding — supports GTAW setup, shielding, and technique guidance.