Your welding position changes how the molten puddle moves, so it directly affects bead shape, penetration, and joint strength. In flat welding, gravity helps you control heat and deposition, while horizontal work demands more precise torch angle and travel speed to prevent sagging. Vertical and overhead welds need tighter arc control, shorter arcs, and disciplined puddle management to avoid undercut or drip-through. Vertical up often produces the strongest welds, and the details get even more useful.
How Welding Position Affects Weld Quality
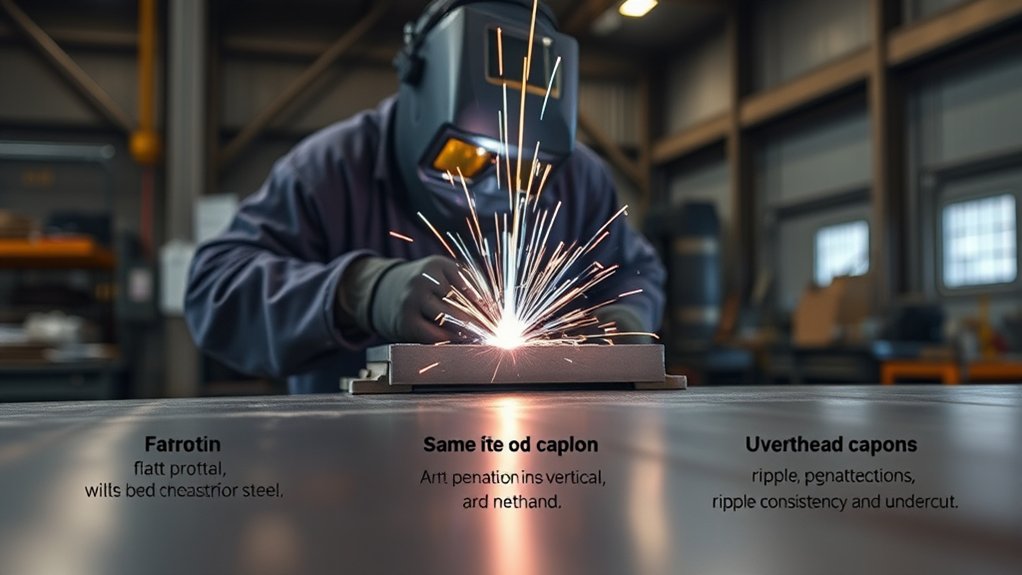
Welding position directly affects how molten metal flows, which in turn determines penetration, fusion, and joint strength. You control weld quality by matching welding techniques to the work angle and resisting gravity challenges. In vertical welding and overhead welding, the weld puddle wants to sag or drip, so you need tighter arc control, precise travel speed, and amperage settings that preserve penetration without creating defects. If you rush, you invite undercut, incomplete fusion, and weak joints. In the flat position and horizontal position, molten metal settles more predictably, so you can maintain steadier heat input and more even deposition. That stability helps you build consistent bead profile and cleaner fusion. You don’t just follow procedure; you shape it. When you practice each welding position deliberately, you gain the skill to adapt, protect integrity, and produce stronger, more reliable welds across varied joints and service conditions. Additionally, understanding maximum fillet weld size is crucial to ensuring the structural integrity of your welds.
Flat vs. Horizontal Welding: Key Differences
Although both flat and horizontal welding rely on controlled heat input, they behave very differently in practice: in flat welding positions (1G and 1F), gravity helps keep the weld puddle centered and stable, so you can use a more consistent torch angle, typically around 45 degrees, and maintain smoother, more uniform bead formation. Flat welding gives you stronger weld puddle control, lower technique variability, and easier heat management, which improves weld quality and structural integrity. In contrast, welding galvanized steel presents unique challenges due to zinc fume hazards, which can affect the overall quality of the weld if not properly addressed. Horizontal welding (2G and 2F) demands more precise manipulation because gravity pulls the molten metal sideways, increasing the risk of sagging and uneven bead profile.
| Position | Control | Result |
|---|---|---|
| Flat | Stable puddle | Smooth weld appearance |
| Horizontal | Side-load resistance | Variable bead shape |
| Use | Larger joints vs pipelines | Application suitability |
For liberated, efficient welding practice, choose the position that matches your joint geometry and defect tolerance.
Products Worth Considering

High carbon steel chipping hammer for maximum strength,10-1/2-inch overall length,spring handle designed to absorb the shock of contact while cleaning and shipping way welding debris

Powerful Flame Temperature Heat up to 5252°F (2900°C)

Sturdy: Welding torch holder surface is coated with anti-rust coating to ensure that the steel does not rust. After electroplating and polishing treatment, it indicates smooth and flat.
Vertical Welding: Control the Puddle
In vertical welding, gravity pulls the molten puddle downward, so you’ve got to control travel speed, amperage, and arc length to keep the bead stable and avoid sagging or excessive melt-through. You guide the vertical weld puddle with tight control, because gravity keeps trying to drag metal off line. Use a shorter arc to cut heat input, hold shape, and protect quality. With zigzag or triangular techniques, you can redistribute the puddle, improve fusion, and maintain even penetration across the joint. Vertical up usually gives you stronger welds because the puddle solidifies as it climbs, boosting strength and reducing defects. Vertical down may move faster, but it sacrifices control and often weakens the bead. If you practice consistently, you’ll read the puddle faster, correct travel speed sooner, and produce cleaner, more reliable welds. That skill gives you freedom from rework and more confidence in every vertical pass. Additionally, maintaining proper heat input monitoring is crucial to avoid undercuts that can compromise weld integrity.
Products Worth Considering

Superior Quality Material :Welding Knight Duty 1000 Amp K4000 Carbon Arc Gouging Torch Made of exllect copper with High temperature handling handle and 7' Cable Hose with high heat and abrasion resistance. It is durable to use and keeps long time.

Self-igniting, lock-on design for maximum convenience

Superior Quality Material :Welding Knight Duty 1000 Amp K4000 Carbon Arc Gouging Torch Made of exllect copper with High temperature handling handle and 7' Cable Hose with high heat and abrasion resistance. It is durable to use and keeps long time.
Overhead Welding: Heat and Safety
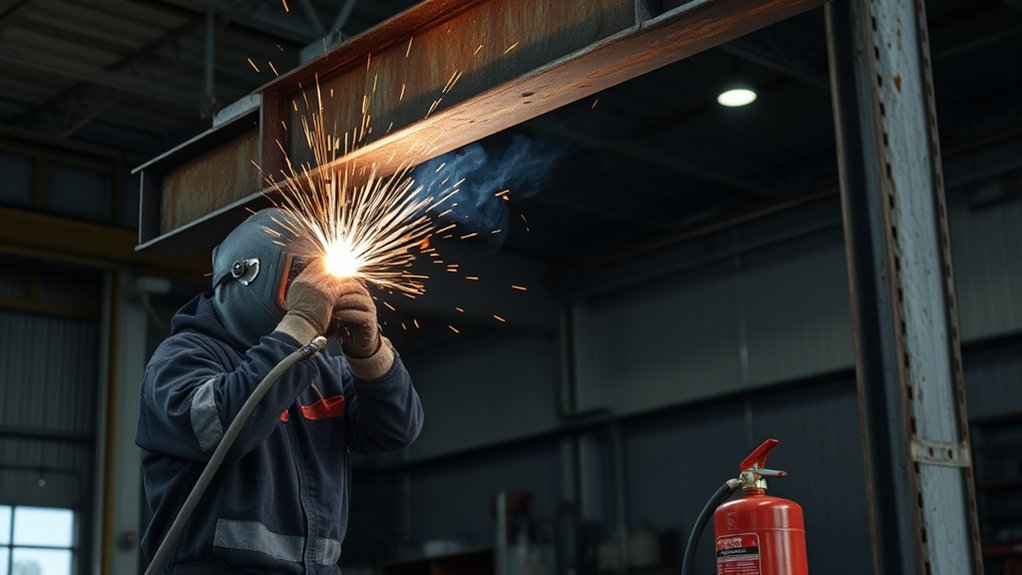
Overhead welding demands tighter heat control because gravity works against you and any excess energy can turn the puddle into dripping molten metal. You should lower amperage, keep a short arc, and stabilize the weld puddle so spatter stays controlled and weld quality doesn’t collapse. Your safety measures must include fire-resistant clothing, gloves, and protective gear with proper helmet shading, since burn risk rises when molten metal falls. Use disciplined body positioning to balance the torch or electrode above your head without fighting the tool’s weight. Keep your stance firm, your elbows supported when possible, and your movement deliberate. Because gravity constantly distorts the puddle, your timing and hand control matter more here than in other positions. Regular practice builds the reflexes you need to manage overhead work with precision and to weld safely with skill. Additionally, ensure proper ventilation in confined spaces to mitigate exposure to harmful fumes during overhead operations.
Which Welding Position Gives the Strongest Weld?
Welding position has a direct effect on weld strength because it changes how gravity, heat, and puddle control interact at the joint. If you want the strongest result, the vertical up position usually gives you the edge, especially on groove welds and a fillet weld, because gravity helps drive fusion deeper into the root. You’ll still need to control the weld puddle, but you can build superior penetration and tie-in. Groove welds in overhead work can also reach high weld strength when you use disciplined technique, though the margin for error is smaller. The flat position often gives the best weld quality and is easier to execute, yet it doesn’t always match the strength of vertical welding because heat distortion can creep in. In horizontal welding, sagging weakens the joint if you lose control. For maximum integrity, advanced positions like 6G can deliver exceptional strength in critical pipe work, especially when considering the correct amperage to ensure proper penetration and stability.
Frequently Asked Questions
Why Is the Position of Welding Important?
Welding position matters because you control heat control, filler materials, and fusion quality; you’ll choose welding techniques, joint preparation, equipment setup, material selection, safety practices, visual inspection, distortion prevention, and training programs to avoid defects.
Why Do Welders Not Live Long?
Smoke curls like a dark veil because you face health risks: fume inhalation, exposure hazards, ergonomic strain, and mental stress. You need welding safety, protective gear, equipment maintenance, and a safer work environment to improve longevity factors.
What Do 1F, 2F, 3F, and 4F Mean in Welding?
1F, 2F, 3F, and 4F mean flat, horizontal, vertical, and overhead fillet weld positions; you’ll match Welding techniques, Joint designs, Material thickness, Electrode selection, Heat control, Welding speed, Filler materials, Positioning tools, Safety practices, Quality assurance.
What Is the Golden Rule in Welding?
You keep a consistent travel speed and angle, using proper welding techniques, joint preparation, filler materials, heat settings, electrode angles, safety measures, weld penetration, distortion control, quality inspection, and material compatibility.
Conclusion
You’ve seen how each welding position shapes the joint like a road shaping a traveler’s path: flat gives you the smoothest footing, horizontal asks you to manage gravity’s drift, vertical demands tighter puddle control, and overhead forces you to fight heat and spatter with discipline. When you choose the right position and technique, you don’t just make a weld—you build strength, consistency, and safety into the structure. Master the position, and you master the result.


