
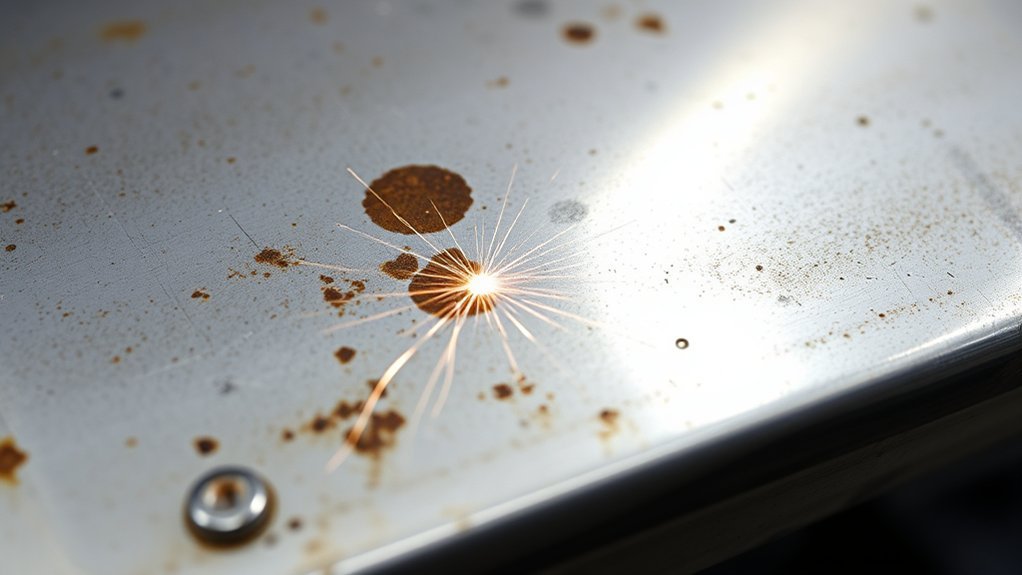
In auto body work, the most common weld quality mistakes are porosity, incomplete fusion, burn-through, undercut, excessive spatter, cracking, and panel distortion. These problems usually come from dirty metal, poor fit-up, too much or too little heat, weak shielding gas coverage, or an uneven travel speed. When you weld thin body panels, small mistakes show up fast, so preparation and inspection matter as much as the weld itself.
Quick Answer
The biggest weld quality mistakes in auto body work are welding over contamination, using the wrong heat setting, leaving poor panel fit-up, moving too fast or too slow, and skipping inspection. Clean the joint, test settings on scrap metal, control heat with short welds, and inspect the bead before grinding or painting.
Key Takeaways
- Porosity usually points to contamination, moisture, wind, or poor shielding gas coverage.
- Burn-through and distortion are common on thin sheet metal when heat input is too high.
- Incomplete fusion often comes from low heat, poor joint prep, fast travel speed, or a bad gun angle.
- Good auto body welds start with clean bare metal, tight fit-up, correct settings, and short stitch welds.
- Any weld on a structural part should follow the vehicle maker’s repair procedure and be inspected before finishing.
At a Glance
| Time Required | 10–20 minutes for setup and inspection; longer for panel replacement or structural repairs |
| Difficulty | Moderate to advanced, especially on thin sheet metal and structural panels |
| Tools Needed | MIG, TIG, or spot welder; wire brush; grinder; clamps; shielding gas; PPE; scrap test pieces |
| Cost | Low if correcting settings and prep; higher if a damaged panel or structural weld must be redone |
Warning: Welding creates heat, UV light, fumes, sparks, and electric shock risk. Wear a proper welding helmet, gloves, fire-resistant clothing, and eye protection. Work in a ventilated area, keep flammables away, and disconnect or protect vehicle electronics when the repair procedure requires it. For airbags, fuel systems, high-strength steel, aluminum structures, or EV components, follow the vehicle maker’s repair manual or use a qualified technician.
Identifying Common Weld Defects
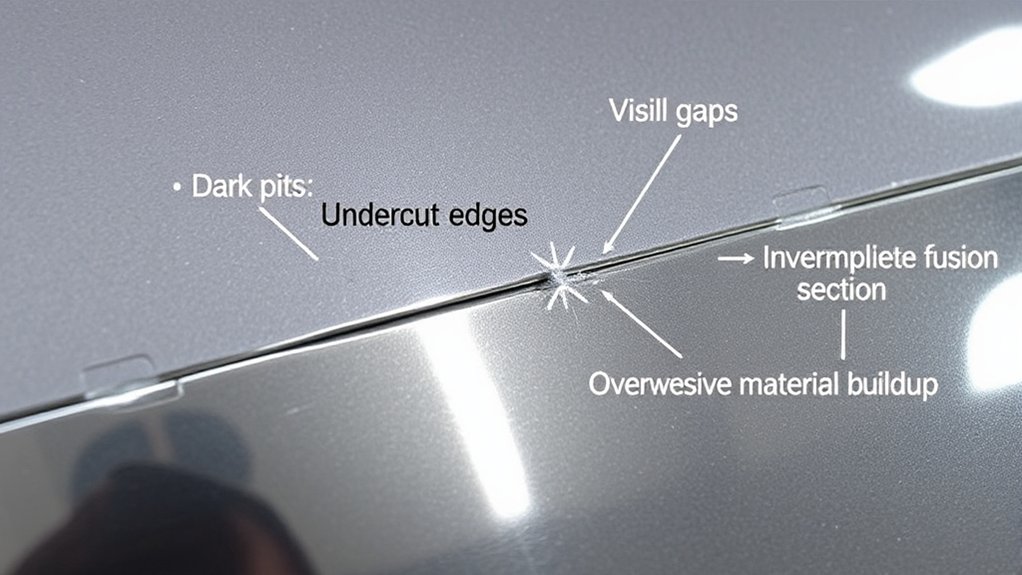
When you inspect auto body welds, look for both visible flaws and clues that the weld did not bond correctly. A bead can look acceptable from the top and still have poor penetration, trapped porosity, or a weak edge if the metal was dirty or the heat was wrong.
| Defect | What It Looks Like | Likely Cause | Best Fix |
| Porosity | Small pinholes, bubbles, or crater-like pits | Oil, paint, rust, moisture, wind, or poor shielding gas | Clean to bare metal, check gas flow, shorten stickout, and block drafts |
| Incomplete fusion | Bead sits on top of the metal or has cold edges | Low heat, fast travel, poor angle, or tight contamination layer | Increase heat within safe range, slow slightly, and improve joint prep |
| Burn-through | Hole in the panel or melted edge | Too much heat, slow travel, large gap, or thin metal | Lower heat, use short tack welds, tighten fit-up, and let the panel cool |
| Undercut | Groove along the weld toe | High heat, long arc, poor angle, or travel speed issues | Adjust angle, reduce heat, and keep the puddle tied into both sides |
| Excessive spatter | Metal droplets around the bead | Wrong voltage, wire speed, polarity, stickout, or gas | Tune settings on scrap and confirm polarity and gas match the wire |
| Distortion | Panel warps, oil-cans, or pulls out of alignment | Too much continuous heat or poor clamping | Use stitch welds, skip around, clamp firmly, and cool naturally |
| Cracking | Hairline split in or beside the weld | Wrong filler, high restraint, contamination, or unsuitable repair method | Stop, remove the failed weld, confirm material type, and follow the repair manual |
Top Causes of Weld Defects
Most weld defects come from a small group of problems. The most common cause is poor preparation. Paint, undercoating, seam sealer, rust, oil, zinc coating, or trapped moisture can contaminate the puddle and lead to porosity or weak bonding.
The second major cause is using the wrong settings. Voltage, amperage, wire feed speed, travel speed, and shielding gas must match the metal thickness, joint type, and welding process. A setting that works on a frame bracket can burn through a quarter panel. A setting that works on clean steel may fail on aluminum if the wire, liner, gas, or surface prep is wrong.
Fit-up is just as important. Wide gaps force you to add more filler and heat, which increases the chance of burn-through and distortion. Poor clamping can also let the panel move while the weld cools, leaving the final repair misaligned.
Pro Tip: Before welding the vehicle, make a test weld on scrap metal of the same thickness and material. Bend, cut, or grind the test piece to check fusion before you touch the actual panel.
How Can You Identify and Prevent Weld Defects?
You can identify and prevent weld defects by checking the repair in three stages: before welding, while welding, and after welding. This keeps small mistakes from turning into weak repairs.
Pre-Weld Checks
- Remove paint, primer, rust, oil, seam sealer, and adhesive from the weld zone.
- Confirm the base metal. Mild steel, high-strength steel, galvanized steel, and aluminum may need different repair methods.
- Check the vehicle maker’s repair procedure before welding structural parts.
- Clamp the panel so gaps are tight and consistent.
- Set the welder using the manual, then fine-tune on scrap metal.
- Confirm shielding gas, flow, polarity, wire type, and wire diameter.
During-Weld Checks
- Listen for a steady arc instead of popping, stubbing, or harsh sputtering.
- Watch the puddle tie into both sides of the joint.
- Use short tack or stitch welds on thin sheet metal instead of long continuous beads.
- Move around the panel so one area does not overheat.
- Stop if you see pinholes, cracking, burn-through, or panel movement.
Post-Weld Checks
- Clean the weld with a wire brush or grinder so defects are visible.
- Look for pinholes, cracks, undercut, missed edges, and uneven bead profile.
- Check the back side of the weld when accessible.
- Confirm the panel still lines up before applying filler, primer, or seam sealer.
- Redo any questionable weld before it is hidden by finish work.
For more on common process problems, review basic proper gas flow and troubleshooting steps before changing multiple settings at once.
Preventing Heat Damage on Thin Auto Body Panels
Thin auto body sheet metal is easy to overheat. Too much heat can shrink the metal, warp the panel, widen gaps, or burn through the edge. The safest approach is to weld in short sections and let the heat spread out slowly.
- Use short tack welds: Build the seam with small welds instead of one long pass.
- Skip around: Move to another part of the seam after each tack so one area does not overheat.
- Keep gaps tight: Large gaps need more filler and more heat.
- Avoid forced cooling: Quenching hot welds can create stress and cracking. Let the panel cool naturally unless the approved repair procedure says otherwise.
- Grind gently: Aggressive grinding can thin the panel and create a new weak spot.
A good auto body weld is not just a clean-looking bead. It is a controlled repair with clean metal, proper fusion, low distortion, and enough strength for the part being repaired.
Choosing the Right Welding Method for Body Repair
The right welding process depends on the panel, metal type, access, and repair procedure. Do not assume one process fits every repair.
- MIG welding: Common for steel auto body repairs because it is fast and practical. Use correct wire, shielding gas, polarity, and heat settings.
- TIG welding: Useful when precision and appearance matter, but it is slower and requires more skill.
- Resistance spot welding: Often preferred for factory-style flange repairs when the repair procedure allows it and the welder can reach the joint.
- Aluminum welding: Requires extra cleaning, correct filler, proper shielding gas, and the right feed setup because aluminum conducts heat quickly and forms oxide on the surface.
If you are unsure about a setting, start with the welder’s chart and compare it with a trusted amperage settings reference, then test on matching scrap before welding the vehicle.
Products Worth Considering
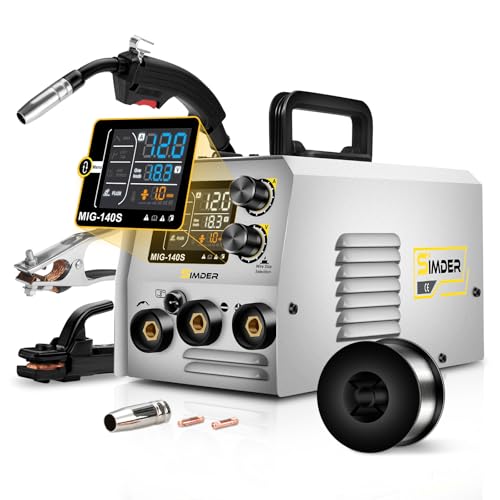
THREE-PROCESS WELDING STATION BUILT FOR FIRST-TIME USERS - Flux Core MIG, Lift TIG and Stick in one machine, so you can find the process that fits your projects without buying three separate welders. Runs on a standard 110V household outlet or 220V for heavier work - no electrician, no special wiring. Welds carbon steel, low-alloy steel, stainless steel, titanium, copper and cast iron

Wires diameter :0.6-1.0mm(0.023‘’-0.04‘’)

【LOW SPATTER & EASY CLEANUP】Minimal Spatter, Flawless Beads: Experience exceptionally low spatter and minimal post-weld cleanup. This ER70S-6 solid wire allows you to achieve smooth, visually appealing beads with ease, saving both time and grinding effort on your metal fabrication.
Best Practices to Ensure Quality in Welding
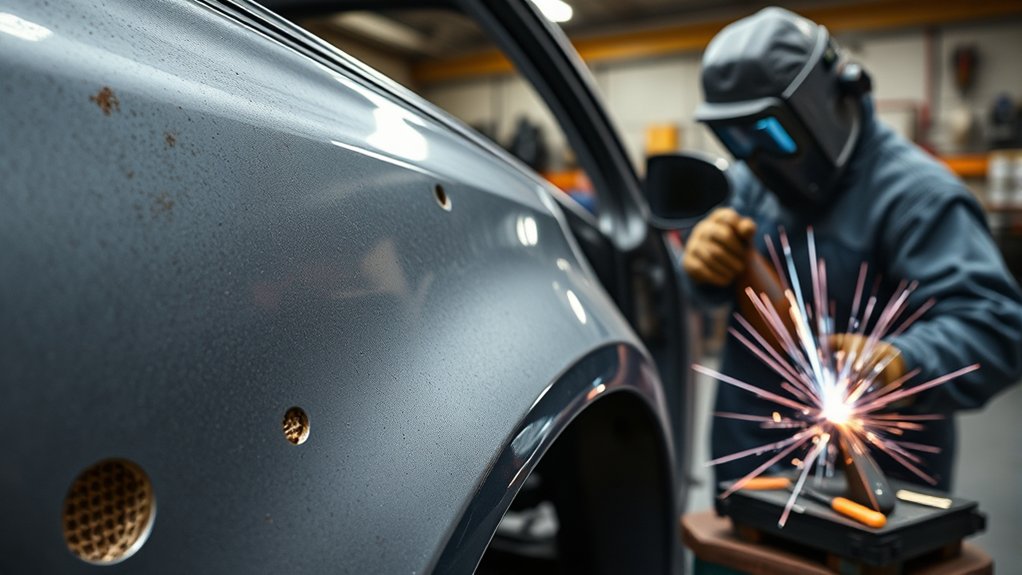
Ensuring quality in welding starts with a clean, repeatable process. Remove coatings from the weld area and from the ground-clamp location. A poor ground can make the arc unstable and cause inconsistent penetration.
Next, match the filler material to the base metal. Mismatched wire or rod can create a brittle weld, poor corrosion resistance, or cracking. Use only wire, electrodes, and shielding gas that match the welding process and material.
Keep the torch angle and travel speed steady. If you move too fast, the bead may sit on top of the metal without proper fusion. If you move too slowly, the panel can overheat and warp. For flux-core work, review basic flux core welding technique so your travel angle, stickout, and cleanup match the wire type.
Finally, inspect before finishing. Do not hide pinholes, cracks, or cold lap under body filler. Grind only enough to level the weld, then protect the repair with primer, seam sealer, cavity wax, or corrosion protection as required by the repair procedure.
Note: Weld-through primer, adhesives, seam sealers, and corrosion protection products must be used only where the vehicle maker or product instructions allow them. Some coatings can contaminate welds if applied in the wrong place.
Essential Equipment and Training for Quality Welding
Quality welding depends on both equipment and skill. A good machine should let you control voltage, wire feed speed, amperage, and heat input accurately. You also need clean consumables, the correct contact tip, the right nozzle, a solid ground clamp, and shielding gas that matches the process.
Training matters because many defects are caused by technique. A trained welder knows how to read the puddle, adjust travel speed, control heat, and recognize when a weld should be cut out and redone. Regular practice on scrap panels helps you build that skill without risking the vehicle.
Protective gear is part of quality too. Use an approved welding helmet, gloves, sleeves or a jacket, hearing protection when grinding, and respiratory protection or local exhaust ventilation when the work calls for it. OSHA’s welding hazard guidance identifies metal fumes, UV radiation, burns, eye damage, electrical shock, cuts, and other hazards that must be controlled.
Regular maintenance also prevents defects. Check drive rolls, liner condition, gas leaks, contact tips, ground cables, and fan vents. If the wire feeds unevenly or the gas coverage is weak, even a skilled welder can produce poor results. When using MIG or flux-core wire, learn how to adjust wire feed speed so the arc stays stable.
Products Worth Considering

Head-to-Hand Safety, One Complete Package – A professional auto-darkening helmet paired with premium heat-resistant gloves, all in one kit. The helmet blocks arc flash and harmful rays, while the gloves stand up to heat, sparks, and sharp metal – complete protection from head to hand, weld after weld.
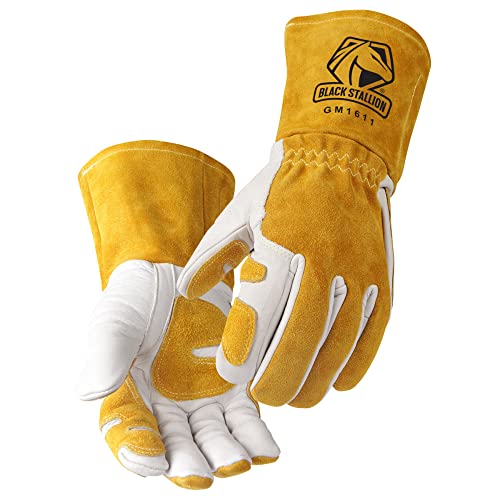
COWHIDE LEATHER: Cowhide’s dense grain structure helps shield hands from sparks, slag, and radiant heat. The fibers act as natural armor, adding extra protection against punctures and abrasions.

Premium Goatskin Leather: Crafted from high-quality goatskin leather, these gloves offer a superior combination of flexibility and durability. The soft leather provides excellent dexterity while ensuring long-lasting wear.
When to Repair or Redo a Bad Weld
Some cosmetic flaws can be cleaned up, but structural defects should not be ignored. Redo the weld if you find cracks, heavy porosity, poor fusion, severe undercut, missed edges, or burn-through in a critical area. A weak weld can fail after the panel is painted, which makes the repair more expensive and less safe.
For non-structural sheet metal, small surface spatter or a slightly uneven bead may only need cleanup if fusion is solid. For structural members, seat belt areas, suspension mounting areas, roof rails, rocker panels, and aluminum structures, follow the official repair procedure and use the approved welding method. If the procedure says a part must be replaced instead of welded, do not weld it.
Stainless and specialty metals also need extra care. Contamination, wrong filler, or poor heat control can reduce corrosion resistance, so review contamination risks before working on unfamiliar materials.
Frequently Asked Questions
What types of metals are best for auto body welding?
Mild steel is the easiest common auto body metal to weld, while high-strength steel, galvanized steel, stainless steel, and aluminum need more caution. Always identify the material before welding because the wrong process or filler can weaken the repair.
How do environmental conditions affect weld quality?
Wind, moisture, cold metal, dust, and humidity can affect weld quality. Wind can blow shielding gas away from the puddle, while moisture and dirt can cause porosity. If you weld outdoors, block drafts and keep the work area clean and dry.
What is the role of filler material in welding?
Filler material bridges the joint and helps create the finished weld bead. It must match the base metal and repair method. The wrong filler can cause cracking, weak fusion, poor corrosion resistance, or a brittle weld.
Can you weld aluminum with a MIG welder?
Yes, you can weld aluminum with a MIG welder if the machine, wire, liner or spool gun, shielding gas, and filler wire are suitable for aluminum. Clean the oxide layer and remove contamination first because aluminum is sensitive to porosity and heat distortion.
How often should welding equipment be maintained?
Inspect your welding equipment before each job and clean or replace consumables as needed. Check the ground clamp, cable condition, gas hose, nozzle, contact tip, drive rolls, and wire feed. Follow the manufacturer’s maintenance schedule for deeper service.
What causes porosity in auto body welds?
Porosity usually comes from contamination or poor shielding. Common causes include paint, oil, rust, moisture, wind, a clogged nozzle, wrong gas flow, long stickout, or a leaking gas hose.
How do you reduce warping when welding body panels?
Use short tack welds, skip around the seam, clamp the panel firmly, keep gaps tight, and allow the metal to cool naturally between welds. Avoid long continuous beads on thin sheet metal unless the approved repair procedure calls for them.
Conclusion
In auto body work, weld quality depends on preparation, settings, technique, and inspection. Clean the metal, tighten the fit-up, use the right process, control heat, and test your settings before welding the vehicle. If you find porosity, cracks, burn-through, or poor fusion, fix the cause instead of hiding the flaw. A clean repair is not just smooth after grinding. It is strong, aligned, corrosion-protected, and safe for the part you are repairing.
Sources
- OSHA — Welding, Cutting, and Brazing Overview — supports general welding safety and standards context.
- OSHA — Welding, Cutting, and Brazing Hazards and Solutions — supports PPE, fumes, UV, burn, shock, and eye-hazard guidance.
- OSHA 29 CFR 1910.252 — supports hot-work, fire prevention, ventilation, and welding safety requirements.
- NDT Resource Center — Radiograph Interpretation of Welds — supports weld-defect inspection concepts.
- MillerWelds — MIG Welding Aluminum for Beginners — supports aluminum MIG setup and material-specific welding considerations.




