If you’re noticing slow cutting speeds with your plasma cutter, it could be due to several technical issues. These can range from improper amperage settings to worn consumables. Perhaps your material is too thick, or you’re not maintaining the ideal standoff distance. Understanding these factors is essential for optimizing your cutting process. Before you make adjustments, let’s explore the specific causes and how you can effectively address them for improved performance.
Understanding the Impact of Cutting Speed on Quality
Although it might seem counterintuitive, cutting speed greatly influences the quality of your plasma cutting results. You might think that slowing down allows for more control, but a slow cutting speed can actually cause the plasma arc to linger, widening the kerf and creating excessive dross—thick, globular accumulations of oxidized metal.
This is especially problematic when combined with increased amperage or a decreased standoff distance. The key to achieving clean cuts lies in maintaining an ideal cutting speed tailored to the material thickness. Too much heat input risks warping and distortion, so precision is essential.
Each material and plasma gas type has a unique dross-free window, the best speed range for minimizing imperfections. Conducting test cuts at various speeds and observing the arc angle helps you hone in on the perfect setting. By mastering this, you gain the freedom to produce flawless, efficient cuts consistently.
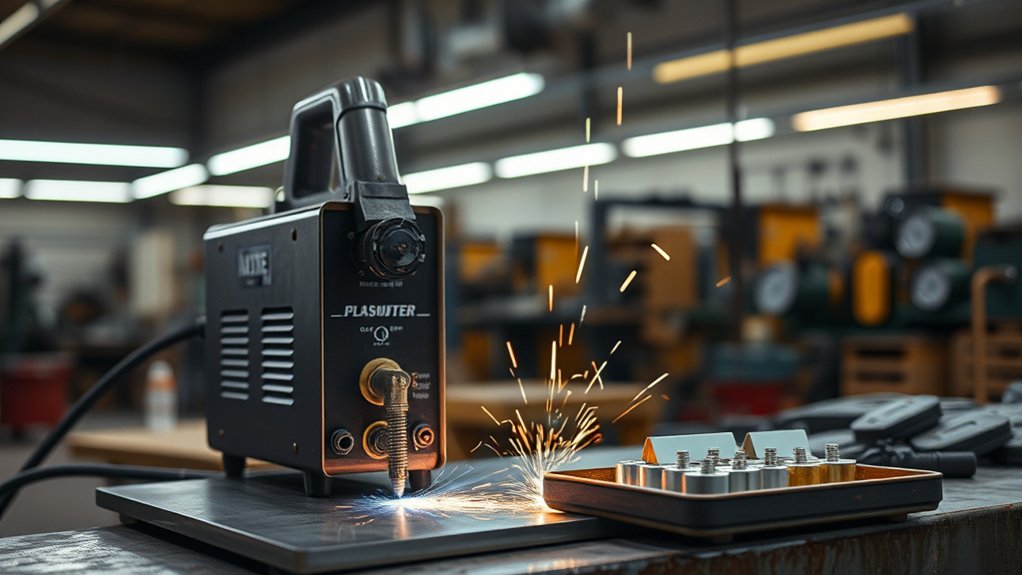
Identifying Common Causes of Slow Cutting Speed

When tackling plasma cutting tasks, identifying the root causes of slow cutting speed is essential for improving performance. Material conditions, such as material thickness and surface contamination, play a vital role. If you’re cutting through thick materials without sufficient power, the arc struggles to maintain effectiveness, slowing down your progress.
Identifying slow cutting speed causes is crucial; material thickness and surface contamination are key factors.
Similarly, surface contamination—like rust or dirt—can hinder the arc’s stability, causing drag and reducing efficiency.
Another aspect to reflect on is the standoff distance; keeping the torch too far from the workpiece can prevent the arc from penetrating effectively.
Make sure your consumables are in good shape as well—worn-out electrodes or nozzles can disrupt the arc, slowing your cutting speed.
Testing different speeds on sample materials can help you determine the best settings for clean cuts. By addressing these factors, you’ll free yourself from the constraints of inefficiency and enhance your plasma cutting capabilities.
Adjusting Amperage and Voltage Settings for Optimal Performance
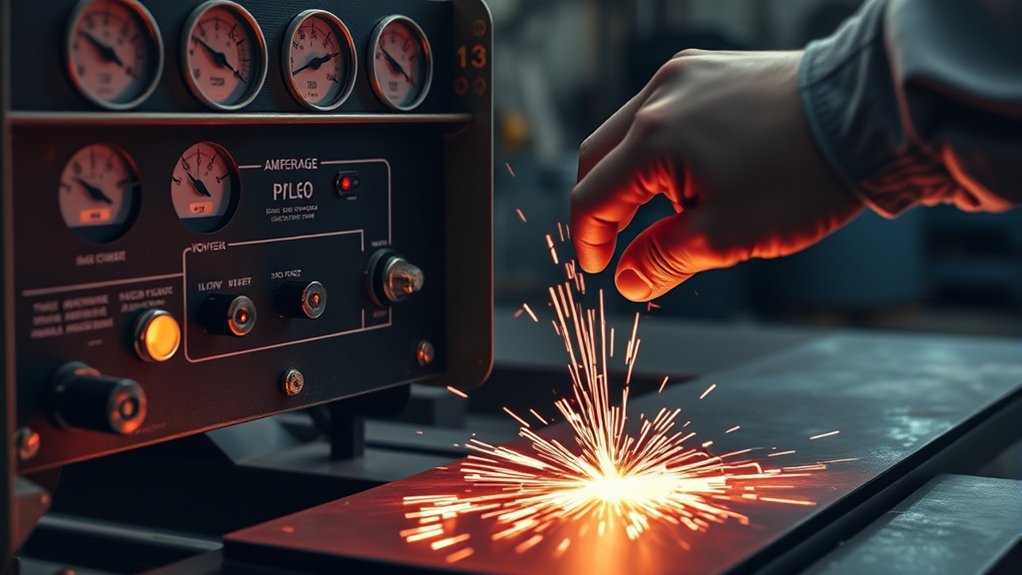
To optimize cutting performance, you must carefully balance the amperage settings according to material thickness.
Make certain that your arc voltage corresponds with the correct torch-to-work distance to maintain cut quality and speed.
Regularly adjust the standoff distance to prevent issues like angular cuts and excessive dross, which can slow down the cutting process.
Balancing Amperage Levels
Achieving ideal performance with a plasma cutter hinges on precisely balancing amperage levels, which directly influence cutting speed and quality. Amperage settings are vital for handling material thickness effectively.
To maximize efficiency and cut quality, align the maximum amperage with the material’s thickness. This guarantees swift, clean cuts while avoiding issues like excessive dross or incomplete cuts.
Here’s how you can optimize your plasma cutter’s performance:
- Match amperage to material thickness for cleaner, faster cuts.
- Lower amperage settings can help prevent distortion on thinner materials.
- Regular calibration is essential for adjusting to different materials.
- Monitor cutting speed to avoid slowdowns due to improper settings.
- Balance speed and amperage to enhance cut quality and efficiency.
Set your plasma cutter free by mastering these adjustments.
Voltage Impact on Cuts
Voltage settings in plasma cutting play an essential role in achieving precise cuts and consistent quality. By understanding voltage influence, you can master the art of perfect cuts.
Higher voltage can lead to more angular cuts, affecting edge quality. Balancing voltage with amperage is vital to maintaining arc stability and preventing incomplete cuts. A smart voltage adjustment tool guarantees a consistent arc, resulting in uniform standoff and minimized dross formation.
To optimize performance, match amperage settings with material thickness. This prevents excessive heat that can distort your workpiece.
Adjusting both voltage and amperage harmoniously liberates you from the constraints of poor cut quality. Master these settings, and you’ll achieve unparalleled precision and efficiency in your plasma cutting endeavors.
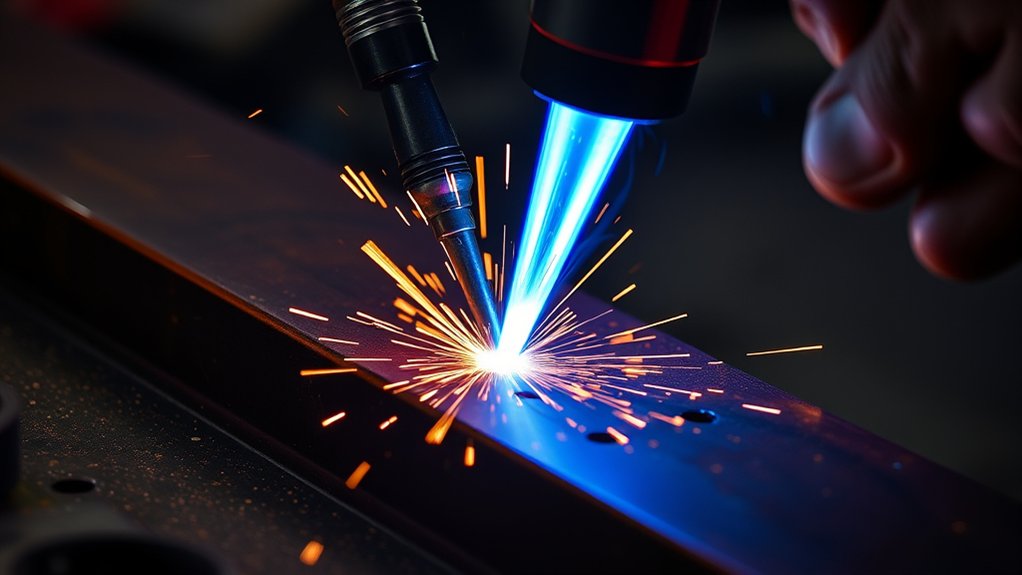
Adjusting Standoff Distance
When adjusting the standoff distance in plasma cutting, precision is paramount as it directly influences arc voltage and cutting quality. A consistent standoff distance of 1/16-inch to 1/8-inch is essential for best results, reducing distortion and dross formation.
To enhance arc stability, consider these strategies:
- Monitor Arc Angle: Adjust speed and standoff to minimize dross.
- Higher Amperage: Compensates for increased standoff, maintaining arc stability.
- Torch Height Control (THC): Automates standoff adjustments for better performance.
- Check Angular Cuts: Higher standoff can lead to unwanted angles.
- Regular Calibration: guarantees the equipment maintains desired settings.
Maintaining and Replacing Consumables for Better Efficiency
Proper maintenance and timely replacement of consumables are essential for achieving ideal efficiency in plasma cutting operations.
Start with regular consumable inspection, focusing on tips and electrodes. Examine tips for irregular holes or excessive spatter buildup; these defects can slow cutting speed and degrade quality.
Inspect tips for irregular holes and spatter buildup; these flaws hinder cutting speed and reduce quality.
Similarly, check electrodes for pitting, as this condition increases dross formation and compromises efficiency.
Replacement timing is vital—switch out both tips and electrodes simultaneously to maintain peak performance.
Consumable wear is inevitable but can be expedited by moisture and improper techniques. Keep your workspace dry to extend consumable life.
Avoid over-tightening the consumables retaining cups; finger-tightening is generally sufficient. This prevents unnecessary damage and guarantees proper functionality.
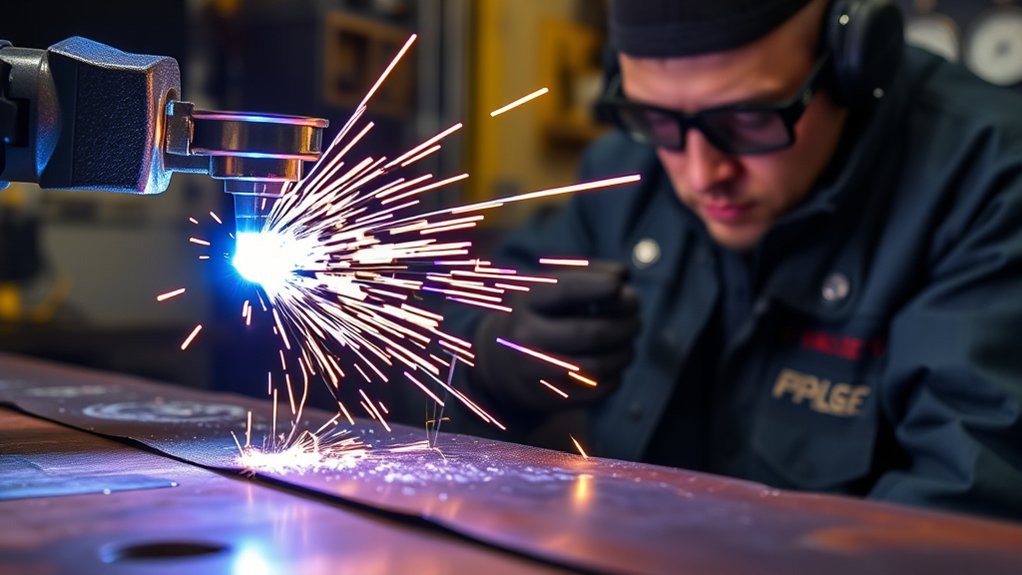
Techniques for Achieving Consistent Travel Speed
Guaranteeing ideal consumable condition is just one piece of the puzzle in maximizing your plasma cutter’s performance; achieving a consistent travel speed is equally important.
Mastering travel speed techniques liberates you from inconsistent cuts. Start by making practice cuts to understand how your machine responds to different speeds and amperage. Stabilize your cuts by using a drag shield, maintaining a standoff distance of 1/16-inch to 1/8-inch. Adjust your speed based on material thickness—faster for thinner materials, slower for thicker ones.
Enhance precision with these strategies:
- Use practice cuts: Familiarize yourself with machine responsiveness.
- Maintain standoff distance: Use a drag shield for stability.
- Adjust speed: Tailor it to material thickness.
- Steady hand technique: Support the cutting hand with the non-cutting hand.
- Inspect consumables: Replace worn parts to guarantee arc stability.
Implement these methods for consistent, clean cuts, freeing you from the constraints of slow progress.
Ensuring Proper Setup and Calibration for Accurate Cuts
To achieve precise cuts with your plasma cutter, start by ensuring the ground clamp is firmly attached to clean, uncoated metal to maximize electrical flow.
Regularly inspect and calibrate your cutter settings based on the specific material type and thickness, adjusting the amperage and travel speed accordingly.
This careful setup will enhance cutting accuracy and efficiency, minimizing unwanted dross and preventing resistance issues.
Ground Clamp Placement
When setting up a plasma cutter, ensuring the ground clamp is properly placed is essential for achieving accurate cuts. The placement affects electrical flow, which directly impacts the quality of your work. Here’s what you need to know:
- Attach the ground clamp securely to clean, unpainted metal to maximize electrical flow.
- Position the clamp close to the cutting area or directly on the workpiece to minimize resistance.
- Regularly inspect cables to avoid wear, loose connections, or resistance issues that could affect performance.
- Perform practice cuts to adjust amperage, preventing dross and enhancing cut quality.
- Balance the initial amperage with travel speed to reduce excessive heat and material distortion.
Calibration for Precision
Achieving precise cuts with a plasma cutter hinges on meticulous calibration, guaranteeing all settings are perfectly aligned with the material at hand.
Begin by using calibration tools to set the correct speed, amperage, and voltage. Regularly monitor the torch height, maintaining an ideal standoff distance of 1/16-inch to 1/8-inch to guarantee consistent quality and minimize dross.
Conduct test cuts on scrap material to verify that your adjustments meet the required precision before tackling the final piece. This proactive approach identifies necessary tweaks, liberating you from errors.
Securely attach the ground clamp to clean metal near the workpiece, ensuring stable arc performance.
Finally, inspect and replace worn consumables, as they can compromise both accuracy and speed.
Frequently Asked Questions
How Does Ambient Temperature Affect Plasma Cutting Speed?
Ambient temperature directly affects cutting efficiency by altering the conductivity of the plasma arc. In colder environments, reduced efficiency slows cutting speed, while warmer temperatures enhance performance, empowering you to achieve faster, cleaner cuts with your plasma cutter.
Can Gas Pressure Influence Cutting Speed in Plasma Cutting?
Yes, gas pressure greatly influences cutting speed. You should guarantee proper pressure adjustment because different gas types, like nitrogen or oxygen, require specific settings to optimize performance, enabling you to achieve precise, efficient cuts and enhanced productivity.
What Role Does Material Surface Condition Play in Cutting Speed?
You’ll notice that material surface condition directly affects cutting speed. Clean, smooth surfaces enhance efficiency, while rough or dirty ones slow it down. Different material types require specific settings to optimize performance and guarantee precise, quick cuts.
Are There Specific Safety Precautions for Optimizing Cutting Speed?
Cutting corners is dangerous; prioritize safety gear and proper training. Ascertain you’re wearing protective equipment, like gloves and goggles, and understand the machine’s functions. This knowledge not only optimizes cutting speed but liberates your creative potential.
How Does Torch Angle Impact Cutting Speed and Efficiency?
Adjusting the torch orientation directly affects cutting speed and precision. A perpendicular torch guarantees maximum efficiency, while a skewed angle can slow progress and reduce accuracy. Maintain consistent torch positioning to achieve liberation in your cutting projects.
Conclusion
So, you’ve decided to master the art of plasma cutting? Well, congratulations on starting a journey where every misstep is illuminated by sparks! Remember, cutting at a snail’s pace because you ignored standoff distances and neglected consumables isn’t exactly groundbreaking. But hey, who needs efficiency when you can spend more on replacement parts, right? Just kidding—get those settings right, and you’ll slice through metal like butter, impressing even the most skeptical of welders!