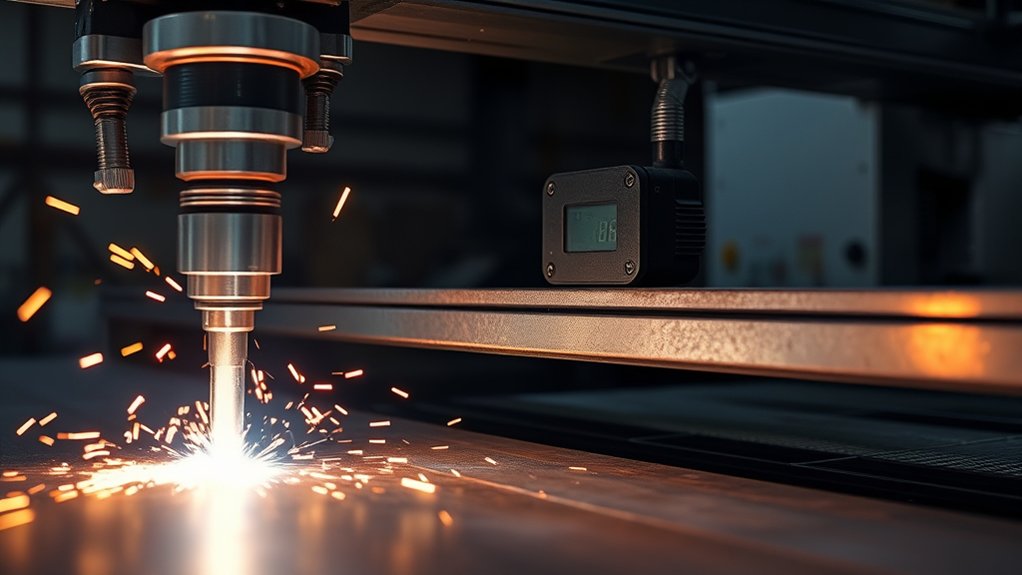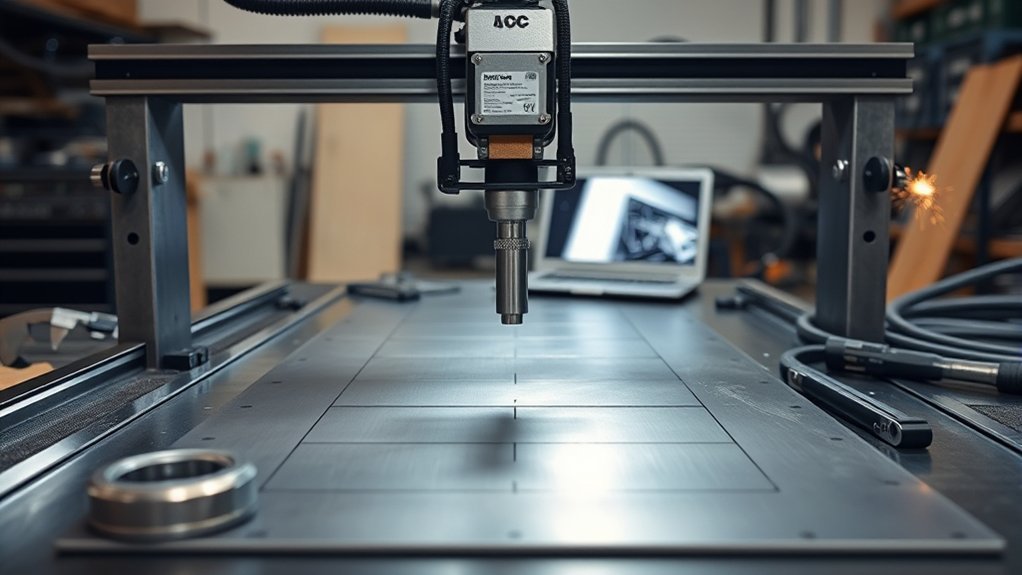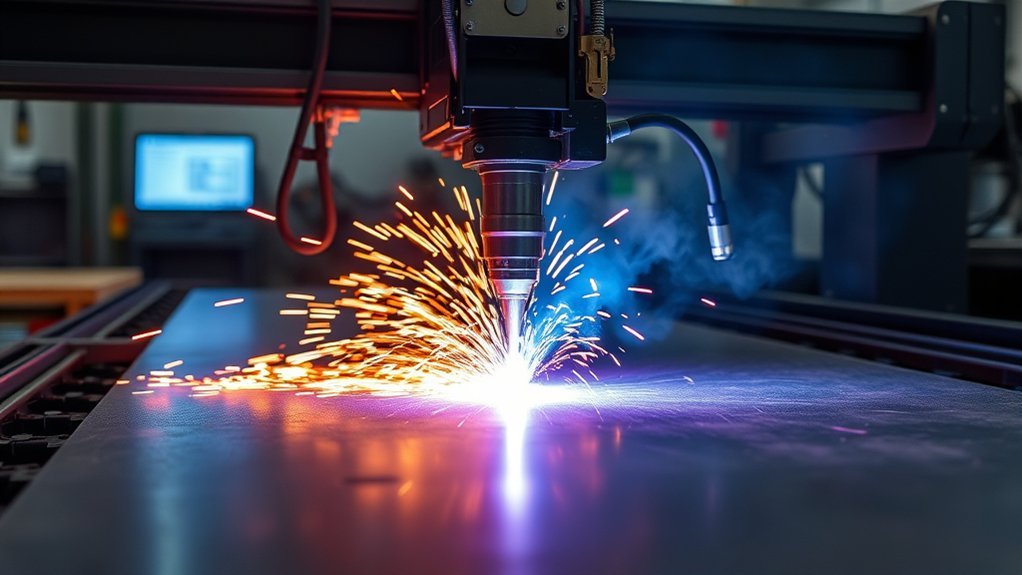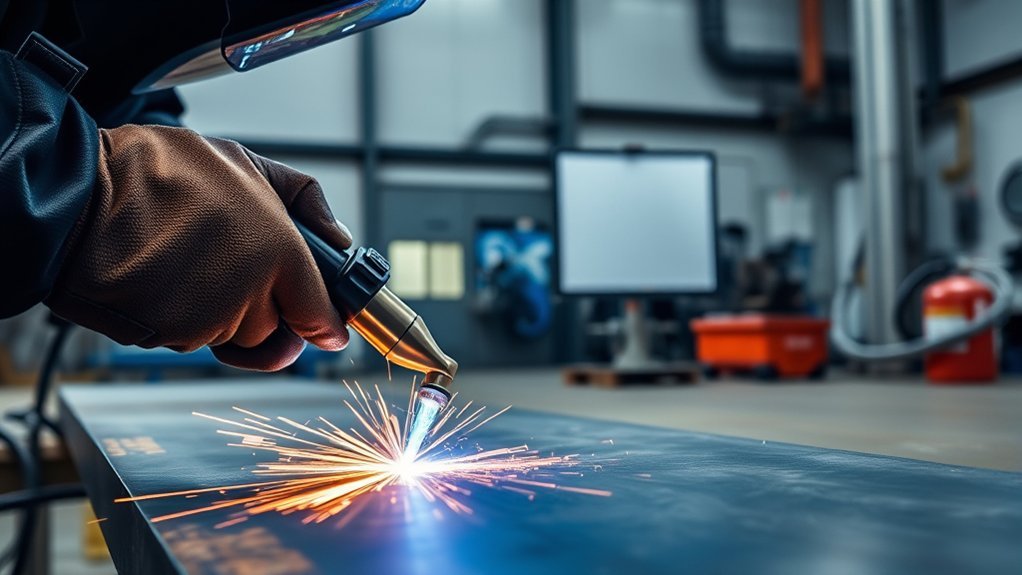
Before you strike an arc, set up the plasma cutter, work area, and material so the cut can happen safely and cleanly. Verify airflow, inspect leads and consumables, clear combustibles, and choose settings from the machine’s cut chart. Then steady the work, trace the path, hold a consistent torch-to-work distance, and control travel speed so the sparks exit through the bottom of the cut instead of piling up as dross.
Quick Answer
For cleaner plasma cuts, match amperage, consumables, air pressure, and travel speed to the material thickness using the manufacturer’s cut chart. Use clean, dry air, clamp the work securely, maintain the recommended standoff, wear proper PPE, ventilate fumes, and make a short test cut before cutting the final part.
Key Takeaways
- Use the plasma cutter’s manual and cut chart first; generic amperage rules are only rough starting points.
- Clean, dry air and matched consumables prevent unstable arcs, excess dross, and short consumable life.
- Secure the workpiece, dry-run the path, and plan lead-ins and exits before firing the torch.
- Watch the sparks and kerf. A steady stream exiting below the plate usually means your speed and power are close.
- Treat plasma cutting as hot work: protect your eyes, skin, lungs, bystanders, and surrounding materials.
At a Glance
| Time Required | 10–20 minutes for setup and test cuts, plus cutting time |
| Difficulty | Beginner to intermediate, depending on material thickness and cut shape |
| Tools Needed | Plasma cutter, air supply, matched consumables, ground clamp, straightedge or guide, clamps, marker, PPE, and fire extinguisher |
| Cost | Mostly consumables, compressed-air drying, layout tools, and PPE if you already own the cutter |
Warning: Plasma cutting produces intense light, heat, sparks, molten metal, electrical hazards, and fumes. Follow your machine manual, shop safety rules, and applicable hot-work requirements. Never cut in a confined space, on sealed containers, or near fuel, solvents, paint vapors, or combustibles without proper controls.
Preflight Checks and Equipment Setup
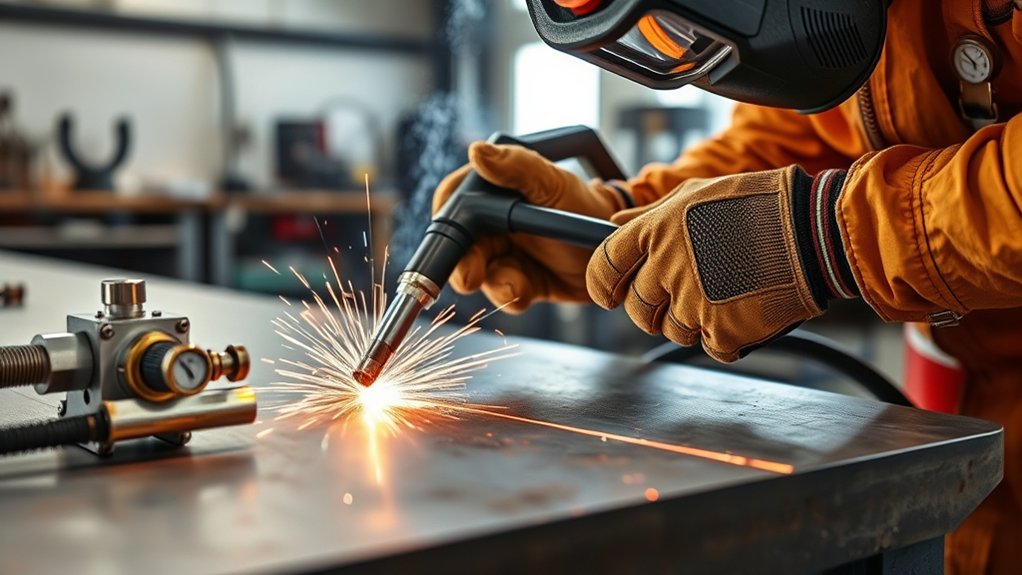
Before you power up the plasma cutter, complete a focused preflight check. Inspect the power cord for cuts, burns, crushed insulation, or loose strain reliefs. Confirm the input power matches the machine rating, and do not use undersized extension cords.
Attach the ground clamp to clean, bare metal on the workpiece or cutting table. Paint, rust, mill scale, oil, and loose slag can create a weak return path, which leads to hard starts, arc dropouts, and poor cut quality.
Check the air system before cutting. Plasma cutters need clean, dry air at the pressure and flow listed in the owner’s manual. If your shop air is wet, add a filter, dryer, or water separator. Moisture and oil shorten consumable life and can cause sputtering, double-arcing, and rough edges.
Confirm the electrode, nozzle, swirl ring, retaining cap, and shield are installed correctly and match the amperage range. Do not mix worn parts with new parts unless the manual allows it. If the nozzle orifice is oval, nicked, or enlarged, replace it before making critical cuts.
Pro Tip: Keep a small “cut kit” near the machine with clean nozzles, electrodes, a swirl ring, shield parts, a tip cleaner recommended by the manufacturer, and a printed cut chart.
Selecting the Right Plasma Cutter and Consumables
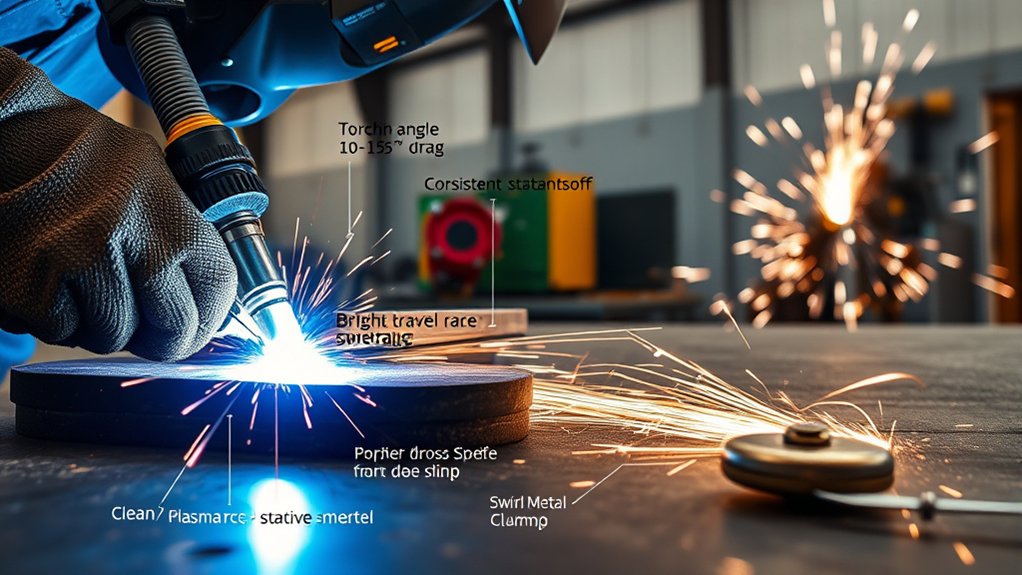
Choose a plasma cutter by matching its rated cut capacity, severance capacity, input power, and duty cycle to the material you cut most often. Rated cut capacity tells you what the machine can cut cleanly at a practical speed. Severance capacity is usually slower and rougher, so it should not be treated as normal production capacity.
For repeated work, duty cycle matters as much as amperage. A machine that can cut thick stock for a short burst may still pause for cooling if the arc-on time is too high. Check the duty cycle in the manual or on the manufacturer’s product page before planning long cuts.
Pick consumables by material thickness and amperage. Lower-amp nozzles help thin sheet keep a narrower kerf and less heat input. Higher-amp consumables support thicker plate, but they need the correct air flow, standoff, and travel speed. Manufacturer part numbers matter because torch parts are not universal.
| Selection Factor | What to Check |
|---|---|
| Cut capacity | Rated clean-cut thickness, not just maximum severance thickness |
| Duty cycle | Arc-on time at the amperage you plan to use |
| Consumables | Model-specific electrode, nozzle, shield, and retaining cap for the selected amperage |
| Air supply | Pressure, flow rate, dryness, and filter condition while air is flowing |
Plasma cutting works on electrically conductive metals, including mild steel, stainless steel, aluminum, brass, and copper. It is not the right process for wood, plastic, glass, or other nonconductive materials.
Products Worth Considering

Package Include: 10 Shield Cups, 50 Nozzles, 20 Swirl Baffle, and 30 Electrodes.

[Achieve Precise Cuts] PT31 Plasma Cutting Consumables – Your Essential Tool for Efficient Cutting! Whether you're working with sheet metal, steel, or any other material, superior cutting performance ensure clean, accurate, and smooth cuts.
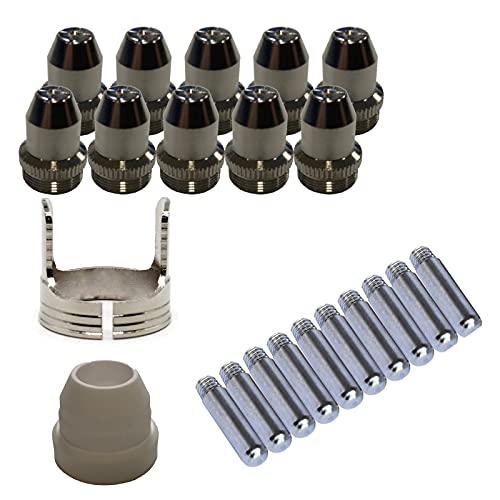
Only Compatible with BROWN Color Lotos LTP5800D , LTP5000D, LTPDC2000D.
Dialing In Amperage, Air, and Torch-to-Work Distance
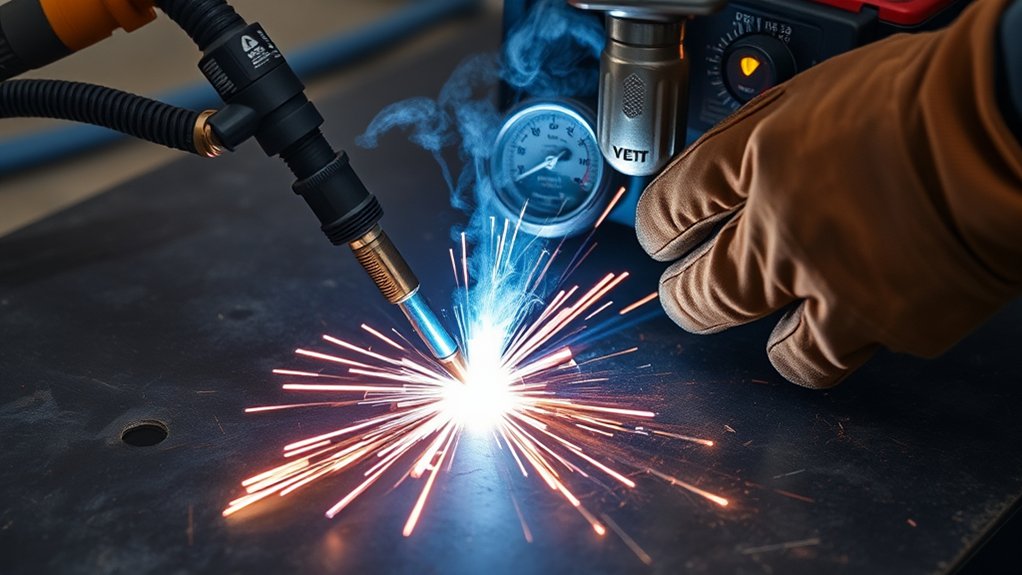
Set amperage from the cut chart for the material type, thickness, and consumable set. Use lower current on thin sheet to reduce burn-through and distortion. Use higher current only when the torch, consumables, air supply, and input power are rated for it.
Air pressure must be checked while air is flowing, not only while the machine is idle. Many handheld units run in a general shop-air range near 60–90 psi, but your machine’s manual controls the final number. Too little air makes a lazy arc and heavy dross. Too much air can disturb the arc and wear parts faster.
Hold the torch at the recommended torch-to-work distance. Many non-contact manual cuts use about 1/16–1/8 inch of standoff, while drag shields may be designed to touch the work. Do not drag a bare nozzle unless your torch system allows it.
Products Worth Considering

⚡【Precision Compatibility】 Exact fit for YESWELDER CUT 55DS Pro & 65DS (2019-2024 models). Replaces OEM# IPT40-55DS/65DS.

Can only be used for BROWN Color Lotos LT5000D and BROWN Color Lotos CT520D

Crafted from high-quality durable materials, copper components offer excellent electrical conductivity and heat resistance, stable for high-frequency, high-intensity cutting. .035"/0.9 aperture ideal for 30-40A current.
Matching Amps to Thickness
Do not use a single “amps per inch” formula as your main setting method. Plasma cutters vary by torch design, consumables, gas flow, input power, and material. Start with the manufacturer’s cut chart, then make a small test cut on scrap from the same material.
| Material Thickness | Typical Handheld Starting Range | Setup Note |
|---|---|---|
| Thin sheet up to 1/16 in | 20–30 A | Use low-amp consumables and move steadily to avoid warping. |
| 1/8 in | 30–45 A | Good range for many light fabrication cuts; verify travel speed on scrap. |
| 1/4 in | 40–65 A | Watch for bottom dross and bevel if travel speed is wrong. |
| 3/8 in and thicker | 60 A and up, if the machine is rated for it | Check duty cycle, pierce rating, and consumable limits before cutting. |
These ranges are only starting points. If your cut chart gives different values, use the cut chart.
Optimizing Standoff and Air
Once amperage is close, refine torch-to-work distance and air. A consistent standoff helps keep the kerf even from start to finish. A standoff that is too high can widen the kerf and create bevel. A standoff that is too low can damage the nozzle and make the arc unstable.
- Set amperage and consumables from the cut chart.
- Run a flowing-air check and drain moisture from traps or filters.
- Set the torch height with a drag shield, spacer, or steady hand position.
- Make a test cut and inspect the edge, sparks, dross, and kerf angle.
- Adjust one variable at a time so you know which change improved the cut.
Note: If the arc sputters even with fresh consumables, check the air supply before changing amperage. Wet air is one of the fastest ways to ruin cut quality.
Path Tracing and Workpiece Positioning
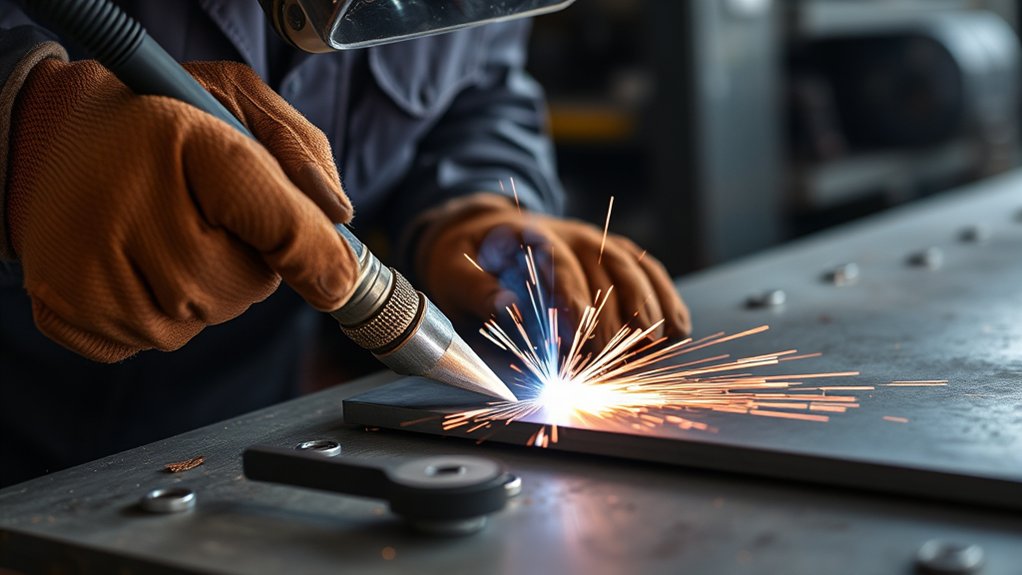
Before striking an arc, perform a dry run along your marked path. Check torch reach, lead routing, visibility, body position, and hand clearance. If the cable catches during the dry run, it will catch during the cut.
Clamp guides and securely support the workpiece so it cannot shift, chatter, or sag. Keep the cut line clear below the plate so the plasma stream can exit cleanly. Do not cut directly over a solid bench surface unless it is designed for plasma cutting.
Set start and finish points with room for lead-in and lead-out. For holes and interior cuts, pierce away from the final edge when possible, then move into the cut line after the arc breaks through.
Dry Run Tracing
A dry run means tracing the full cut path without firing the torch. It builds muscle memory and helps you spot problems before sparks block your view.
- Mark the cut line with soapstone, chalk, paint marker, or a scribed line you can see through sparks.
- Stand square to the work and anchor your elbows or wrists when possible.
- Trace the full path, including corners, curves, lead-ins, and exits.
- Check for cable drag, clamp interference, awkward body angles, or blocked sightlines.
- Reposition the work if you cannot complete the motion smoothly.
Clamp and Support
Clamping and support set the foundation for accurate cuts and safe operation. Secure the ground clamp to clean, bare metal. If the workpiece is painted, rusty, or coated, grind a small clamp spot first.
Choose clamp types that match the work: C-clamps for flat stock, locking pliers for irregular shapes, and fixtures or toe clamps for repeat cuts. Support methods can include slats, blocks, a cutting grate, or a dedicated plasma table.
Keep clamps outside the cut path. Make sure the drop piece cannot fall in a way that pinches the kerf, pulls the work, or traps the torch near the end of the cut.
Start/Finish Positioning
Clean starts and square finishes come from planning. Edge starts are easier than pierces because the arc can reach the edge of the material right away. If the shape allows it, start at the edge and move into the line.
- Use a lead-in so the start mark is not left on the finished edge.
- For piercing, hold the torch at the recommended angle or height until the arc breaks through, then level out and move.
- Do not pierce material thicker than the machine’s rated pierce capacity.
- Leave over-travel room at the end to avoid a hooked finish.
Hand Technique, Standoff, and Travel Speed Control
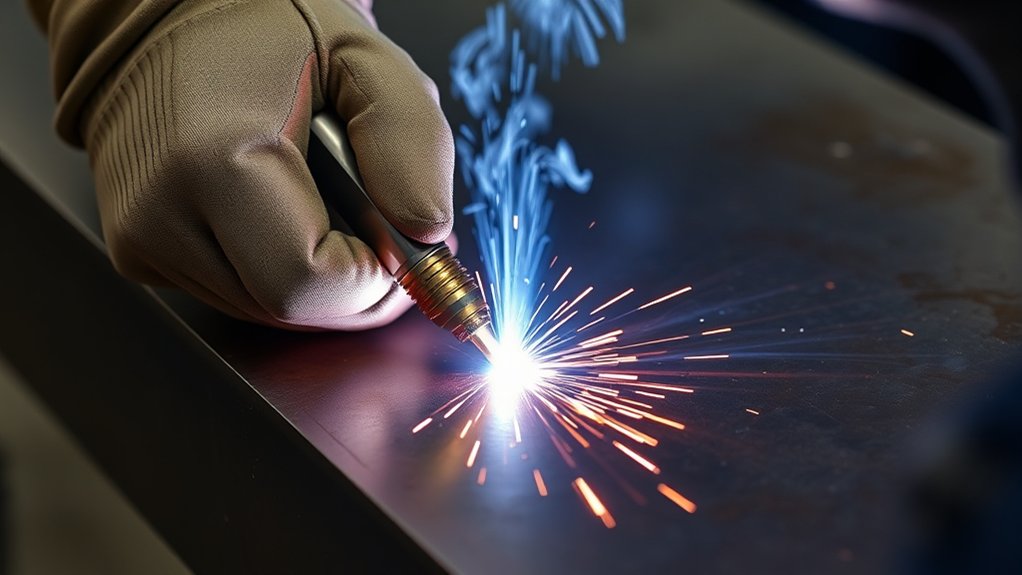
Although the arc does the cutting, your hands decide edge quality. Prioritize hand stability, smooth motion, and torch control.
Clean plasma cuts come from stable setup, correct settings, dry air, and steady movement—not from forcing the torch through the metal.
Use your non-cutting hand as a bridge or guide when it is safe to do so. On many manual cuts, pulling or dragging the torch gives good visibility and control, especially with a drag shield or straightedge. For precision work, follow the torch manual for cut direction, shield use, and the preferred side of the kerf.
Hold the torch perpendicular to the workpiece for standard square cuts. Tilt only when intentionally beveling. Keep the standoff consistent from the start to the end of the cut.
Match travel speed to thickness, amperage, and material. Watch the sparks below the plate. A steady stream that exits through the bottom usually means your speed is close. Sparks that spray back toward the top often mean you are moving too fast, the amperage is too low, the air is wrong, or the material is too thick for the setup.
| What You See | Likely Cause | Adjustment |
|---|---|---|
| Heavy bottom dross | Travel speed too slow, amperage too high, or worn consumables | Speed up slightly, check chart, inspect nozzle and electrode. |
| Sparks blow back upward | Moving too fast or not fully penetrating | Slow down, verify amperage, check air pressure, and confirm machine capacity. |
| Wide kerf or bevel | Standoff too high, torch angle off, or wrong consumables | Lower to recommended standoff and keep the torch square. |
| Arc sputters or drops out | Bad ground, wet air, loose consumables, or damaged lead | Clean the clamp point, dry the air, reseat parts, and inspect leads. |
Essential Safety Practices and PPE
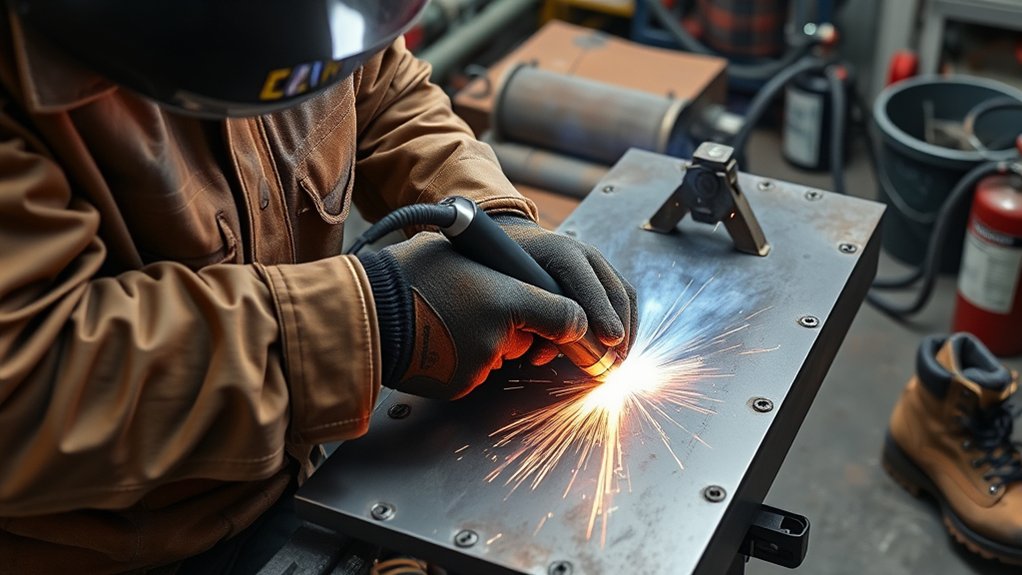
Good hand control means nothing if you are unprotected. Follow PPE guidelines, the machine manual, and workplace hot-work rules before striking an arc.
Wear a welding helmet or face shield with the correct filter shade for plasma cutting. OSHA’s eye and face protection guidance explains that filter lenses must protect against radiant energy during welding and cutting tasks; never go below the required shade for the process and current level. Use safety glasses under the helmet for impact protection.
Wear flame-resistant clothing, leather gloves, closed-toe leather boots, and hearing protection when needed. Avoid synthetic fabrics because sparks and molten metal can melt them into the skin.
Ventilation matters. Plasma cutting can create fumes from the base metal, coatings, oil, paint, and galvanizing. Use local exhaust when possible. If ventilation is not enough, use respiratory protection that is appropriate for the hazard and allowed by your workplace program.
- Inspect before use: check torch leads, power cord insulation, strain relief, air pressure, filter/dryer condition, and consumable seating.
- Control the environment: remove combustibles, shield bystanders from UV and sparks, and keep a Class ABC fire extinguisher nearby.
- Handle coatings carefully: remove paint, zinc, oil, plastic film, and other coatings from the cut area before cutting whenever possible.
- Avoid confined spaces: do not cut in tanks, containers, pits, or enclosed areas without engineered ventilation, atmospheric testing, and required permits.
- Shut down safely: let parts cool, turn off power and air as directed, inspect the torch, and store leads where they will not be crushed.
Warning: Never cut sealed containers, fuel tanks, drums, or unknown vessels. Heat can ignite trapped vapor even when the container looks empty.
Post-Cut Inspection and Maintenance
After cutting, inspect both the part and the torch. Look for heavy dross, bevel, rough edges, and heat distortion. These marks tell you what to adjust on the next cut.
Let the torch cool, then check the electrode and nozzle. A clean round nozzle orifice supports a focused arc. Pitting, ovaling, or a cratered electrode can create a wandering arc and rough kerf. Replace worn parts before they damage other torch components.
Drain moisture traps, coil leads loosely, and log recurring cut issues. If the same problem returns with fresh consumables, the cause is often air quality, ground quality, input power, or technique rather than the nozzle alone.
Frequently Asked Questions
How do I minimize warping on thin sheet metal?
Use the lowest amperage and correct low-amp consumables that still cut cleanly. Clamp the sheet flat, make short cuts, skip around instead of heating one long area, and allow cooling pauses. A backing bar or heat sink can help on very thin material.
What are best practices for cutting painted or galvanized steel?
Remove paint, galvanizing, oil, and coatings from the cut area when possible, then use strong local ventilation. Galvanized and painted metals can release hazardous fumes, so follow your shop safety plan and use proper respiratory protection when ventilation is not enough.
How can I manage distortion when cutting long continuous seams?
Support the work evenly, clamp it before cutting, and avoid pouring heat into one long line without a pause. For large panels, use skip cuts, staggered sections, and cooling breaks. Check alignment often because the part can move as the kerf opens.
What maintenance schedule extends torch and consumable lifespan?
Inspect consumables before each cutting session, drain moisture traps daily when using shop air, and clean the torch according to the manual. Replace nozzles and electrodes when they show pitting, ovaling, or unstable arc behavior. Keep spare parts dry and clean.
How do I safely use templates or guide fixtures with a manual plasma cutter?
Clamp the template so it cannot move, confirm the torch shield or guide can ride the edge smoothly, and dry-run the full path first. Keep clamps outside the cut line, maintain standoff, and stop if the fixture vibrates, shifts, or blocks your view.
Why is my plasma cut covered in dross?
Dross usually comes from travel speed, amperage, standoff, air quality, or worn consumables. Bottom dross often means the speed is too slow or the current is too high. Sparks blowing back toward you often mean the cut is not fully penetrating.
Can I drag the plasma torch on the metal?
Only drag the torch if your torch, shield, and consumables are designed for drag cutting. Dragging a bare nozzle can damage the orifice, widen the kerf, and shorten consumable life. If unsure, use a standoff guide or follow the manual.
Conclusion
Clean plasma cutting starts before the arc fires. Inspect the machine, dry the air, match consumables to amperage, clamp the work, and trace the cut path. During the cut, keep the torch steady, hold the right standoff, and adjust travel speed by watching the sparks and edge. When you treat safety, setup, and technique as one process, you get cleaner cuts, longer consumable life, and fewer surprises.
Sources
- OSHA 1910.133 Eye and Face Protection — supports filter-shade and eye/face protection guidance for welding and cutting.
- OSHA 1910.252 Welding, Cutting, and Brazing — supports fire prevention, ventilation, and hot-work safety guidance.
- OSHA 1910.134 Respiratory Protection — supports respirator-program caution when ventilation is not enough.
- OSHA 1910.146 Permit-Required Confined Spaces — supports the warning against cutting in confined spaces without proper controls.
- Miller Manuals and Parts — supports using the specific plasma cutter manual and cut chart for settings, consumables, and operating limits.