Welding Stainless Steel in Automotive Work
Stainless steel can give your automotive welds long life, but it punishes poor prep and excess heat. Thin exhaust tubing, trim, and brackets can warp fast if you treat them like mild steel. This guide shows you how to choose the right grade, control heat, prevent rust, and make cleaner stainless welds.
Quick Answer
For automotive stainless steel welding, choose the grade first, then match the welding process and filler metal to the job. TIG gives you the best control on thin seams, while MIG helps when you need faster production work. Clean the metal well, keep heat low, and back purge tubing when the inside of the weld matters.
Key Takeaways
- Use 304 stainless for many exhaust and general fabrication jobs.
- Choose 316 stainless when road salt, moisture, or harsh exposure matters.
- Keep heat input low because stainless expands more than mild steel.
- Clean with acetone and dedicated stainless tools to prevent contamination.
- Use back purging on tubing when you need a clean, strong root weld.
What Makes Stainless Steel Different?
Stainless steel stands apart in automotive welding because it contains at least 10.5% chromium. That chromium helps form a corrosion-resistant surface layer that protects the metal in harsh conditions. You get that protection while keeping useful strength for exhaust parts, brackets, trim, and custom fabrication.
Stainless steel also behaves differently from mild steel during welding. It has higher thermal expansion, so excess heat can cause warping, cracking, and poor fitment. You need careful heat control, firm fixturing, and steady travel speed to keep the part stable.
Austenitic grades, especially grades with nickel, often give you strong weldability, good ductility, and useful high-temperature performance. Nickel also helps toughness, so parts can handle vibration and load. Stainless steel includes martensitic, ferritic, austenitic, duplex, and precipitation-hardening types, so each grade fits a different job.
When you understand these differences, you can choose the right alloy and weld with more control. Thermal properties, such as higher expansion and lower thermal conductivity, make heat management a key part of the welding process.
Common Stainless Steel Grades for Auto Welding
Once you know how stainless reacts to heat and stress, choose the right grade for the job. For many automotive projects, 304 stainless steel works well because it offers good corrosion resistance, formability, and weldability. You often see it in exhaust systems, custom parts, and general fabrication.
If your part faces road salt, moisture, or harsher exposure, 316 stainless steel gives you stronger corrosion resistance than 304. Both 304 and 316 are austenitic grades, so they usually weld more easily than many other stainless types. You still need to match the filler metal to the base metal and service conditions.
For lower-cost exhaust systems, 409 stainless steel gives useful heat resistance, but it resists corrosion less than 304 or 316. For trim and decorative parts, 301 and 430 can work well in the right setting. 301 gives you strength and ductility, while 430 offers a more economical ferritic option.
ER308L filler wire often matches 304 stainless steel and helps reduce carbide-related corrosion risk. Choose the grade that supports your build, not the one that simply costs less.
Products Worth Considering

Premium Low Carbon Mig Wire: Achieve high-grade welding results with our ER308L stainless steel MIG wire. Featuring a low carbon content, it minimizes intergranular carbide precipitation, enhancing corrosion resistance without the need for stabilizers.

This solid wire REQUIRES a shielding gas

ER308L WIRE: A low-carbon stainless steel wire engineered to minimize intergranular carbide precipitation. This enhances corrosion resistance without the need for stabilizers, making it ideal for critical applications.
Best Stainless Steel Welding Methods
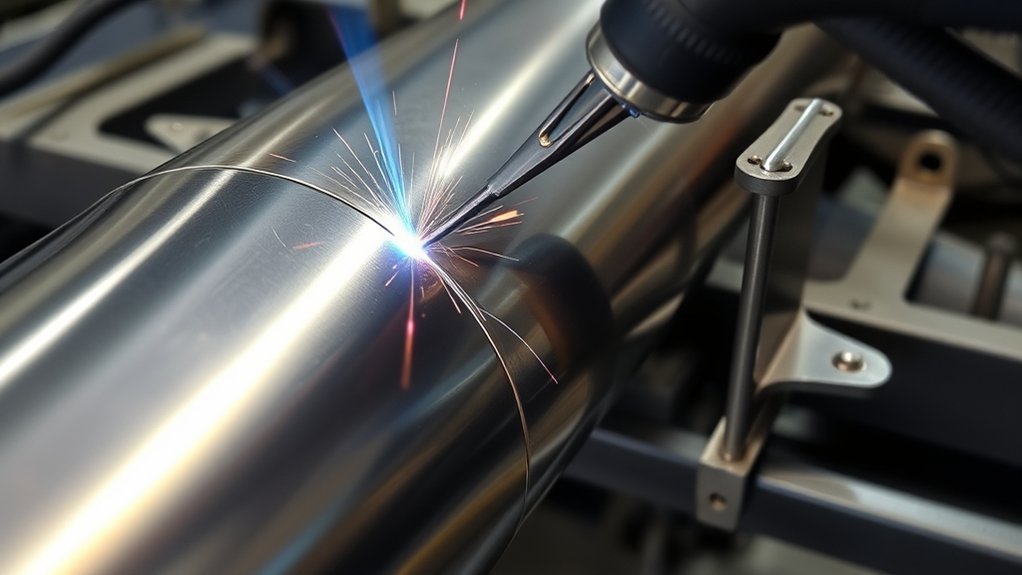
When you choose a welding method for stainless steel in automotive work, match the process to the part, thickness, and finish. TIG welding gives you precise control, lower heat input, and clean beads. It works best for thin tubing, visible seams, and parts that need a neat finish.
MIG welding suits faster automotive work when you need steady production. With the right stainless wire and shielding gas, you can get good penetration and efficient travel. Spot welding works well for sheet joints when speed and repeatability matter.
Plasma arc welding can help when you need tight control on complex parts, but many small shops use TIG or MIG more often. Check the stainless grade first, then choose filler metals that protect corrosion resistance and strength. Your joint design should guide the process because each method handles heat, load, and finish differently.
Understanding the importance of joint design can help you pick the method that protects performance and avoids unnecessary rework.
Products Worth Considering

ER308L TIG WELDING ROD: ER308L is a low -carbon stainless steel tig welding rod, which has excellent anti -crystal interval corrosion properties and full -location welding performance.

Applicable Sizes: TIG wire is 16 inches long and 1/16 inches in diameter. Tig welding rods are lightweight and are suitable for use with a variety of welding machines. Easy to use.

Premium Material: Crafted from high-grade stainless steel, ER308L rods ensure superior strength & durability for professional welding work
Before You Weld Stainless Steel
Good stainless welds start before you strike an arc. Clean the joint with acetone or another suitable solvent, then use tools kept only for stainless steel. Dirty tools can move carbon steel particles onto the surface and create rust spots later.
- Use a dedicated stainless steel wire brush.
- Remove oil, paint, grease, and cutting residue before welding.
- Fit the joint tightly to reduce heat buildup.
- Clamp the part well so movement does not pull the weld out of shape.
- Set up ventilation before you weld indoors.
Warning: Stainless steel welding can create hazardous fumes, so use proper ventilation and personal protective equipment.
How to Prevent Warping, Cracking, and Rust
Even with the right welding method selected, you still need to control the weld so the part stays straight and corrosion-free. Keep heat input low by matching amperage and travel speed to the joint. As a practical starting point, many welders use lower heat than they would use on similar mild steel.
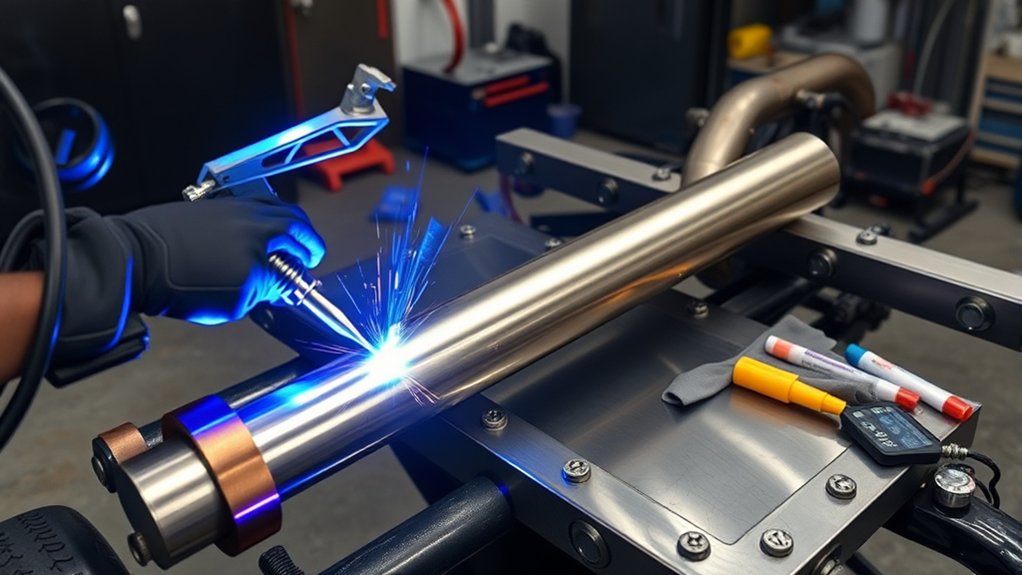
Move steadily, and use chill bars or heat sinks when the part allows it. Copper or aluminum can help pull heat away from the weld area and reduce distortion. Let the part cool naturally instead of forcing harsh cooling that may add stress.
Before you weld, clean with acetone and a dedicated wire brush so contaminants do not create rust points. Keep shielding gas flowing after the arc stops when the weld remains hot. For tube or pipe work, use back purging so the inside of the weld stays protected.
When you control heat, cleanliness, and shielding, you protect the metal and improve the repair. Wearing proper protective clothing also helps you reduce burn, fume, and fire risks while welding stainless steel.
Stainless Steel Welding Tips That Work
Start with a dedicated stainless steel wire brush so you do not drag carbon steel contamination into the weld. Choose a filler metal that matches the stainless grade and service conditions. For example, 316L can work for some 304 applications when you need stronger corrosion resistance, but always match the filler to the actual job.
- Keep travel speed steady to limit heat buildup.
- Use post-gas flow in TIG or MIG so shielding gas protects hot metal.
- Place copper or aluminum chill bars nearby when the part allows it.
- Watch for weld defects early and adjust before the bead overheats.
- Keep stainless tools separate from mild steel tools.
Use shielding gas flow at suitable settings for your process, cup size, and work area. Too little gas leaves the weld exposed, while too much flow can pull air into the shielding zone.
Pro tip: If the weld turns dark gray or crusty, reduce heat and improve shielding before continuing.
You can weld with more confidence when you control contamination, heat, and shielding.
Common Mistakes to Avoid When Welding Stainless Steel
Many stainless weld problems come from small setup mistakes. Using a carbon steel brush can contaminate the surface and start rust later. Running too hot can also cause distortion, sugaring, and a weak-looking weld.
Do not skip fit-up because gaps force you to add more filler and heat. Avoid long pauses in one spot because stainless holds heat near the weld zone. If you see heavy discoloration, stop and correct the cause before the next pass.
Frequently Asked Questions
Can Stainless Steel Be Welded to Carbon Steel Safely?
Yes, you can weld stainless steel to carbon steel when you use the right filler metal, joint design, and heat control. Many welders use a compatible filler such as 309L for dissimilar stainless-to-carbon steel joints, but the final choice depends on the metals and service conditions.
How Do I Choose Shielding Gas for Stainless Steel Welding?
Choose shielding gas based on the welding process. TIG welding often uses pure argon, while MIG welding often uses an argon-rich mix made for stainless steel. Match the gas to your wire, machine, and weld position.
What Post-Weld Cleaning Methods Work Best on Stainless Steel?
You can use wire brushing, abrasive pads, grinding, pickling, passivation, or electrochemical cleaning, depending on the weld and finish needed. Use stainless-safe methods and clean tools so you do not add new contamination. For visible parts, test the method on scrap first.
Is Stainless Steel Welding Safe Indoors Without Special Ventilation?
No, you should not weld stainless steel indoors without proper ventilation. Stainless welding fumes can contain hazardous compounds, so use local exhaust, fresh airflow, and suitable protective gear. Keep flammable items away from the work area.
How Do I Identify Stainless Steel Before Starting a Weld?
You can start with a magnet test, spark test, visual check, and part history. These checks can help, but they do not always identify the exact grade. Use material markings, supplier records, or alloy testing when the grade matters.
Conclusion
Stainless steel rewards clean prep, correct filler choice, and tight heat control. Match the grade to the job, choose the right process, and manage heat input to reduce warping and cracking. Before your next weld, clean the joint, confirm the filler, and plan your shielding setup. With steady practice and good habits, you can make stainless automotive welds that look cleaner and last longer.


